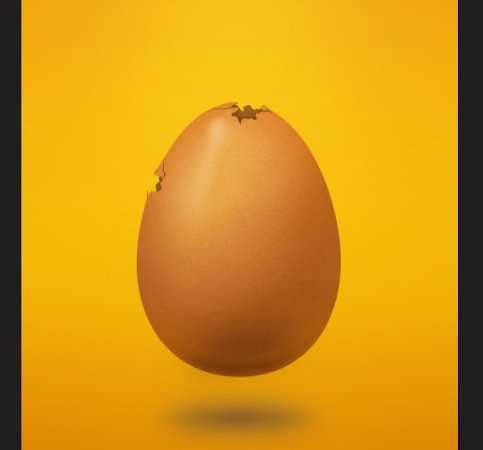
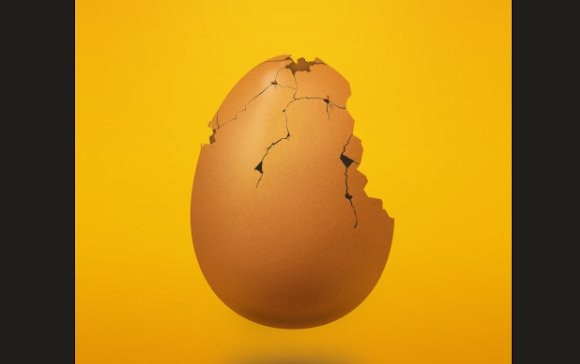
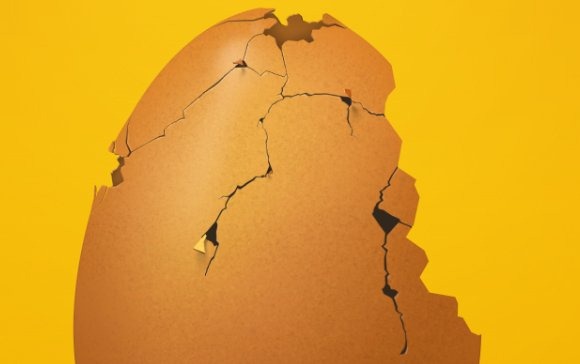
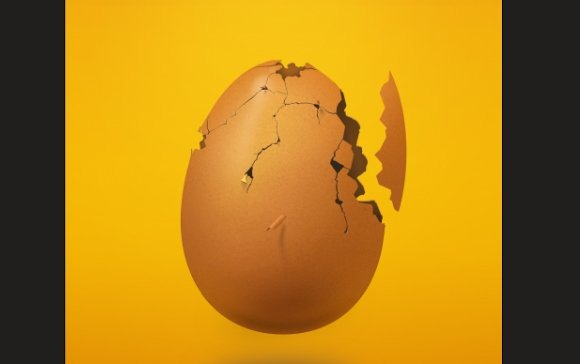
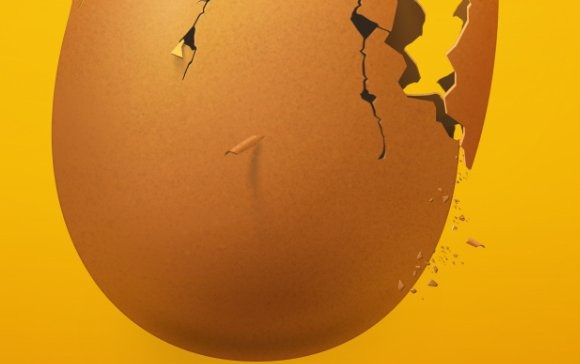
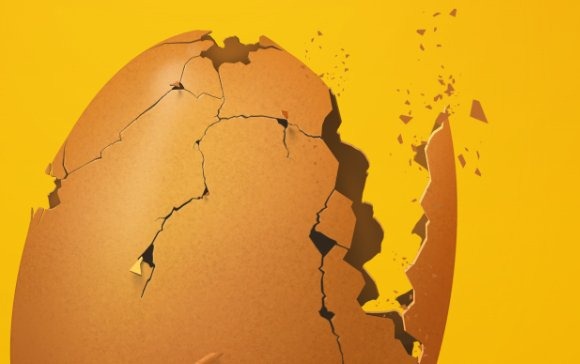
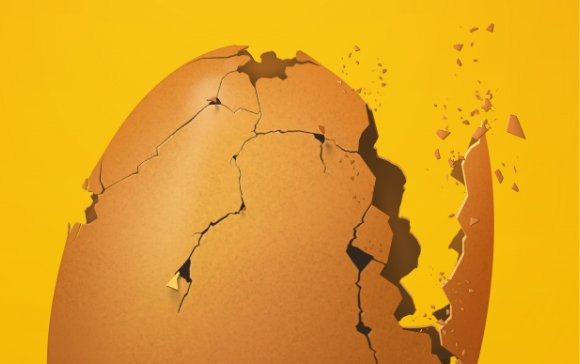
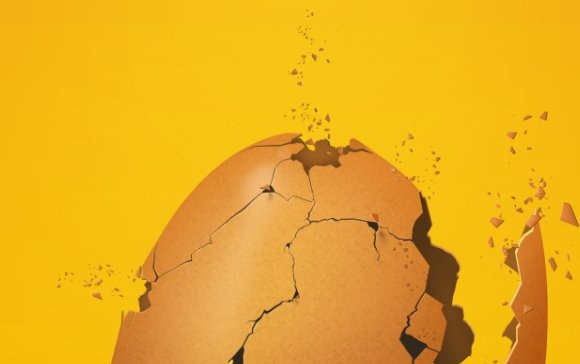
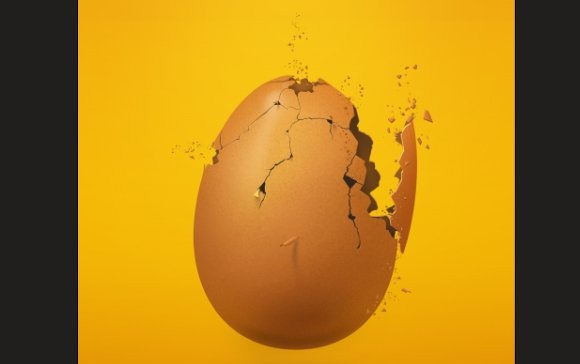
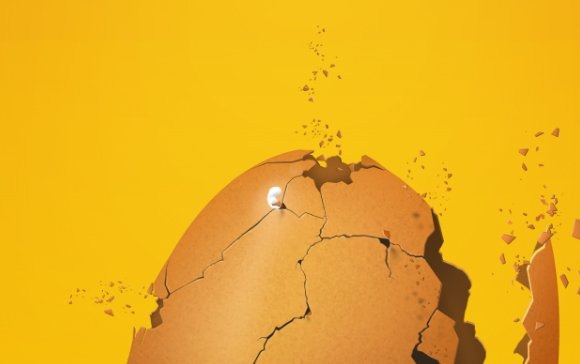
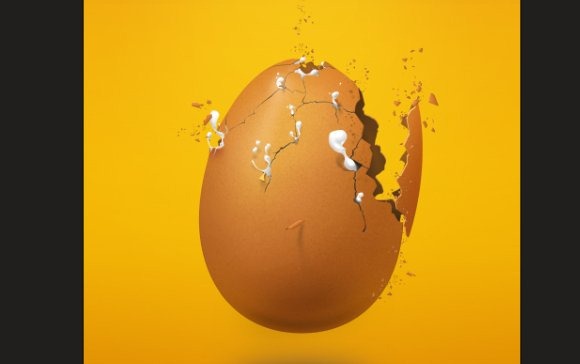
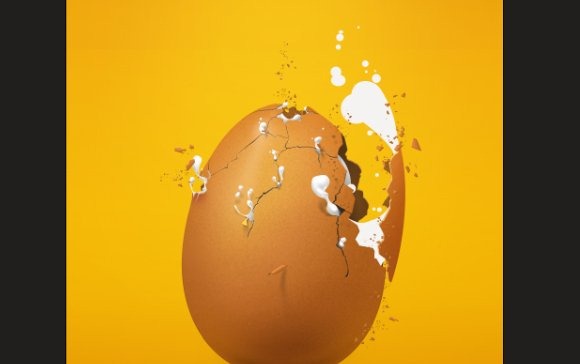
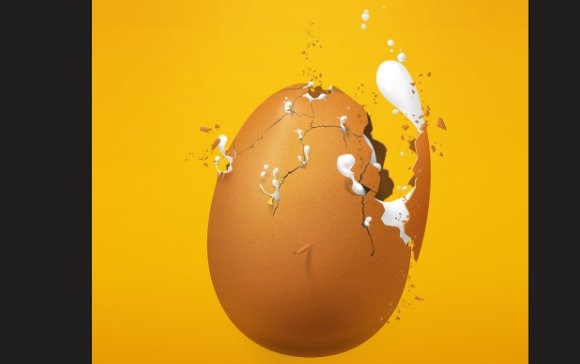
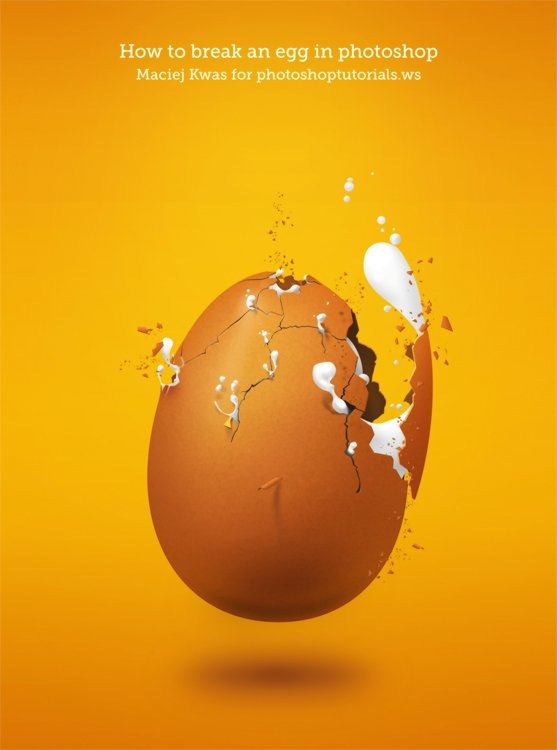
Create this amazing broken egg illustration in Photoshop. This in-depth tutorial contains 50 steps to show you how to use shapes, gradients, selections, and more to create this artwork. A full resolution PSD is included with this tutorial.
Preview of Final Results

How to Break an Egg in Photoshop – Photoshop Tutorial
Step 1
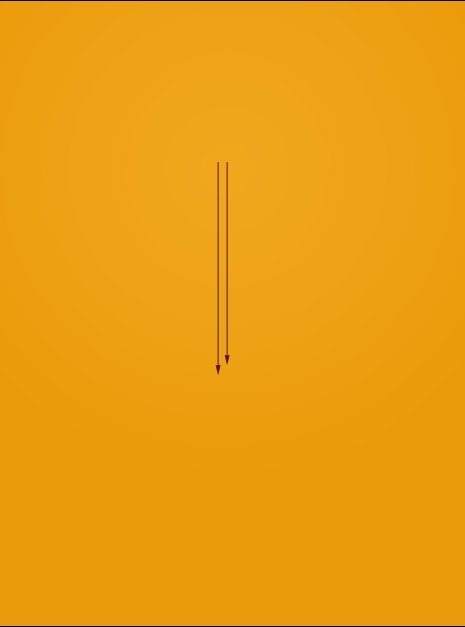
Remember to do everything on different layers. It is a way easier to merge things rather than tearing them apart. Create a new document with pretty big measurement. My choice is 1858 x 2500. This is a little trick that is common in digital painting. I mean- we will be scaling our output image down in a final step. You are loosing some texture and details by using this gimmick but generally whole image looks better.Fill the whole area with some orange color that will be our background. Push [ Shift ] + [ F5 ] to open up a fill window. My color is #ea9b0b. This will give us a warm feel. Now pick the gradient tool, choose [radial gradient] from the option bar, pick some lighter color than our base, let’s say # f6b22d, set gradient opacity to about 30% and make one or two gradients in upper part of picture like on the image below.
Step 2
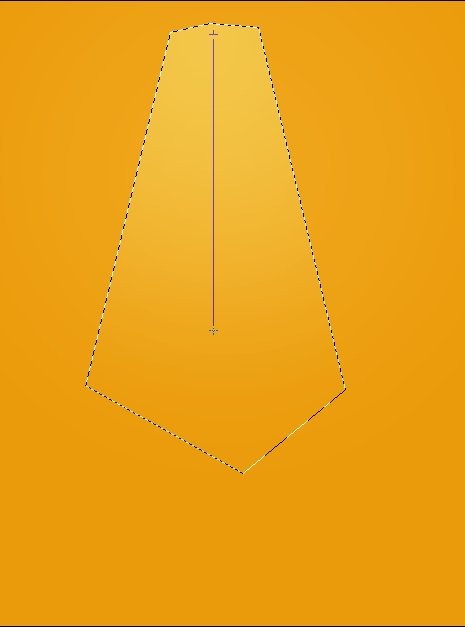
Now pick the color #f7e778 and create the selection like below with polygonal marquee tool. Then fill it with a gradient that has options same as before.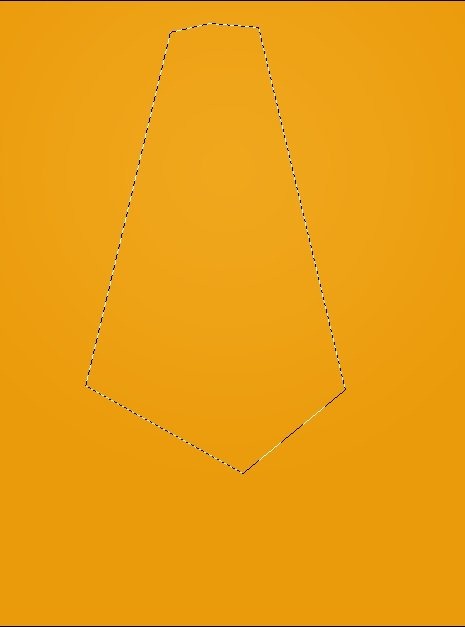
Step 3
Go to Filter > Blur > Gaussian blur and apply it to our second gradient. Choose some very huge value like 160px. In my case I’m setting the ‘soft light’ as a layer blending mode and duplicating the layer. Now pick some darker color like # cc6e00 and use it on a corners. Leave settings as they are except gradient type- you can change it to linear gradient. You can also use the gradient once or twice on the bottom and top of the image. Here is how I made it.

Step 4
Now we are making the step into basic shapes. Hold down left mouse button or right click on the rectangle tool and choose Ellipse tool.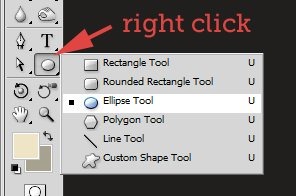
Tip: To center your layer horizontally, click on a background layer in layer’s window, then hold control and click on a layer you wish to center. Pick move tool and click button shown below that exist on a tool’s option panel. You can center your image with grids or selection, but i think it’s an easiest way to achieve this.

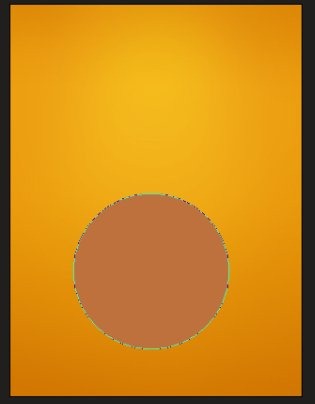
Step 5
Once you have a circle you need to modify it a bit to achieve an egg’s shape. To do this, take the Direct selection tool and play with each of the squares of a circle.

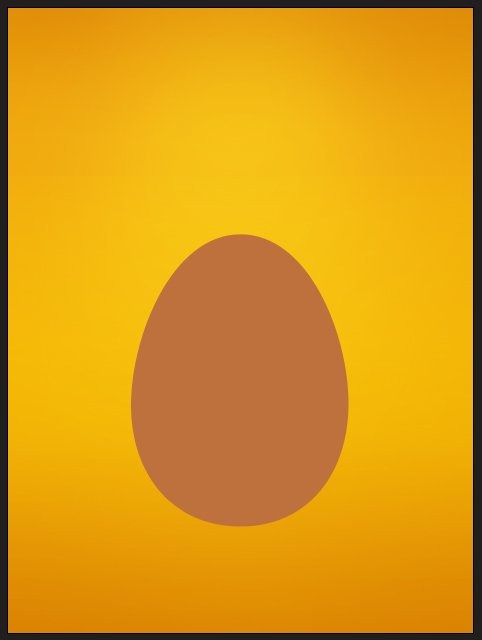
egg-shape.csh | 1 KB
Step 6
Right-click in layer’s window on our newly created shape and choose Rasterize layer. We are doing so for we will need it as a bitmap rather that vector shape.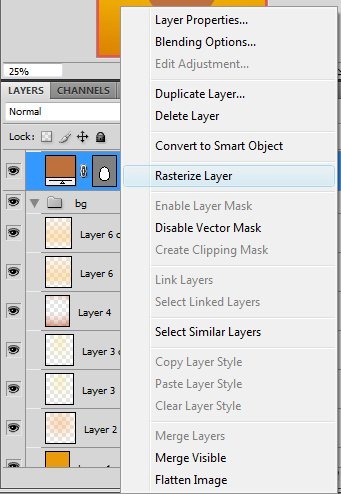
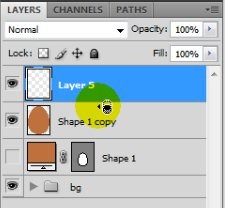
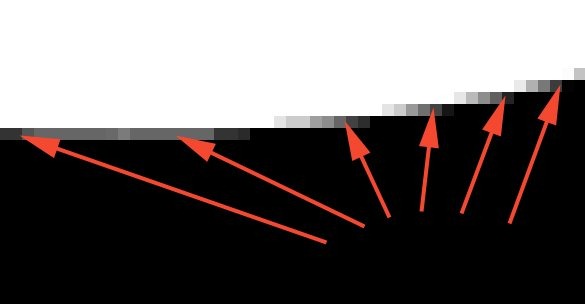
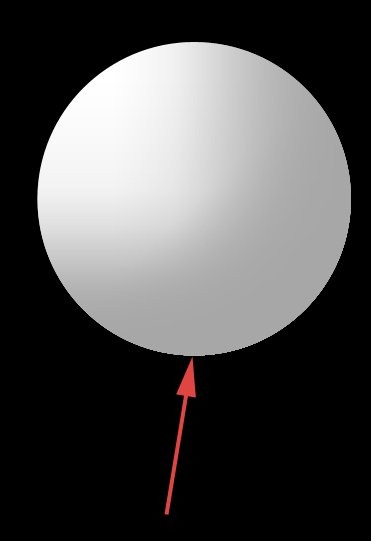
Tip: We are making clipping masks for several reasons. Here we need to avoid ugly edges. To do a clipping mask move the cursor between layers in layer’s window. Hold alt, and when cursor will change, left-click.
Step 7
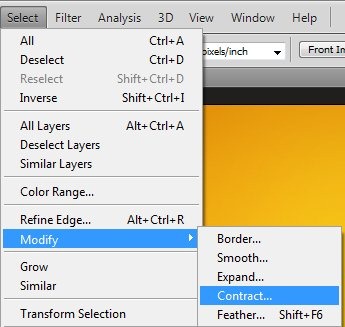
So we have a clipping layer. On this kind of layers we will create all lights, shadows and textures. You can attach as much clipping layers to a base layer, as you want. First of all, we should make some outline that will add some contrast to our egg and will separate it softly from the background. Fill our clipping mask with some semi-dark brown color, like #854317. Now select our base layer. To do this, hold down [ctrl] and left-click on a thumbnail of an layer.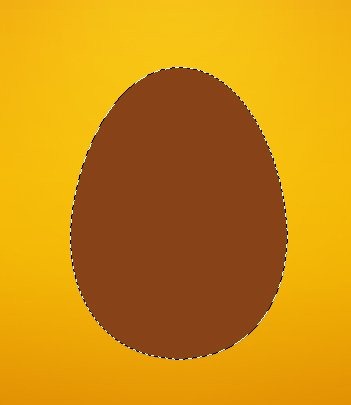
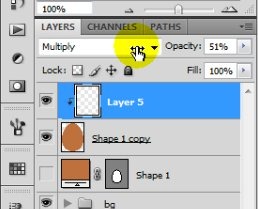
Step 8
When you have at least one clipping layer, you can create another automatically. Just select your base layer (Here it is ‘Shape 1 copy’) and click a ‘new layer’ icon. The created layer will be already attached to our base.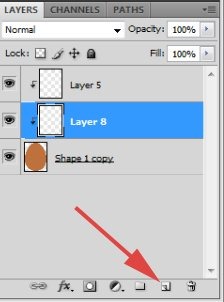
Step 9
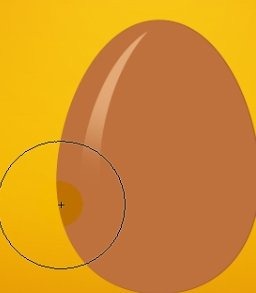
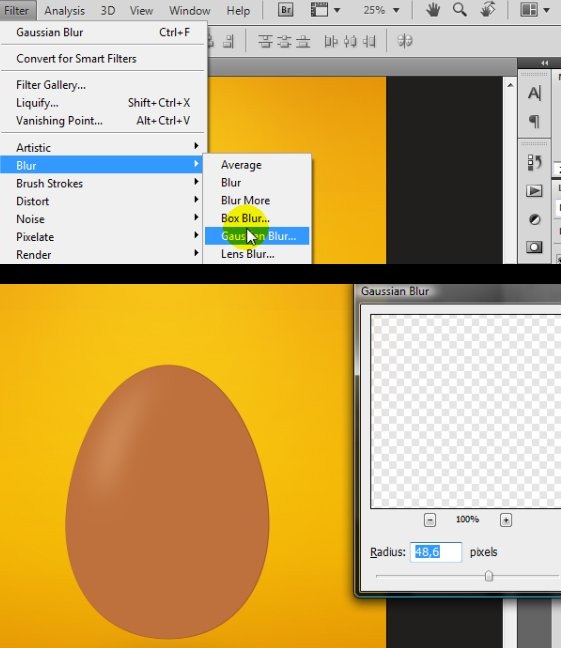
On this newly created layer we will add some highlights. It’s important to remember where have you placed your light source to avoid mistakes with lights and shadows in future. Now we will create main highlight that will help us to distribute next tones.Make selection from egg layer ([ctrl] + [click] on a thumbnail), hit [M] to select the marquee tool and use arrows on a keyboard to move selection around. Press [SHIFT] + [ARROW DOWN] to move selection 10px down. Here is how I pleaced it:
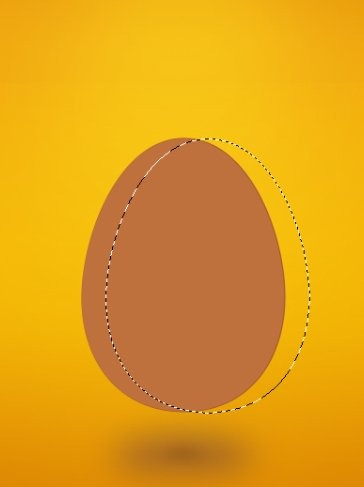
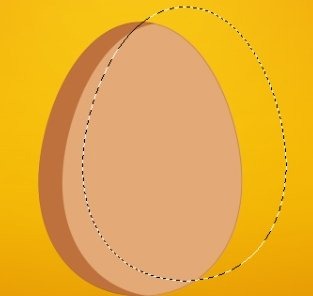
Step 10
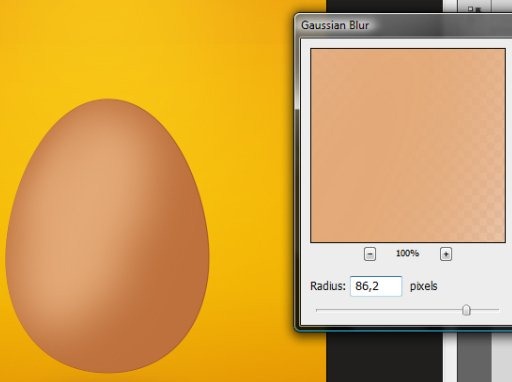
Create new clipping layer. Grab the brush tool and leave same color as it was. Paint on the egg where light should reflect.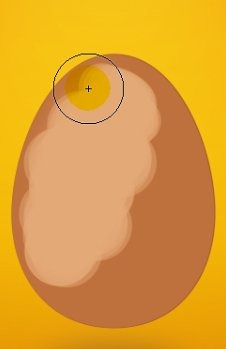
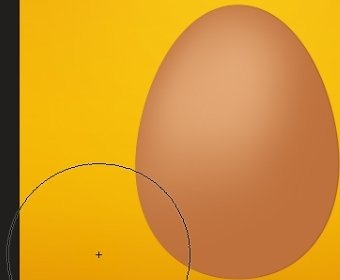
Step 11
As we get some basic lights we will turn into shadows. Grab some dark color #915227. Choose the brush tool with hard, round ending and change brush opacity to 30%. Then paint around egg’s edges where the shadow should be.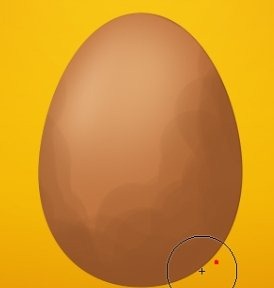
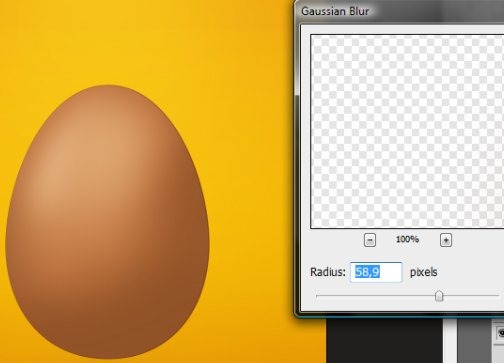
Step 12
Pick a color #f7b379. Create new clipping layer on top of previous ones and start to paint with hard round brush on the upper part of the egg.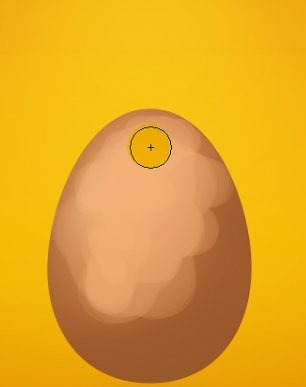
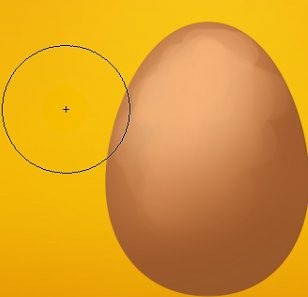
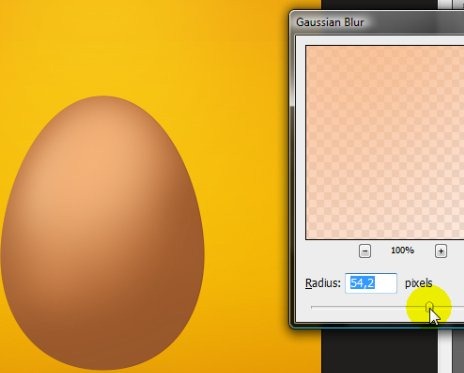
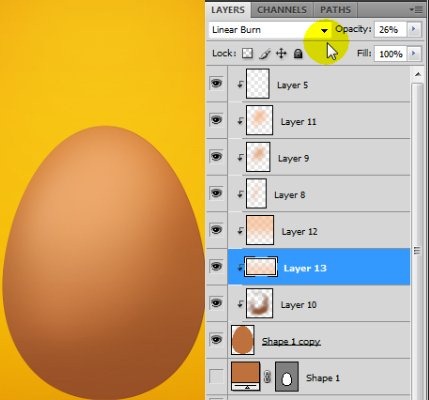
Because we are playing with a blending mode of some layers it is very important to keep the order as mine. The number of each layer in the image below show the time of its creation. So, as follow, Layer 5 was the first one, and Layer 11- last.
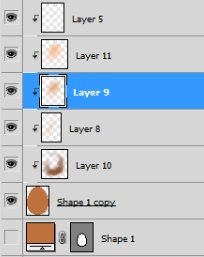
Step 13
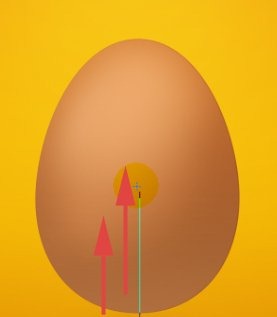
As you have my hierarchy, create new layer above Layer 10. Get the gradient tool. Our color is still light, as in previous step. The gradient opacity should be something like 60%. You can even add two of them (could be on one layer), the bigger, and the smaller one on the upper part of egg.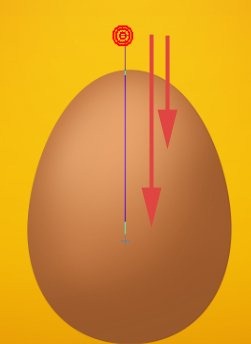
Step 14
Create another clipping layer above Layer 10. Again we will use gradient tool. But in this step we will darken a bit bottom part of the egg. We are not changing the color. Believe me. Maybe it seems ridiculous at the first sight, but we will try to multiply colors and dark color will not be effective as it will generate too big tonal multiplication.Back to color. As previous, you can create two gradients, but here gradient’s opacity should be set to 30%.
Step 15
I see that I need to fix a bit my tones. Make selection from base layer (ctrl + click on layer’s thumbnail). After that create new adjustment layer on top of highest layer (Layer 5). The mask will be automatically added. Choose vibrance and apply these settings: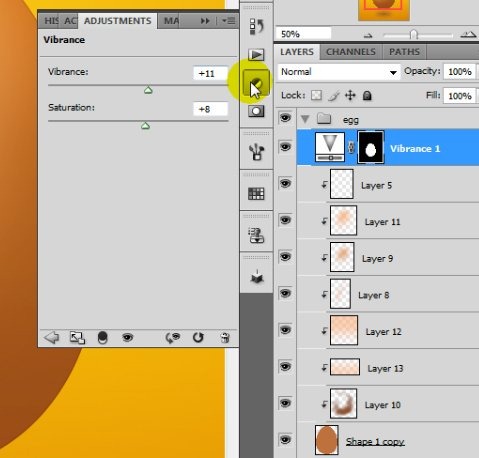
Step 16
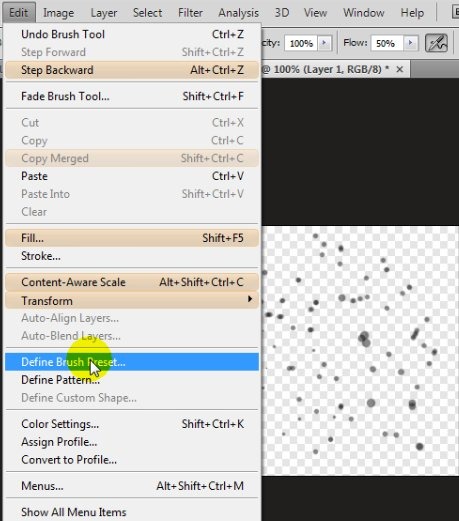
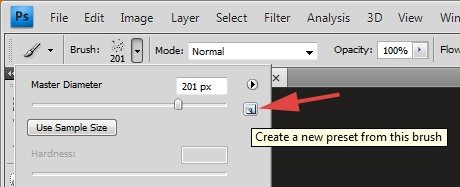
Now it is time to add some texture to our image, but before we will do so, we need to create some basic custom brush that will fill our expectations. Create new document with about 300px by 300px in size. Grab the brush tool with very small, hard round brush and paint around on the document with black color- also, use different brush sizes like 3 to 8 pixels. Try to achieve a big shape of dot that is created from small points.
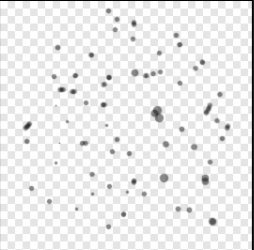
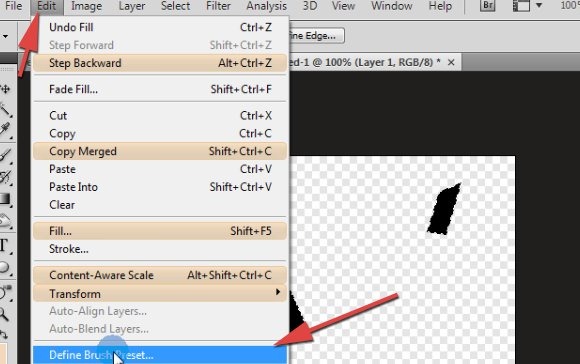
When you think you have done the job well, you can save you work as a custom brush. To do that, go to Edit > Define Brush Preset, input the name and hit OK. Newly created brush is now added to your active brush set. You don’t have to save this file so just close it.
Step 17
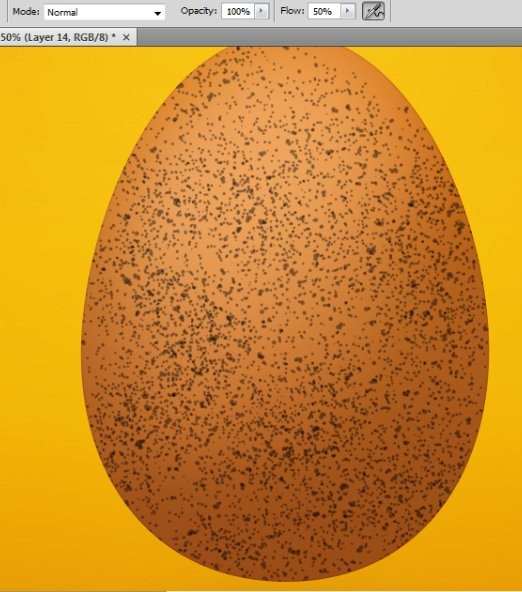
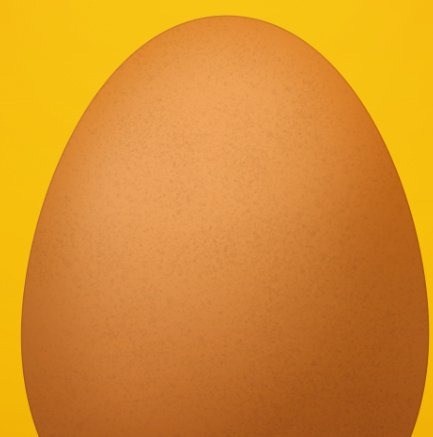
Create new clipping layer in between vibrance and Layer 5. Choose some very dark color, could be even black and brush the egg around (set brush size to about 200-240px)...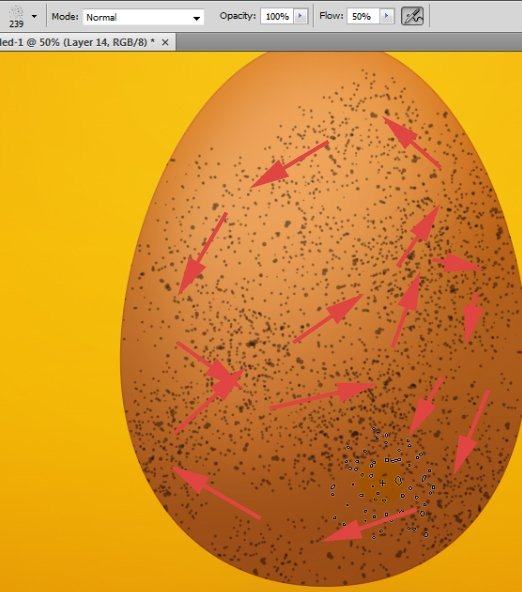
Step 18
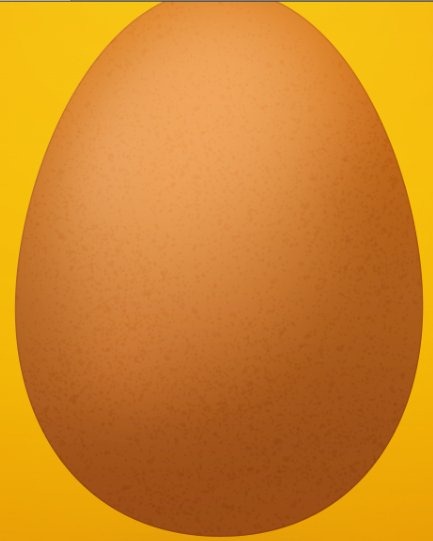
We are continue with our texture. Create new layer on top of previous one: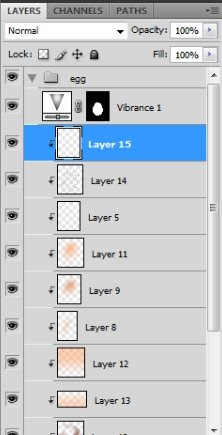
Step 19
We are getting back to our layer named Layer 5 which is outline that we have created as a first clipping layer in Step 5 and 6. Remember what is there? So select this layer, grab eraser tool, choose very big ending’s size and delete the upper part of egg as shown below (The red line shows which part of outline should be erased):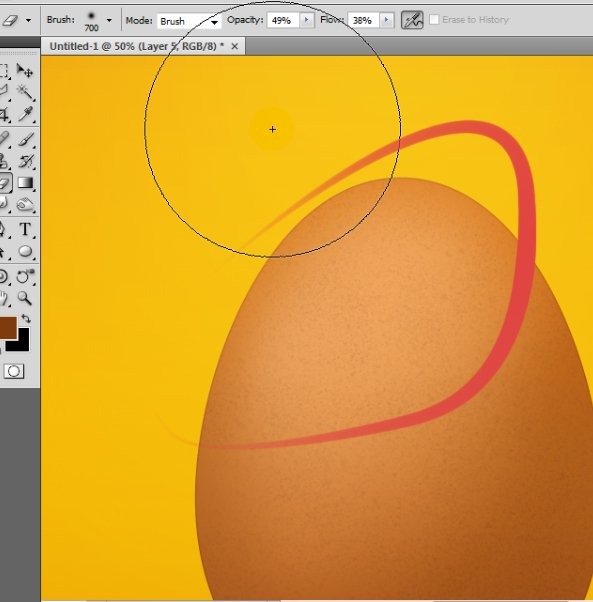
Step 20
And we will add the texture again, but now in light tones. Pick the brush tool and choose our custom brush. Take this color #e9872b. Set brush opacity to 60% and Flow to 50%. The brush size could be 250px as well as 100px. It depends on you how you will texturize it. Now paint around in the upper part of the egg. The color seems to be almost invisible, but after changing blending mode to Linear Dodge it will have a sense (You can also play with layer’s opacity- mine is 15%).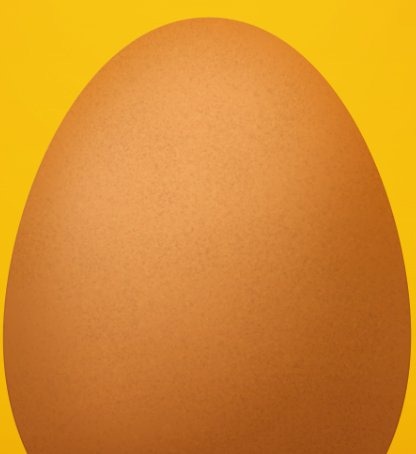
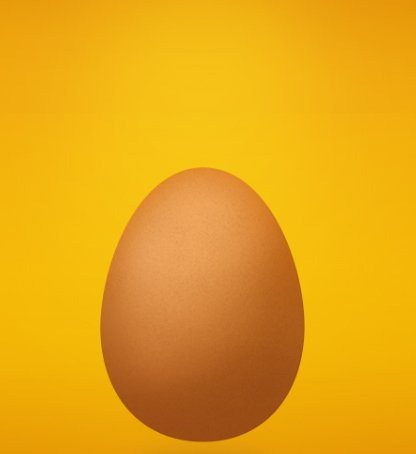
Step 21
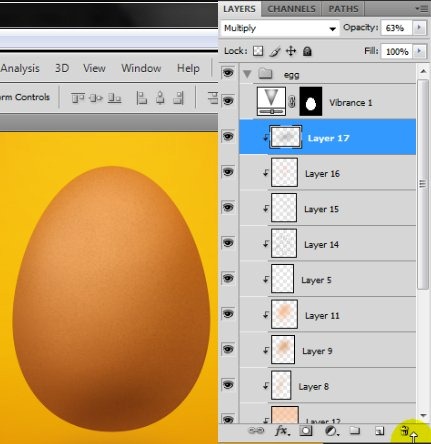
Now we will try to enhance our shadows. Pick the color #4e2e17. We are still working on clipping layers. Create one on top of others. Choose small, hard round brush. Now paint some lines like below: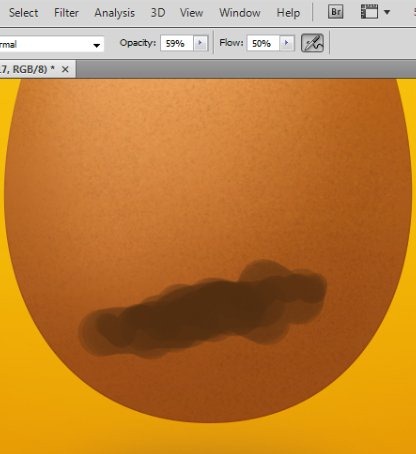
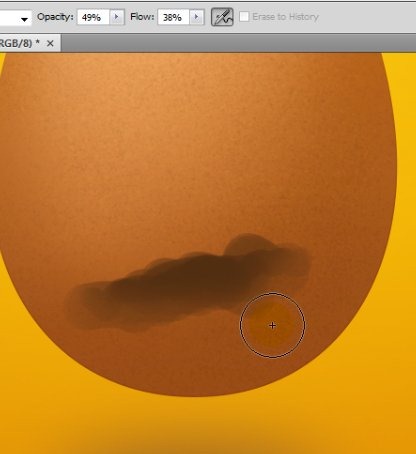
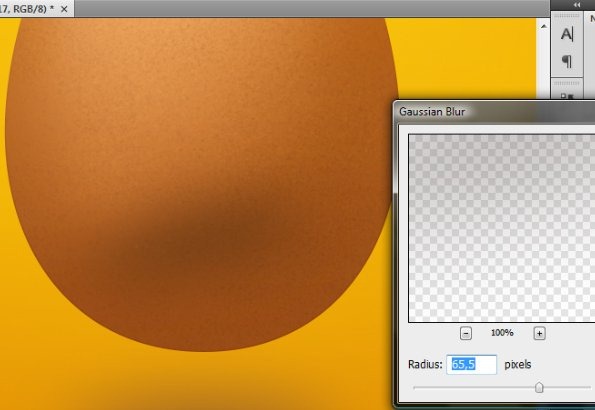
Step 22
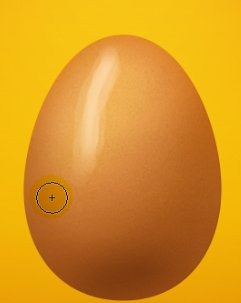
Pick the color #fbbd6d. In this step we will add some live to our egg by making heavy highlights. Take the brush tool and choose small, hard round ending. Change the opacity to 25% and flow to 50%. Paint around the top part of egg as we did it before.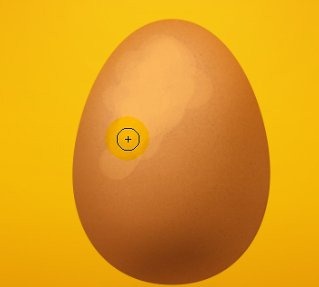
Step 21
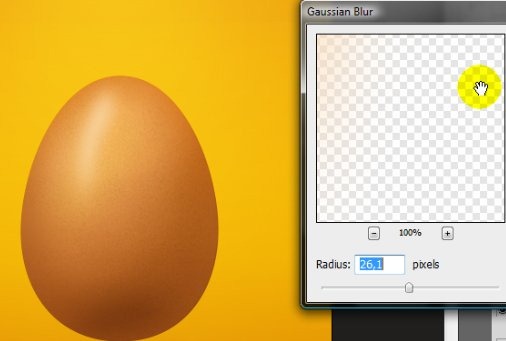
This time we will add the strongest light on our egg. With some small brush and light color doodle some lines.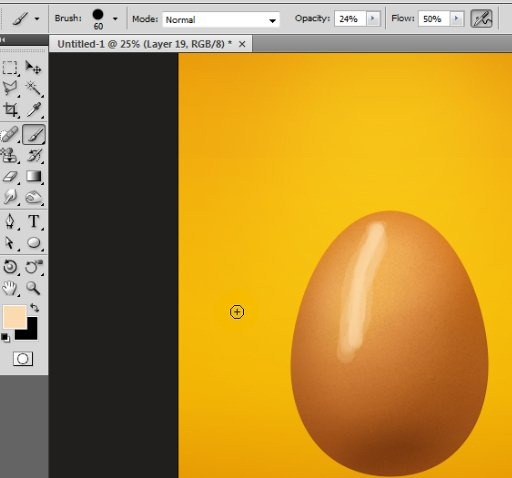

Step 24
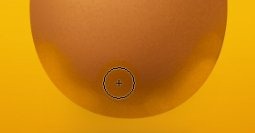
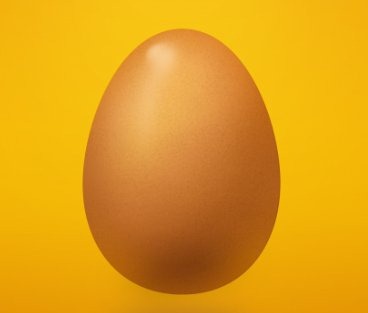
We have to connect our egg with a background. For this we will use some dark reflects in bottom part of egg. Pick hard, round brush, set the color to #e19103 and paint on egg as below:
Step 25
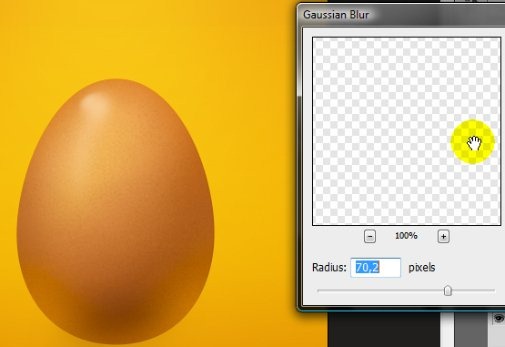
Here we go with a strongest shadow. Select the egg’s base layer ([ctrl] + [click] on thumbnail) and move this selection a bit upward. For this step also you should use clipping mask for it will be a lot easier. Then fill selection (remember- everything on new layer) with black or at least very dark color. While you have some marque tool active- hit few times [up arrow] so you will again move the selection: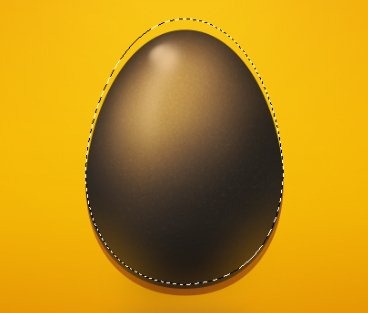
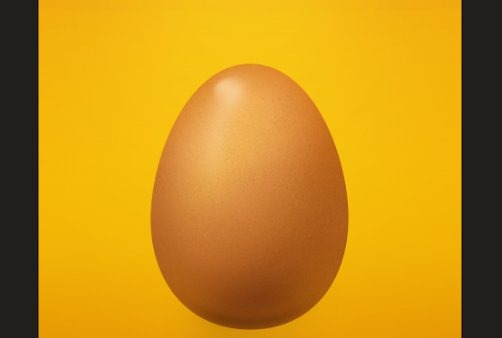
Step 26
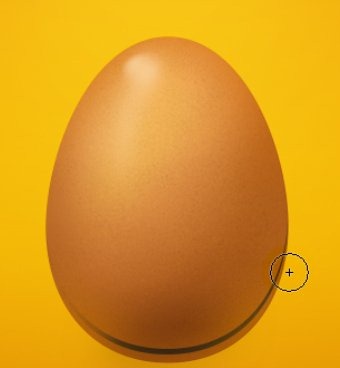
Now we will make some shadow underneath the egg so it will looks like floating in the air. We could just use elliptical marquee tool, but we will make it in a bit harder way. But this technique will be for sure useful for you in the future, so I will go thru this.[Ctrl] + [click] on the egg’s layer so you will have a selection (just a little reminder- new layer). Now choose Select > Transform selection from the main menu. As you can see now you can freely transform your selection. You have automatically active Scale transformation. Now just resize your selection to something like this:
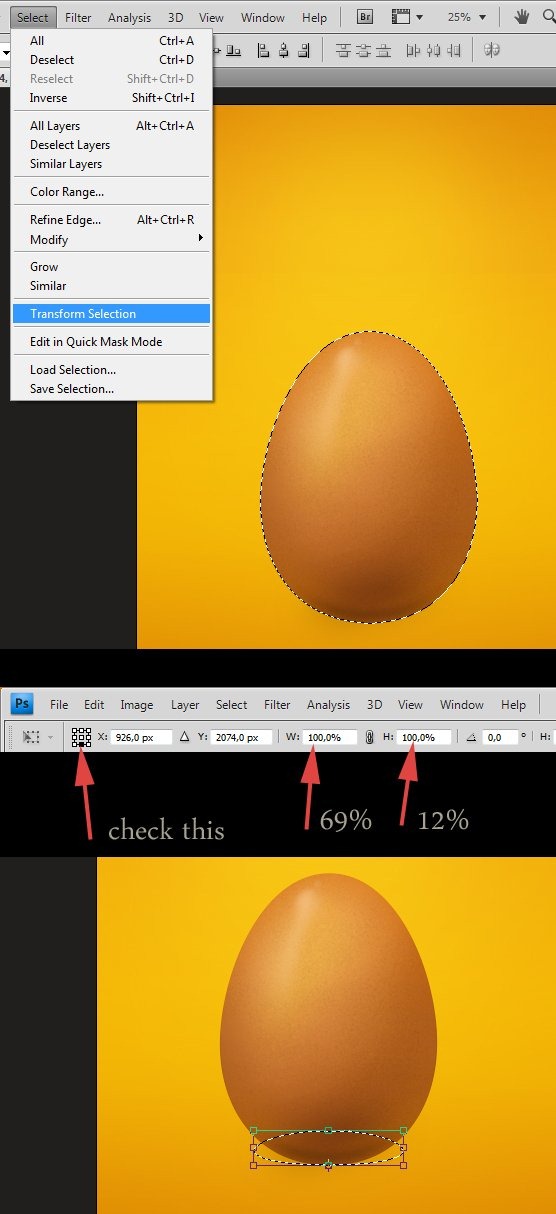
Tip: When you want to move something (for example selection) and you would prefer to leave it in axis of original position, while dragging a thing hold shift so it will be draggable only in several ways. If you want to move selection with arrows on your keyboard, hold shift to move a thing by 10px.
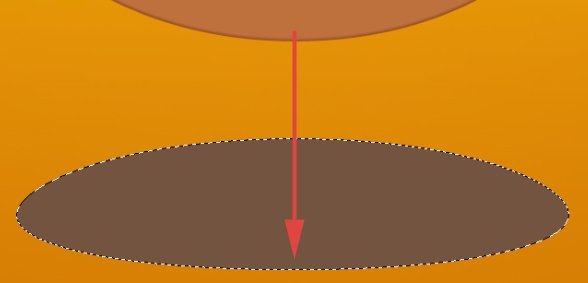
So move this selection down, pick a color #735441 (it is just for sample, we will try to fix the tones later) and fill the selection by clicking [Shift] + [F5].
Step 27
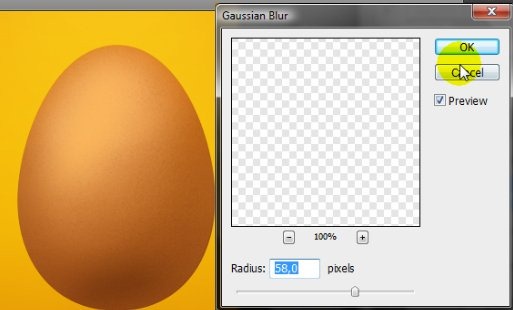
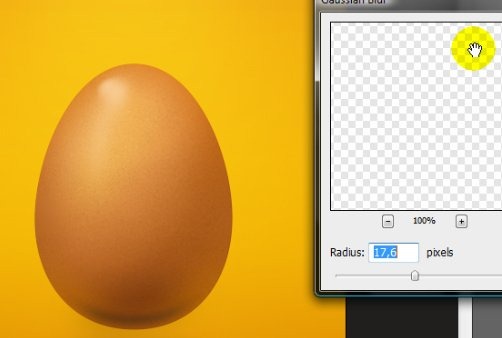
Now we will blur it a bit and play with blending options. We could actually just use curves and color balance, but this is the way I’ve learned to looking for different variations.Duplicate the layer of our shadow and make one of these layers invisible for now.
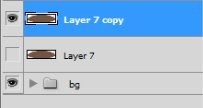
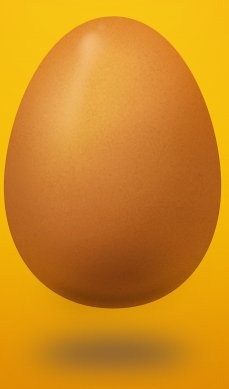
Place this layer at the bottom of order (so just below our original one) and make a copy of it again. Now you are copying the layer that is blurred (The original one stays on top untouched). Change opacity of newly created layer to 20% and leave Difference blending mode as it is. Now go to Edit > Transform > Scale and change the height a little (50-70% should be fine).
This is my result:

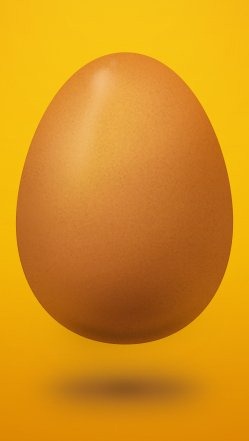
Step 28
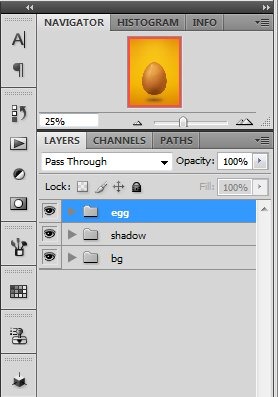
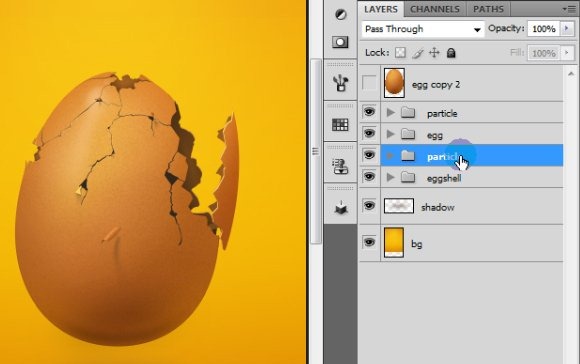
And here we have egg created purely in Photoshop. So now we will go in the other way- we are going to destroy it.Before we start. Organize your layers into groups. You already know how to choose (select) layer. Now hold [Ctrl] and click on another. See? You have selected two layers. You can also do this with [Shift] key- just click on first layer you wish to select and then [Shift] + [Click] on the last one so you will select all the layers that are in between of those two. When you have selected layers that you wish to group- just hit [Ctrl] + [G] so your layers will move to folder. Look how I made it:
Step 29
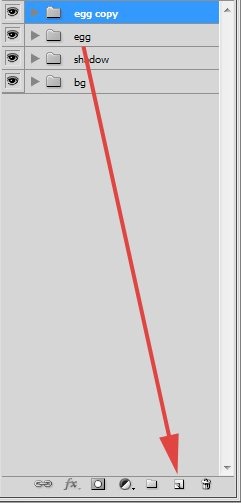
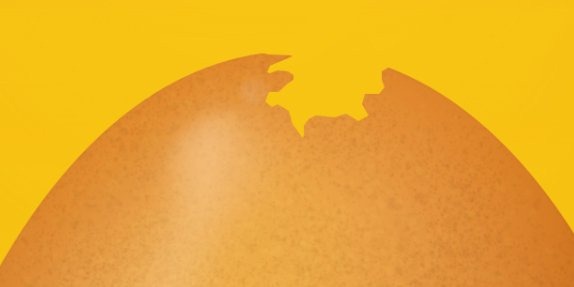
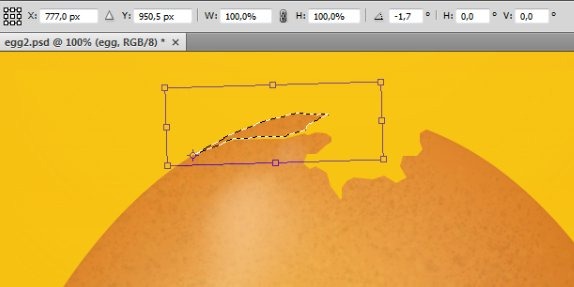
So I assume you have egg on one layer (leave shadow and background separated). It’s good to make a copy of egg layer before we will start to do anything. Now pick the polygonal marquee tool (in fact you can use just lasso tool, it is just my preference) and make a selection that simulates small hole in the top of egg, like this: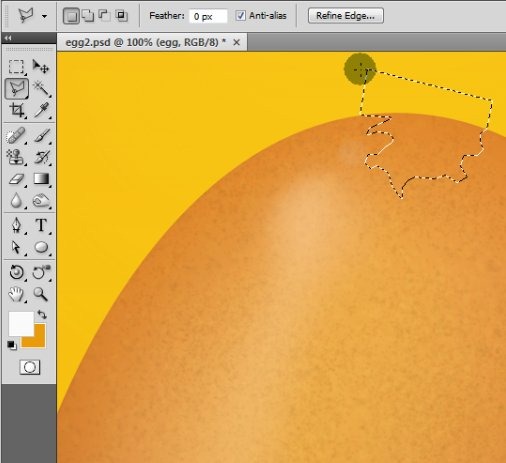
Step 28
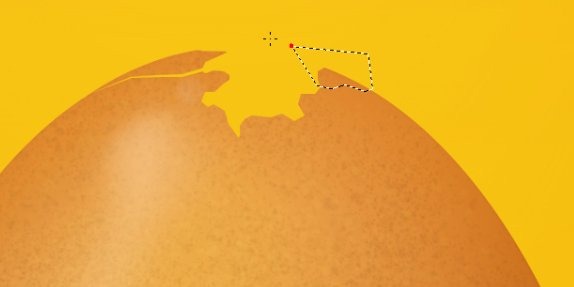
Now create another selection: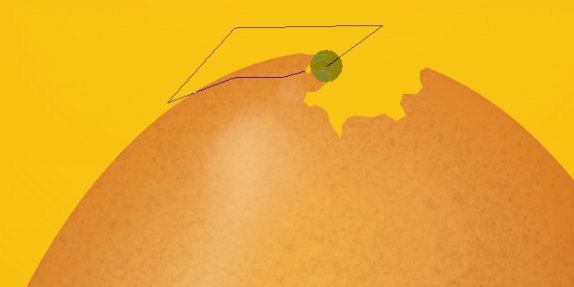
Step 29
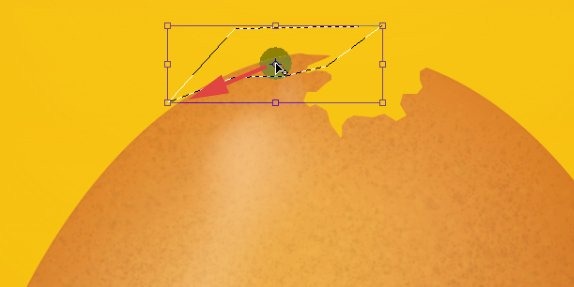
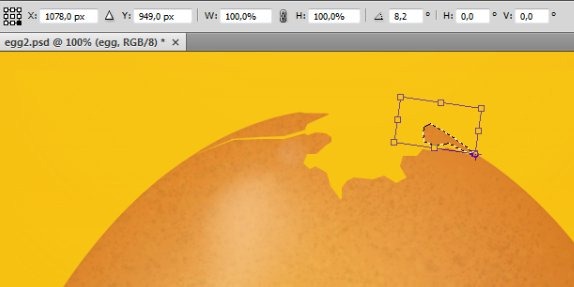
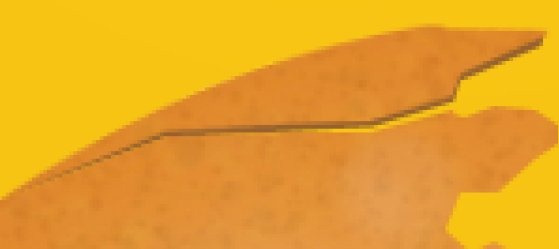
Now we will try to add some 3d effect to our eggshell. With polygonal lasso tool create selection as follow: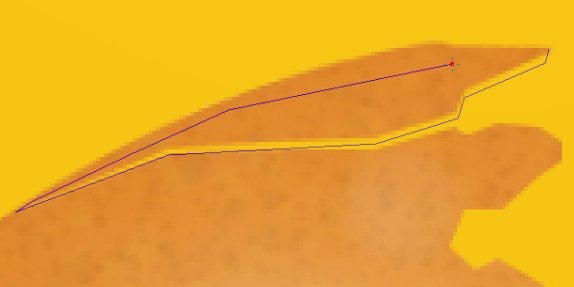

Step 30
If you have made a copy egg’s layer, [Ctrl] + [Click] on a thumbnail so you will have a selection. Now choose polygonal marquee tool and set the option Intersect with selection (so our final selection will be intersection of two selections) and select the part that we only need to use for inner side of egg.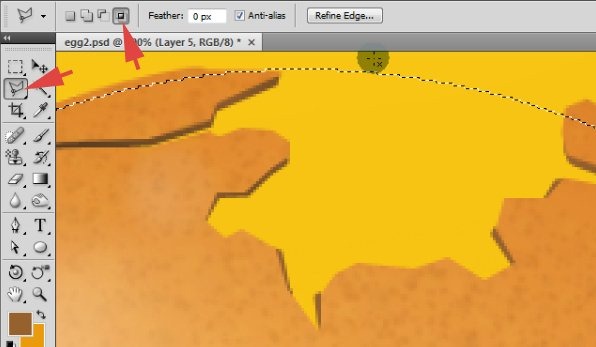
Step 31
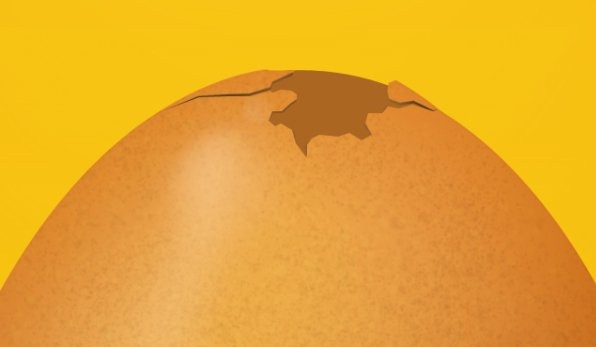
Now we will use polygonal marquee tool to stylize the inner part of the eggshell. Make a selection as below and then hit [Delete] to clear selection.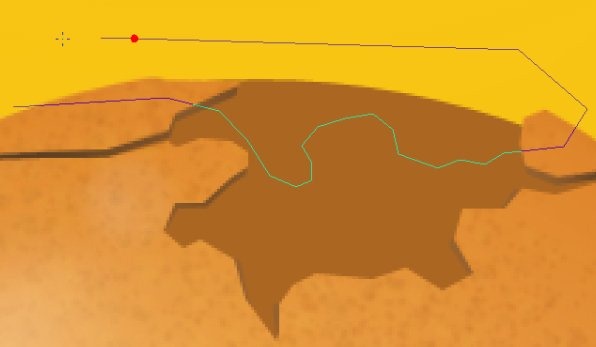
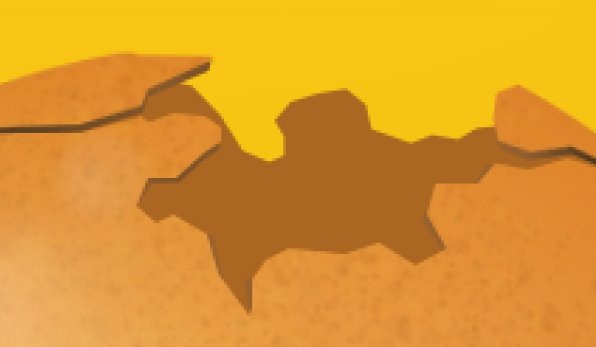
Step 32
Then select the layer with inner eggshell and with arrows keys move the selection a bit to the right.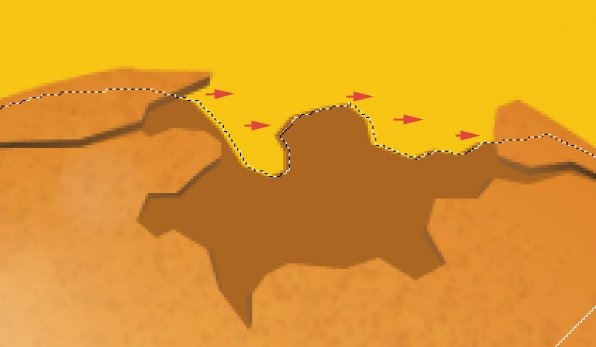
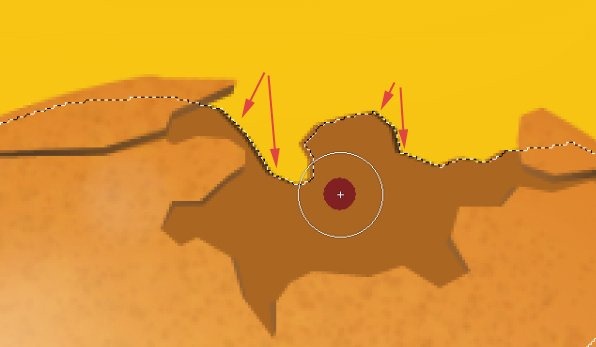
Step 33
Get back to our base layer of inner eggshell. Make a selection of it and then create a new clipping layer.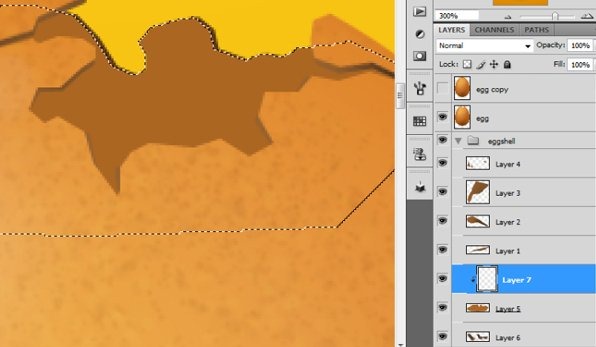
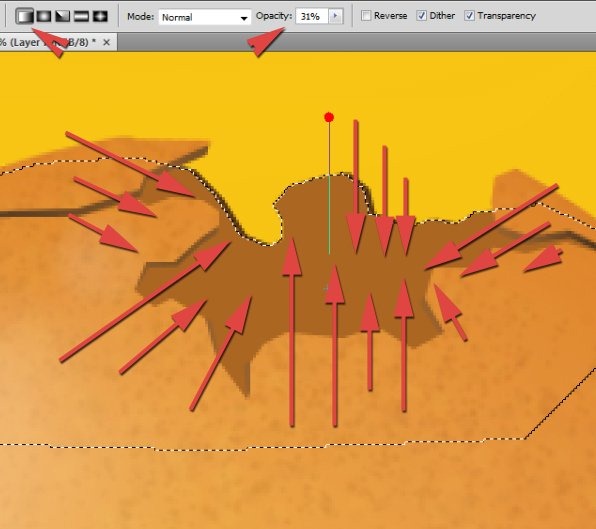
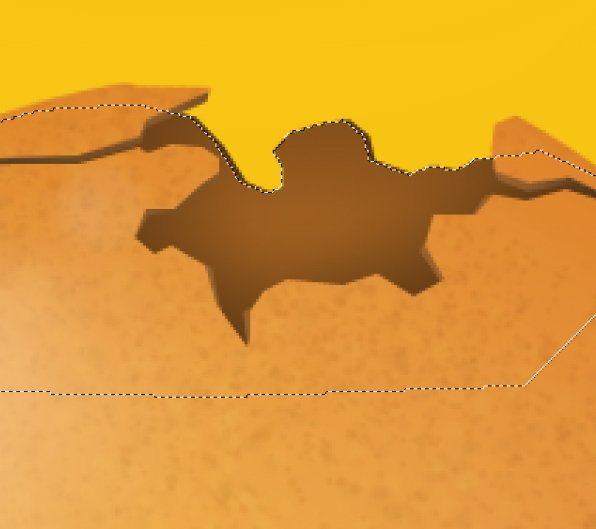
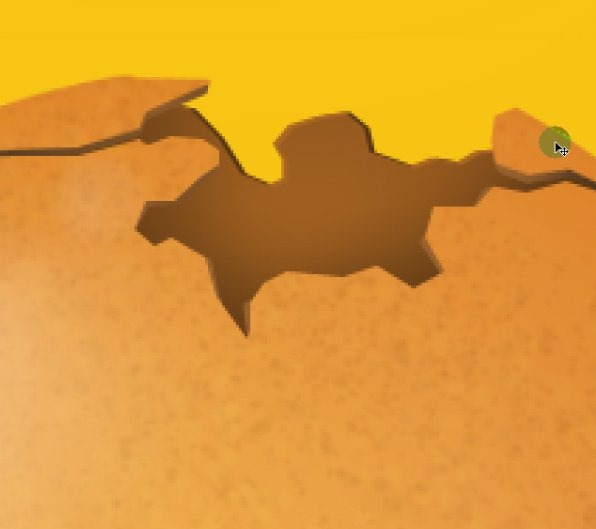
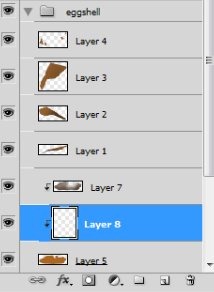
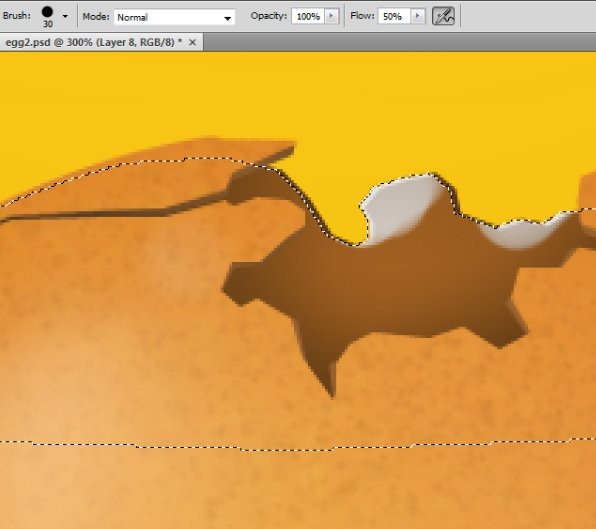
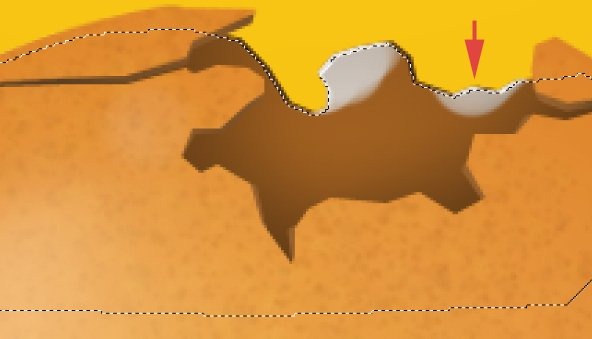
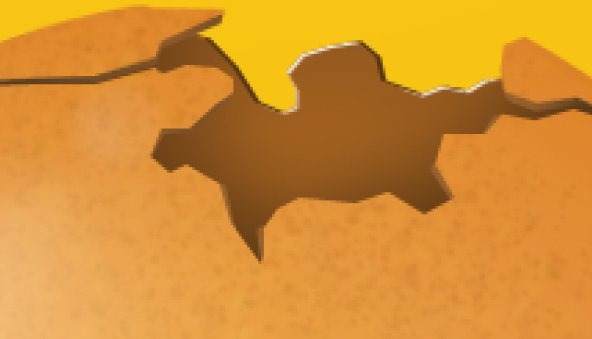
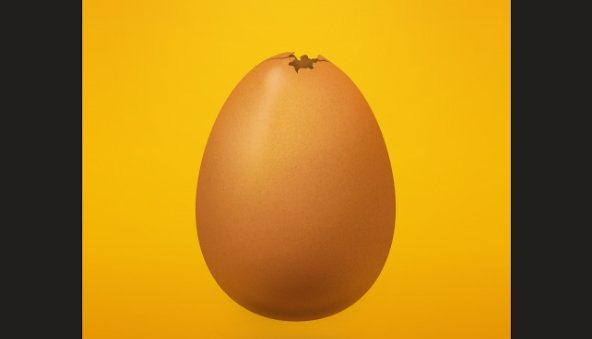
Step 34a
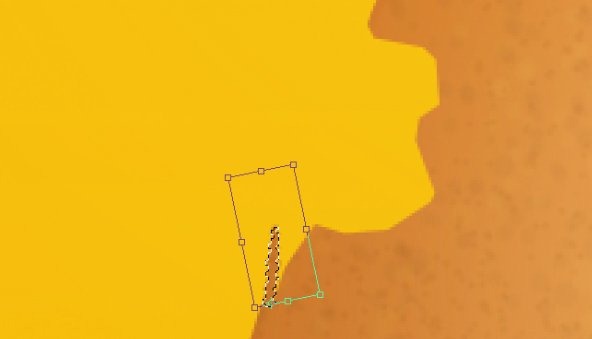
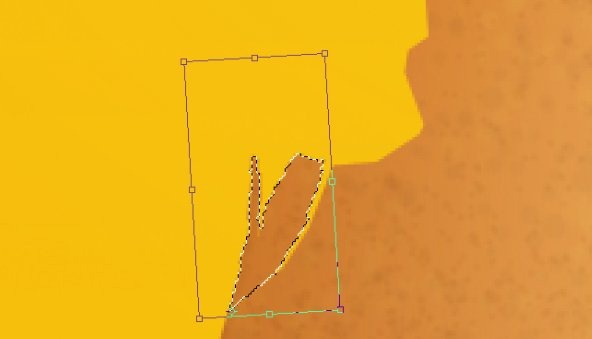
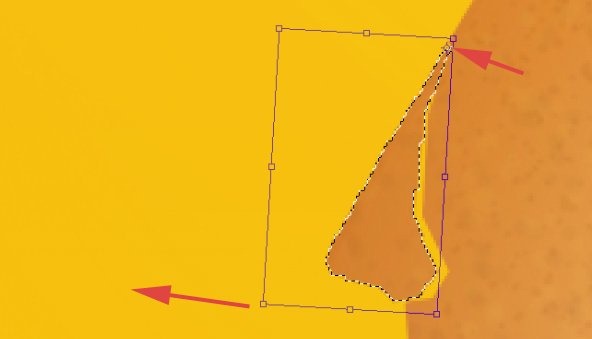
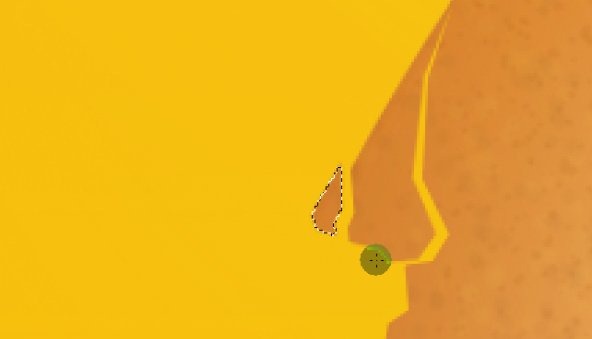
So we have done our first hole. What I will show you now is nothing more, but duplication previous steps. I will use exactly same techniques to achieve another hole. I will place it somewhere in this part of the egg: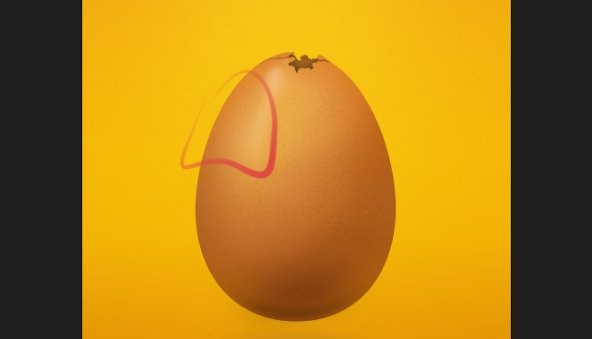
Step 34b
Select egg’s layer. Create a selection and hit [Delete] key so you will have initiation of second hole.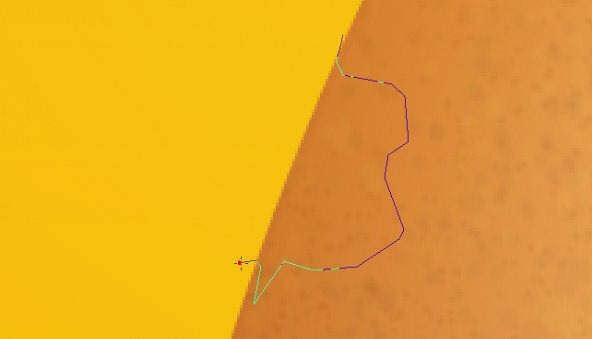

Step 34c
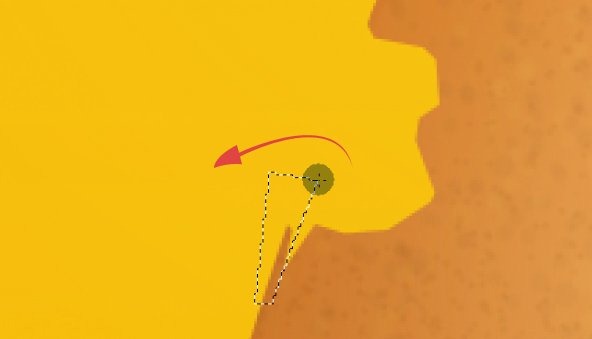
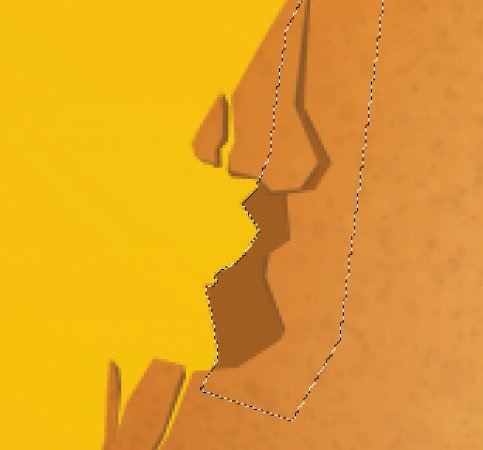
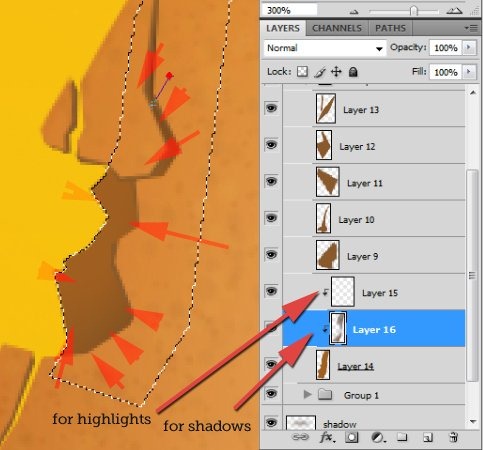
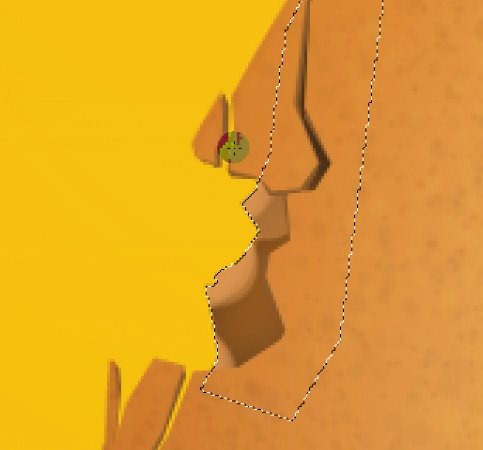
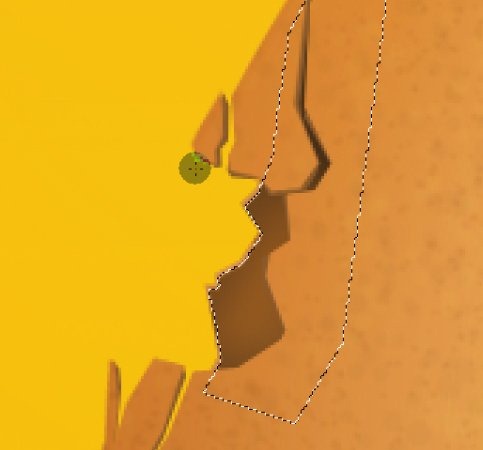
Now we will add some 3d look to our crust. You know how I did it before, so here you have just images of progress. And for this try to not look back.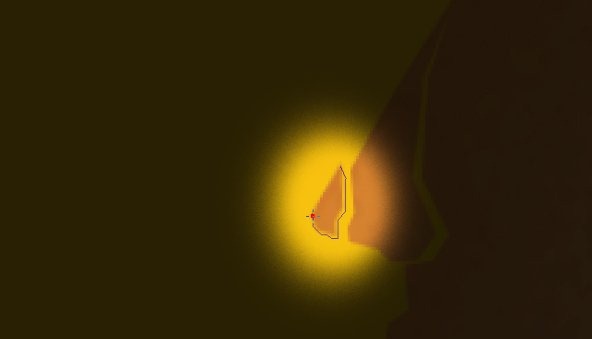
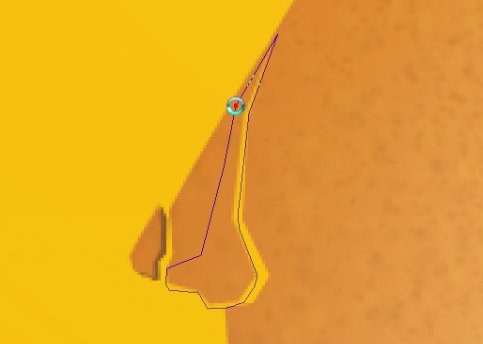
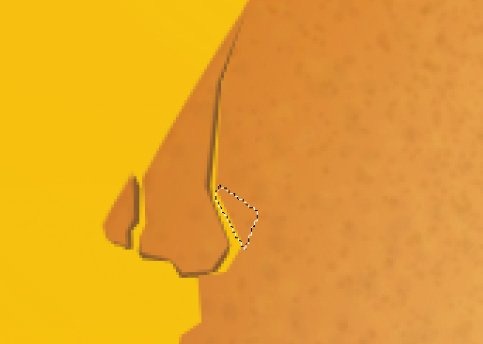
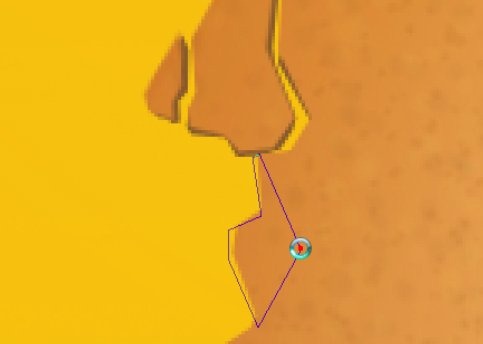
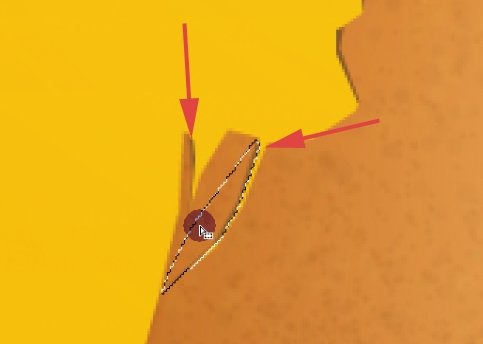
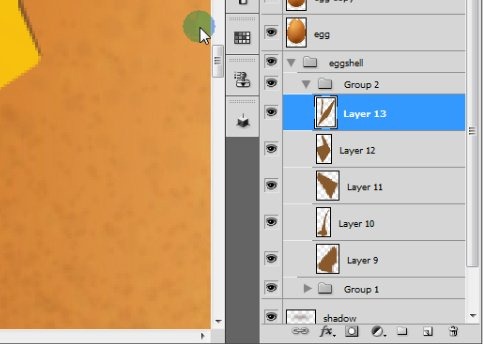
Step 34d
New layer here: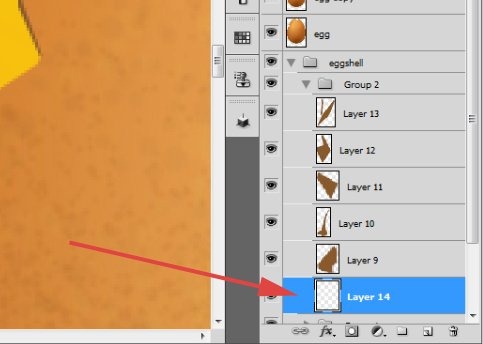
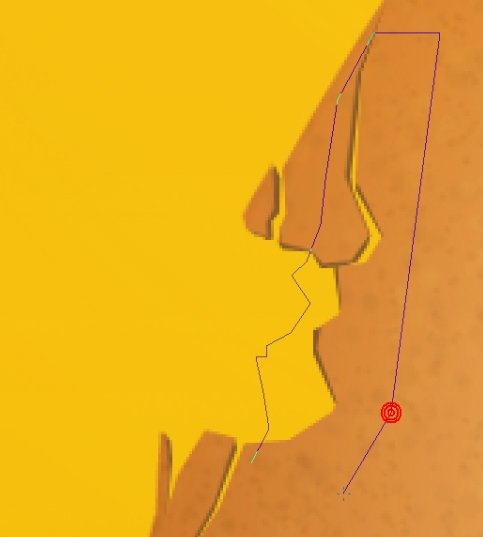
Step 35
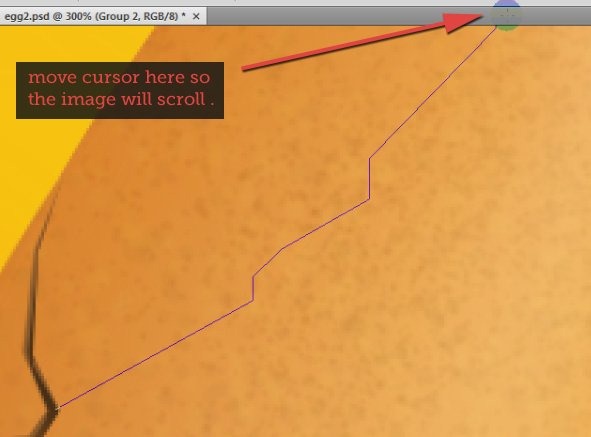
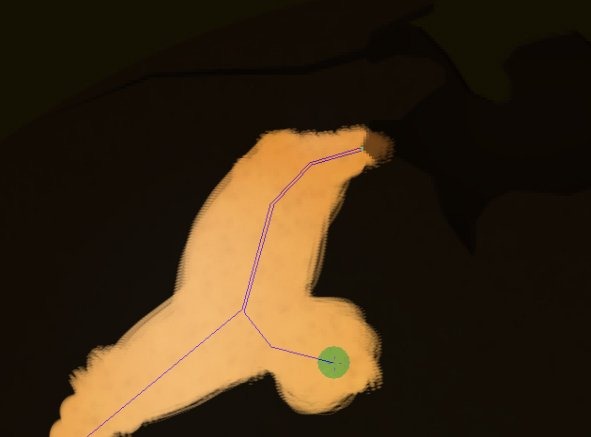
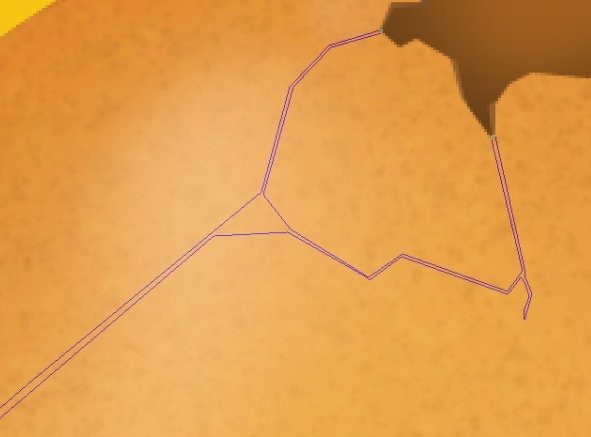
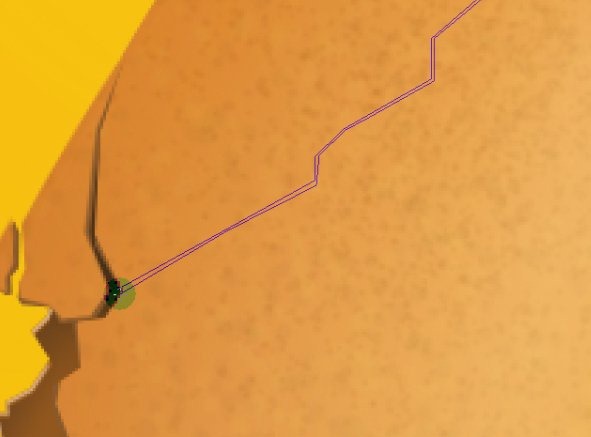
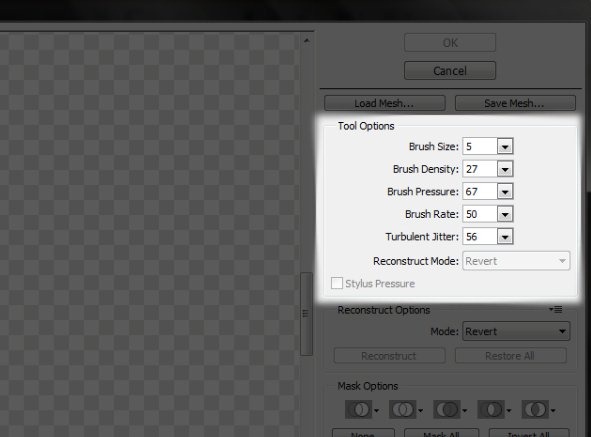
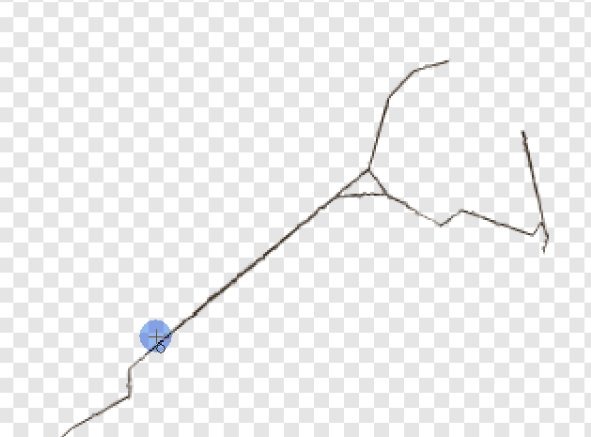
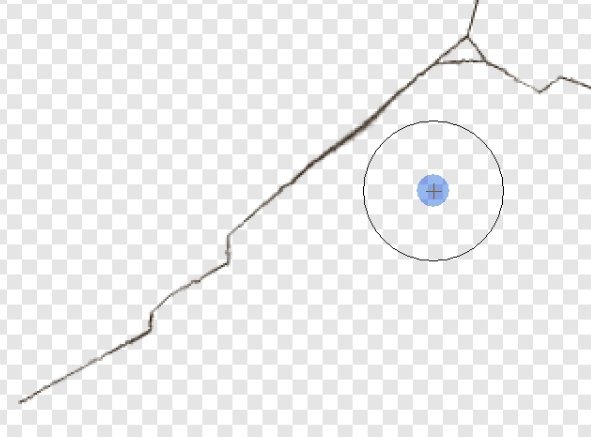
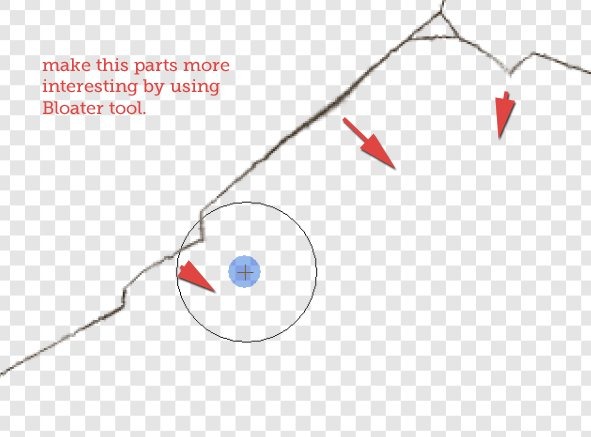
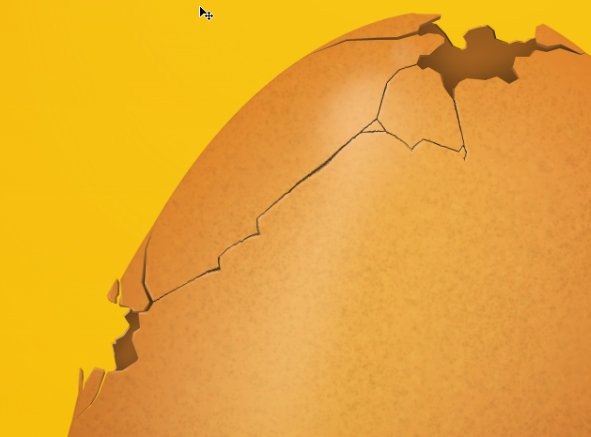
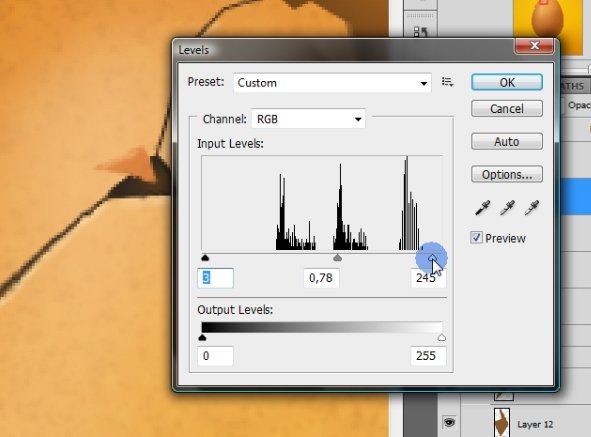
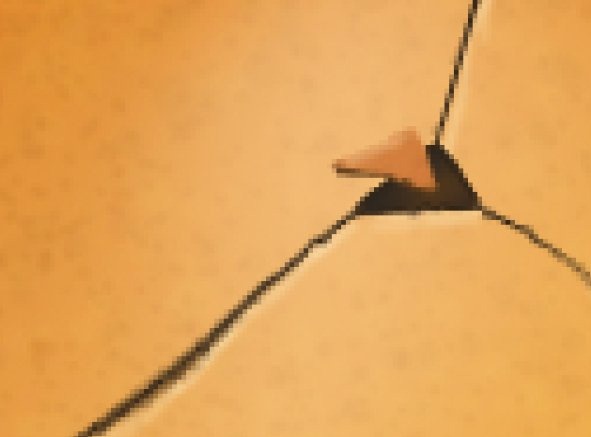
Ok, so now we have at least two holes. You can make them more, but don’t get over. Now we would like to make some kind of link between holes. I will show you how easily you can make cracks on the egg.Grab the Polygonal marquee tool and start making selection. Try to make lines that are few pixels wide. Play with directions and shapes.
Zoom in your image to be more precise. When you will move cursor to the edge of working area while selecting you will scroll image.
Step 36
So we have a selection. Before we will use it we need to make a clipping mask layer.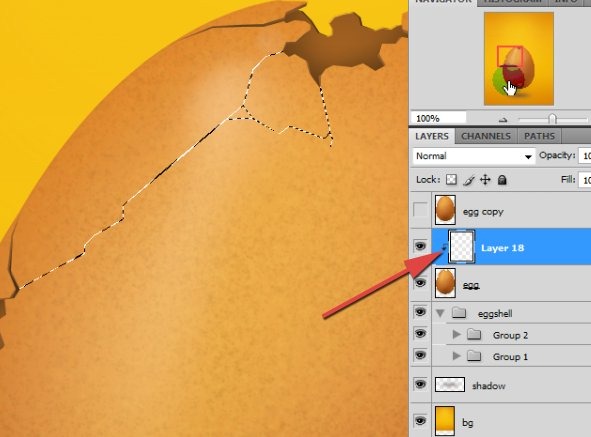

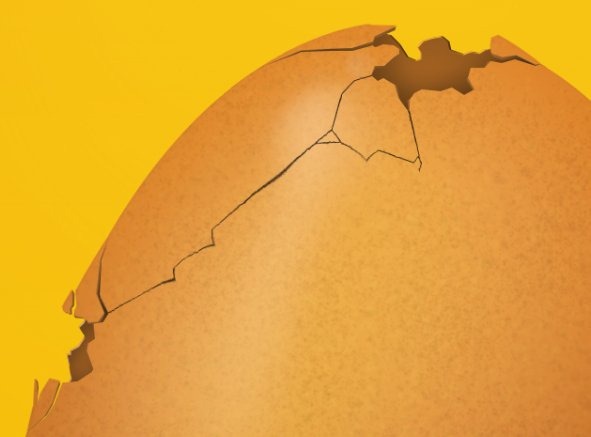
Step 37
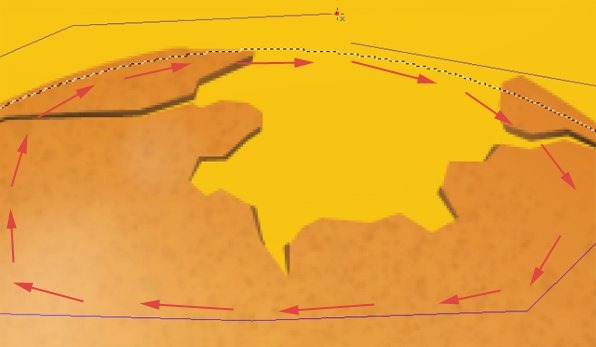
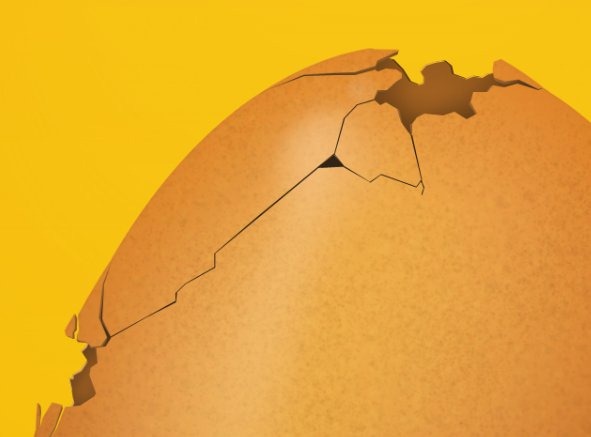
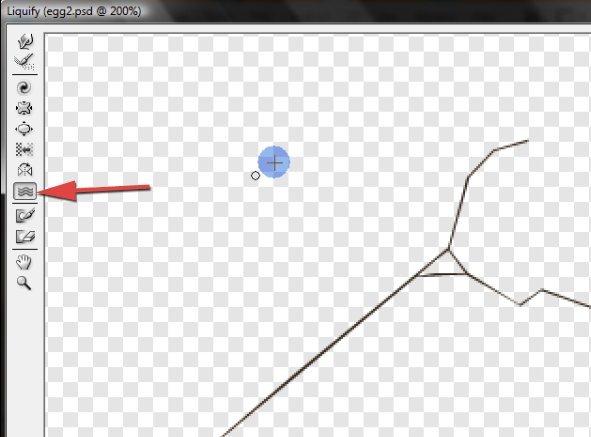
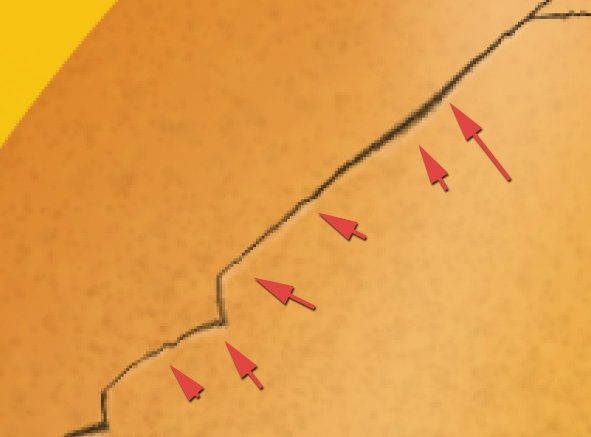
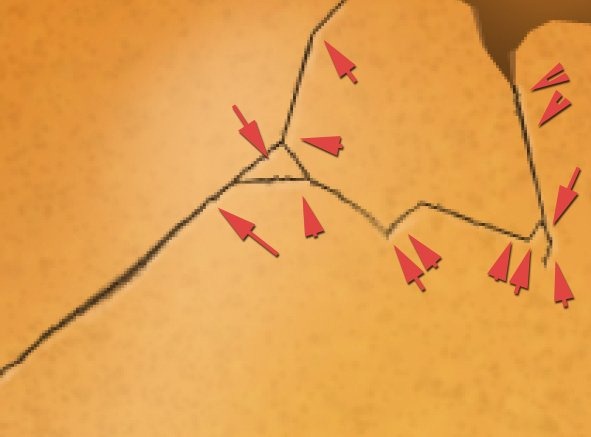
Remember about the lightning. Choose light color like #f7ce9e, grab brush tool (25% opacity; 50% fade) with 3px hard, round ending and start making highlights where it is needed. It will be way harder for you if you won’t zoom in image pretty much. Arrows show you where I used brush tool.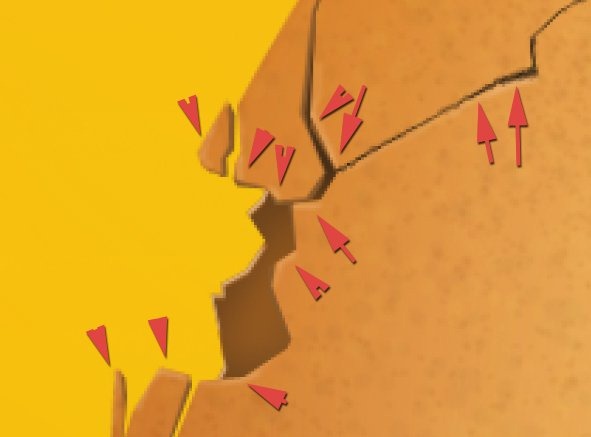
Step 38
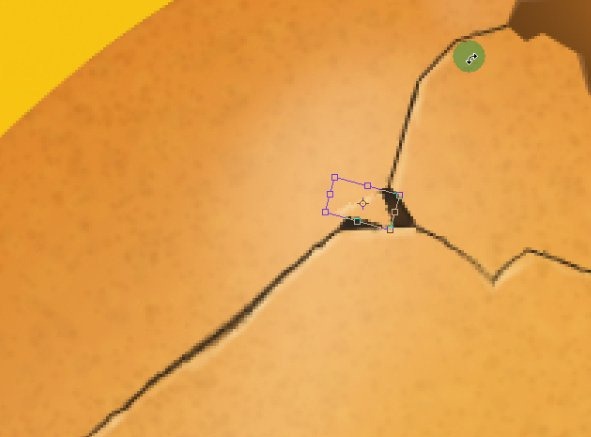
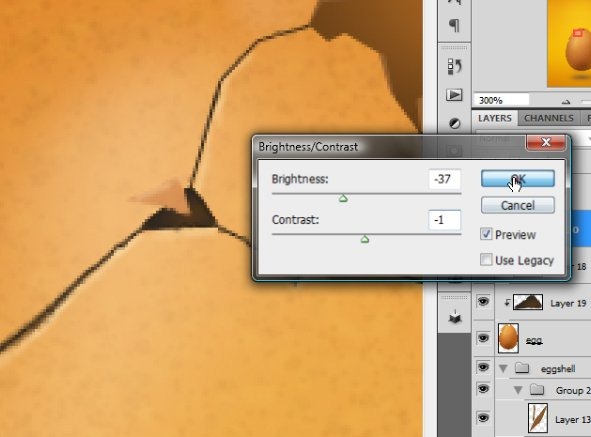
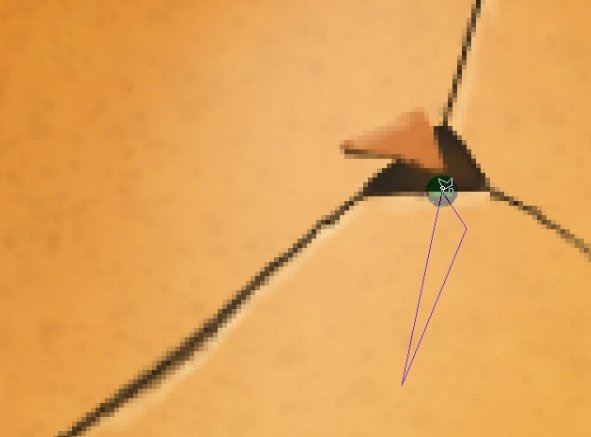
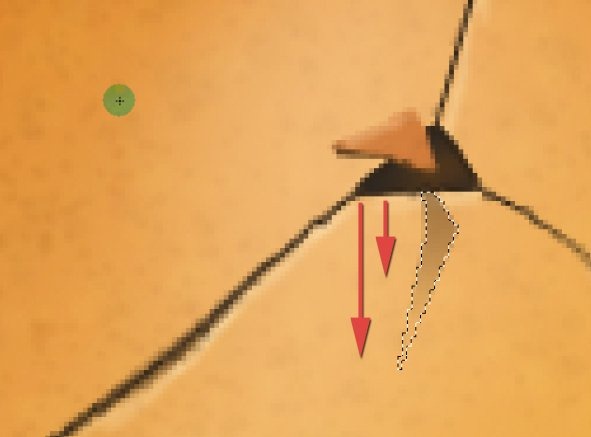
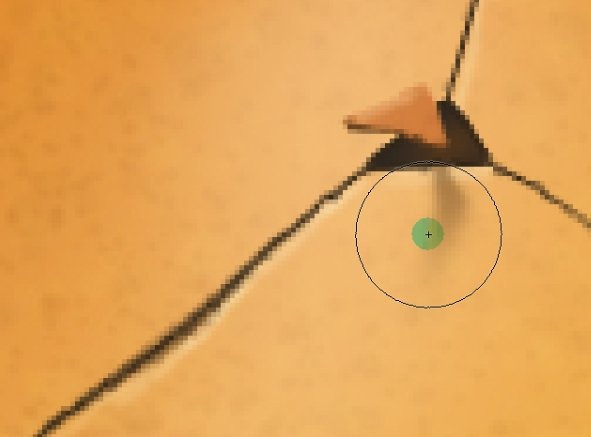
Now we will create some small, single particle. Select some triangle within the egg base layer and hit [Ctrl] + [C]. With a Copy function you will duplicate only what you’ve got on a selected layer (while with Copy merged you actually duplicate everything that is visible under selection).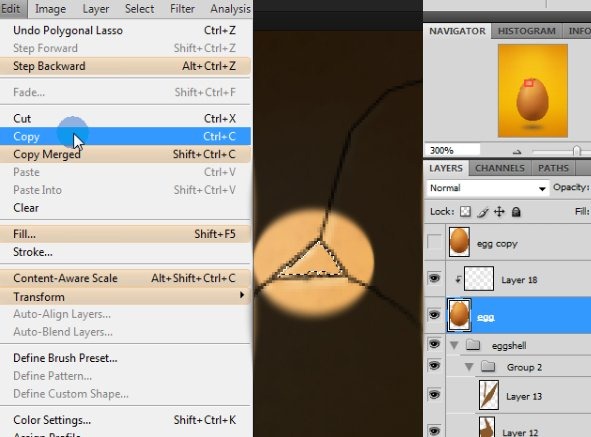

Step 39
So you know how to create cracks and single particles. I’ve made some more of them: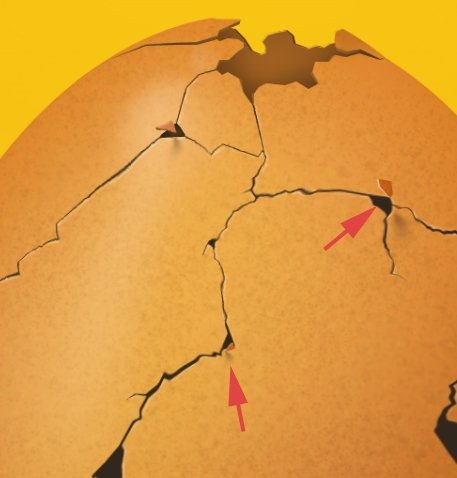
Step 40
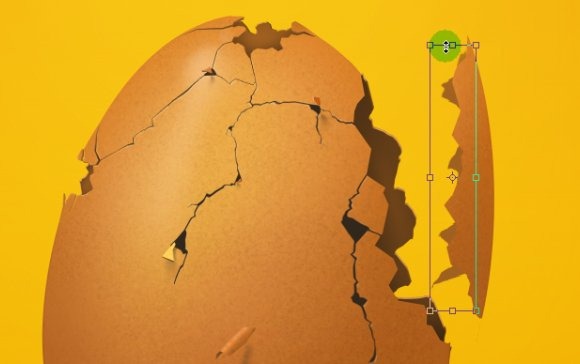
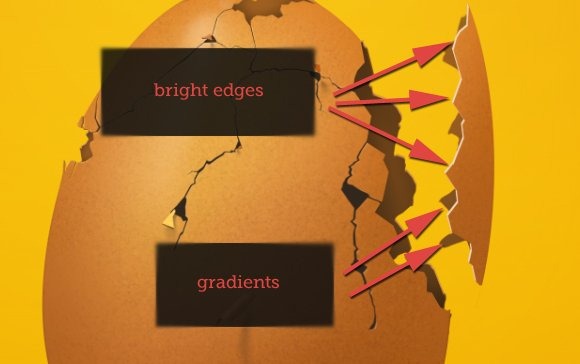
Now we are going to make a huge fragment of a detached eggshell. But before that we will try to hide eggs flatness. In Step 26 and 27 I told you to make a copy of our egg’s layer. I assume you did so. You can now [Ctrl] + [Click] on a thumbnail of this copy so you will have a selected full shape of the original layer.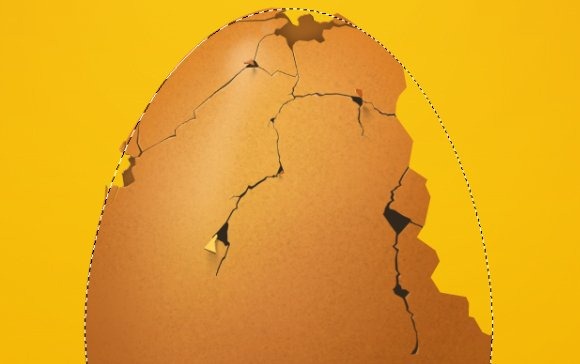
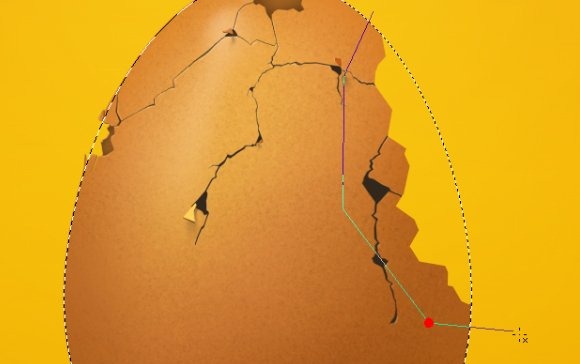
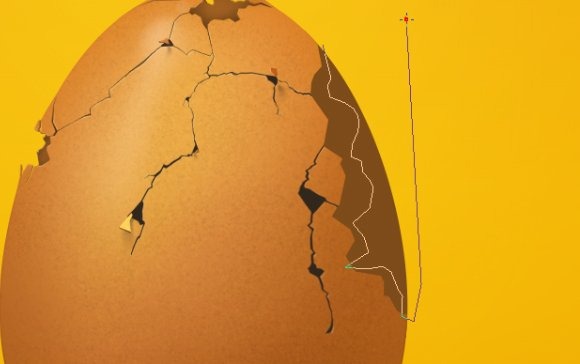
Step 41
We will add some shadows to this layer to make a deep effect. Create a clipping layer to our new inner eggshell. Now pick a color #543516 or even darker and play with gradients.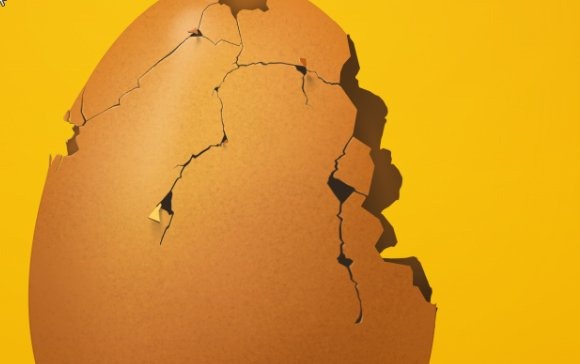
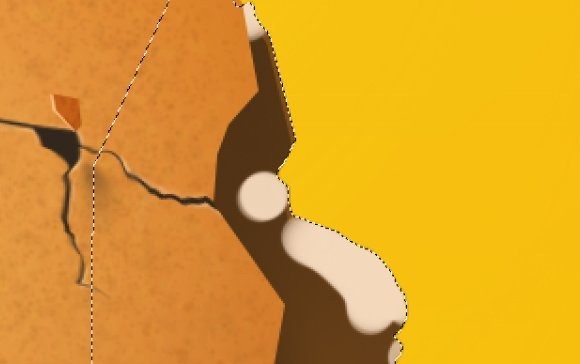
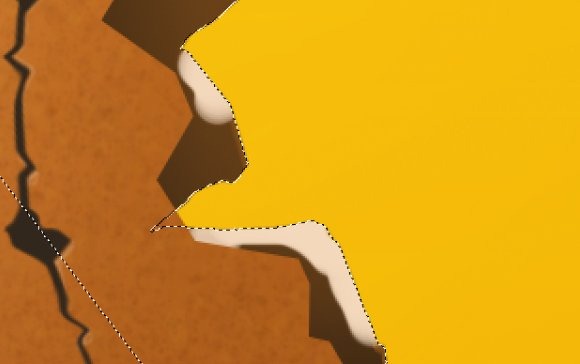
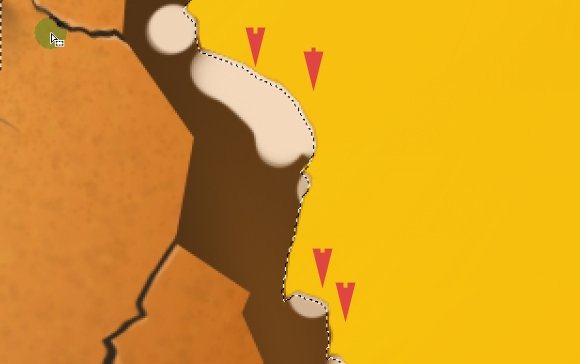
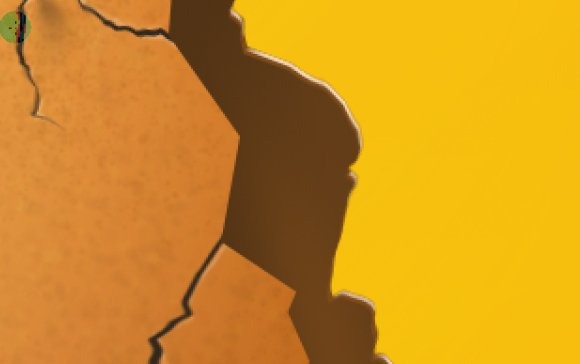
Step 42
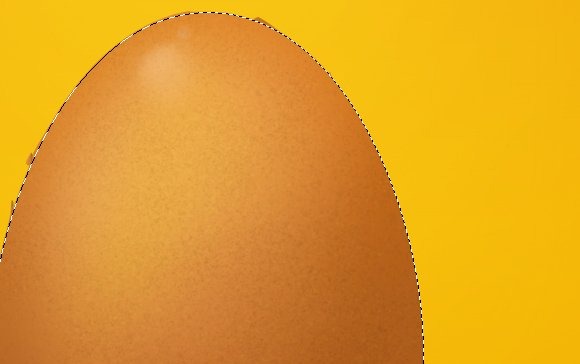
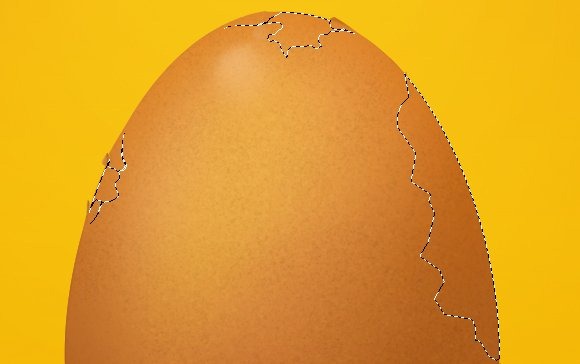
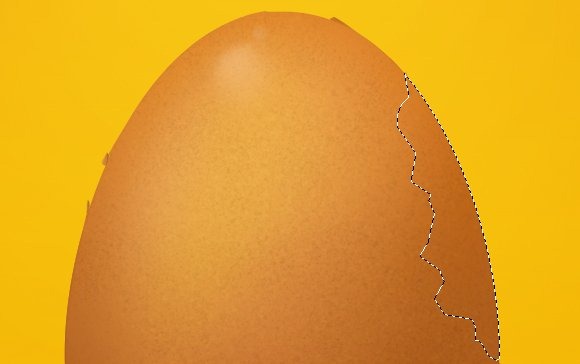
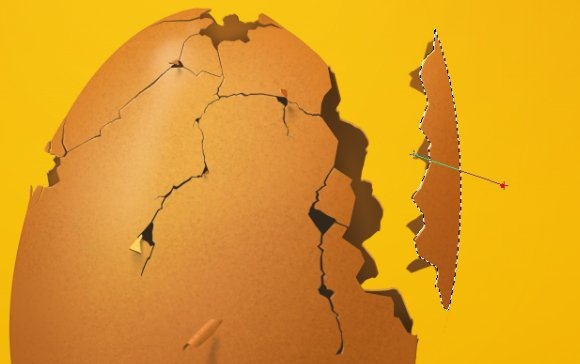
Now we will use a copy of our untouched egg to create a big particle. Make it visible, then [Ctrl] + [Click] on a thumbnail so you will have a selection.
Step 43
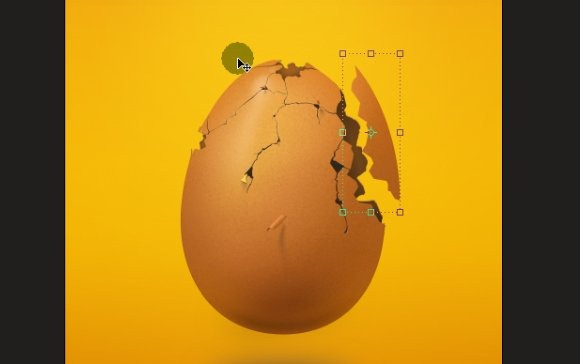
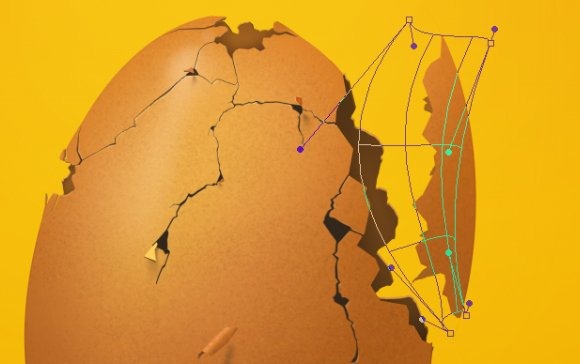
This particle also should have its inner part. Make a selection of original egg. Go in exactly same way to achieve a selection and fill it with some dark color.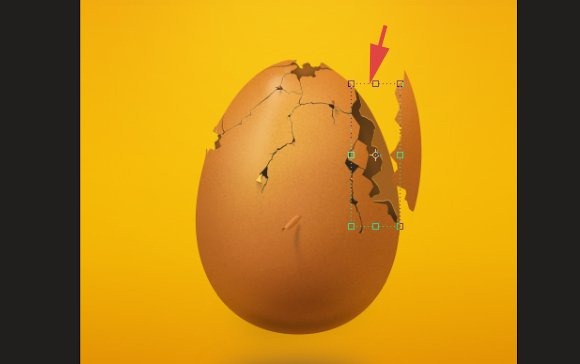
Step 44
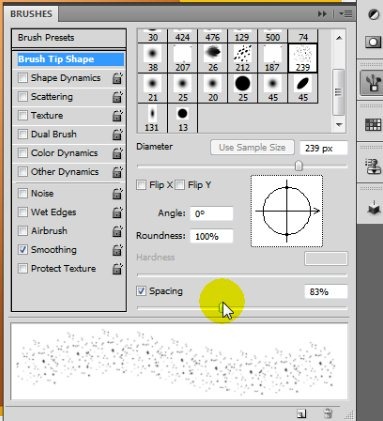
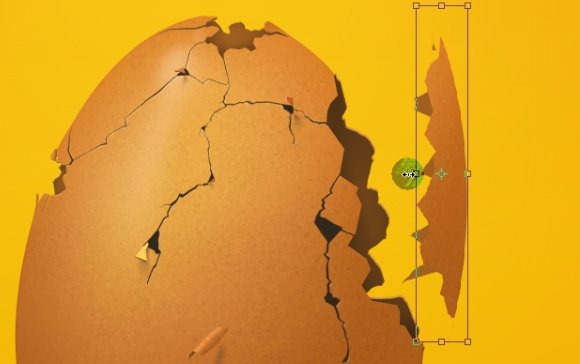
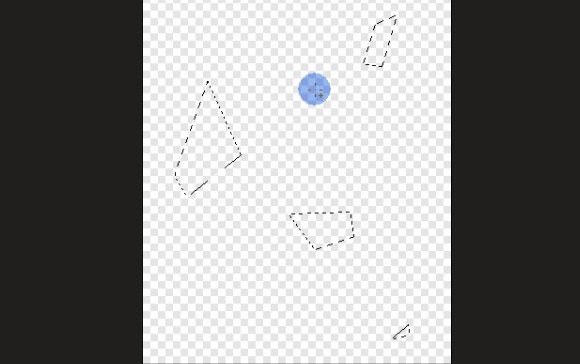
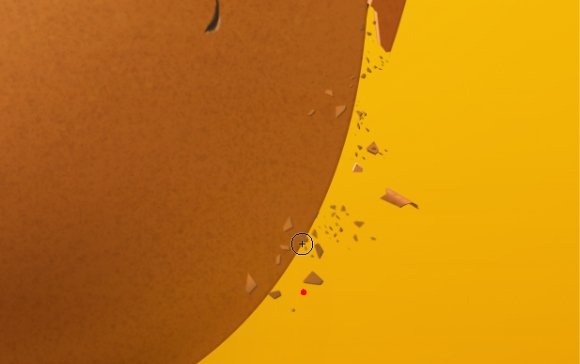
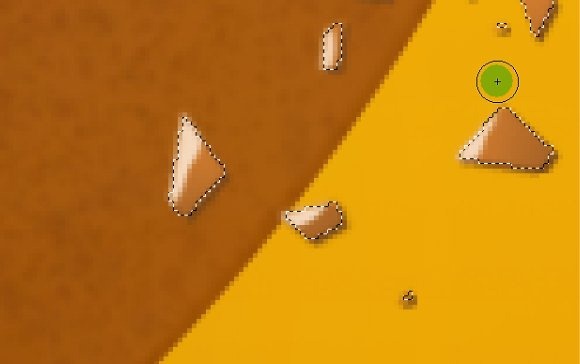
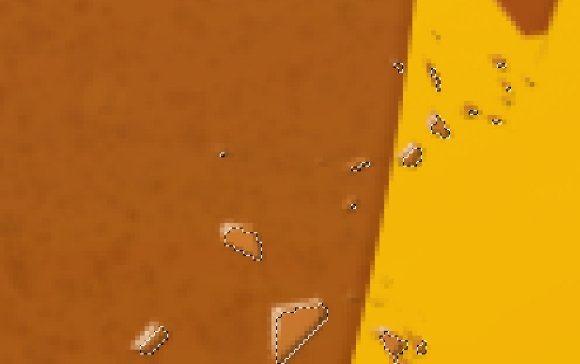
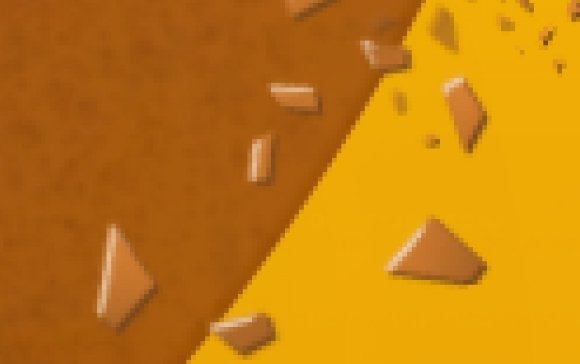
We could name it a milestone of our detachment. Now we will take care of small particles. We want a tons of them scattered everywhere. For this step we will use a custom brush made by ourselves. Create a new document with size 328x400 pixels (to be exact with my original piece). Then create four tetragons in different sizes.
Step 45
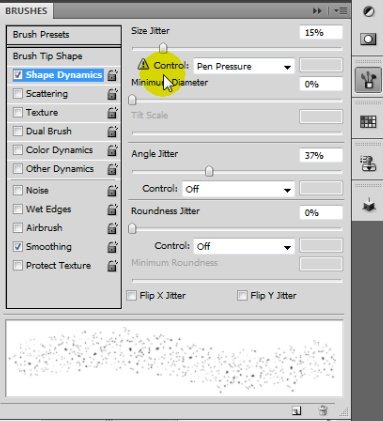
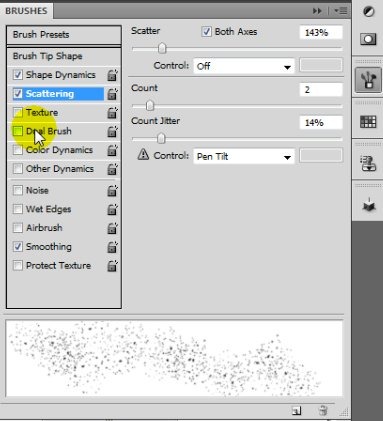
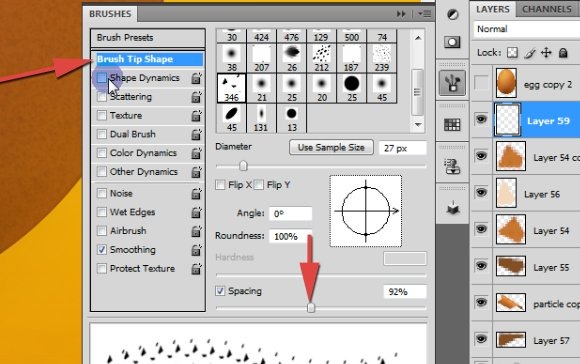
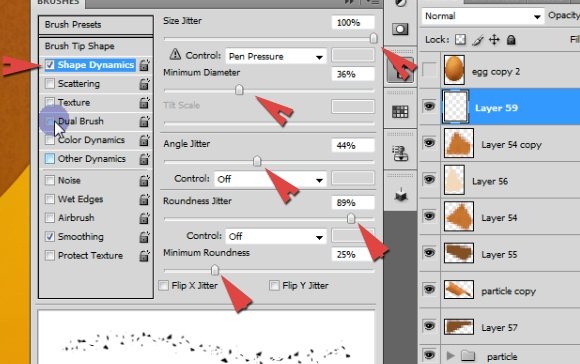
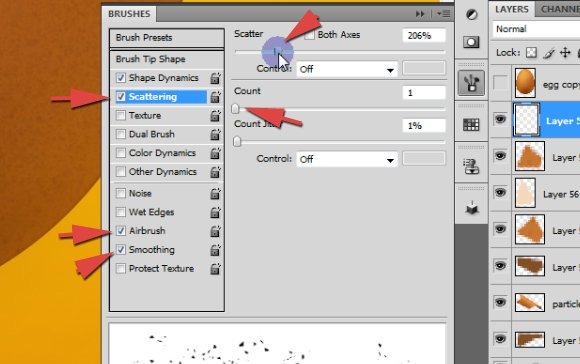
Now we need to set up our particle brush. Go to the brush settings and use settings as follow: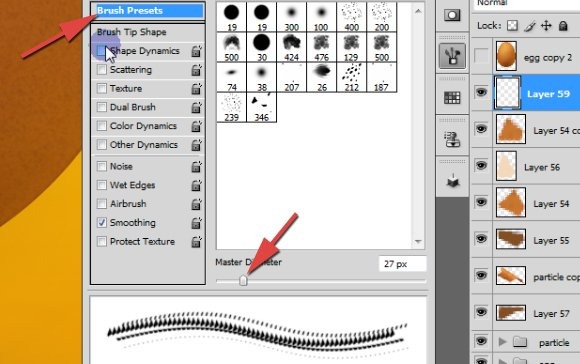
Step 46
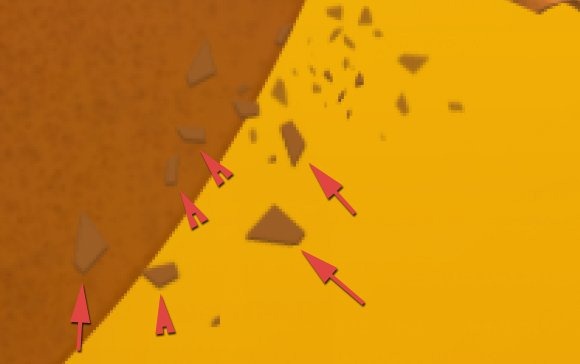
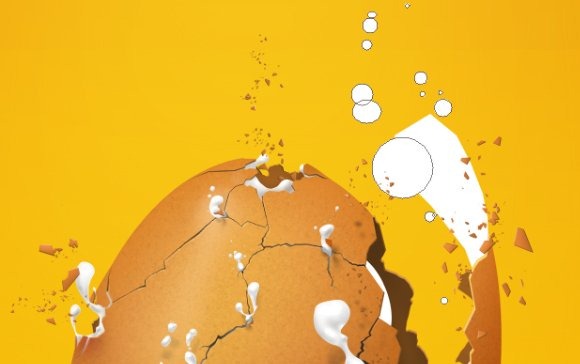
We are ready now. Pick a color like #9d5e25 and play around, but carefully. You can also dynamically change the brush size. In tip at the beginning of the tutorial I told you how to do it quickly.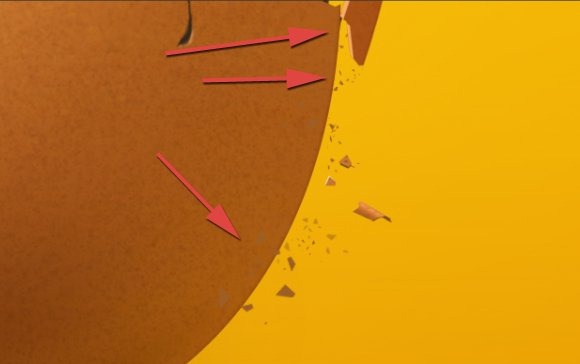
Step 47
The egg is almost complete. Now you can fix any errors and mistakes. I’ve forgotten about third dimension of the main eggshell.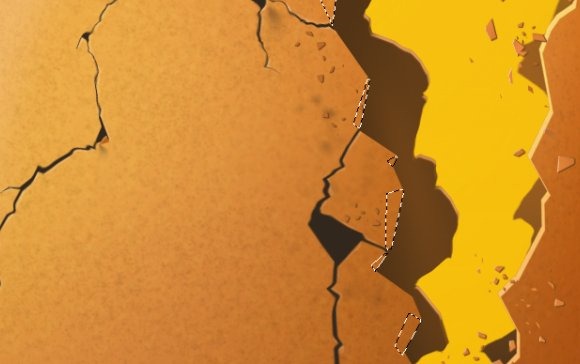
Step 48
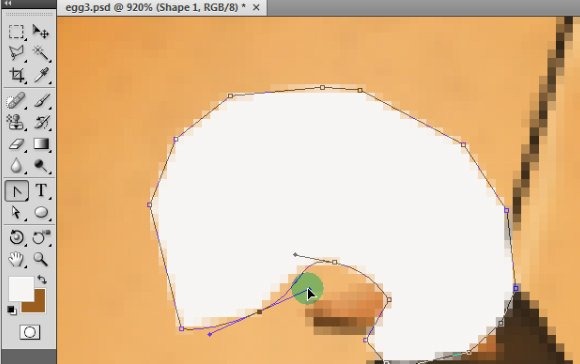
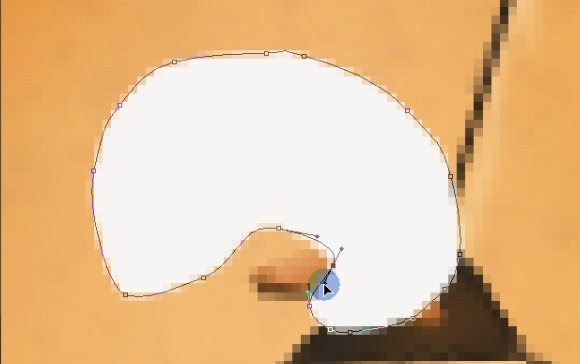
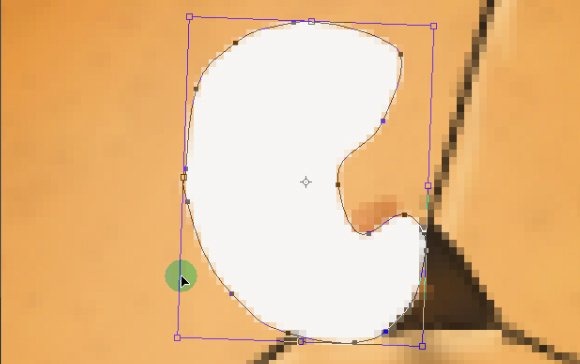
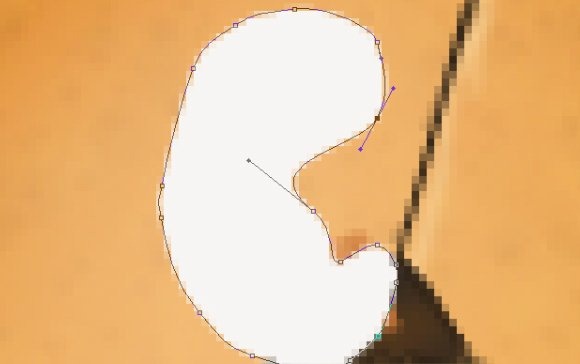
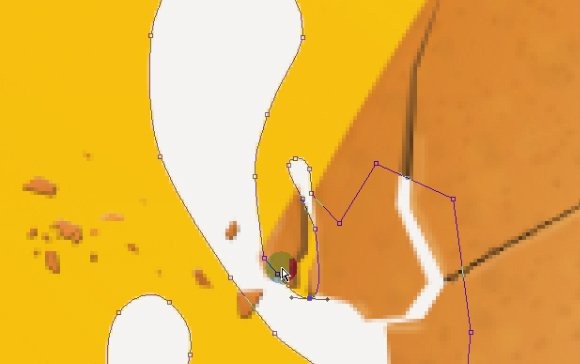
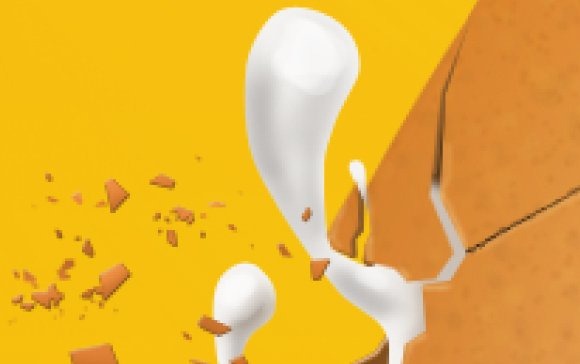
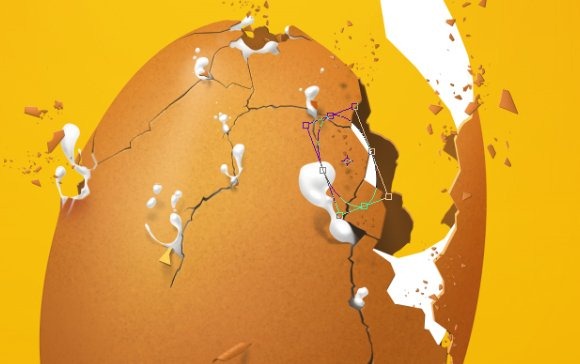
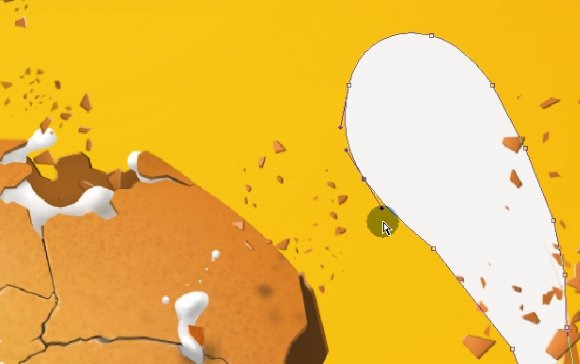
What I have to cover to finish the illustration is an egg white. We will work with Pen tool. Pick very light color (but not white) like #f7f5f3. We want our white flowing out from holes and cracks. The thing is, that we have to correctly shape it. I will do this in pretty noobish way, but that’s how I like to work. I am creating a lot of points (polygons) and then modifying each of them with Convert Point tool to get a smoothness.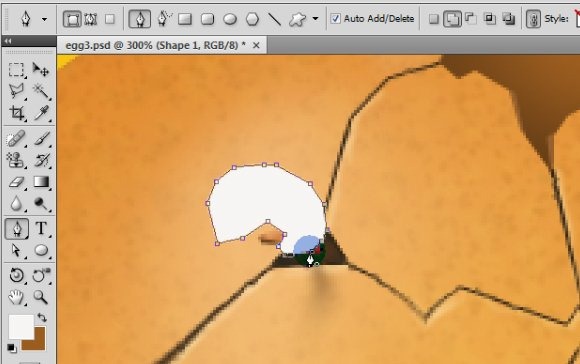
Step 49
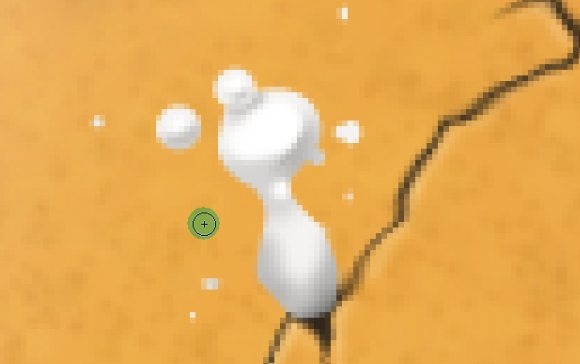
So, create new layer, it is good practice to use clipping mask. Pick white color (yes, now use pure white) and create some highlights with brush tool.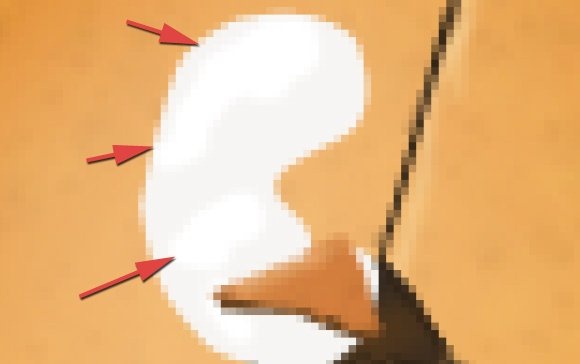

Step 50
And here comes the final, big shape that should grab full attention. Find the perfect position in layers order and again- start to shape.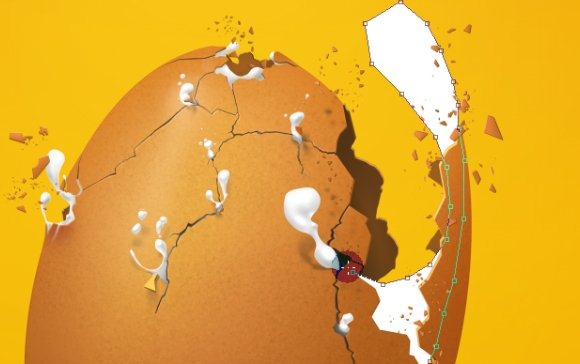
Final words
Hopefully you have learned something with this tutorial. If so, that makes me happy. I tried to cover a lot of things, but nobody is perfect- feel free to ask then, I will try to answer to all questions in the comment section. And here is a quotation of my favorite modern writer as a final word to inspire you.“It's the end, what a gas,
And who's read it is an ass!”
Witold Gombrowicz — Ferdydurke
Thank you.
0 comments:
Post a Comment