Step 1
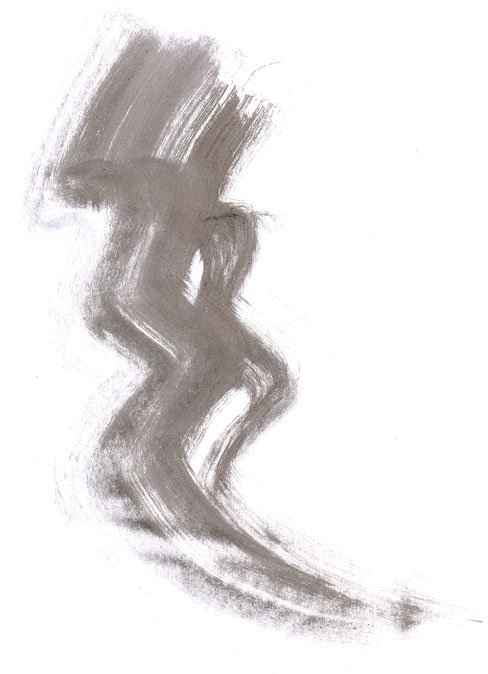
Create a black ink stroke on a white paper and scan it. The optimum scan settings will vary depending on your scanner quality. Here, we set the resolution to 200 dpi.
Step 2
Open your scan file in Photoshop and change the color mode to 8-bit Grayscale (Image > Mode).
Step 3
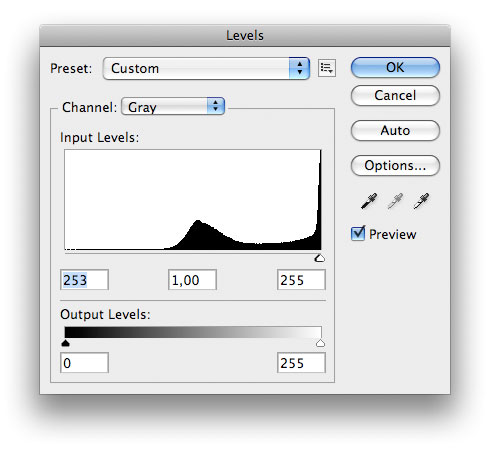
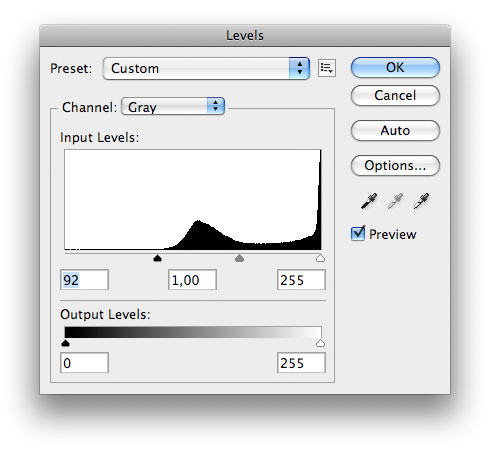
You need some time to clean the image. With your bare eye it may look ok but it’s important to always make sure that there are no artifacts. Great tools to do that are (alternatively) levels and threshold. Open the Image > Adjustments > Levels panel and drag the left slider in the Input Level panel right to the end
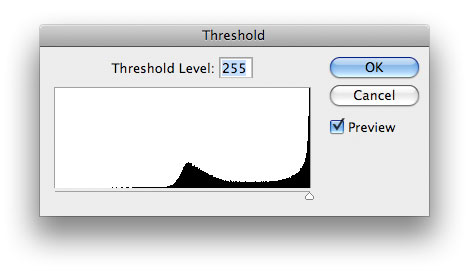
or open the Image > Adjustments > Threshold panel and drag the slider right to the end
It may happen that the background turns grey (after levels adjustment)
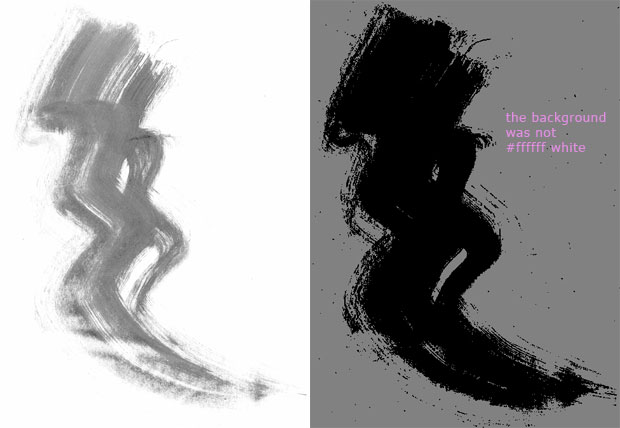
or totally black (after threshold). That means the white background is not truly white. Note, in this step always choose ‘Cancel’ - we only want to identify possible artifacts.
Step 4 (Fixing the background - if necessary)
We will use Levels.
Drag the right slider in the Input Levels panel slightly left. That turns the brightest pixels white. To check if the right slider is moved enough, drag the left slider right to meet the right one. If the background stays white, the right slider position is ok. Bring the left one back to its origin.
Step 5 (Further cleaning - if necessary)
Once the background is fixed repeat Step 3. Now you can easily see plenty of very tiny ink stains all around our stroke. Some of them may add some character to you brush, but we want to get rid of the majority of them.
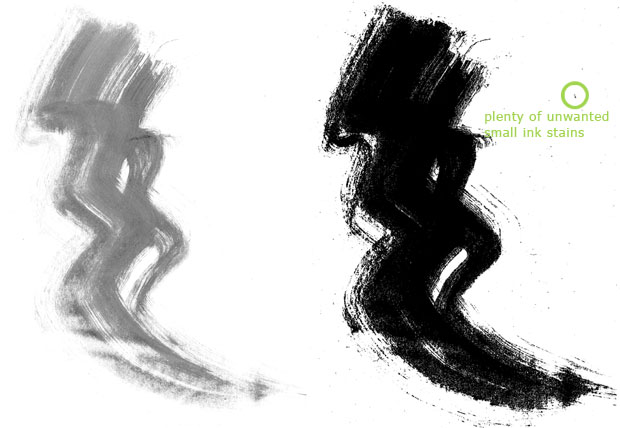
There is a trick how to do that effectively and easily. Create a white background layer. Duplicate your stroke layer and turn its visibility off. Apply levels or threshold adjustment as you did before to the stroke copy layer but this time hit the OK button. Now, create a mask and start to paint over all unwanted stains with a black brush.
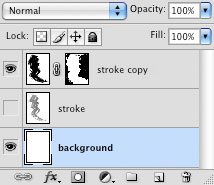
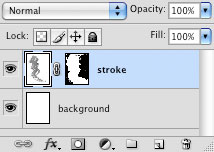
Once all of the stains are masked, drag the mask to the stroke layer, turn it on and delete the copy.
Step 6
Your stroke is now clean, you can adjust it a bit, again using Image > Adjustments > Levels (or Brightness/Contrast, Exposure, Curves, Threshold). Hit OK once you get an appearance you are satisfied with
Step 7
Now, with a stroke ready to be turned into a brush
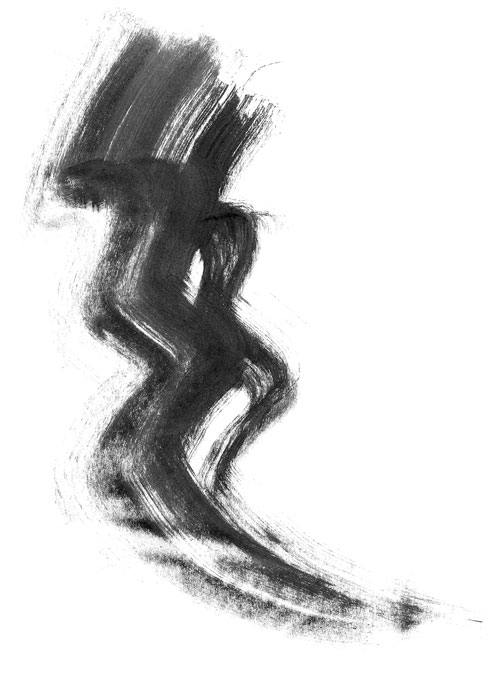
go to Edit > Create Brush Preset. Choose a name for your brush and hit OK.

A new brush is created. You did not have to select your image since Photoshop recognizes all pixels that are not white and include them into a new brush area. However, if you select a portion of your image, only the selection will be turned into a brush.
Test your brush and enjoy!
What next? If you want to export your brushes (eg. send them to myPhotoshopBrushes.com) go to Edit > Preset Manager, choose Brushes as the Preset Type and select all your new brushes holding the Shift key. Pressing the Save Set button saves the whole pack as an .abr file.
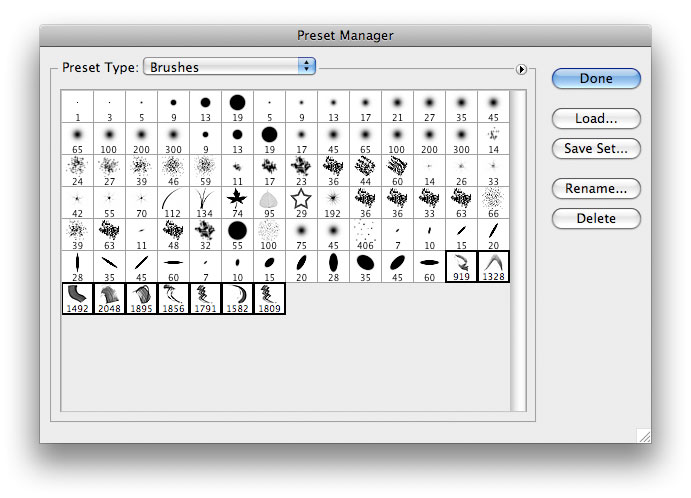
If you decide to share your (own!) brushes with us, please send us a link to your site and/or a zipped .abr file as well as a terms of use info (required) and a 300 px x 300 px preview.
0 comments:
Post a Comment