This tutorial will lead you through the steps of creating a children’s book illustration that can be edited and changed when the author you are working with wants minor changes made to the art. And when using this kind of layout, the changes will be easy and generally painless for you, as the artist. Part I covered the background, and Part II covers the foreground.
Preview of Final Results

Children’s Book Illustration Photoshop Tutorial
- Program: Photoshop 7
- Difficulty: Beginner-Intermediate
- Estimated Completion Time: 30 minutes
Step 1
First, open the first part of the tutorial that was completed in part one. The background provides the basis for the rest of this picture, and so it is extremely important that this part is completed first.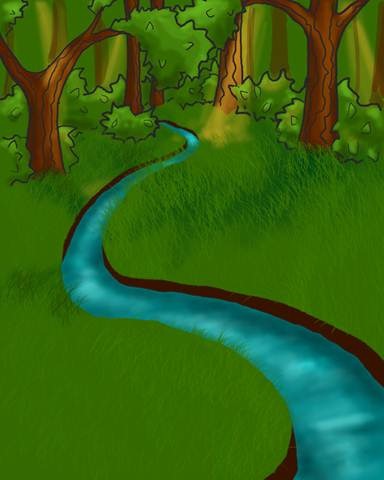
Step 2
Make a new layer and title it “foreground trees”.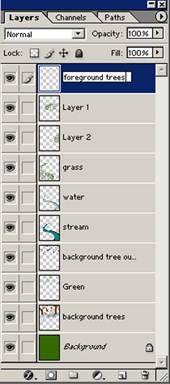
Step 3
This layer will consist of the trees in this layer. We will begin by blocking them out like in the background, but they will end up much more detailed.To begin, block in a few trees with color # 693B0E and a size 100 pixel brush set to full opacity.
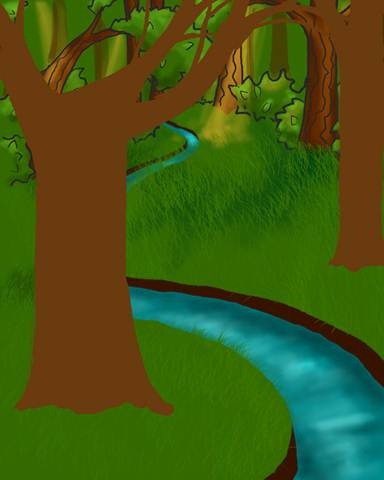
Step 4
Make a new layer and title it “beech”. This layer should go beneath the “foreground trees” layer.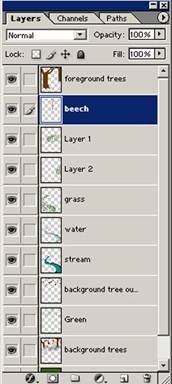
Step 5
Now, we are going to create a beech tree. To do so, we will use the same beginning, and block it in using color # BC9E5D.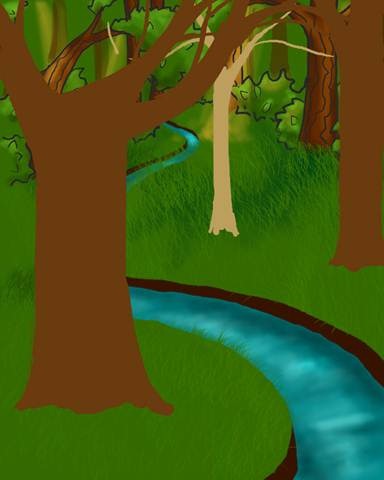
Step 6
Now it is time to block in the basic shadows This can be done using the same bush as before and color #4D2600.
Step 7
Using color #837351, block in the shadows on the beech tree on the “beech” layer.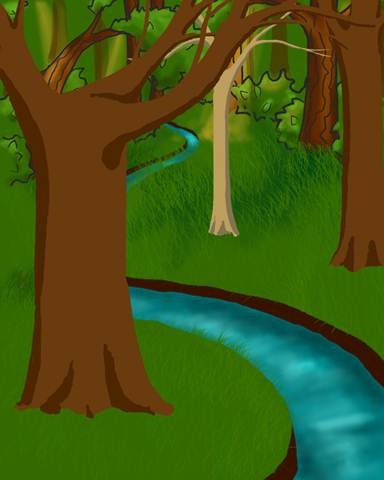
Step 8
Use the magic wand tool to select the light yellow area on the beech tree. Line both sides of the selected area with color #AO8750.
Step 9
Now highlight the center ob the beech tree with color #D0B57B.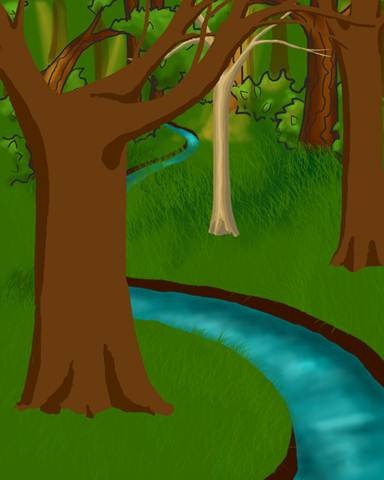
Step 10
Select the area around the tree with the magic wand tool, and then select the inverse (rt click à select inverse). The tree should be selected.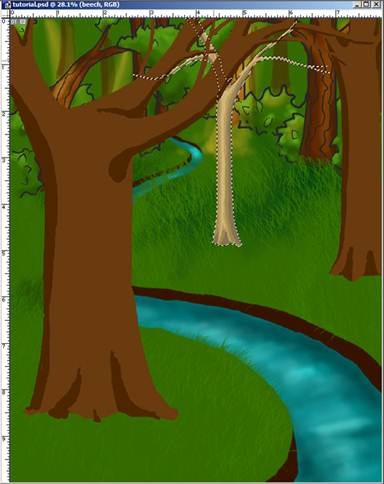
Step 11
Apply a Gaussian blur (filter à blur à Gaussian blur) filter to the tree, with the radius set to 5.4 pixels. This will bend all of the colors nicely together, and give the impression of a smooth surface.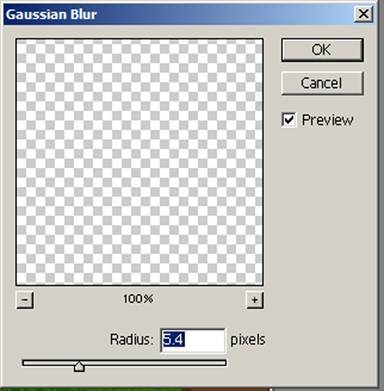

Step 12
Make a new layer above the “beech” layer and title it “beech outline”.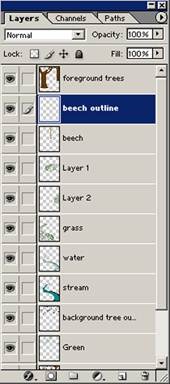
Step 13
Outline the tree with a small round, hard edged brush and color #3E2B00.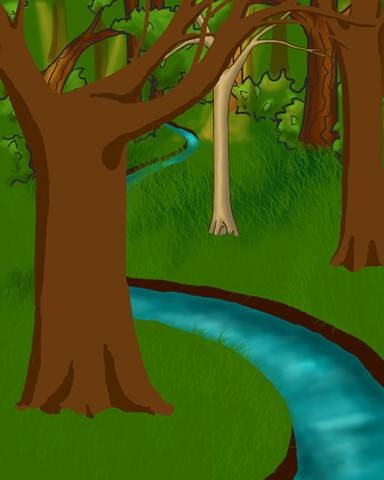
Step 14
Using the same color, make roots growing out of the bottom of the tree a little.Using the smudge tool set to 78% strength on “beech” layer to fill in roots.

Step 15
Using color #3Z2B00 draw curving “stripes” across the trunk. The lines should be widest near the edges, and taper off in the middle.
Step 16
Color right above the lines with color #E5CA90. This will finish the bark effect.
Step 17
Make a new layer above the “foreground trees” layer, and title it “foreground trees outline”.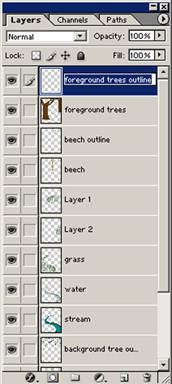
Step 18
Outline the two front trees with color #291000 and a size 20 opaque brush.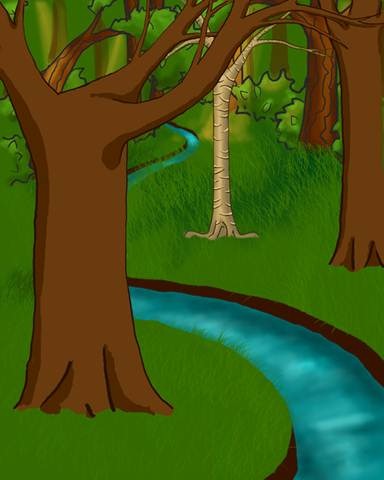
Step 19
Using the same color and brush as before, outline roots growing out of the ground around the two large brown trees. Make sure now to close off the shapes of the roots, but rather leave gaps, so that they will appear to be growing out of the ground rather than sitting on top of it.
Step 20
Now use color #293BOE to block in the roots. This will work best if done on the layer below the outline.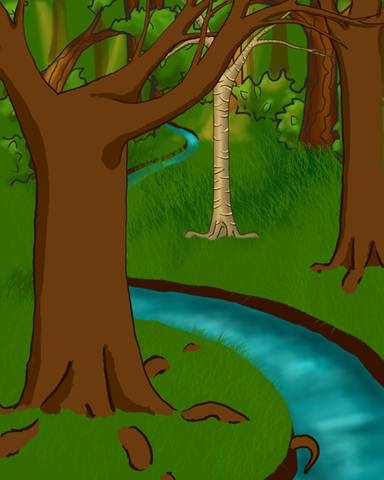
Step 21
Now use color #4D2600 to block in the shadows on the roots.
Step 22
Make a new layer above all the other layers and title it “bark”.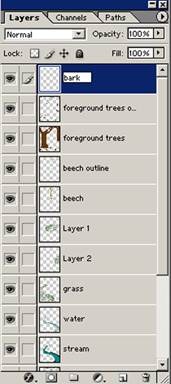
Step 23
Using a size 18 brush set to 44% opacity draw multiple thin lines running vertically up and down the trunks. By using a light hand and making shaky, wavy lines that occasionally touch or cross over will give the impression of tree bark.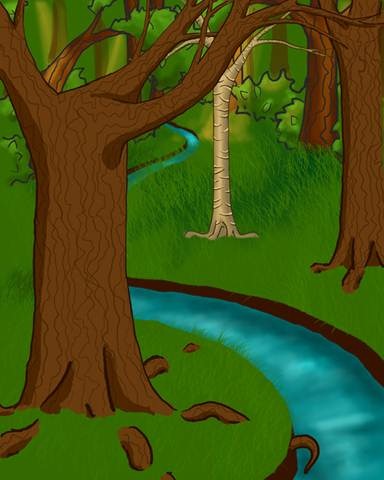
Step 24
Now make a new layer beneath the “bark” and “outline” layers, and title it “trunk detail”.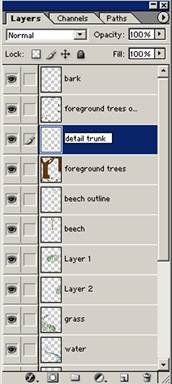
Step 25
Highlight the bark with color #895522 and a size 86 pixel brush set to 44% opacity (hard edged).
Step 26
Make a new layer above all the other layers, and title it “root grass”.This layer is going to incorporate the trees into the grass.
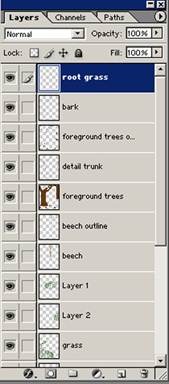
Step 27
Make the impression of short grass growing around the base of the trees and their roots with color #32590D, and a size 25 pixel opaque brush.(You may want to use a size 11 pixel brush for the grass around the base of the “beech” tree.)

Step 28
Highlight the grass with color #588FOA and the same brush as before.
1 comments:
Hi there, awesome site. I thought the topics you posted on were very interesting. I tried to add your RSS to my feed reader and it a few. take a look at it, hopefully I can add you and follow.
Mobile Phones & Accessories
Post a Comment