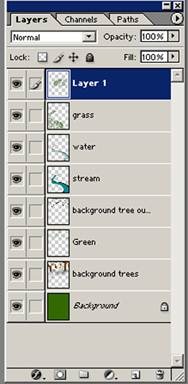
This tutorial will lead you through the steps of creating a children’s book illustration that can be edited and changed when the author you are working with wants minor changes made to the art. And when using this kind of layout, the changes will be easy and generally painless for you, as the artist.
Preview of Final Results

Children’s Book Illustration Photoshop Tutorial
- Program: Photoshop 7
- Difficulty: Beginner-Intermediate
- Estimated Completion Time: 30 minutes
Step 1
To begin, it is a good idea to start with the publishing standard 8 x 10 illustration size. You want to make sure that there are enough pixels per inch to allow you to have a good amount of work space, so the basic pixels/inch I go to is 300.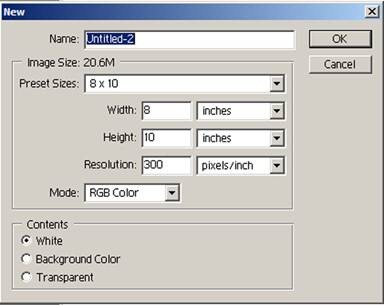
Step 2
Using the paint bucket tool, fill in the background with color # 346900. This is a great background color that I often use for outdoors scenes, just because it offers a very good color scheme.
Step 3
Create a new layer above the background and title it background trees. This will begin to create depth in the picture, and will provide a backdrop for the scene.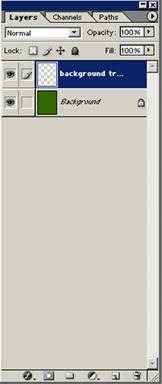
Step 4
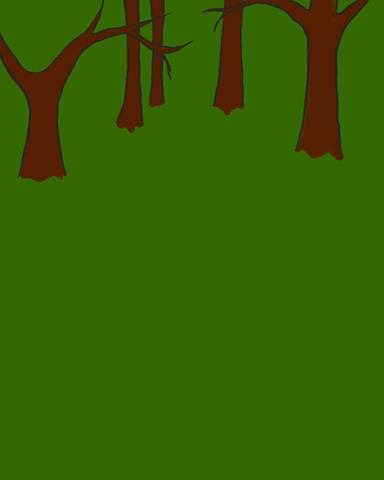
Now time to begin laying out the trees. Using color # 551F01 and a small round brush* block in a few trees in the top third of the drawing. Do not make them disappear into the background however, as this will make the camera look like it is peering downward at a very sharp angle.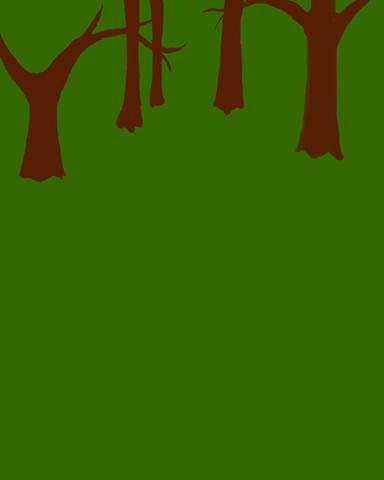
Step 5
Make a new layer above this and title it background tree outline.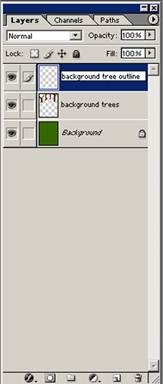
Step 6
Using color #262626, outline the trees. By using a grey rather than black, it will soften the edges, and keep the picture from looking too harsh.Do not outline the bottom of the tree. By leaving it, the tree will look like it is growing out of he ground rather than like it is pasted onto the background.
Step 7
Next, create two or three wavy lines running vertically up the tree trunks. Do not create more, or it will look to line-y. This will give the impression of tree bark.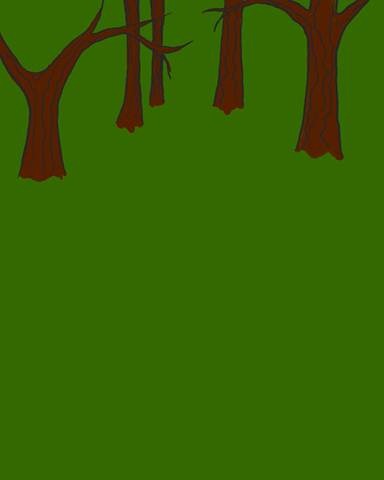
Step 8
Using the same color and brush as before, outline brushes that are surrounding the trees. It may appear awkward looking at this stage, but it will allow the picture to have a solid background, and by leaving the background very green, will make the forest appear very dense.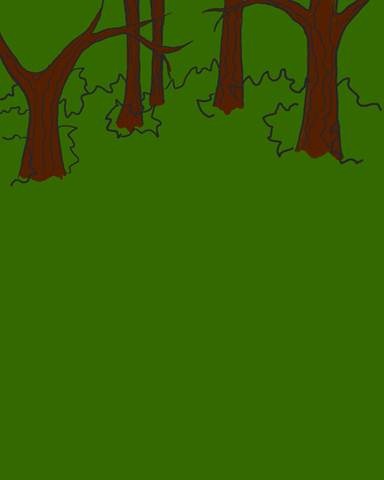
Step 9
Erase the tree lines and brown color that lies within the bushes outline. Also make any last changes to the bushes’ outlines, correcting shape and placement as necessary.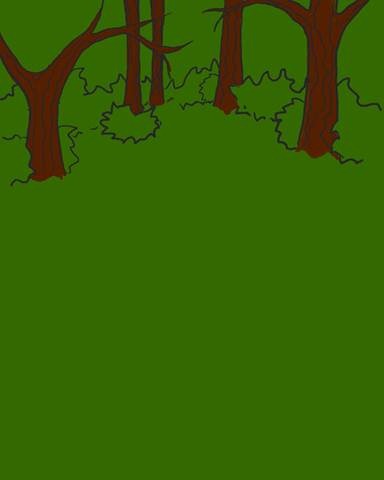
Step 10
Where there are bare ends of the trees, make a puff of leaves similar to what was done with the bushes. Then erase all lines and tree trunk that falls within its border.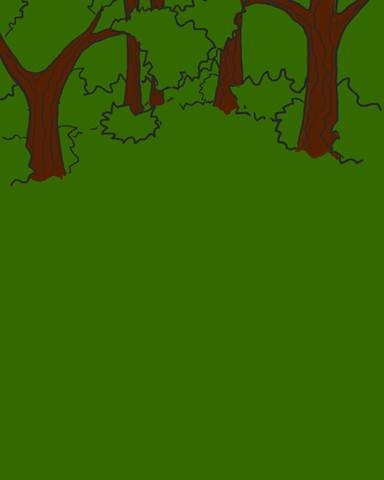
Step 11
Now this is the last step for detailing the lines of the trees. Try to keep it simple by indicating leaves rather than drawing each individual one.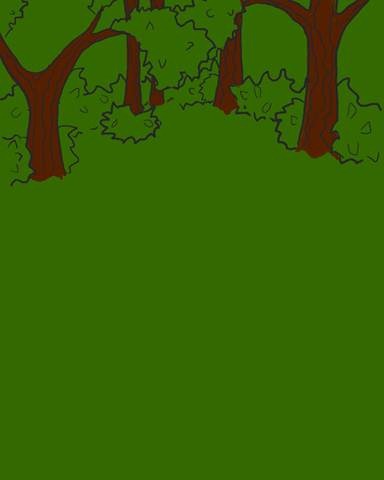
Step 12
Now to color the leaves of the bushes and trees, make a new layer above the tree background layer but below the layer with the outline.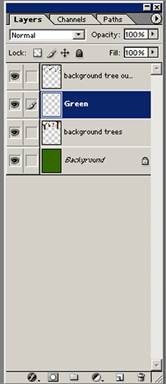
Step 13
Now take a size 95 pixel (soft edged brush) set to 25% opacity and highlight the tree leaves and bushes using color #6DBB21. The lightest parts will be on the leaves that were indicated earlier.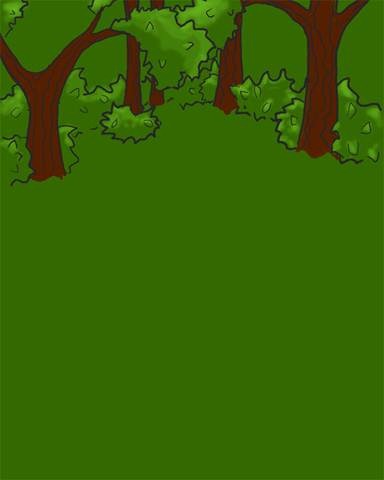
Step 14
The last step for the leaves is to take color #1F3F00 and add shadows to the bottom of the bushes and shadows underneath the leaves.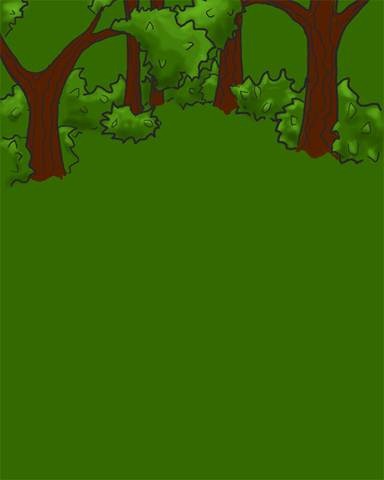
Step 15
The last step in finishing the trees is to highlight and add shadows. A good highlight color is #844202, and the shadow I used is #3B1D00. It is a good idea to add a slight highlight to the center of the trunk, and then to make one side of the trunk lighter than the other.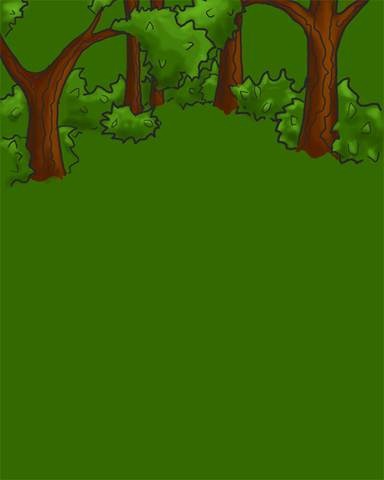
Step 16
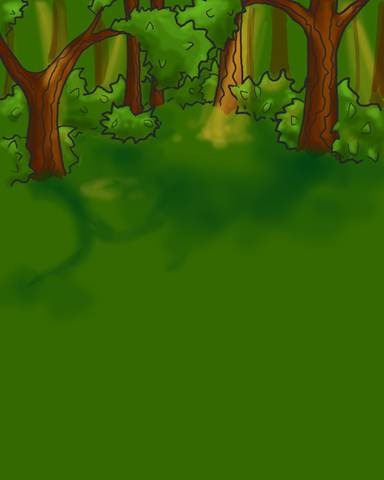
To finish the background itself, add a few transparent tree trunks, and using a very transparent soft edged brush and color #FFBE33, add some light filtering through the trees.To add shadows beneath the trees use color #004111.
Step 17
Now, create a new layer and title it “stream”.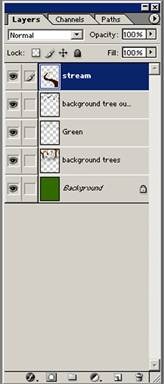
Step 18
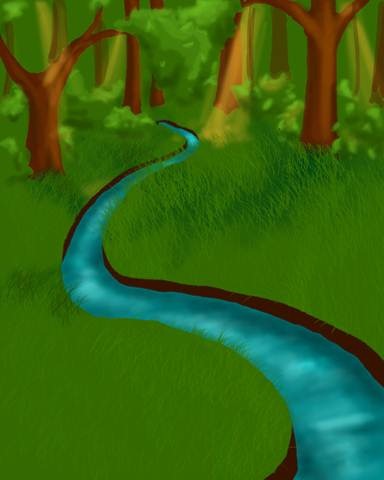
To create the base for the stream, create a winding brown (color #361300) area that gets thicker as it approaches the foreground of the picture.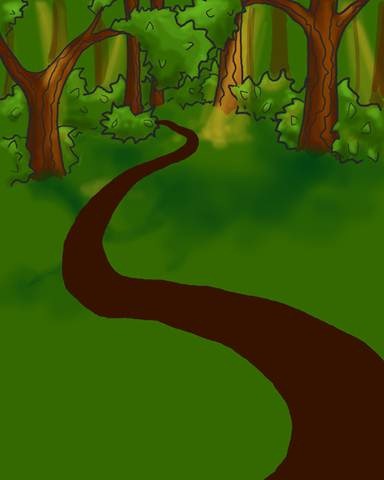
Step 19
Now using color #008A8C, alternate the side that shows brown. This will make the stream have a bank.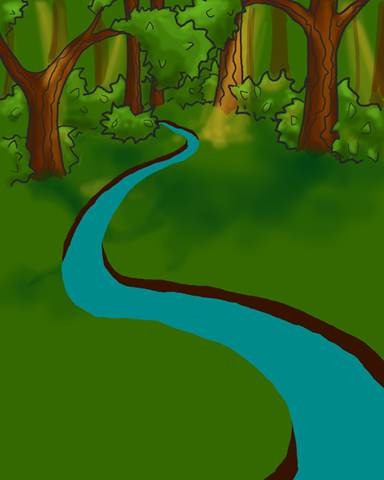
Step 20
Now, make a new layer and title it water. This is the layer where we will be detailing the stream.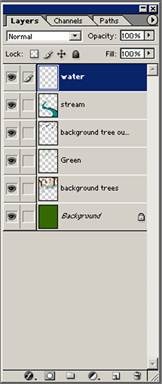
Step 21
Use the magic wand tool and select the blue area from the layer below. Next, take color #00494A and using a soft-edged 20% opaque brush, add the shadows. This can be done by swiping the brush horizontally across the selected area, concentrating on the areas where the bank is overshadowing the water.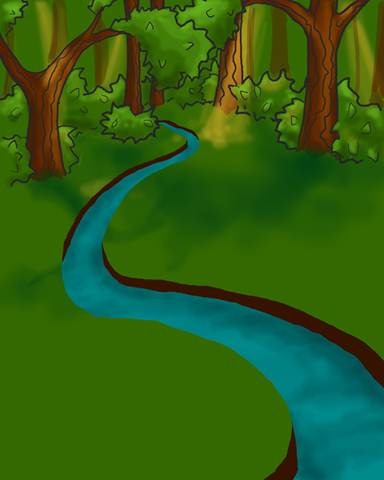
Step 22
Highlight the water with a brush set to 5% opacity, using color #8EDFD8. Try to concentrate on the center of the stream.
Step 23
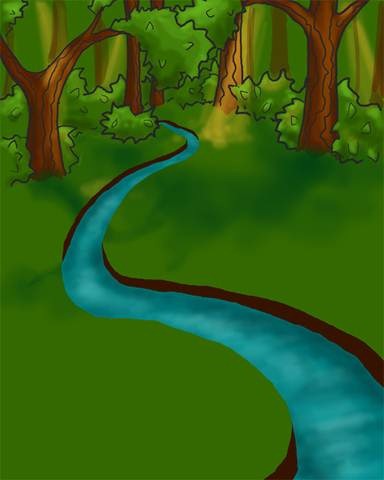
Gaussian blur the “water” layer, this will soften the water and blend the dark and light just a little.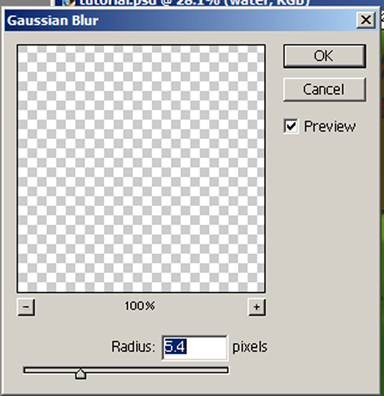
Step 24
Next, switch back to the “stream” layer and Gaussian blur it as well. This is going to get rid of the harsh bank without making it appear fuzzy.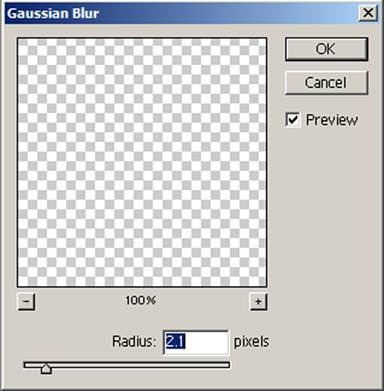

Step 25
Time to lighten the lights. Go back to the “water” layer, and use the dodge tool (highlights mode, 30% exposure, soft round brush) to lighten the middle of the stream.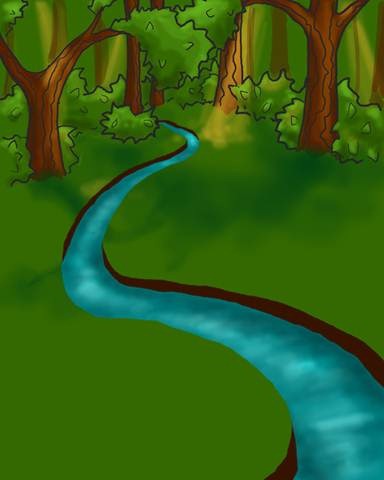
Step 26
The last step before the stream is finished is to darken the darks with the burn tool. Set the tool to midtones mode, and 16% exposure, and darken the shadows cast by the stream’s banks.
Step 27
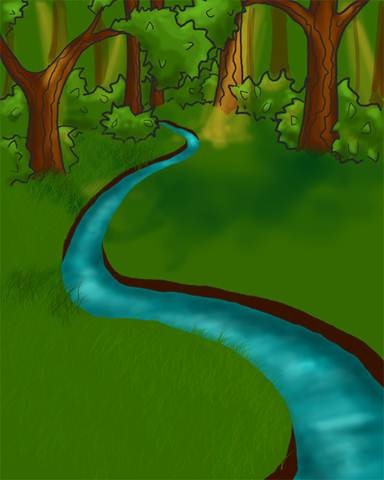
Now make a new layer titled “grass”. This is going to be the layer that changes the green mass into what looks like grass.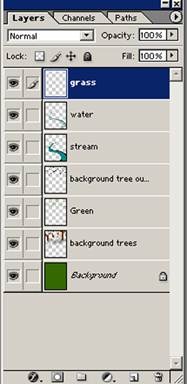
Step 28
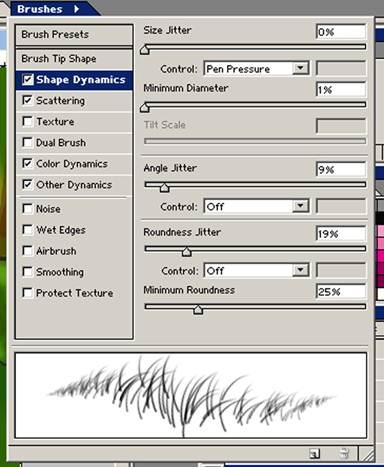
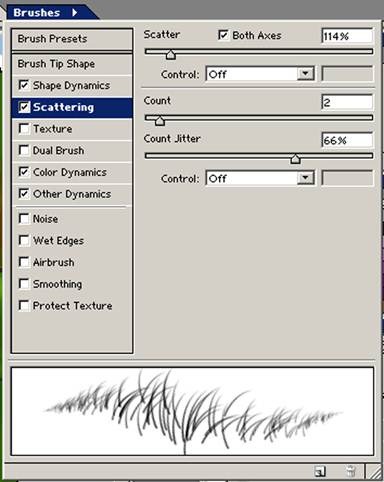
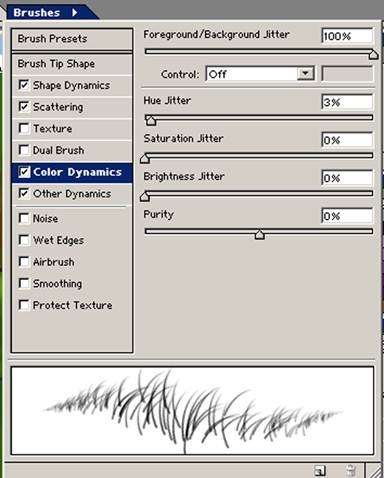
Rending realistic grass is very easy if you use the right brush and the right settings. Find the grass brush (basic brushes, about two thirds of the way down the brush list) that is leaning to the right and copy the settings below.Under “other dynamics” turn both the opacity jitter and flow jitter off.
To create realistic looking grass, use a very light hand when you are around the base of the trees, and a very heavy hand as you move towards the front of the picture. I also switched between a size 200 pixel brush and a 140 pixel brush.
The two light colors are:
#3B7B00
#346900
The two dark colors are:
#254800
#2D5900
*Make sure you can see some of the base color through the grass, or else it will look fake!
Step 29
Now erase the grass that appears to be growing out of the water and bank.
Step 30
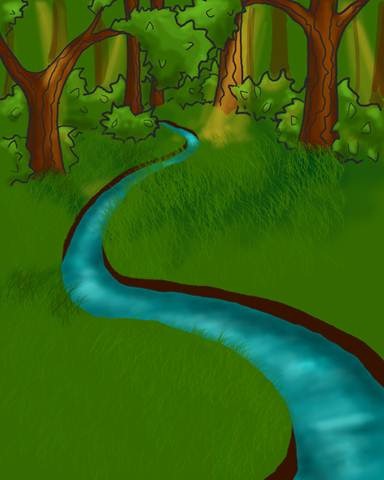
Copy the entire “grass” layer and paste it onto a new layer. Use Ctrl+t to allow stretching of the picture, and completely stretch the picture down to a thin strip, and then past the middle and to the other side to flip the image.Adjust the grass to fit right, and erase the stray grass (that is coving part of the trees and bushes, or is now growing out of the bank.
Step 31
Copy the front section of the “grass” layer and repeat step 30 for this as well on the right side of the brook.Use color #3D7500 to add a few stray grasses off the bank on both sides (size 13 brush with all brush settings unchecked except shape dynamics).
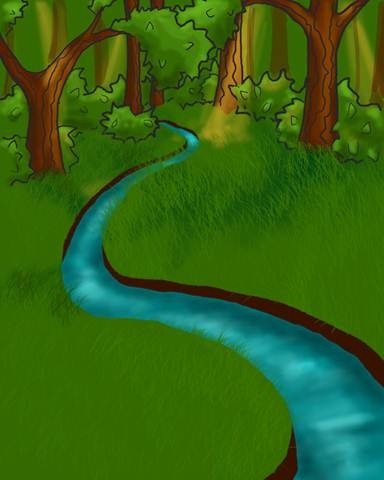
And, you’re done with the background!
If you want, you can turn off the background tree outline layer for a different look!These two different approaches will allow you to create an entire digital painting in which anything can be added or altered (within reason of course) with little effort if whoever is paying you wants something changed.
0 comments:
Post a Comment