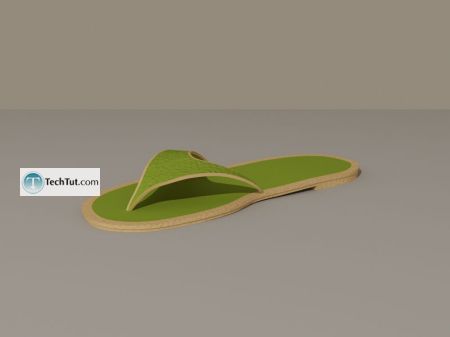
Hi there in this tutorial we will make a sandal.
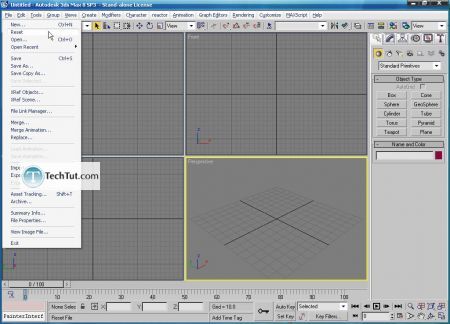
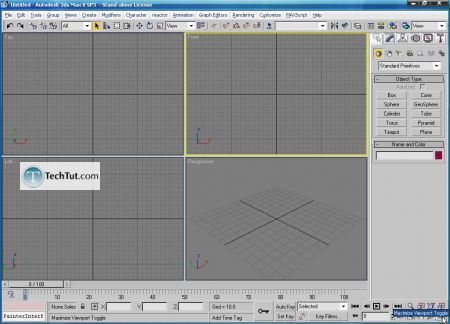
So let’s get started by reset our 3ds max and maximize front viewport.

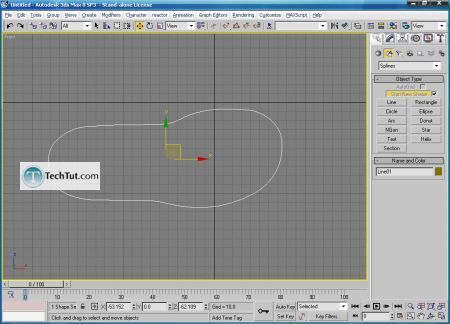
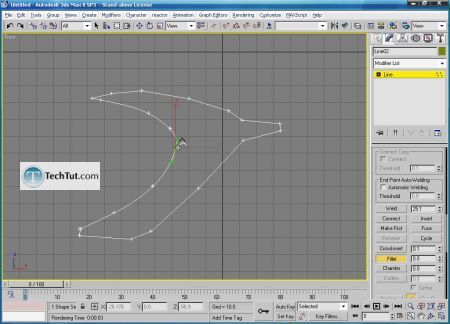
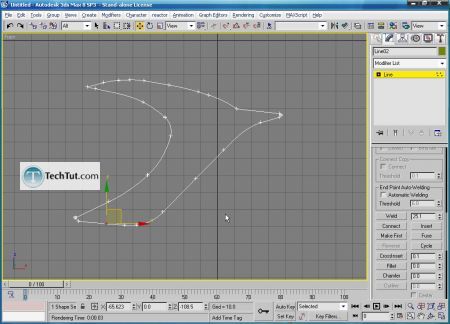
Now choose line to create our rough shape of the feet.
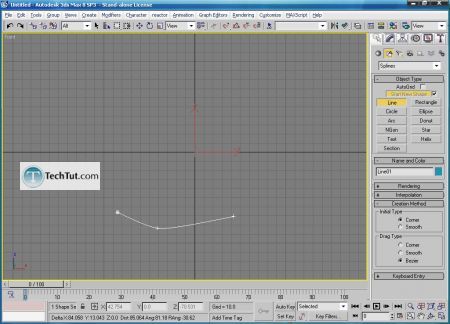
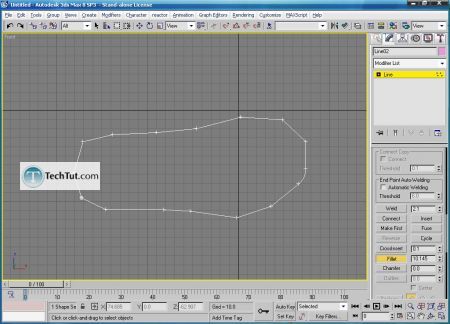
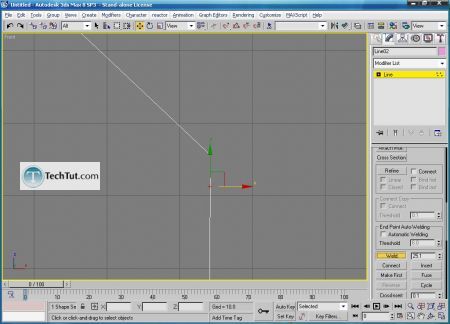
By combining fillet, weld (to join two vertices) and refine (to add vertices) we will create our shape for the feet of the sandal.
For this case it might be good to have a reference picture of the sandal to get the better shape proportions of the feet.

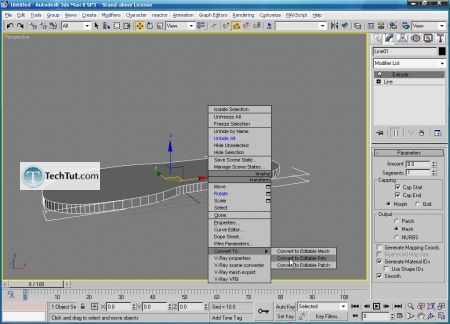
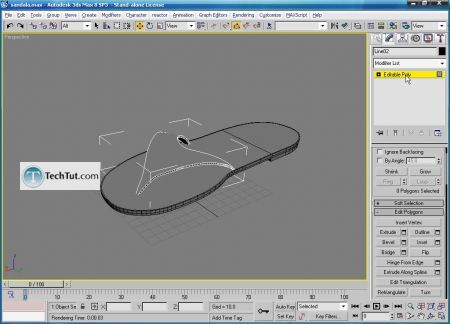
Now add extrude modifier, after that convert it into editable poly.
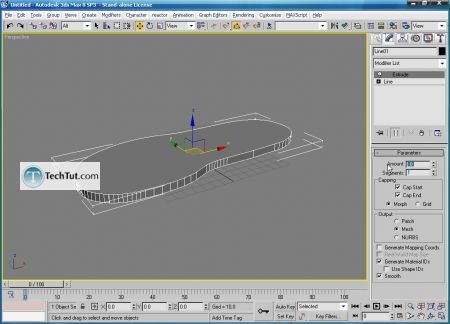
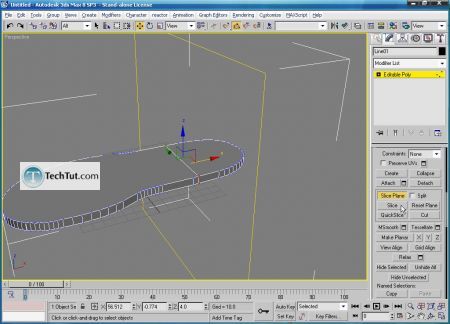
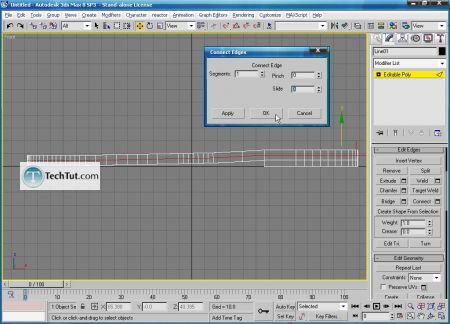
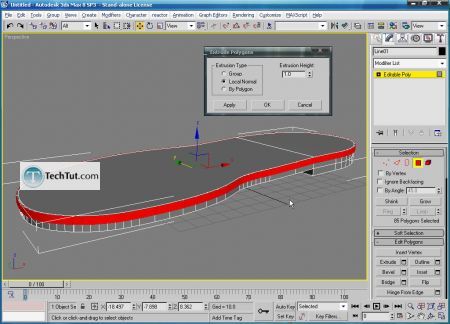
Now create slice as shown below, and after that extrude the selected polygon. This will give the feet better look.
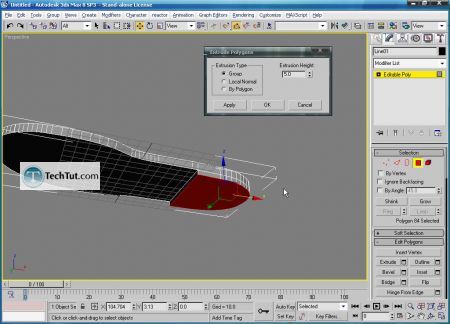
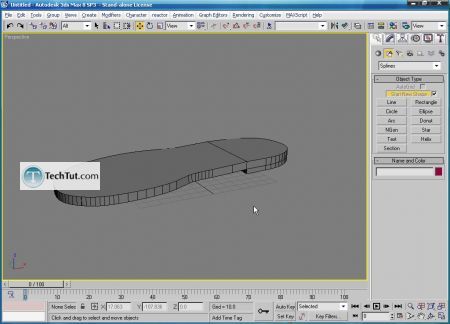
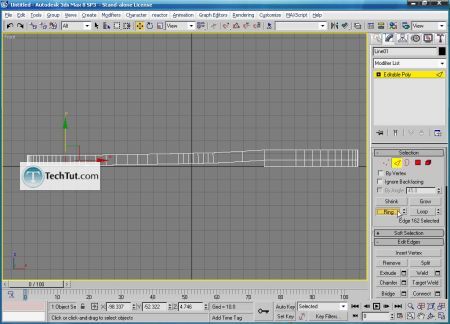
Next select edge and with ring option select all because you need to split feet of the sandal to half. After that select upper part and apply extrude to it.
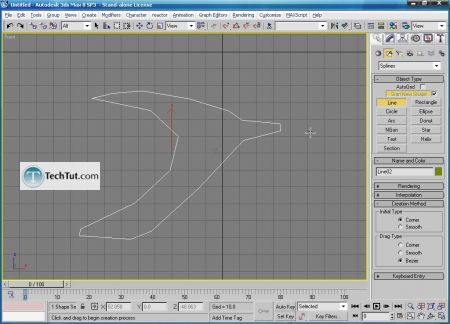
Again choose line to create rough shape of thee upper part, and again combine fillet, refine and weld like the one you did for the feet of the sandal.
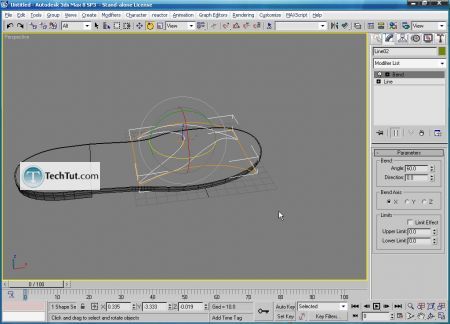
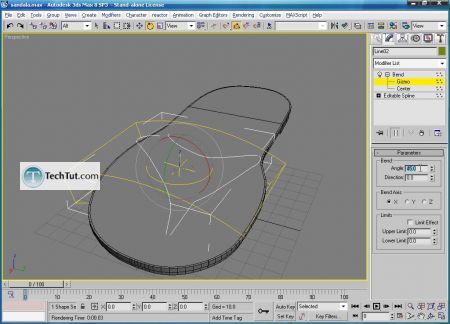
When the upper part is finished apply bend modifier to it.
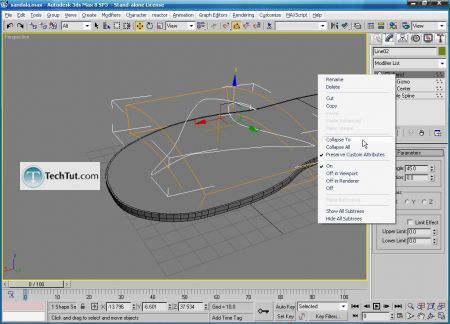
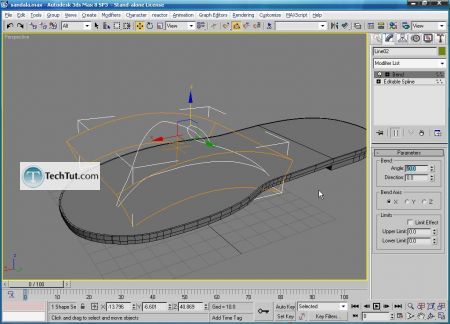
Afetr that you need to collapse the stack and apply another bend modifier. On this one you need to rotate his gizmo for 90’.
And after that again collapse the stack.
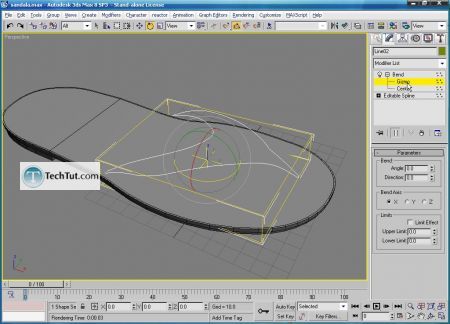

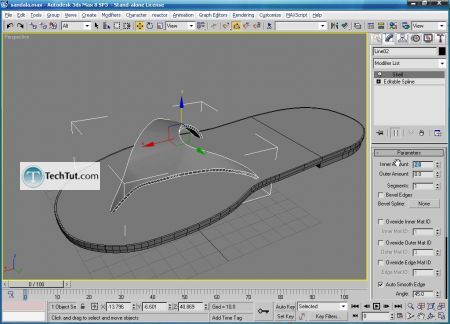
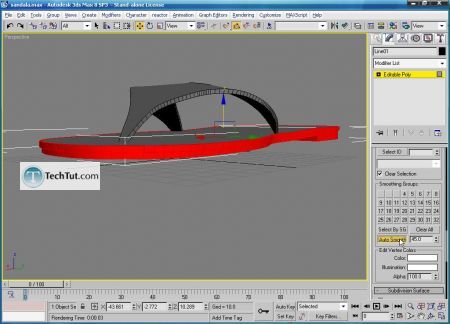
When we finished upper shape we need to apply shell modifier like shown below, and convert ti the editable poly.
Now select the polygons like shown below and apply auto smooth.
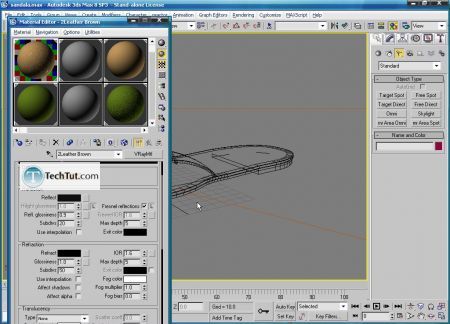
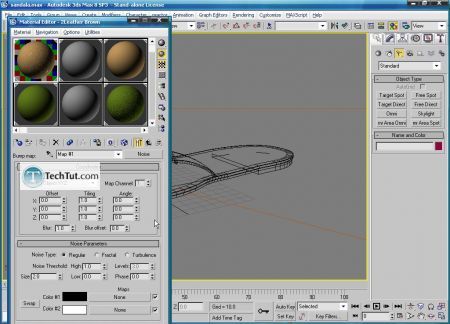
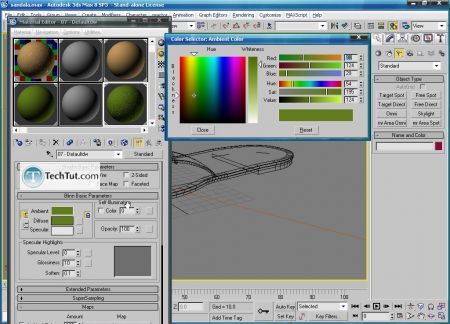
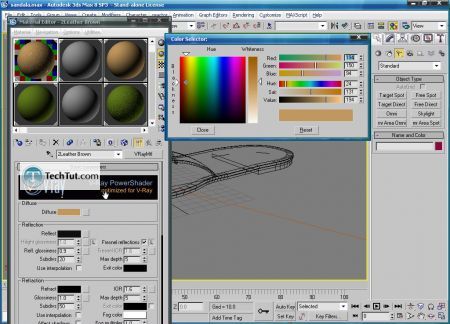
So the modeling part is done, lets create materials for the sandal like shown below. For the bump map we used noise map.
We used vray materials for this purpose because we will use vray render.
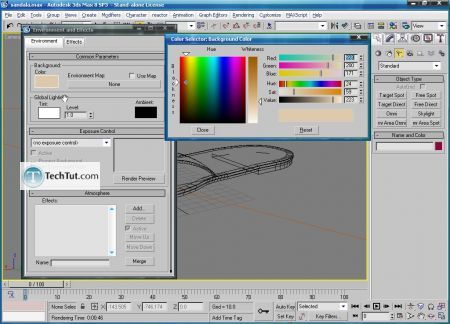
Press 8 on keyboard to change a color to the environment.
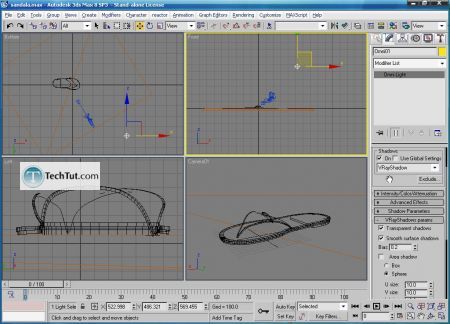
Now let’s add one omni light like the one shown below.
Now we switch our render engine to vray and change the settings like shown below.
Hit render.
So let’s get started by reset our 3ds max and maximize front viewport.


Now choose line to create our rough shape of the feet.


By combining fillet, weld (to join two vertices) and refine (to add vertices) we will create our shape for the feet of the sandal.
For this case it might be good to have a reference picture of the sandal to get the better shape proportions of the feet.


Now add extrude modifier, after that convert it into editable poly.


Now create slice as shown below, and after that extrude the selected polygon. This will give the feet better look.


Next select edge and with ring option select all because you need to split feet of the sandal to half. After that select upper part and apply extrude to it.


Again choose line to create rough shape of thee upper part, and again combine fillet, refine and weld like the one you did for the feet of the sandal.


When the upper part is finished apply bend modifier to it.
Afetr that you need to collapse the stack and apply another bend modifier. On this one you need to rotate his gizmo for 90’.
And after that again collapse the stack.


When we finished upper shape we need to apply shell modifier like shown below, and convert ti the editable poly.


Now select the polygons like shown below and apply auto smooth.

So the modeling part is done, lets create materials for the sandal like shown below. For the bump map we used noise map.
We used vray materials for this purpose because we will use vray render.


Press 8 on keyboard to change a color to the environment.

Now let’s add one omni light like the one shown below.

Now we switch our render engine to vray and change the settings like shown below.
Hit render.


0 comments:
Post a Comment