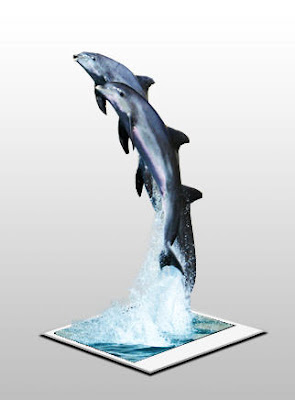
Hi there this is a very nice tutorial show how to make a thing looks like he's getting out of paper if you follow this tutorial well you will learn a lot useful photoshop stuffs .this is the result:
first you have to choose your image carefully like someone is jumping or anything looks creative i chose the dolphins photo this is the original :
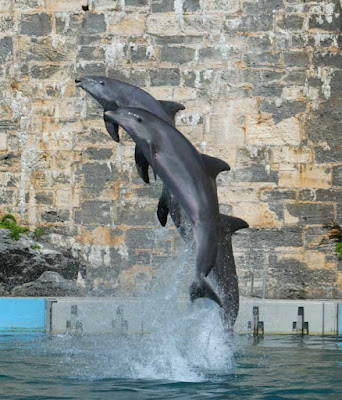
you can get it with big dimensions form here
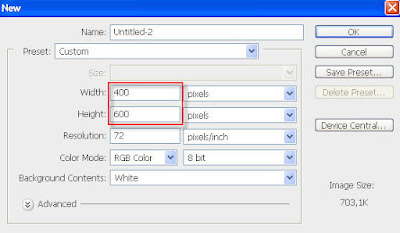
1- open 400 / 600 new file like this
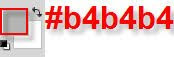
2-select the gray as foreground then add a Gradient to the layer like this :
then:

then (hold shift while dragging to keep the line straight):
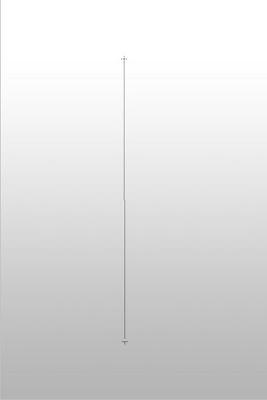
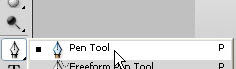
3-this is a pretty hard step so focus, select the Pen tool :
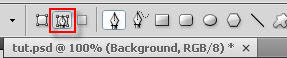
make sure you select this mode:
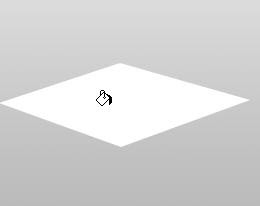
then try to draw shape looks like a paper on the ground like this:
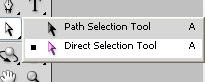
you can use this tool to transform the points:

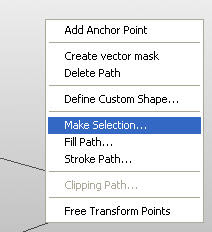
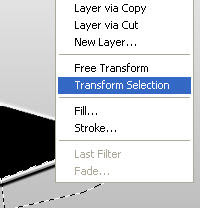
4-Click right on the shape then select Make Selection...
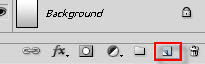
then add a new layer
now fill the selection with white using the fill tool:
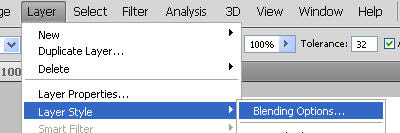
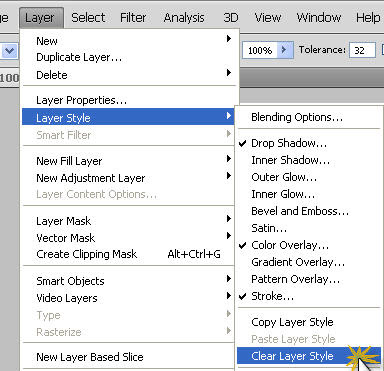
5-Go to Layer>Layer Style>Blending Options..
then:
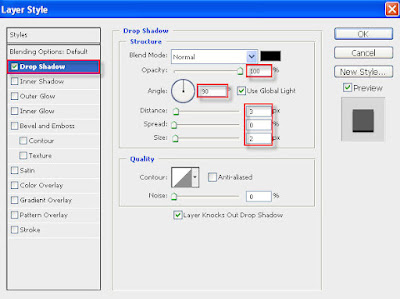
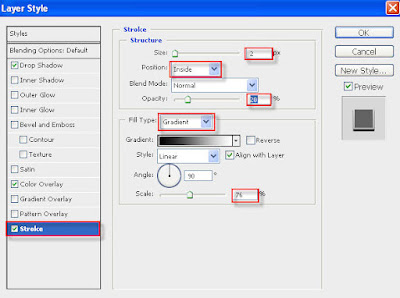
then go to color Overlay and select some light gray and set the opacity to 10:
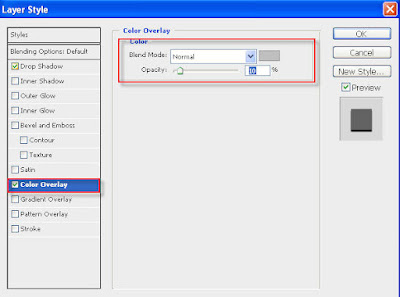
now follow the pic the click OK:
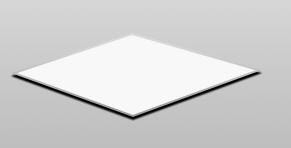
your result should be similar to this:
6-duplicate the layer (Ctrl+j) then go to:
7-with the fill tool fill it with Black:
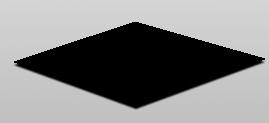
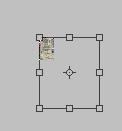
8- Go to Edit>Free Transform ot (Ctrl+T) Now while you are holding Shift+Alt drag one of the shape's Corner inside (make it smaller):

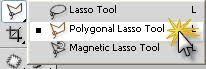
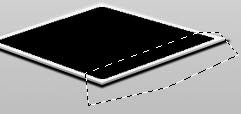
9-Select the Polygonal Lasso Tool:
make Selection like this:
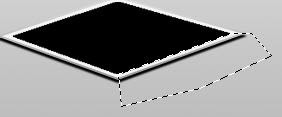
click right and Click on Transform Selection :
then drag the selection inside the shape like this:
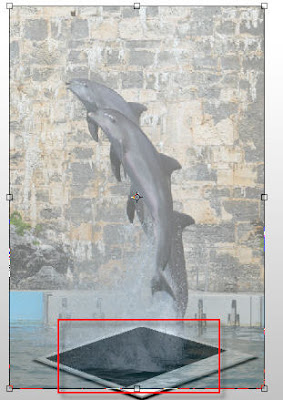
10-now With the navigator window zoom out very much then open your photo press Ctrl+A to select all of the Photo the Ctrl+C to copy it Now go back to our shape file the press Ctrl+V to Paste it.
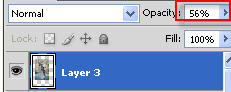
now press Ctrl+T to transform it to what works with your shape i advice to change it's opacity to 50 to see them both (the photo and the shape):
look closely and try to make yours like it :
11-select the Pen Tool:
Start to selecting the edges of the dolphins and the black shape together like the next pictures:
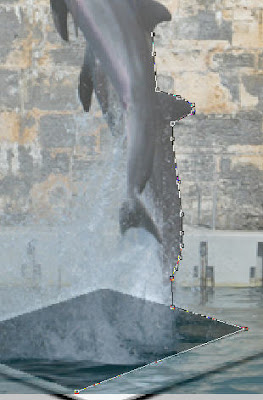
don't worry about the splashed water just select it all(we will x it later) :
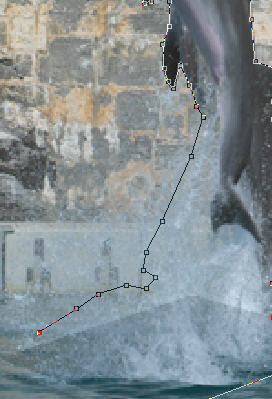
and finally:
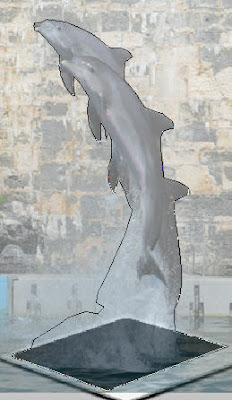
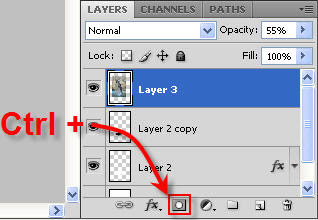
12-while you pressing on Ctrl click on the add layer mask button like this:
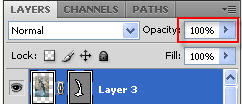
now turn back the opacity to 100 :
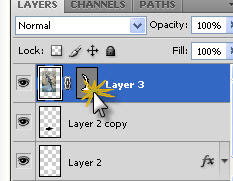
now if you want to hide the of the line of mask layer just click on it (the layer mask):
in the newt step we will fix the splashed water problem.
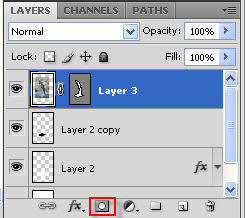
13-add a layer mask to the layer like this:
set the color like this:

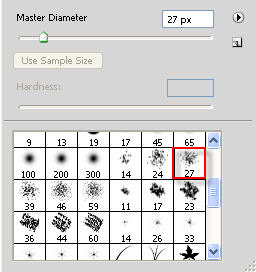
Select the Brush tool then click right on the image then select a medium spatter brush like this:
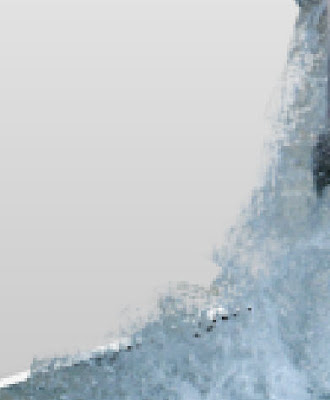
now paint in the splashed water area to be like this:
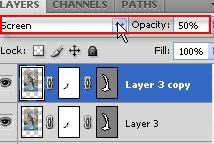
14-Now duplicate The layer Ctrl+J or:

then change the blend mode and the opacity of the duplicated layer to:
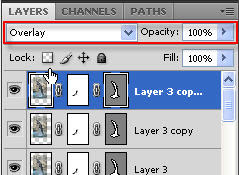
duplicate it again:
now change its blend mode and opacity to:
in this step we completed our tutorial and this is the final result and always remember to change some thing to get a different even better result.
if you like this post please you can digg or share in wherever you want it to make me write more.
I also want to see some comments don't be lazy to write a comment please.

first you have to choose your image carefully like someone is jumping or anything looks creative i chose the dolphins photo this is the original :

you can get it with big dimensions form here
1- open 400 / 600 new file like this

2-select the gray as foreground then add a Gradient to the layer like this :

then:

then (hold shift while dragging to keep the line straight):

3-this is a pretty hard step so focus, select the Pen tool :

make sure you select this mode:

then try to draw shape looks like a paper on the ground like this:
you can use this tool to transform the points:


4-Click right on the shape then select Make Selection...

then add a new layer

now fill the selection with white using the fill tool:

5-Go to Layer>Layer Style>Blending Options..

then:

then go to color Overlay and select some light gray and set the opacity to 10:

now follow the pic the click OK:

your result should be similar to this:

6-duplicate the layer (Ctrl+j) then go to:

7-with the fill tool fill it with Black:

8- Go to Edit>Free Transform ot (Ctrl+T) Now while you are holding Shift+Alt drag one of the shape's Corner inside (make it smaller):

9-Select the Polygonal Lasso Tool:

make Selection like this:

click right and Click on Transform Selection :

then drag the selection inside the shape like this:

10-now With the navigator window zoom out very much then open your photo press Ctrl+A to select all of the Photo the Ctrl+C to copy it Now go back to our shape file the press Ctrl+V to Paste it.

now press Ctrl+T to transform it to what works with your shape i advice to change it's opacity to 50 to see them both (the photo and the shape):

look closely and try to make yours like it :

11-select the Pen Tool:
Start to selecting the edges of the dolphins and the black shape together like the next pictures:

don't worry about the splashed water just select it all(we will x it later) :

and finally:

12-while you pressing on Ctrl click on the add layer mask button like this:

now turn back the opacity to 100 :

now if you want to hide the of the line of mask layer just click on it (the layer mask):

in the newt step we will fix the splashed water problem.
13-add a layer mask to the layer like this:

set the color like this:

Select the Brush tool then click right on the image then select a medium spatter brush like this:

now paint in the splashed water area to be like this:

14-Now duplicate The layer Ctrl+J or:

then change the blend mode and the opacity of the duplicated layer to:

duplicate it again:
now change its blend mode and opacity to:

in this step we completed our tutorial and this is the final result and always remember to change some thing to get a different even better result.
if you like this post please you can digg or share in wherever you want it to make me write more.
I also want to see some comments don't be lazy to write a comment please.


4 comments:
thanks gan gan nice and helpful article, regards and greetings successful blogger
bed cover , sprei
Wonderful, what a weblog it is! This website provides valuable data to us, keep it up....... by
MGT 230 Week 1 provider.
I seem account it. I crave to apprehend adscititious on this topic…I am loving the time and accomplishment you place in your diary,
PSY 315 Week 5 Individual Assignment
Nice blog you havee
Post a Comment