Resources Used In This Tutorial
WG Watercolor Brushes Volume 1Jumping Man
Nebula Image
Panther Image
Roaring Panther Mouth
Fractal Bars Brush Set
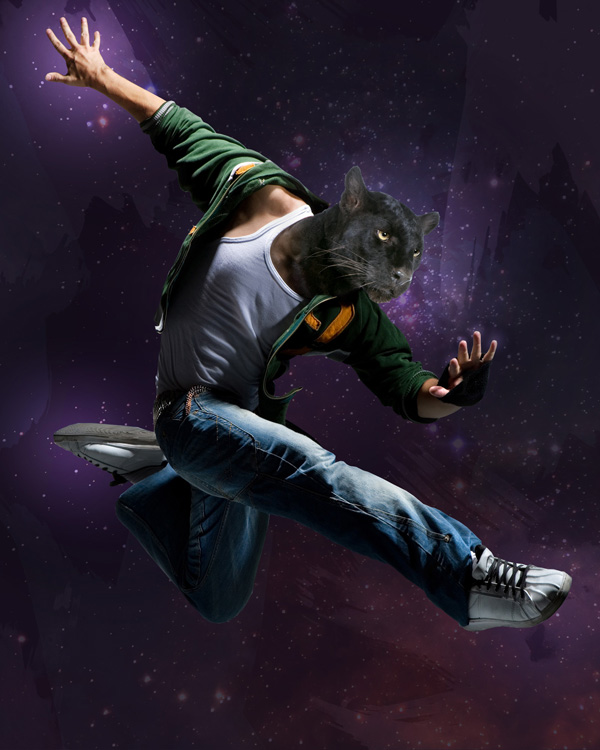
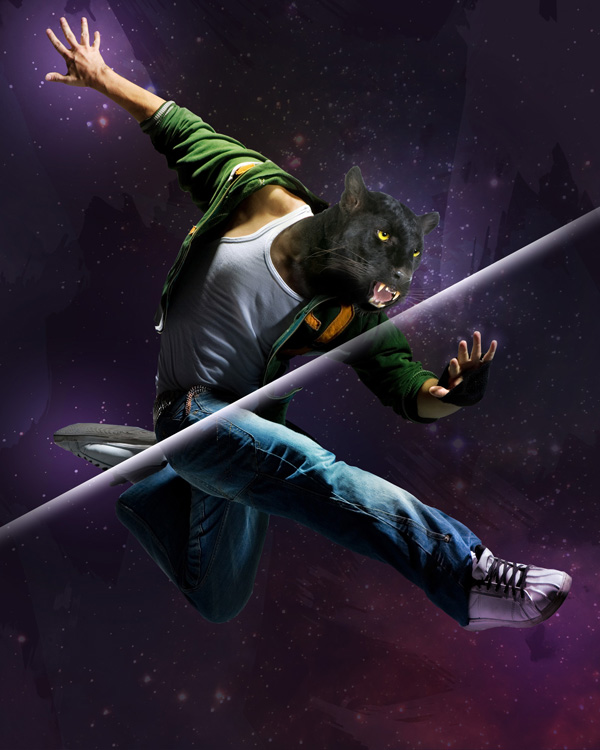
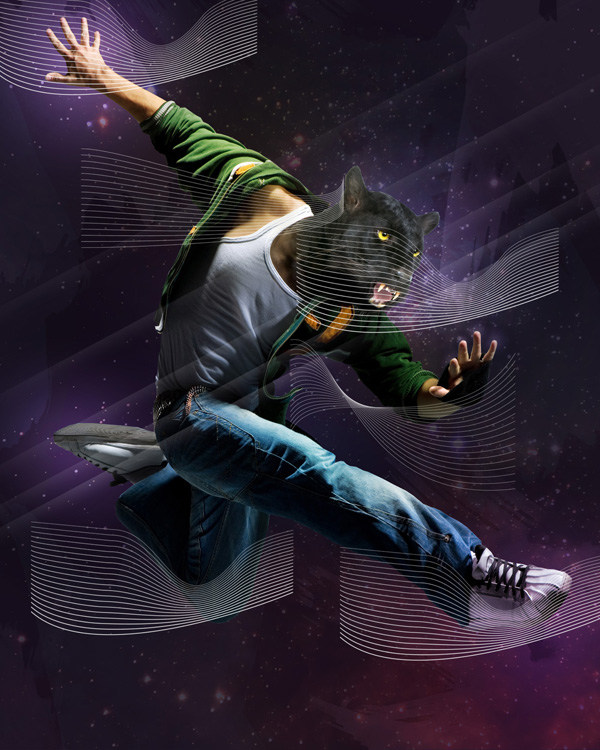
Final ImageHere is a preview of the image that we are going to be creating:

Step 1
Start by creating a new document (1600X2000px).
Fill your canvas with 1a1121.

Step 2
Create a new layer called ‘background brush marks’. Download the watercolor brush set from the resources section for this tutorial. Apply several of the brushes over your canvas (using 45364f color). Then reduce this layer’s opacity to 30%.
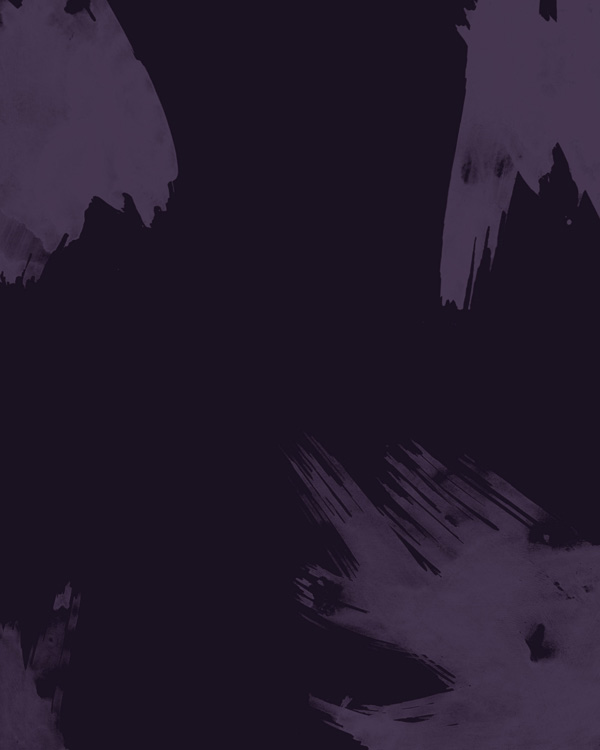
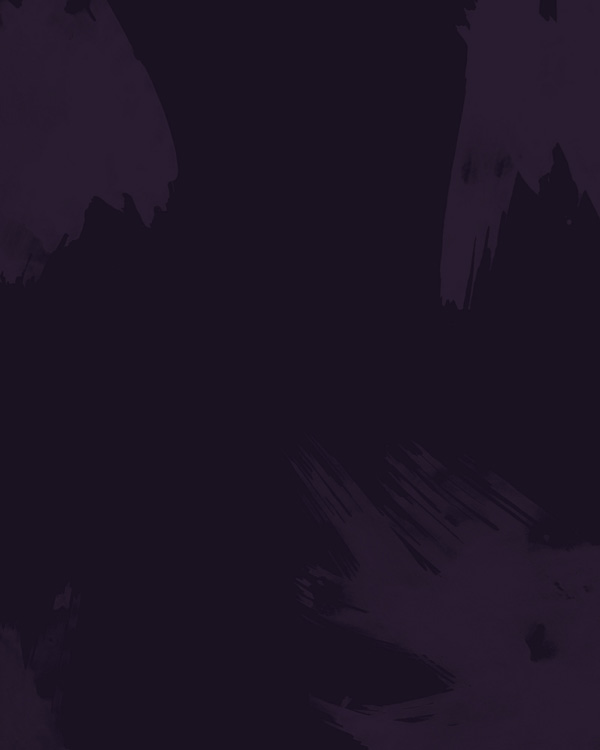
Step 3
Now create a new layer called ‘background brush marks 2′. Apply several more brushes (using 2b3245 color). Then reduce this layer’s opacity to 20%.

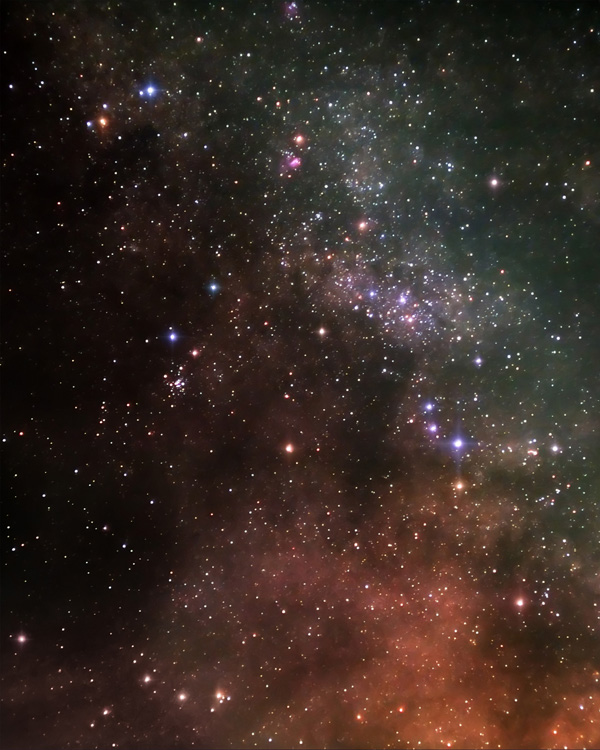
Step 4
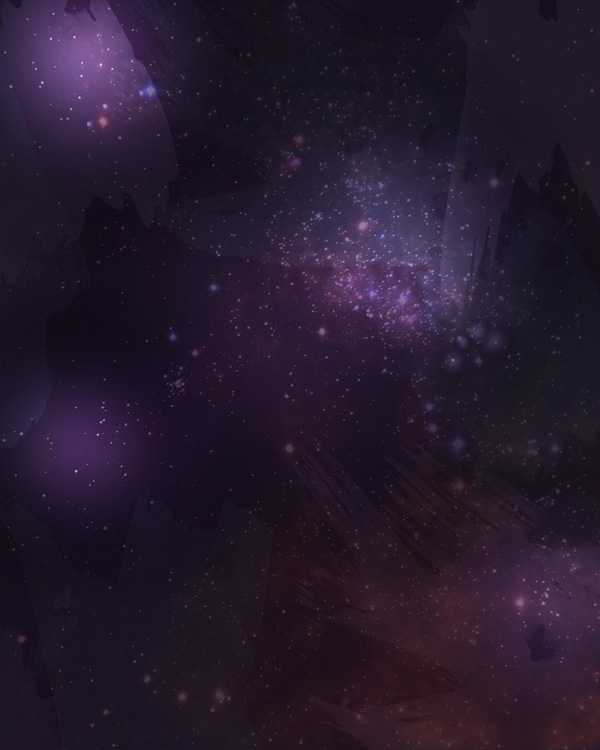
Now paste in the nebula image from the resources for this tutorial. Call this layer ‘nebula’.
Reduce this layer’s opacity to 15%.

Step 5
Now apply a levels adjustment layer. Ensure that you apply a clipping mask to this layer, so that it only effects your underlying nebula layer.
Levels Adjustment Layer Settings:
28 / 0.76 / 175

Step 6
Now create a new layer called ‘radial gradient’.
Apply several white to transparent radial gradients over your canvas. Then change this layer’s blend mode to ‘overlay’. This should help build up a cool background lighting effect.
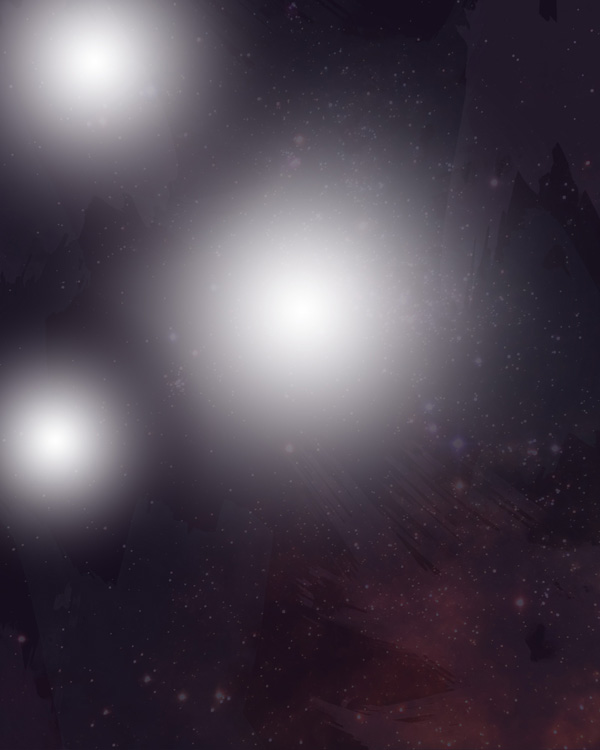

Step 7
Now repeat this technique on a new layer, applying several more radial highlights:
Step 8
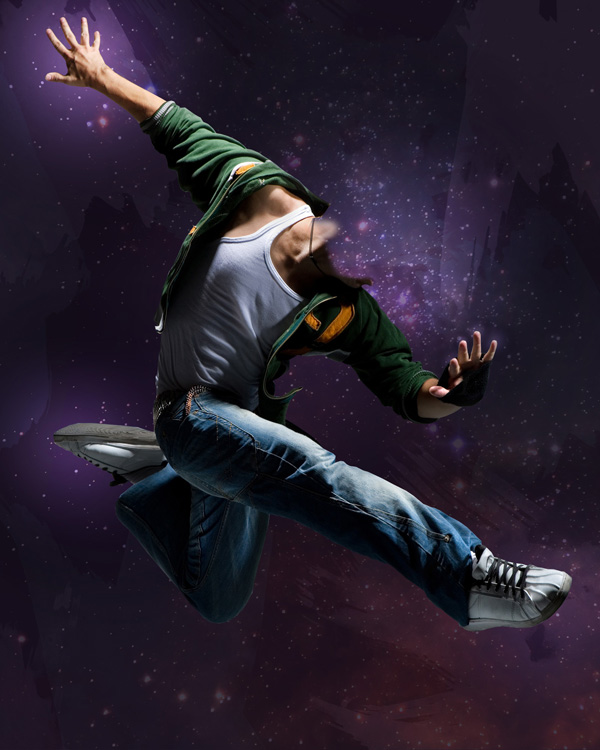
Now cut out and paste in your jumping man from the resources for this tutorial.

Then apply a layer mask, and mask off the man’s head:
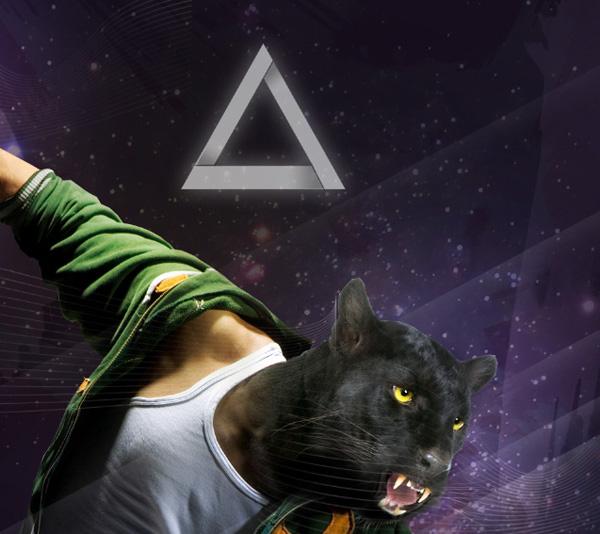
Step 9
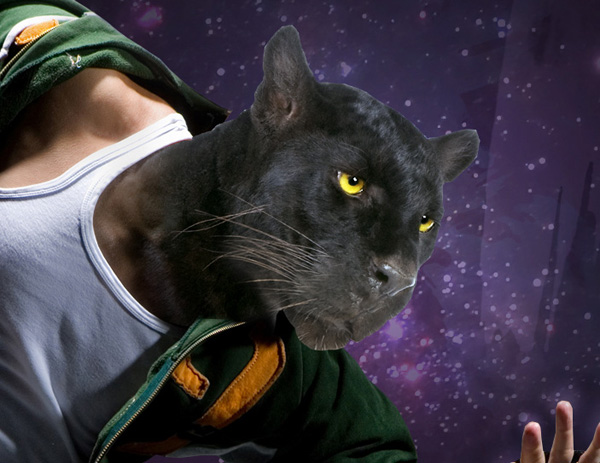
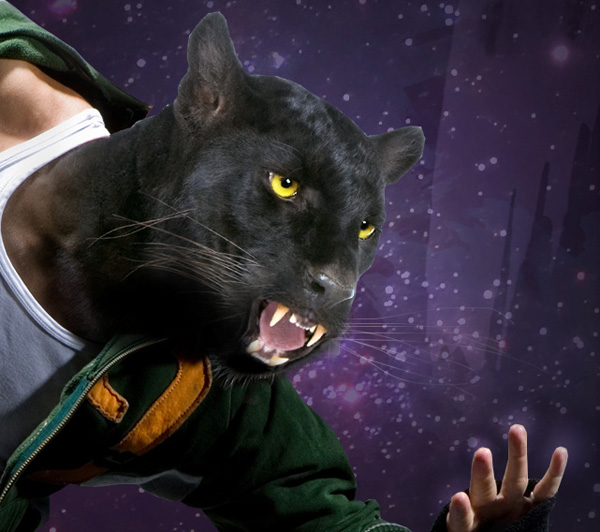
Now cut out and paste in the panthers head from the resources for this tutorial.
Go to edit>transform and use your transform tools to rotate/resize the head to fit on your man’s body.

Now apply a layer mask, and use a soft black paintbrush (20% opacity) to mask off the panthers neck, fading it smoothly into the man’s neck:
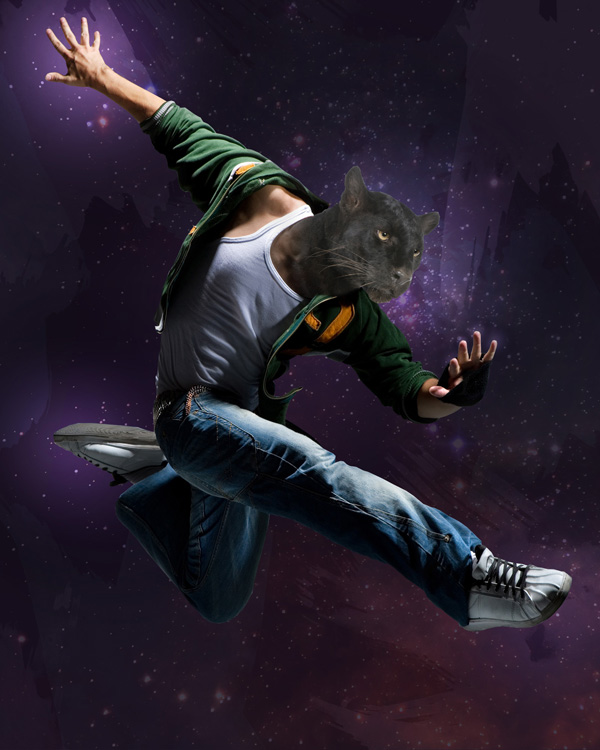
Step 10
Now apply a levels and color balance adjustment layer, making sure to apply a clipping mask to each, so that your adjustments only effect your underlying panther head.
Levels Adjustment Layer Settings:
17 / 1.00 / 218
Color Adjustment Layer Settings:
Shadow: +1 / +8 / +2
Midtones: +12 / -1 / +9
Color Balance: -13 / +8 / +18
Midtones: +12 / -1 / +9
Color Balance: -13 / +8 / +18
These adjustments should help blend your panther better with your surrounding composition:

Step 11
Now create a new layer called ‘eyes’. Select a small, soft paintbrush (fded4f) and paint over your panthers eyes. Then change this layer’s blend mode to ‘overlay’.
If needed, duplicate this layer to make the effect more intense. This should make your panthers eyes really glow!

Step 12
Duplicate your panther head layer and called this layer ‘jawline’.
In your layer’s palette move this duplicate layer above your ‘eyes’ layer and adjustment layers. Delete the layer mask applied to this layer.
Move your duplicate head down past your original.

Now apply a layer mask. Mask off all of this duplicate head apart from the jaw. The idea is to use part of your panther head to build an artificial jawline that is lower than the original:
Step 13
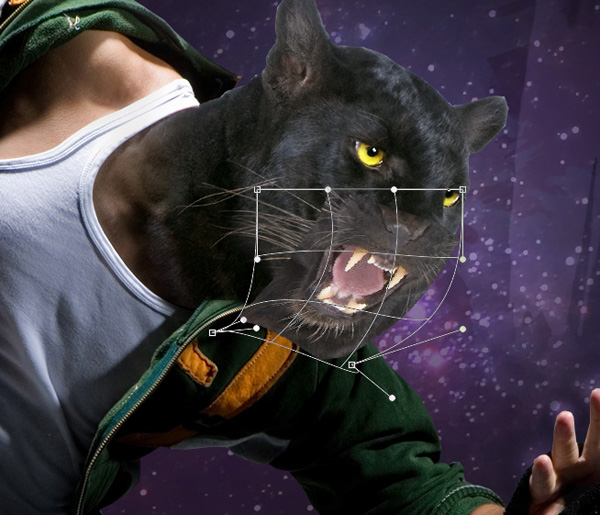
Now cut out and paste in the photo of the roaring panther jaw from the resources section for this tutorial.

Resize your roaring jaw to be a more suitable size for the main panther head. Now go to edit>transform>warp. Warp your jaw to fit with your overall composition better:
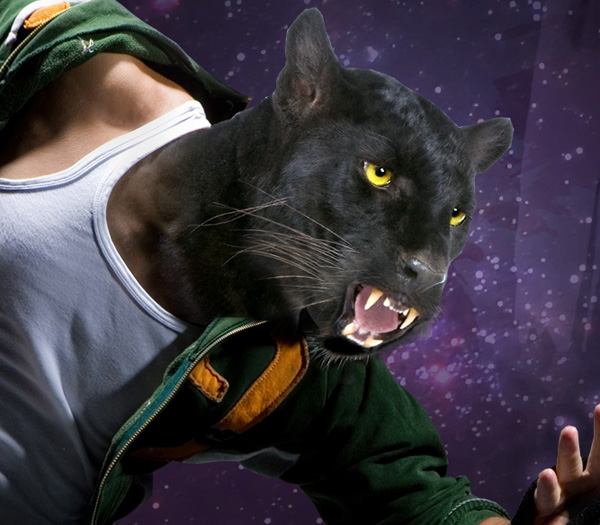
Now apply a layer mask, and mask off the edges of this open jaw so that it blends better with your main panther head:

Step 14
Now apply a levels and color balance adjustment layer to your jaw layer. Remember to apply a clipping mask to each adjustment layer!
These adjustments will help blend your open jaw with the main image:

Step 15
You’ll notice that the side of the jaw is looking a little incomplete.
Luckily, this area is where the most shadow should be given the lighting of the piece. Therefore to construct a fake jaw, we really only need to build up the shadows to cover this area.
Create a new layer called ‘face shadow’. Use a soft black paintbrush to paint in shadows over this area of jaw.

Step 16
Now create a new layer called ‘face whiskers’.
Use a soft, 1px brush to paint in some whiskers on the right side of the panthers face. This just helps things to be a bit more symmetrical.
Step 17
Now create a new layer called ‘lighting’. Drag out a series of colorful radial gradients over your jumping figure. Try to use very bright colors, but colors that somehow compliment the imagery behind them.
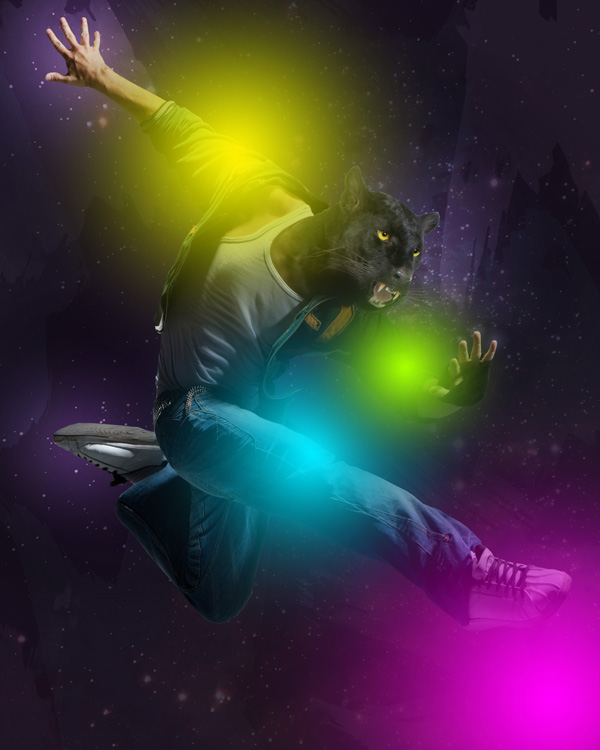
Now change this layer’s blend mode to ‘overlay’ and reduce it’s opacity to 25%.

Step 18
Now create a new layer called ‘bar lighting’.
Drag a thin white to transparent linear gradient out so that it goes diagonally across your jumping figure:
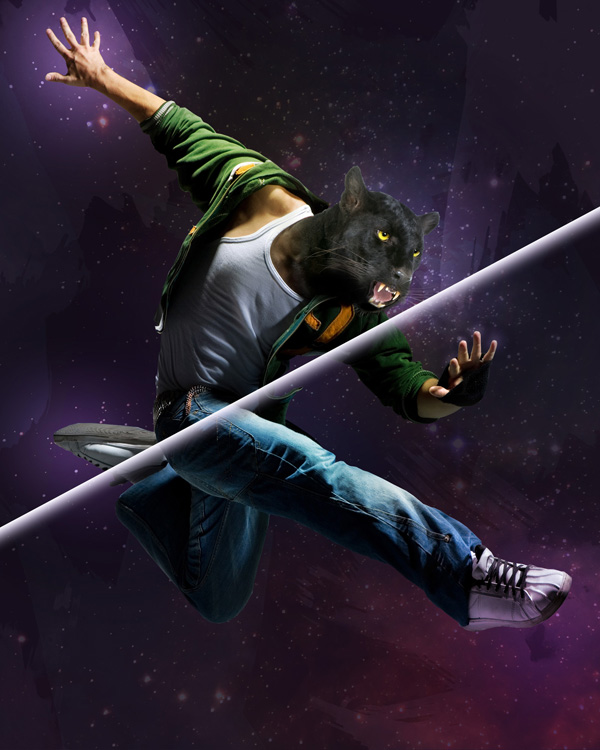
Now apply a layer mask. Use a soft black paintbrush to slightly mask off the edges of your gradient shape. You want to subtly fade these edges into your background, but not totally hide them:
Now reduce this layer’s opacity to 15%. This creates a subtle lighting effect:

Step 19
Now duplicate your ‘bar lighting’ layer and space out the duplicates across your jumping figure. The idea is that as the bar duplicates get further away from the original they get more spaced out and have a lower opacity.

Step 20
Now download the fractal lines brush set from the resources for this tutorial. Apply several of the brushes over your jumping figure.
Now apply a layer mask, and use a large, soft black paintbrush (20% opacity) to mask off areas of your fractal shapes. Then reduce this layer’s opacity to 60%. This should add just a subtle bit of detail to your composition:
Step 21
Now we’re going to dodge/burn our image in a non-destructive way.
Create a new layer called ‘dodge/burn’.
Go to edit>fill and fill your canvas with 50% gray. Then change this layer’s blend mode to ‘overlay’. This will hide your 50% gray fill but will allow you to paint over your canvas.
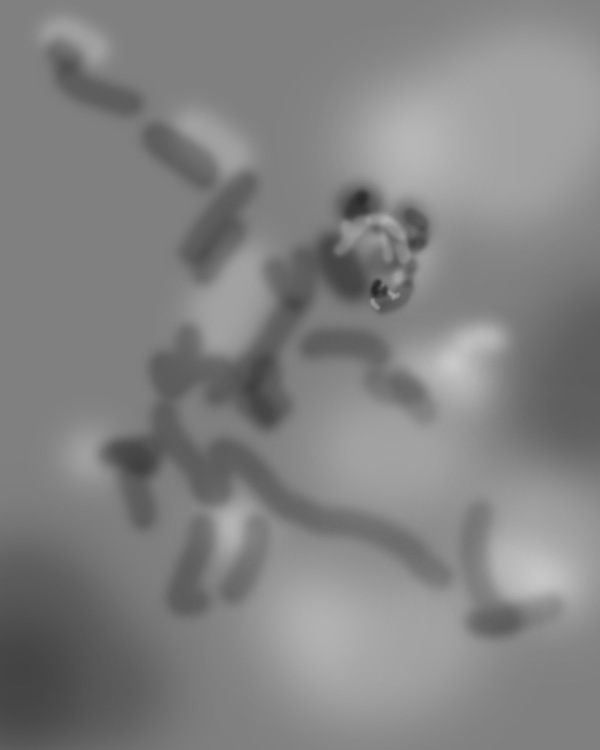
Use a soft, low opacity black paintbrush to paint in shadows, and a soft, low opacity white paintbrush to paint in the highlights. To make the effect more subtle I reduced my dodge/burn layer’s opacity to 50%.
The images below show the dodge/burn layer at ‘normal’ blend mode, and then at ‘overlay’:

Step 22
Now create a new layer called ‘triangle top’. Use your lasso tool to create a cool looking triangle shape like the image below:
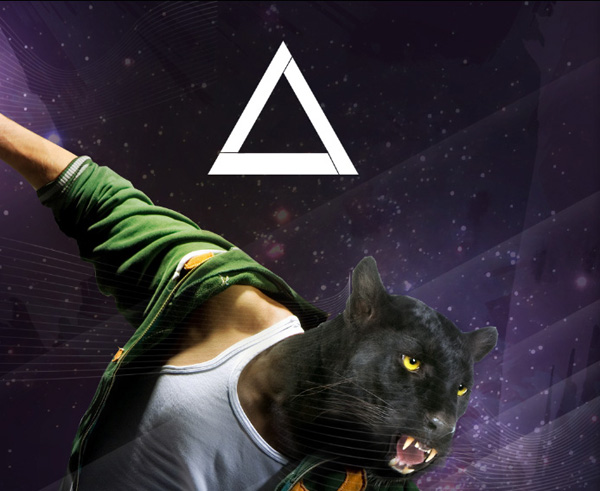
Now reduce this layer’s opacity to 60%. Apply an outer glow blending option:
Outer Glow Blending Option Settings:
Blend Mode: Normal
Opacity: 32%
Noise: 0%
Color: ffffff
Spread: 0%
Size: 38px
Opacity: 32%
Noise: 0%
Color: ffffff
Spread: 0%
Size: 38px


Finally create a new layer called ‘triangle shadows’. Use a low opacity, soft black paintbrush to paint in shadows to make your triangle shape seem more 3D:
Step 23
Now duplicate your triangle layer. Enlarge the triangle to make it about half the width of your canvas. Then apply a layer mask and mask off areas that overlap your jumping figure too much.
Then reduce this layer’s opacity to 10%.
Then duplicate this layer, and go to edit>transform>flip vertical. Move the large, flipped triangle to the bottom center of your canvas, and change it’s blend mode to ‘overlay’, increasing it’s opacity to 100%.
Below you can see the triangles at 100% opacity with no masking, and below that the finished result:


Step 24
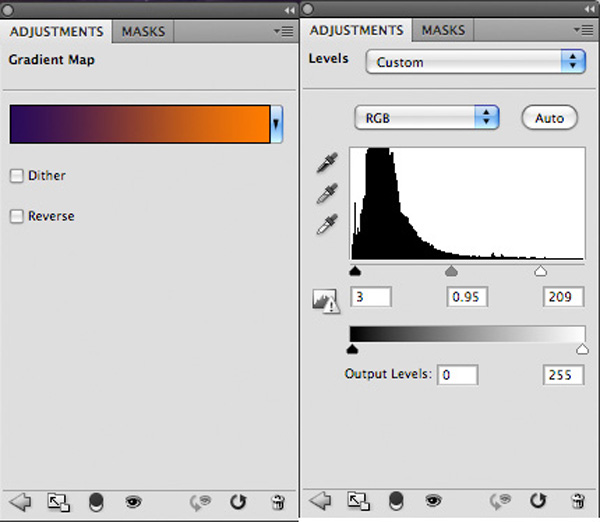
As a final touch apply a gradient overlay adjustment layer and levels adjustment layer.
Gradient Overlay Adjustment Layer Settings:
Gradient: Default gradient (purple to orange)
Opacity: 8%
Opacity: 8%
Levels Adjustment Layer Settings:
3 / 0.95 / 209
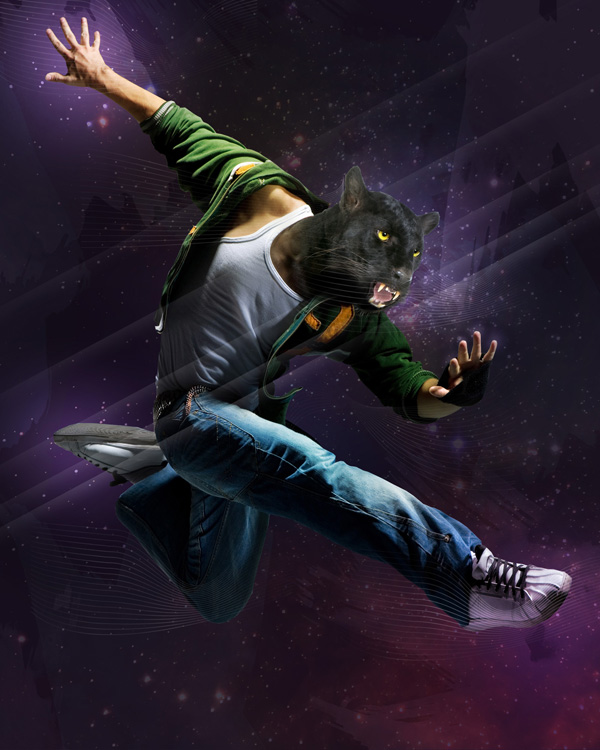
And We’re Done!
You can view the final outcome below. I hope that you enjoyed this tutorial and would love to hear your feedback on the techniques and outcome.


0 comments:
Post a Comment