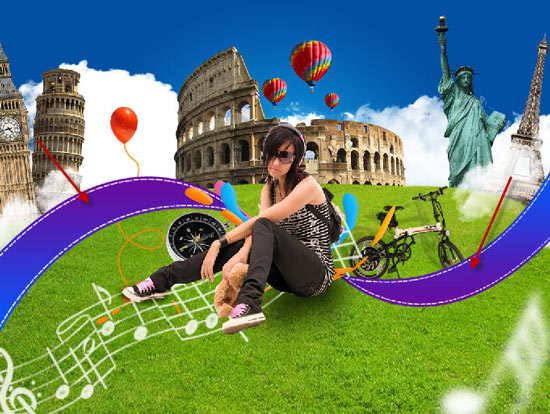
Today, what we’ll learn is to stick with a theme. Sticking with the concept theme is very crucial in high-class designing. We have theme of travel (and fun, because traveling is fun), so we’ll add the elements, tone the graphic and colorize it keeping this theme in mind. I believe it will be a great inspiration for all of you.
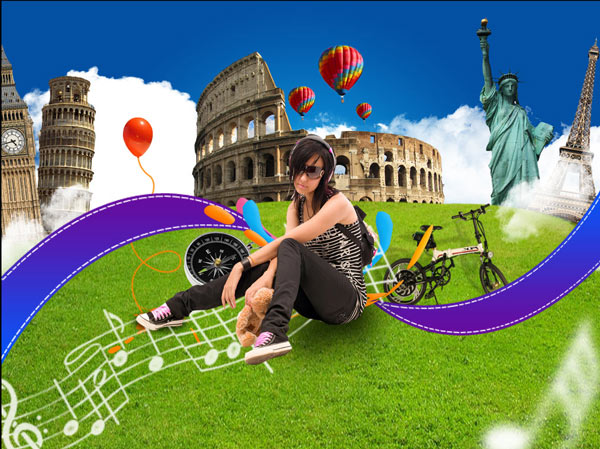
Background
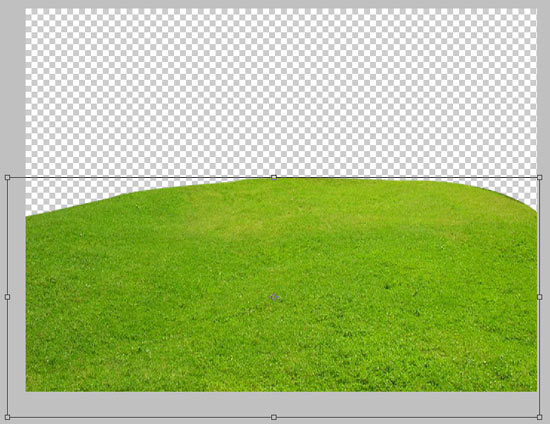
Let’s begin, first of all, let’s set the ground. I grabbed a patch of bright looking grass and just placed it here. It is important that this grass MUST not look dull, otherwise the graphic will lose all its shine.
Now what’s the use of grass if there’s no sky. Let’s make the sky. Here I’m going to apply theGradient on the background.
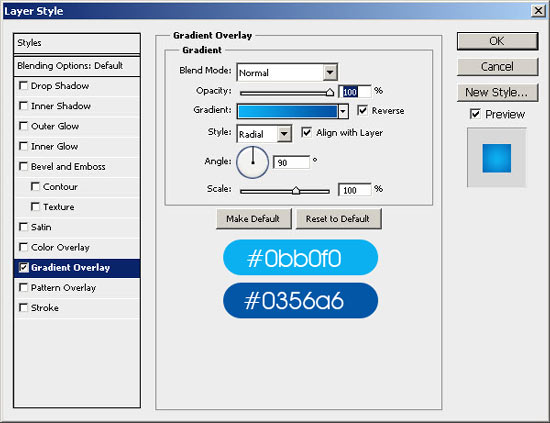
Here is the gradient in a separate layer behind the grass layer. Looks cool! right!

Setting the Environment
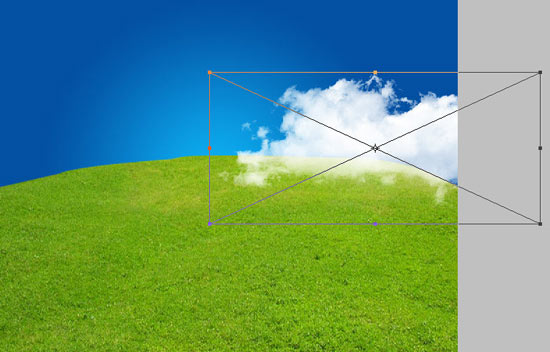
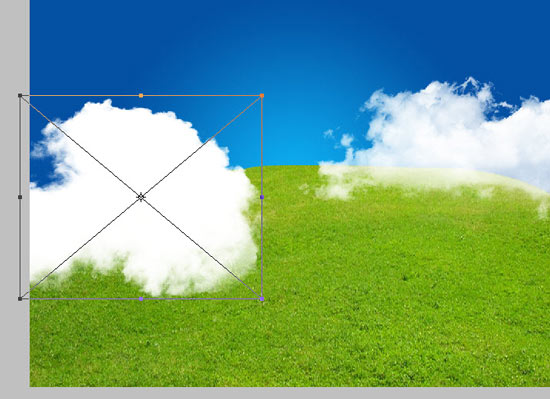
Travel means fun and adventure. Adventure translates into mist. We can easily add mist through clouds.
Here I spill some cloud PNGs’. (The link backs to these stock images are provided in the start of the article).
And another one. We are adding every single bit in a new layer. A new layer always, that’s essential in Photoshop Designing.
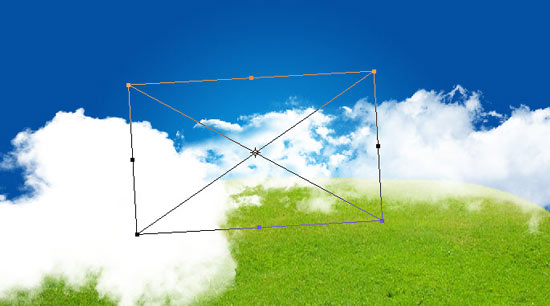
And some more, after that the scene is complete.
Elements
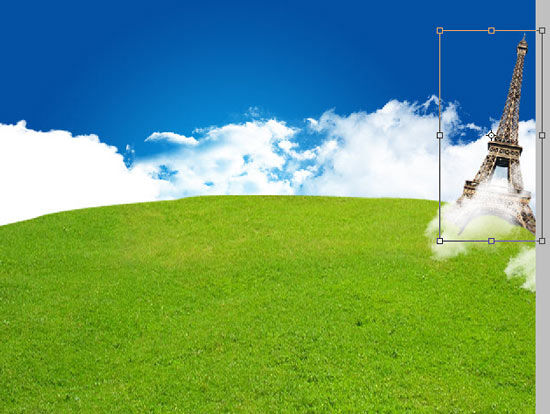
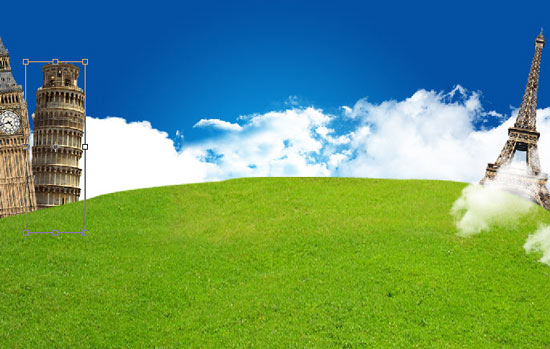
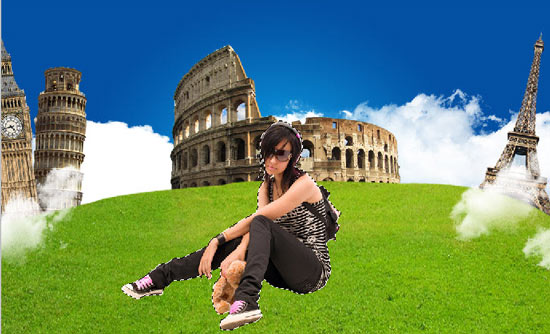
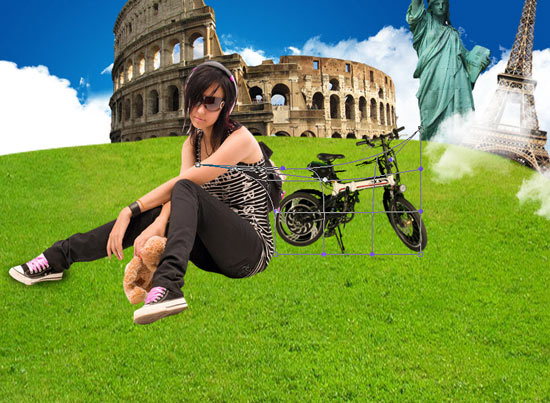
If we are making something related to travel, we need travel destinations. So let’s add some famous tourist destinations of the world. I started with the Eiffel Tower, removed its background and put it in the scene. But here’s a catch, since traveling is fun, we need to add a little fun in the graphic. How can we do that??? hmmm….. With a little twist of rotating the tower clockwise.
Big Ben, rotated as well.
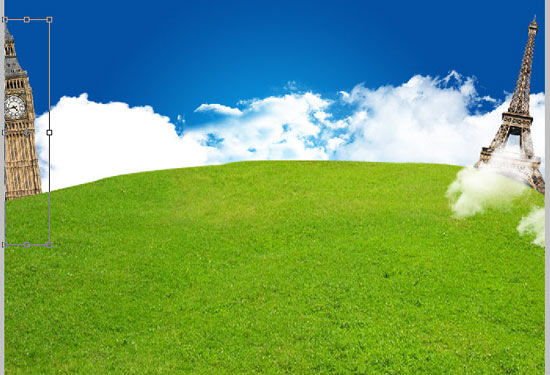
Leaning Tower of Pisa. Don’t rotate this tower, architect has done that already. 
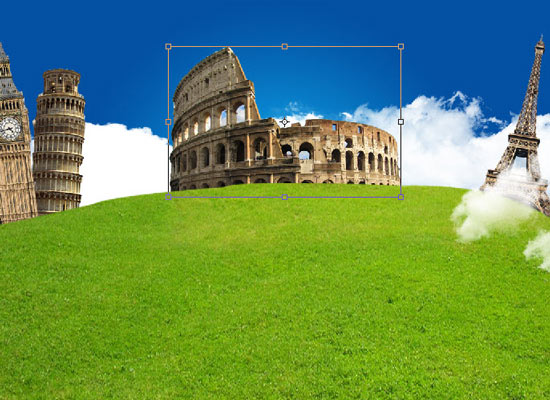
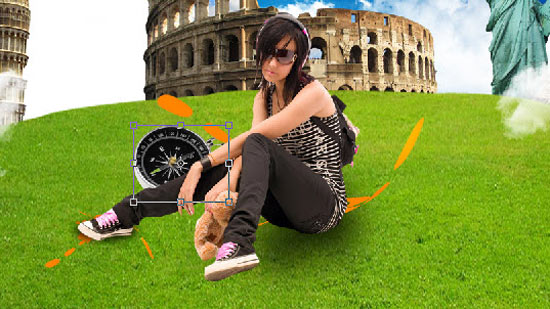
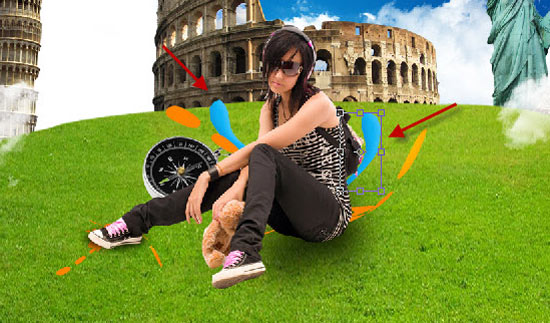
And now my favorite, The Colosseum. Its gigantic structure in the middle of the picture adds mightiness and adventure.
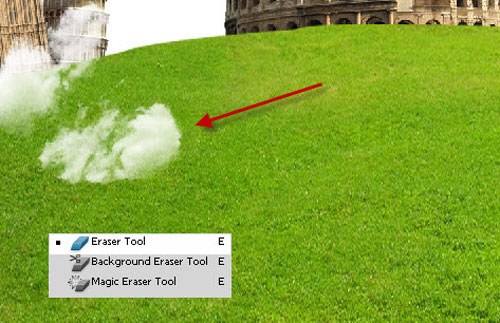
Let’s add a few more clouds for adding the mist.
The Girl
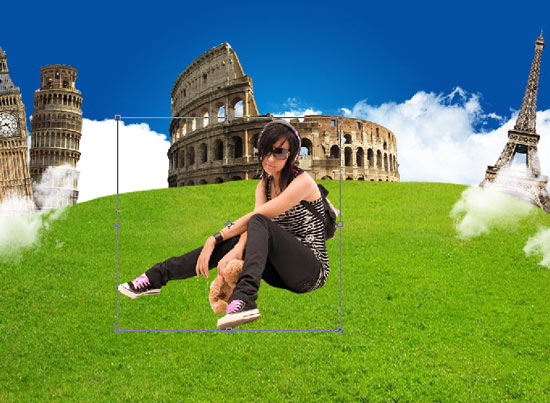
My favorite part of the job where I manipulate girls photos, lol
I just grabbed a photo from stock and placed her on the grassed. She is our tourist.
Marquee select the tourist by Striking the CTRL+Click on the thumbnail of the relevant Tourist Layer.
Make a new blank layer and fill the selection with solid black color.
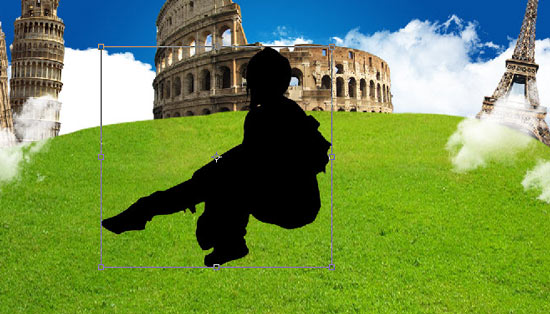
This black color becomes the Girl’s Shadow.
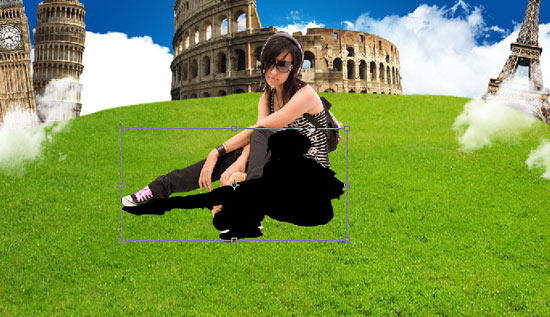
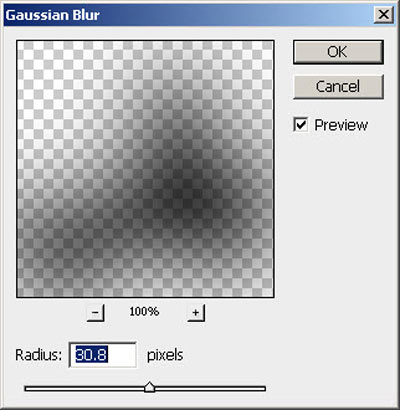
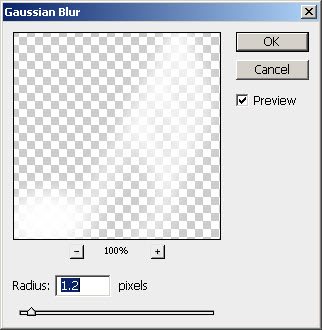
Here I Select the shadow layer and apply the the Gaussian Blur filter with these values ,Filer>Blur>Gaussian Blur
Shadow is not visible here but it will be in the final result, so don’t be distracted.
Here I through in a tourist cycle in the scene and set the Perspective. This perspective will give the cycle a ‘standing position’ look.
Vectors
Here I add a Custom Shape and Warp this with the Help of Warp Tool.
Now I’m transforming it.
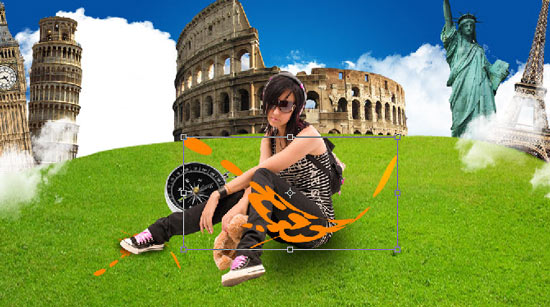
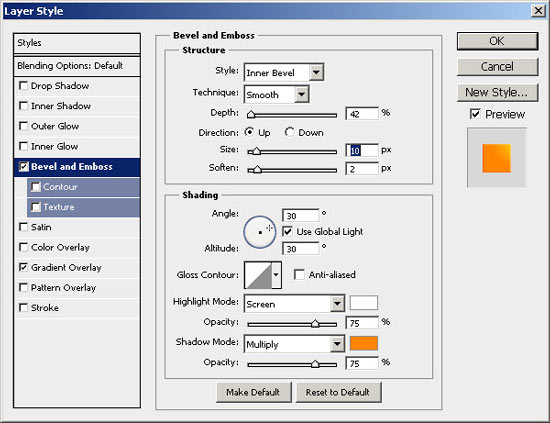
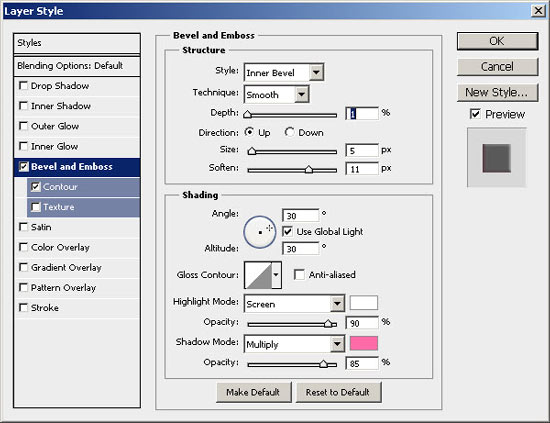
A little bevel.
Here I Copy the custom Shape and the paste it right behind the Foot of our model…. I meant the tourist.
Meanwhile, I thought a compass will look great somewhere in the image, so I added it.
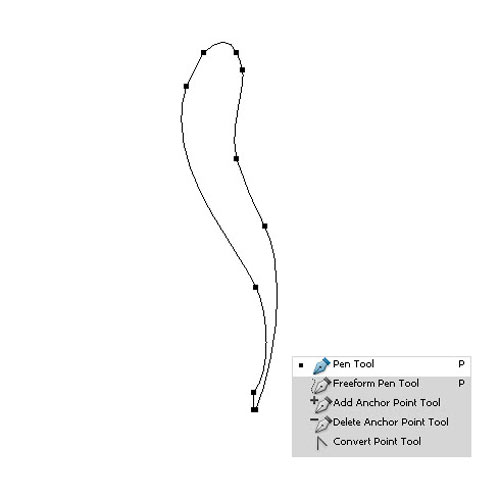
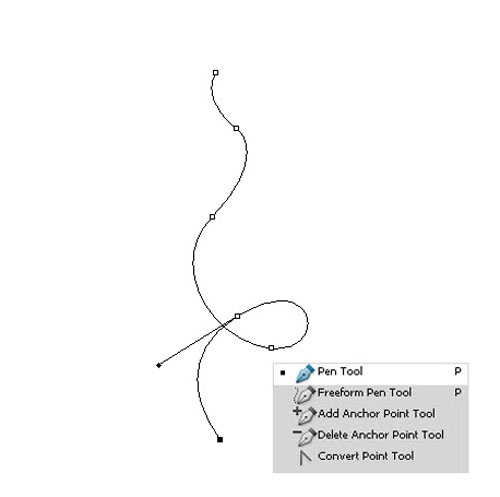
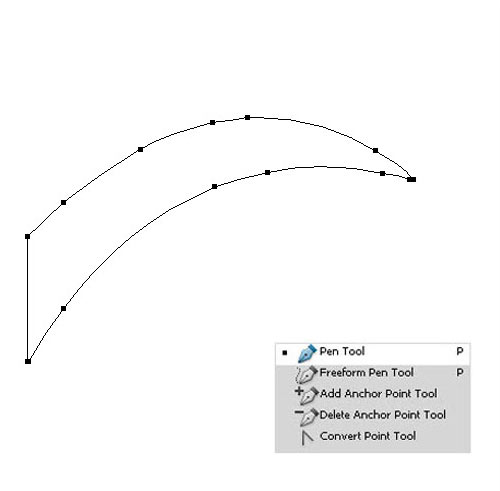
I drew a curve With the Help of Pen Tool.
Bevel again.
Here’s the result.
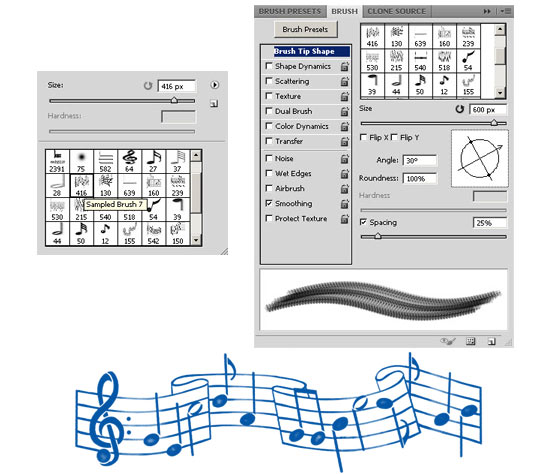
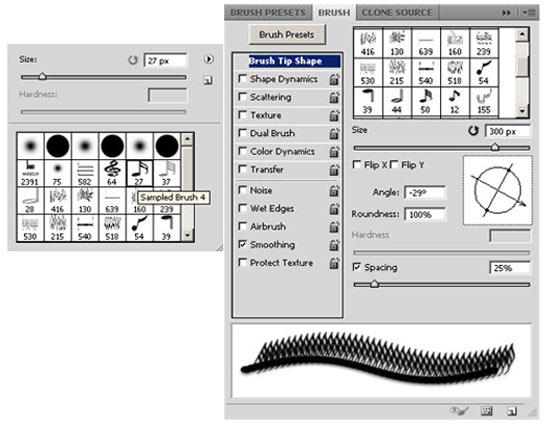
Travel is fun right, so is Music. Here I select a Brush of musical notes with these Settings of theBrush
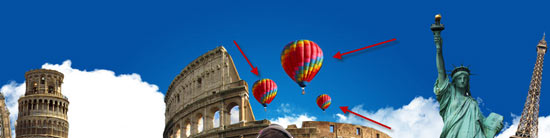
Hey, hot air balloons will look cool. Let’s add them. (We’ll see the brush stroke result in just a bit)
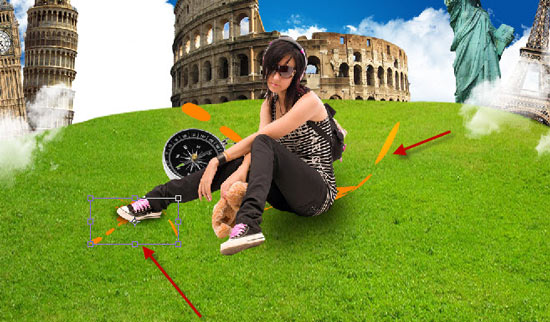
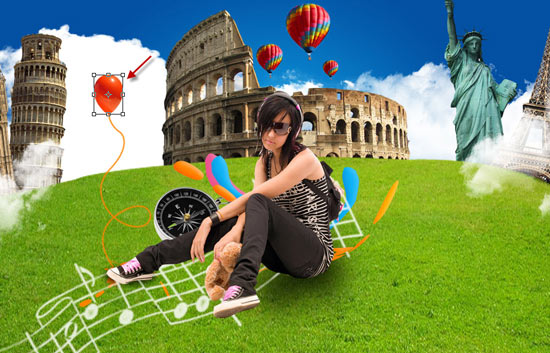
Here I Make another Curve for the making the thread. I made a path and using the command ofStroke Path we got our shape. Why do we need a thread, you’ll know very soon, I like to keep suspense.
We needed the thread for this little red balloon. You can also see the musical notes brush in action.
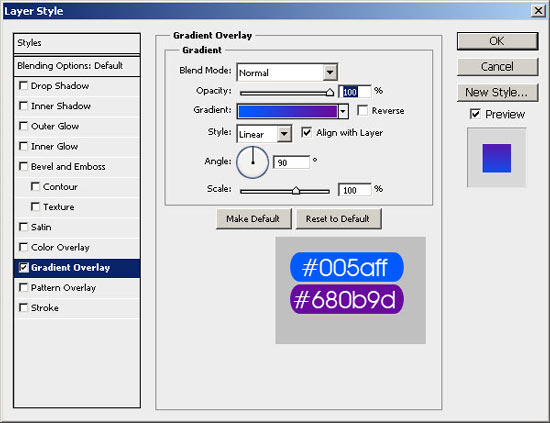
Made another curve.
Applied this gradient.
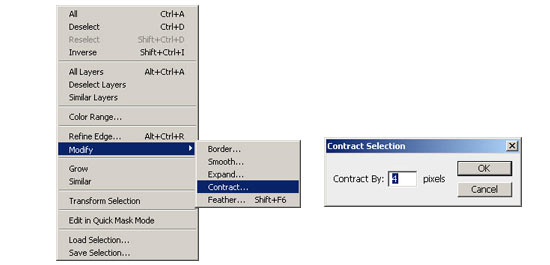
Here’s something tricky. I made selection of the curve, then Applied these settings for making aDotted Stroke, After applying these setting take a New layer and filled it with the white colorthen apply these setting and Delete the Inner white part of the layer. Now you got only the white stroke. Then Select the Erase Tool and Erase the Stroke like the pattern of Dotted line.
The arrows in this picture point towards the result of previous step.
Here I make another Brush Stroke with these settings.
And Apply the Gaussian Blur effect on the Music Knot.
Got The Final Destination
You can see the result of our previous step in the bottom left corner.


0 comments:
Post a Comment