Mixing 3D Elements Photography to Create a Vibrant and Playful Photomontage
This tutorial is all about mixing process of 3D elements and digital photography to create a vibrant and playful photomontage in Adobe Photoshop CS5. Layered PSD file included. Let’s get started!
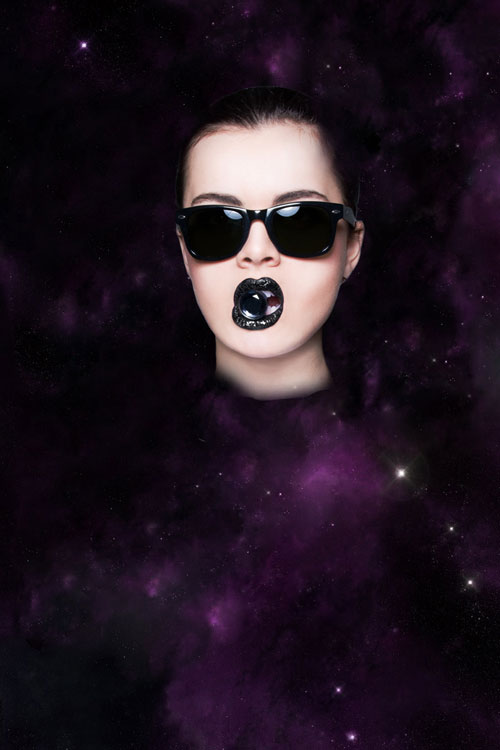
Final Image Preview
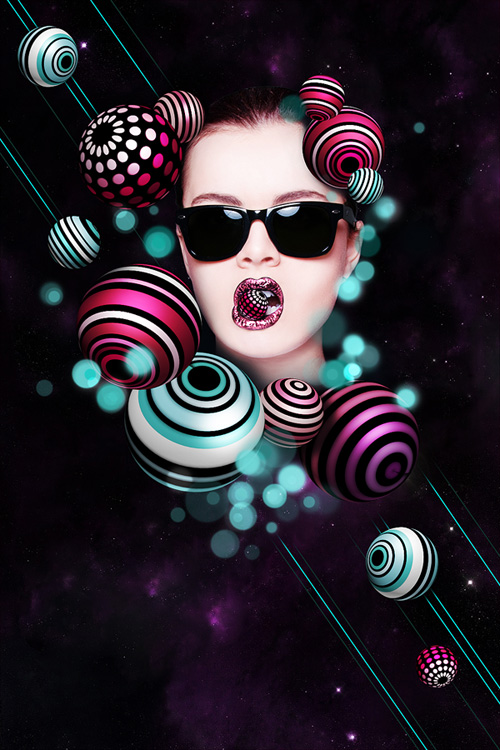
Start working by creating a new document (Ctrl+N) in Adobe Photoshop CS5 with the size 1000px by 1500px (RGB color mode) at a resolution of 72 pixels/inch. Find a stock photo with spectacular deep space like the next one:
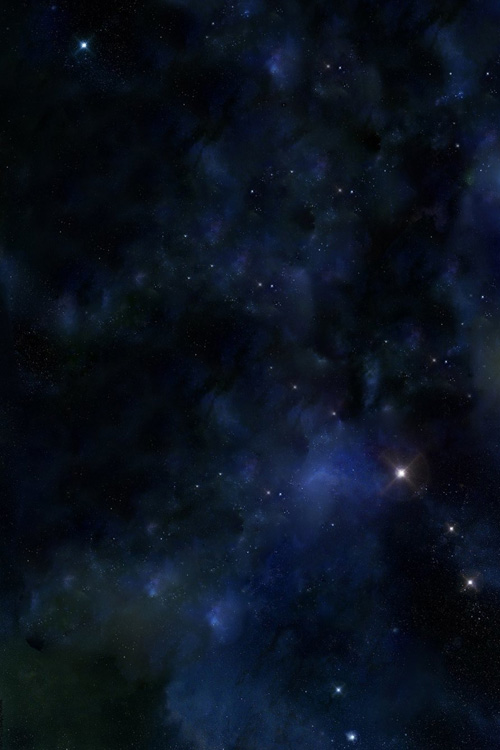
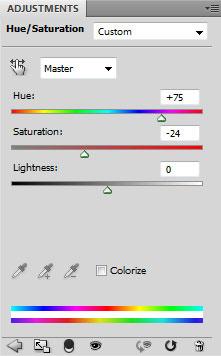
Click Create new fill or adjustment layer from bottom part of the Layers panel and select Hue/Saturation. Drag the slider to the right to increase the Hue of the color range, and decrease the Saturation.
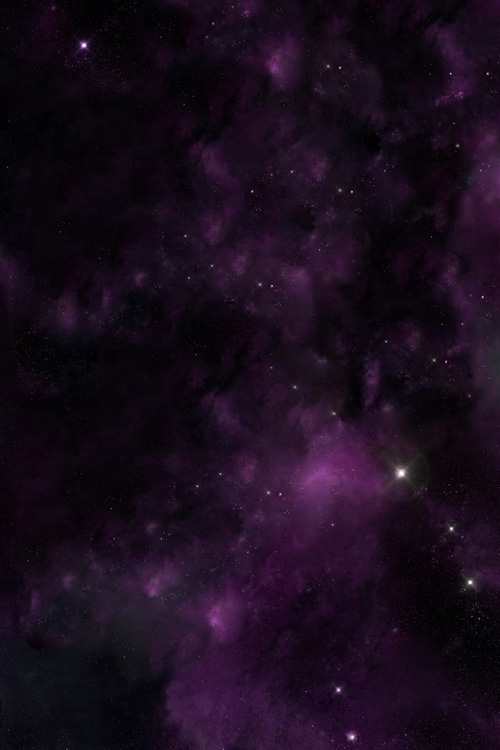
We’ve got the next result:
Click Create new fill or adjustment layer from bottom part of the Layers panel and click to Curves to adjust the curve shape as shown to make a little color corrections.
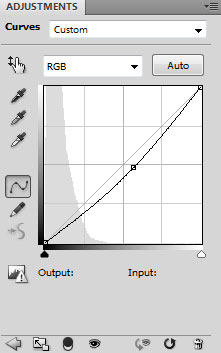
We’ve got the next result:

Find a stock photo with a model represented on it, I used this photo from Shutterstock. I would like to thank the author of this photo, or if you prefer, you can substitute similar image of your own.
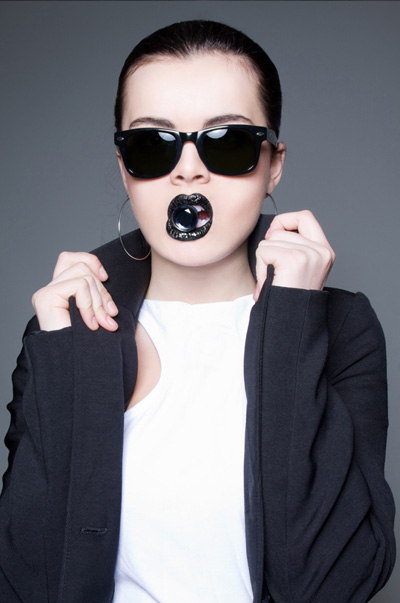
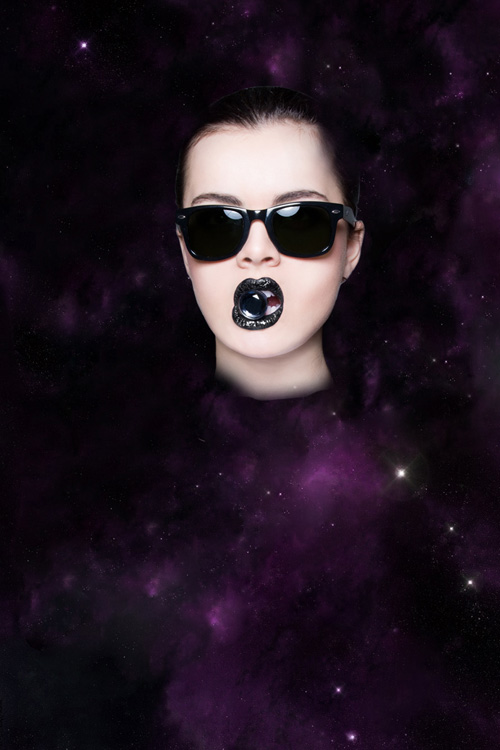
Remove the background using your favorite tools like Pen Tool (P), Magic Wand Tool (W), Magnetic Lasso (L) or even a simple Filter>Extract and insert it on a new layer in our main document.
Click Create new fill or adjustment layer from bottom part of the Layers panel and click to Curves to adjust the curve shape as shown to make a little color corrections.
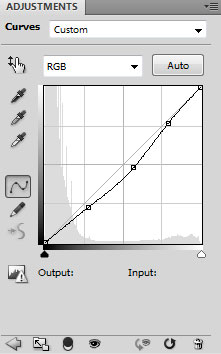
We’ve got the next result:

Hold down Alt (Windows) or Option (Mac OS) and click between the layer containing the Curves adjustment layer and the model’s layer in the Layers panel to create a clipping mask.

We’ve got the next result:
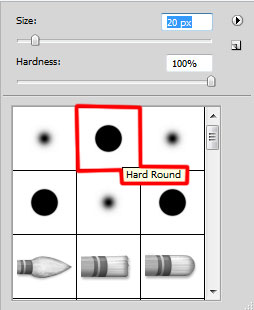
Let’s tone the model’s skin now. In this case create a new layer and select the Hard Round brush to paint several zones on the model with the color #F0B2BE.
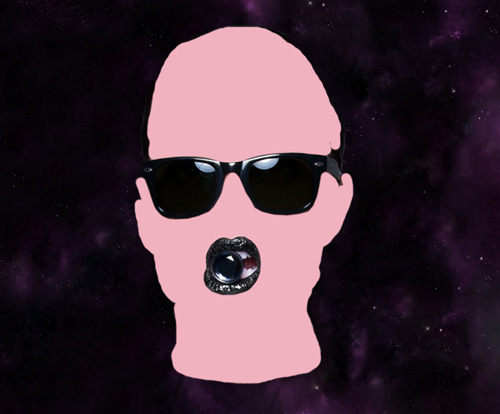
We’ve got the next result:
Hold down Alt (Windows) or Option (Mac OS) and click between layers in the Layers panel to create a clipping mask.
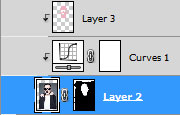
Set the Blending mode for this layer to Soft Light.
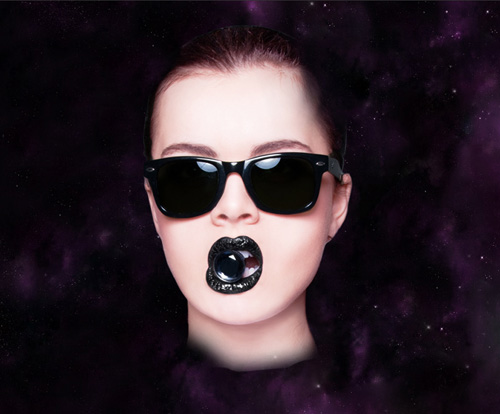
Now we have to paint the model’s lips. Create a new layer and use the brush mentioned above to paint her lips with the color #F0C7D7.
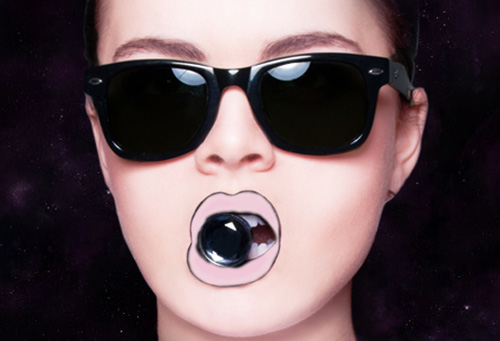
Set Fill to 88% for this layer and change the Blending mode to Vivid Light.
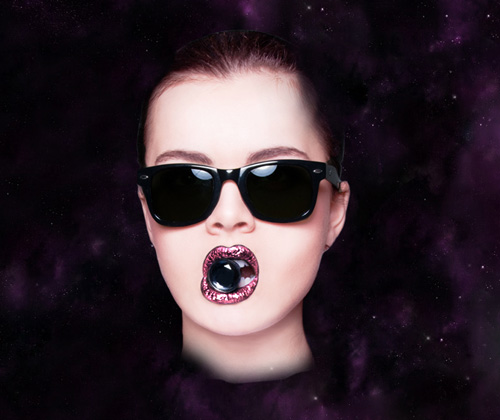
Let’s draw a sphere now. In this case create a new layer, go to 3D > New Shape from Layer > Sphere:
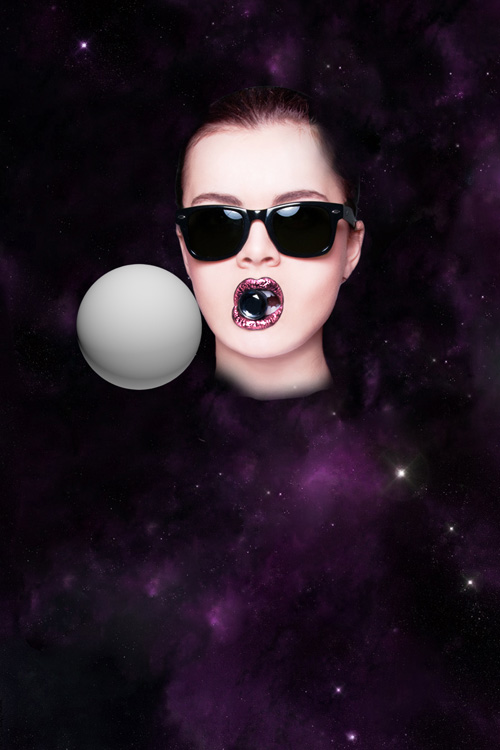
Go to the sphere’s layer in Layers panel and click on Background settings. Change the size for new opened document to 880 x 1244px at a resolution of 300 pixels/inch, using the Paint Bucket Tool (G) fill the new document with black color.

Using the Rectangular Marquee Tool (M), represent several horizontal selections. Fill the selections, applying the Paint Bucket Tool (G).
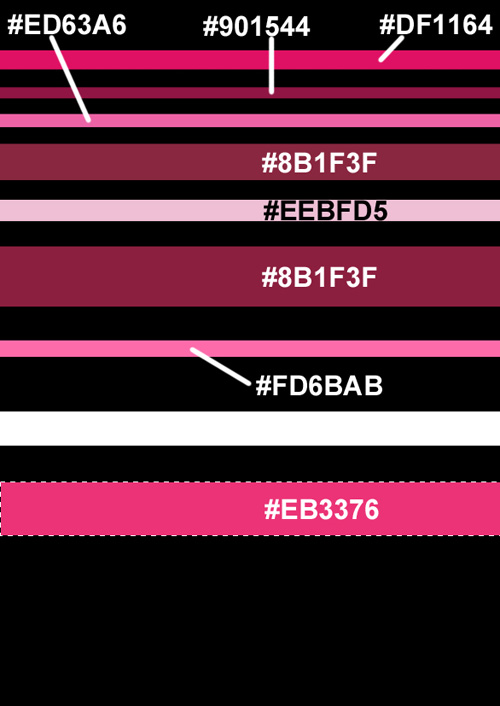
Save & Close this file extension. Now let’s rotate the sphere now, applying the Object Rotate Tool (K).
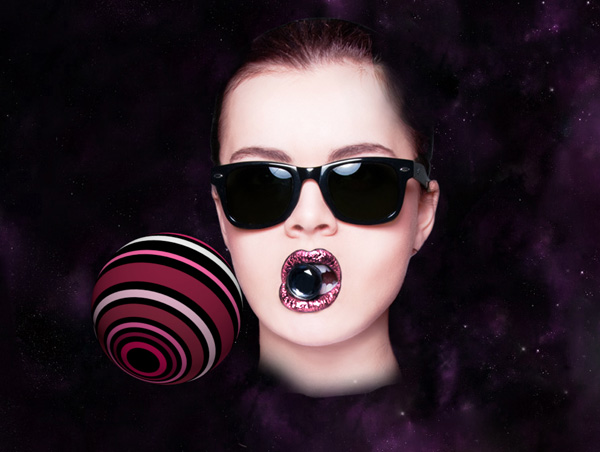
Continue representing the spheres, applying the earlier describes method. Their sizes may be changed, using the Free Transform (Ctrl+T) command. Their orientation may be changed applying Object Rotate Tool (K). You may see below the sphere’s placement and its texture. If necessary, place the sphere’s layer under the previous one on the Layers panel.

Start working by creating a new document (Ctrl+N) in Adobe Photoshop CS5 with the size 1000px by 1500px (RGB color mode) at a resolution of 72 pixels/inch. Find a stock photo with spectacular deep space like the next one:

Click Create new fill or adjustment layer from bottom part of the Layers panel and select Hue/Saturation. Drag the slider to the right to increase the Hue of the color range, and decrease the Saturation.

We’ve got the next result:

Click Create new fill or adjustment layer from bottom part of the Layers panel and click to Curves to adjust the curve shape as shown to make a little color corrections.

We’ve got the next result:

Find a stock photo with a model represented on it, I used this photo from Shutterstock. I would like to thank the author of this photo, or if you prefer, you can substitute similar image of your own.

Remove the background using your favorite tools like Pen Tool (P), Magic Wand Tool (W), Magnetic Lasso (L) or even a simple Filter>Extract and insert it on a new layer in our main document.

Click Create new fill or adjustment layer from bottom part of the Layers panel and click to Curves to adjust the curve shape as shown to make a little color corrections.

We’ve got the next result:

Hold down Alt (Windows) or Option (Mac OS) and click between the layer containing the Curves adjustment layer and the model’s layer in the Layers panel to create a clipping mask.

We’ve got the next result:

Let’s tone the model’s skin now. In this case create a new layer and select the Hard Round brush to paint several zones on the model with the color #F0B2BE.

We’ve got the next result:

Hold down Alt (Windows) or Option (Mac OS) and click between layers in the Layers panel to create a clipping mask.

Set the Blending mode for this layer to Soft Light.

Now we have to paint the model’s lips. Create a new layer and use the brush mentioned above to paint her lips with the color #F0C7D7.

Set Fill to 88% for this layer and change the Blending mode to Vivid Light.

Let’s draw a sphere now. In this case create a new layer, go to 3D > New Shape from Layer > Sphere:

Go to the sphere’s layer in Layers panel and click on Background settings. Change the size for new opened document to 880 x 1244px at a resolution of 300 pixels/inch, using the Paint Bucket Tool (G) fill the new document with black color.

Using the Rectangular Marquee Tool (M), represent several horizontal selections. Fill the selections, applying the Paint Bucket Tool (G).

Save & Close this file extension. Now let’s rotate the sphere now, applying the Object Rotate Tool (K).

Continue representing the spheres, applying the earlier describes method. Their sizes may be changed, using the Free Transform (Ctrl+T) command. Their orientation may be changed applying Object Rotate Tool (K). You may see below the sphere’s placement and its texture. If necessary, place the sphere’s layer under the previous one on the Layers panel.


0 comments:
Post a Comment