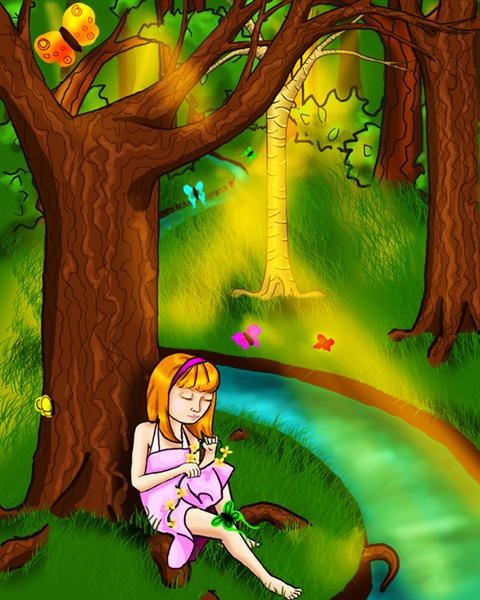
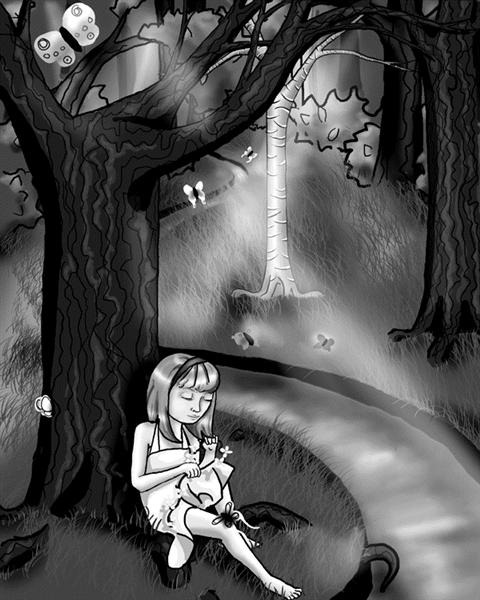
This tutorial will lead you through the steps of creating a children’s book illustration that can be edited and changed when the author you are working with wants minor changes made to the art. And when using this kind of layout, the changes will be easy and generally painless for you, as the artist. Part I covered the background, and Part II covers the foreground. This final part (III) details the steps to create a child and the finishing details for the picture.
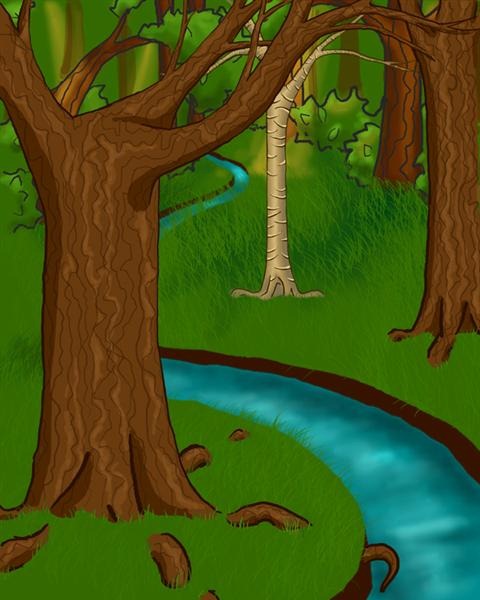
Preview of Final Results

Design a Children’s Book Illustration Part III: The Finishing Photoshop Tutorial
- Program: Photoshop 7
- Difficulty: Beginner-Intermediate
- Estimated Completion Time: 45 minutes
Step 1
Now that we have build up so many layers, it is time to make a “set”. Go to Layers > New Layer > Layer Set. Name it “scenery”, and change the mode to “normal”.![clip_image002[8] clip_image002[8]](http://photoshoptutorials.ws/images/stories/ChildrensBookIllustrationPartIITheFinish_12932/clip_image0028.jpg)
![clip_image004[6] clip_image004[6]](http://photoshoptutorials.ws/images/stories/ChildrensBookIllustrationPartIITheFinish_12932/clip_image0046.jpg)
Step 2
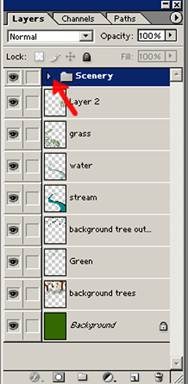
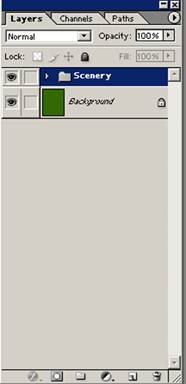
Click and drag all layers (except the background layer) into this folder, starting with the top layer and moving your way down. The picture should look the same once you are done, because the files should go into the folder in the right order. If you make a mistake, it is easily fixable, just drag the misplaced folder to the place it is supposed to go within the new set. In order to get all layers into the set, it will be necessary to minimize the set by pressing the small arrow to the left of the set’s folder, so that it faces to the right instead of down.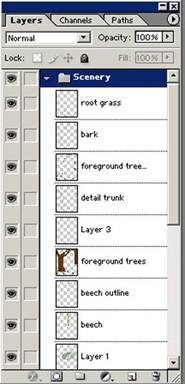
Step 3
Repeat step one to make a new set. Title the set “characters”, and press the little button so that the little arrow is pointing down. This will make all the layers placed in the set visible, so that they can be worked on during this part of the tutorial.
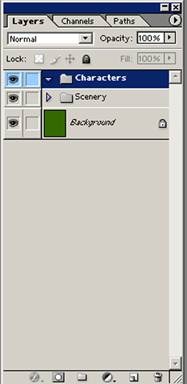
Step 4
Make a new layer, “girl outline”.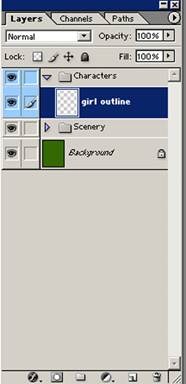
Step 5
Sketch in the pose you want the little girl to be in. I have decided to place her at the base of the tree, making a string of flowers. I used color #4B4B4B. It doesn’t matter what size brush you use, but it is important that it is a hard-edged brush rather than a soft one.
Step 6
Make a new layer “girl”. This is where the actual girl will be outlined.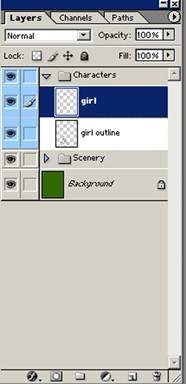
Step 7
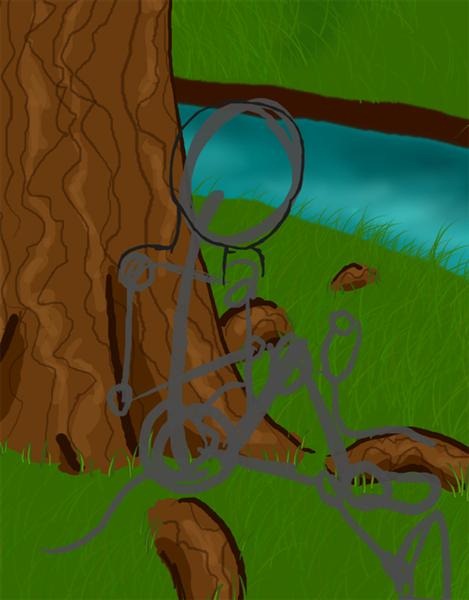
Start to refine the outline that you drew on the layer below, starting with the head. Remember that children, especially their faces, are all soft curves, so try to avoid any harsh or pointing lines. For steps 7-12 I will be using a size 25 pixel hard-edged brush (100% opacity) and color #1D1D1D.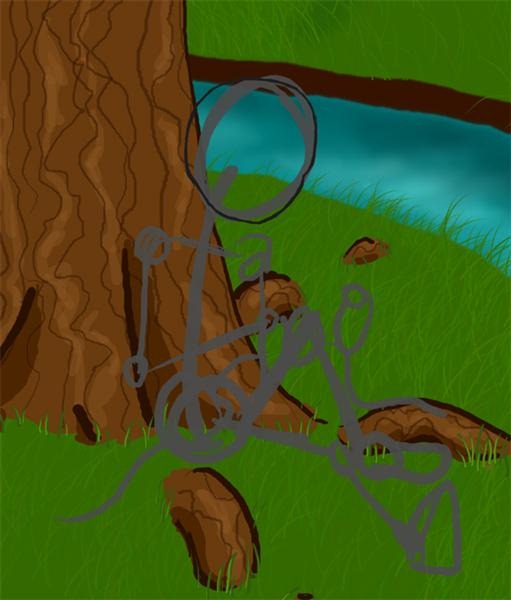
Step 8
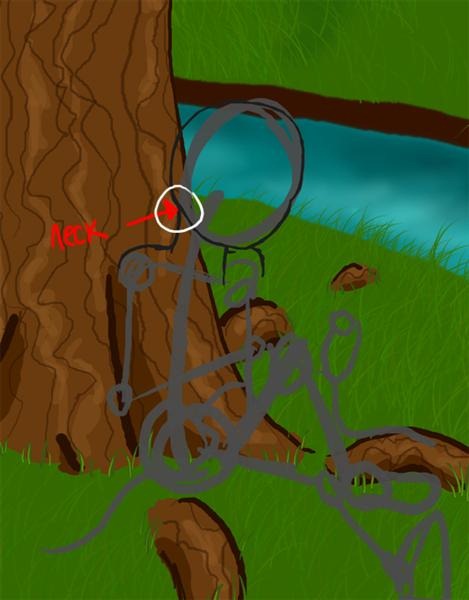
Work on the neck and shoulders next. The neck will be soft and the shoulders narrow.*The neck joins to the chest in the front; it does not disappear into the shoulder.
**The neck also joins at the base of the head; I have circled this area in white.
Step 9
The next part to draw is the arms. They are round and soft, like the shoulders. For now it is only necessary that you block in the position of the hands.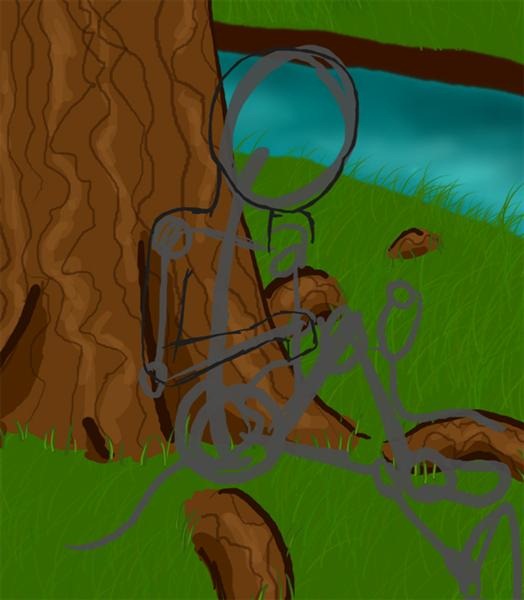
Step 10
The second arm is not completely visible, so erase any overlapping lines as you work, so that the object in front is not obscured.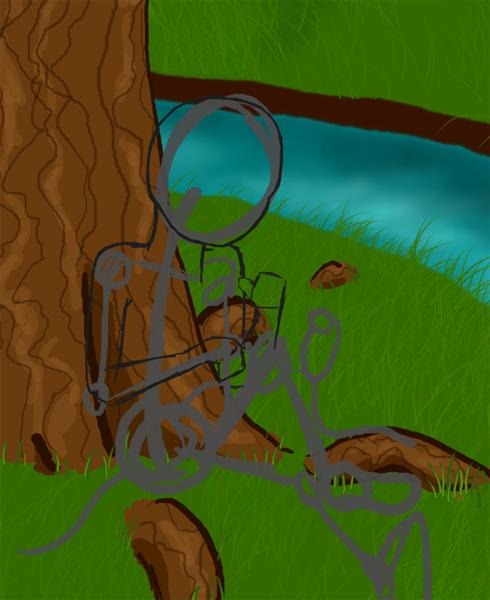
Step 11
Now draw in the legs.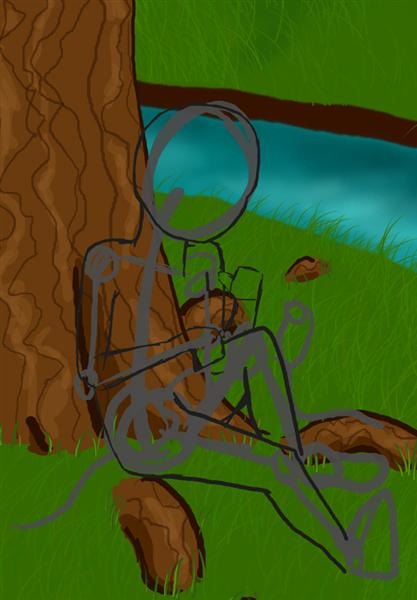
Step 12
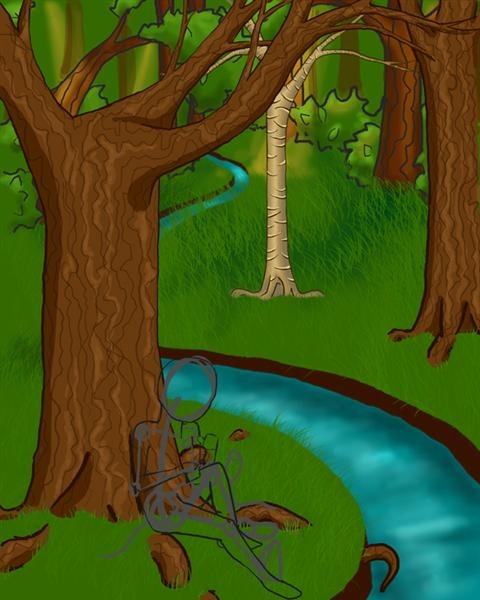
Now block in the feet, much like you did the hands.At this point it is not too late to make changes. In my case I reshaped the leg in order to attach it to the foot.
Step 13
Delete the layer “girl outline” so that there is only one layer in the set.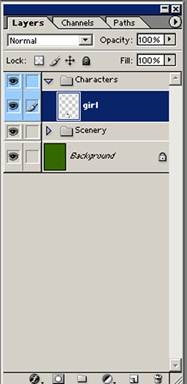
Step 14
Now make a new layer above that, “dress”.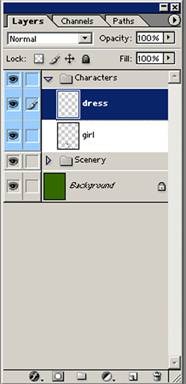
Step 15
Using the same brush as steps 7-12, change the color to #2E002B and outline the dress and its folds.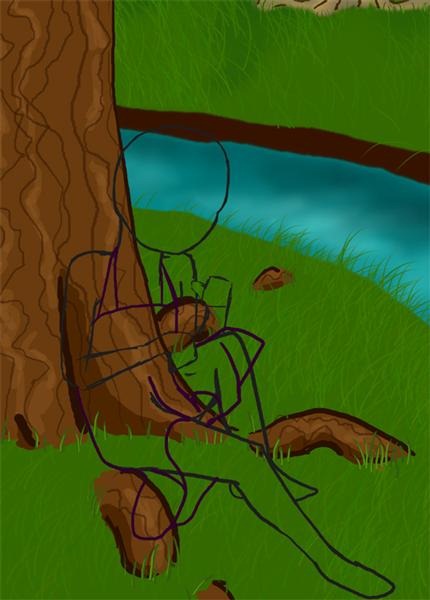
Step 16
Now, going back to the “girl” layer, use color #2E0800 and draw in the hair. Keep the lines long and clean, without a lot of extra pieces, or rough edges.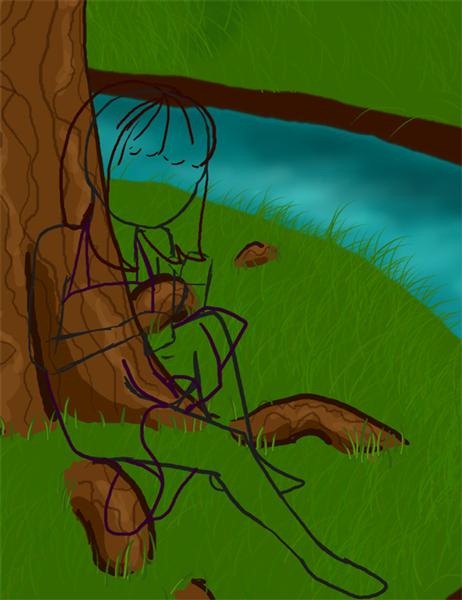
Step 17
Erase the grey lines that appear within the hair area.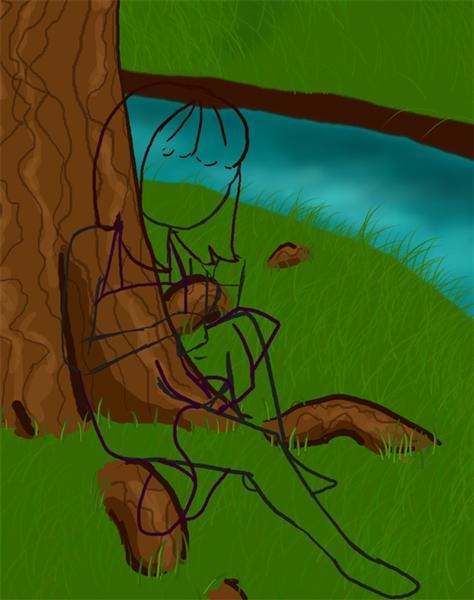
Step 18
Draw in the headband with the same color used to outline the girl’s body. It will be widest at the top, and come to a point where it disappears into the hair.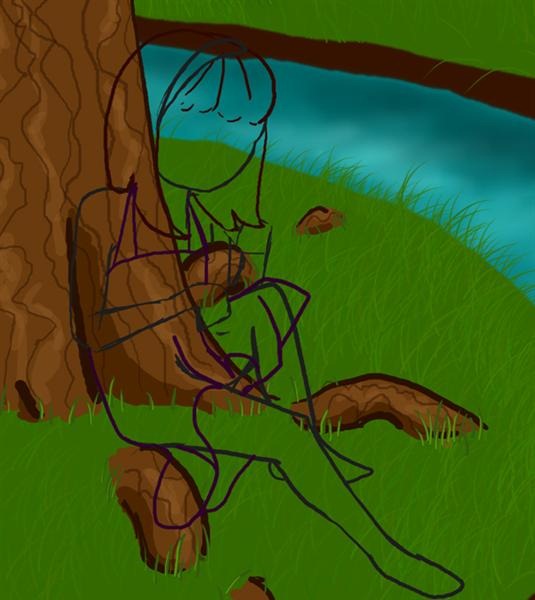
Step 19
Make a new layer below the others titled “girl hair”.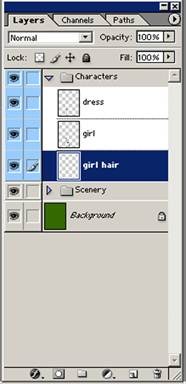
Step 20
Block in the hair with color #BF7A0C.
Step 21
Block in the first set of shadows with color #A06200.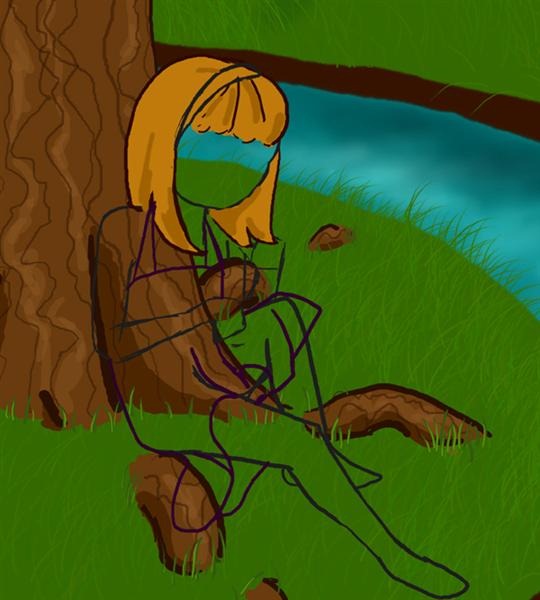
Step 22
Block in another set of shadows with color #835000, and a highlight the hair with color #CE7E00.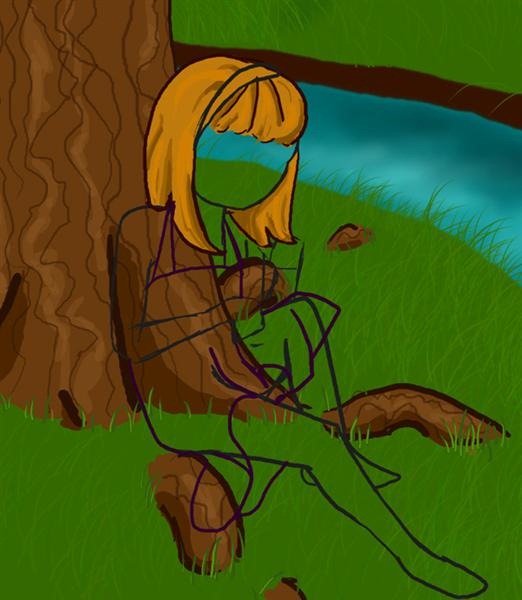
Step 23
Set the dodge tool to 15% exposure (highlights mode) and create an overall shine to the hair, by swiping it in bands horizontally across the hair. By slightly curving these bands, you will make the hair look 3-dimentional.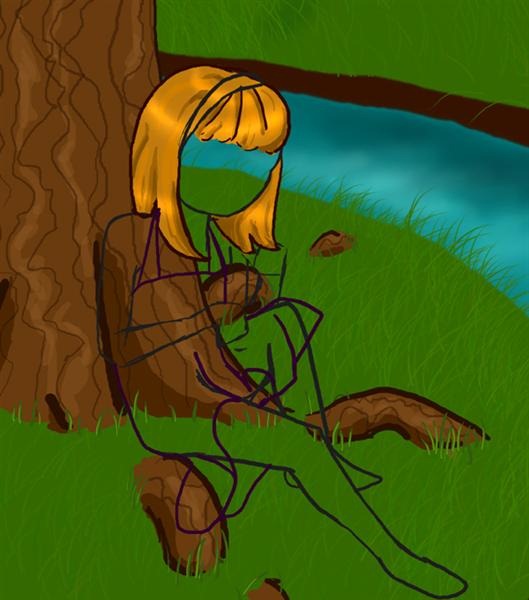
Step 24
Block in the headband with color #A5008C.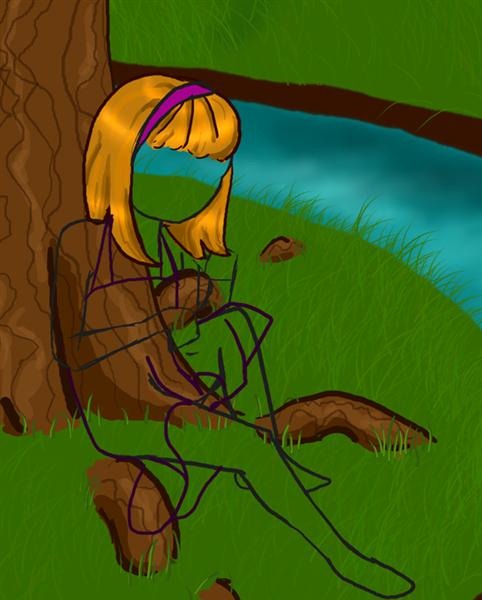
Step 25
Use the dodge tool (same settings as for the hair highlighting) to highlight the top of the hair band.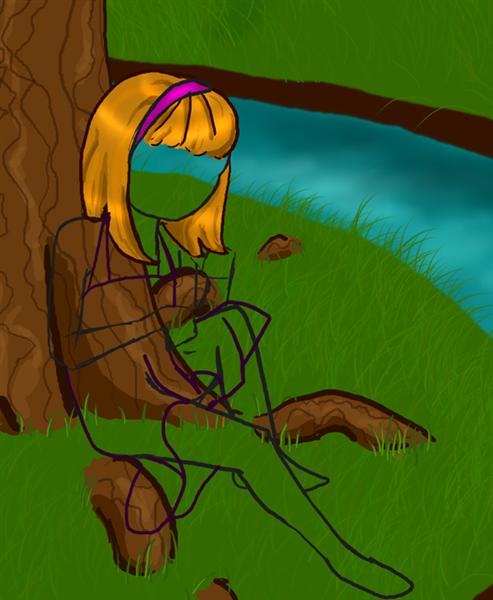
Step 26
Use the burn tool set to midtones (22% exposure, 53 pixels) for the shadows on the band.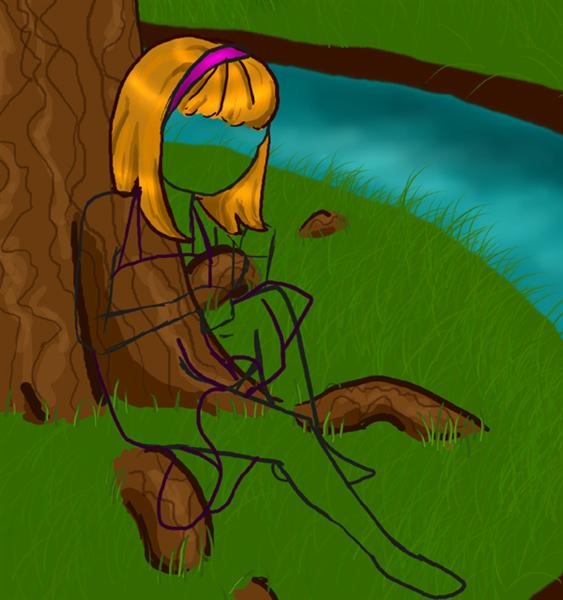
Step 27
Make a new layer below all the others titled “skin”.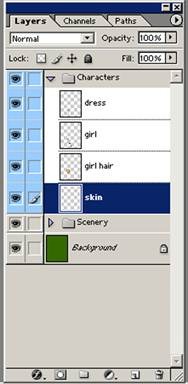
Step 28
Block in the skin area with color #DAB099.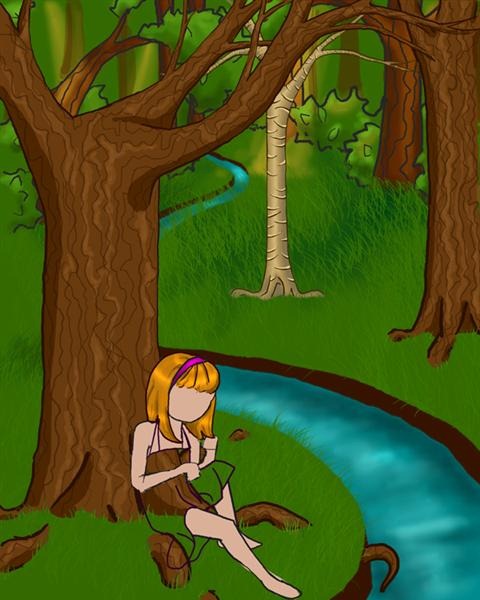
Step 29
Clean up the rough areas that are now apparent on the layer “girl” so that all the edges are smooth.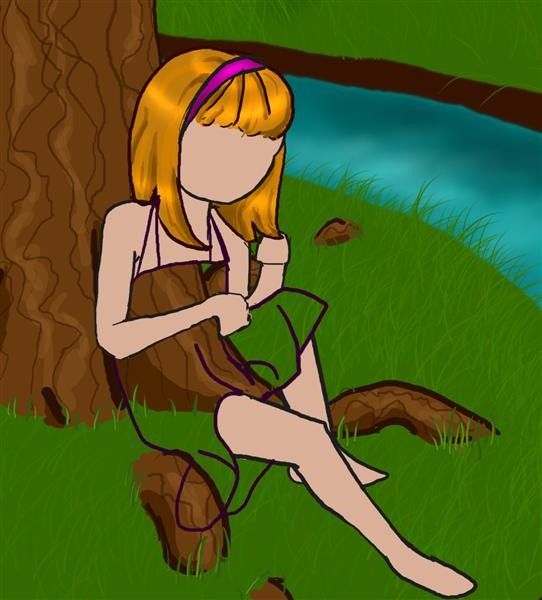
Step 30
Block in the skin’s shadows with color #B88673.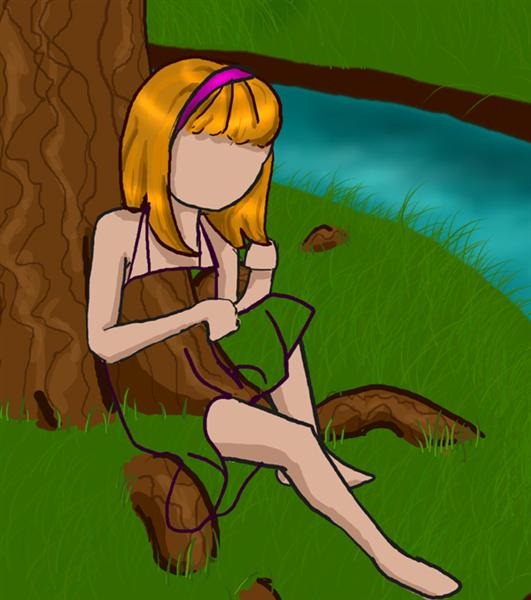
Step 31
Highlight the skin with color #E8C1AC. Leave the face un-highlighted, we will deal with that later.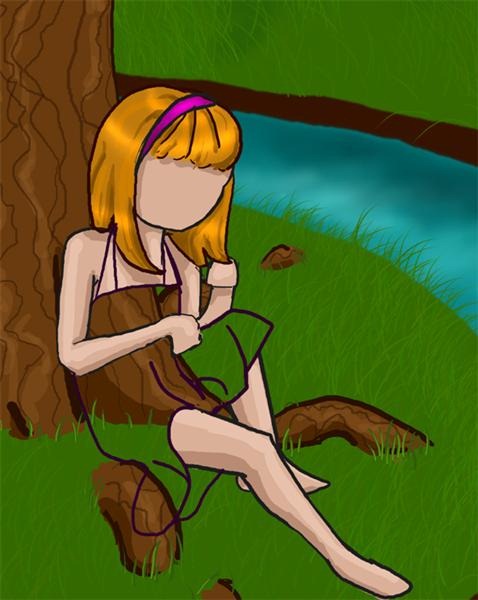
Step 32
Copy the entire layer and paste a copy of it onto a new layer. Move the skin to match up with the layer below.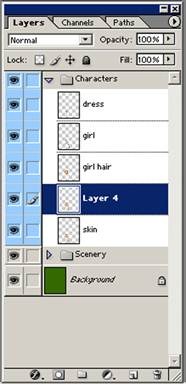
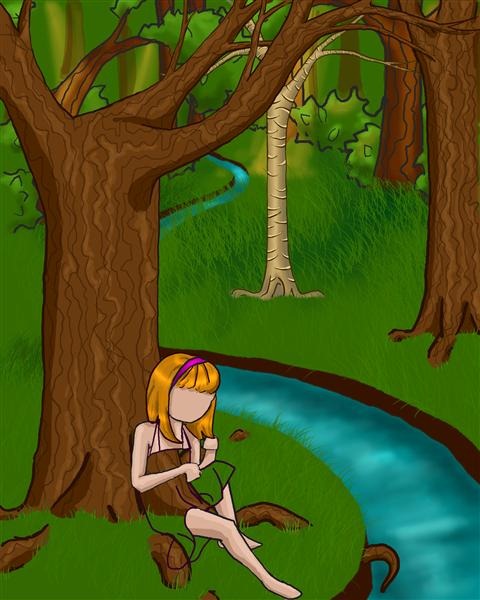
Step 33
Using the magic wand tool, select the area around the skin, and then right click and select the inverse (or shift +ctrl+I).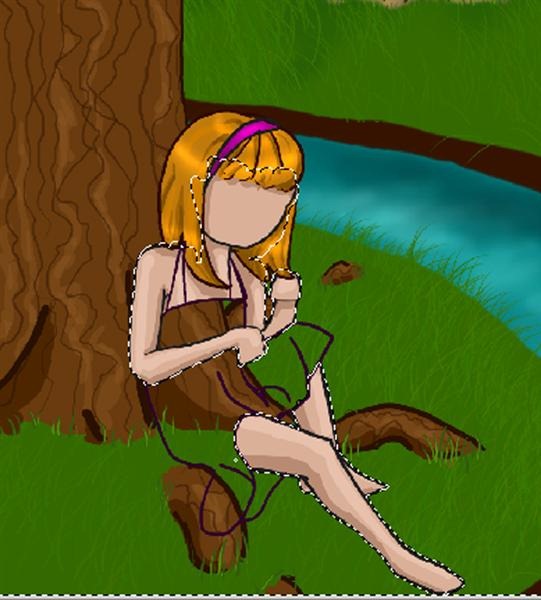
Step 34
Apply Gaussian blur 8.4 pixels. (Filter à Blur à Gaussian Blur)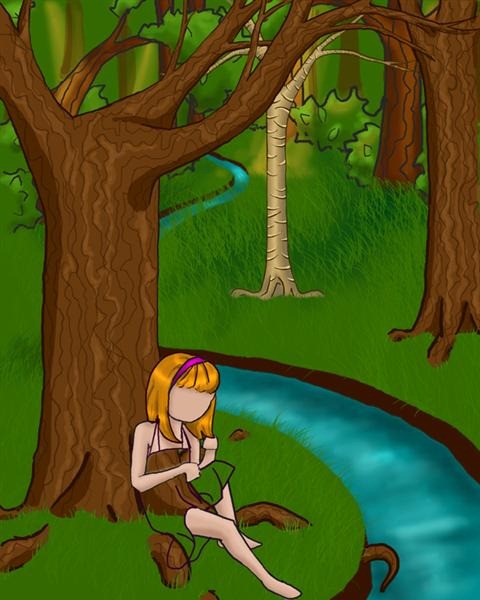
Step 35
Now erase any spill that has gone over the lines. I had to clean up around the arm area.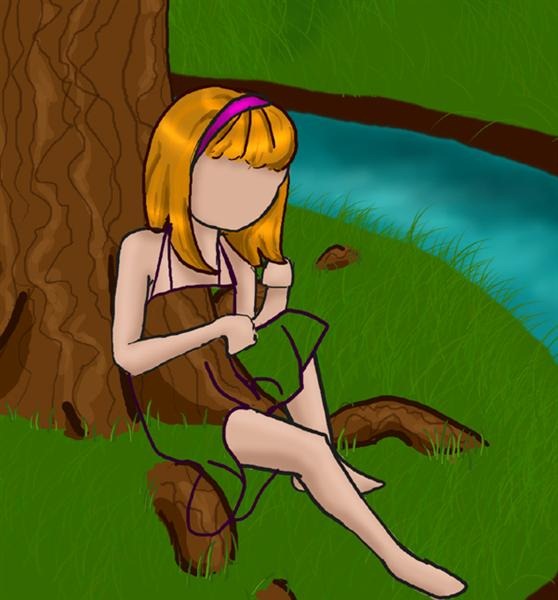
Step 36
Merge the two layers. (While on layer 4, press Ctrl + E).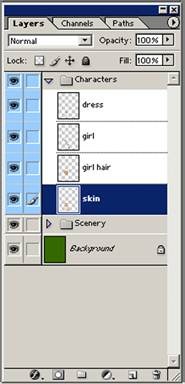
Step 37
Outline the fingers on “girl” layer with color 1D1D1D. You will first have to erase some of the blocked in area, and then draw the fingers. Think, “Little sausages” while you are drawing them to get the right shape.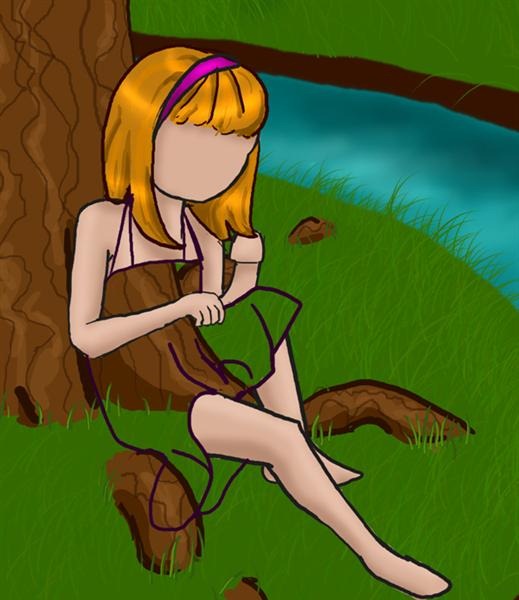
Step 38
Now draw the second hand. I realized that my proportions were wrong, and fixed them for the hand at this stage.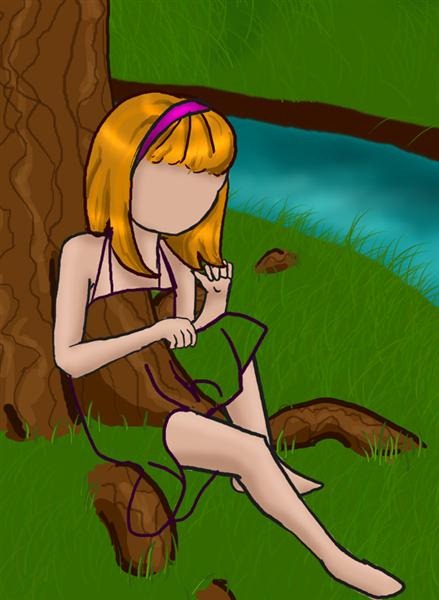
Step 39
Make a new layer at the top of the set titled “garnets”.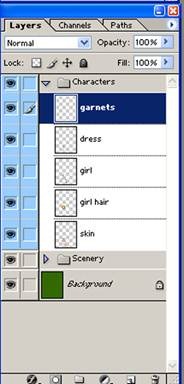
Step 40
Using color #1D1D1D draw curly vines in the child’s hands.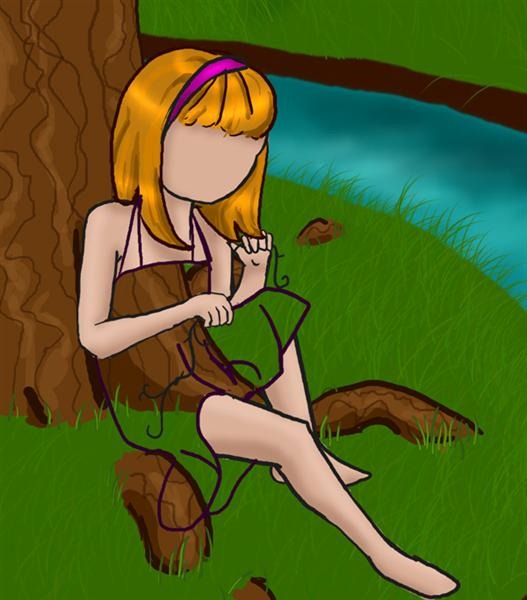
Step 41
Then using color #003E13, draw the green right beside the outline, overlapping a tiny bit.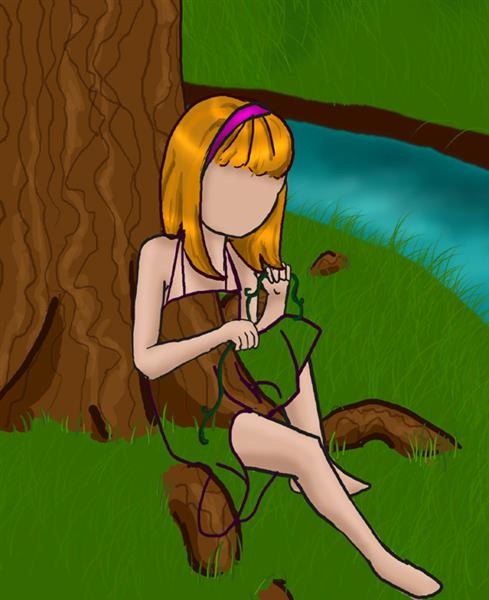
Step 42
Using an 8 pixel round brush and a slightly lighter green, highlight the vine.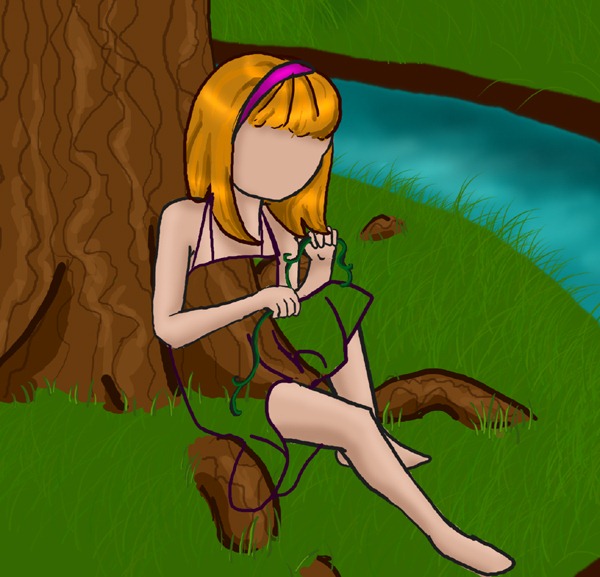
Step 43
Make a new layer titled “flowers”.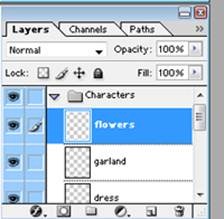
Step 44
Using the same brush as before and color #E6B451 draw elongated ovals in sets of four or five, all around a point.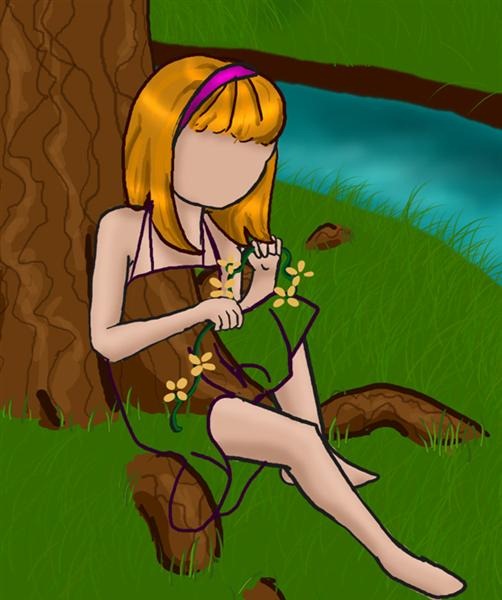
Step 45
Now, using color #FFCF71, draw smaller overlapping ovals on top of the darker petals.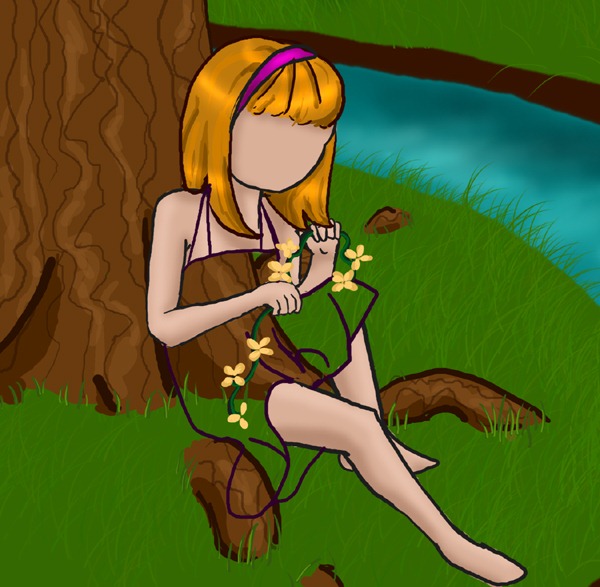
Step 46
Using the darker color again, draw lines in the center of each petal with a size 6 brush.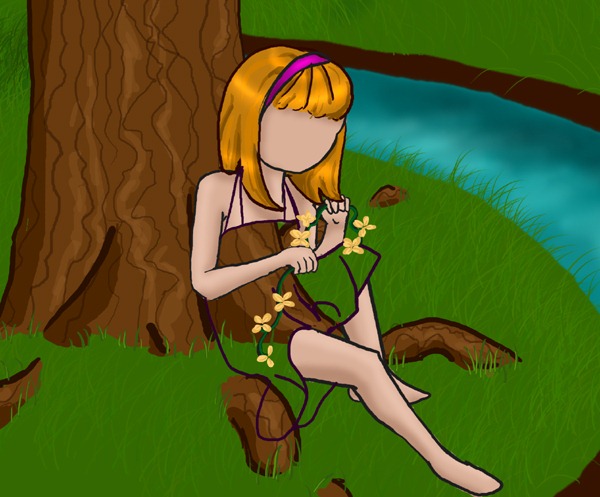
Step 47
Using the burn tool (same settings as before) draw small circles in the center of each flower,This will make it look like the petals are all coming from the center.
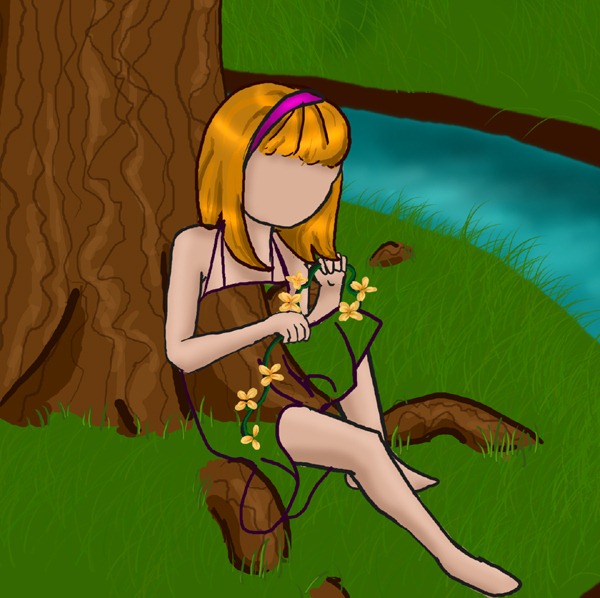
Step 48
Make a new layer titled “flower centers”.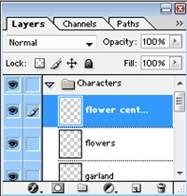
Step 49
Using color #FF7200 draw small ovals and circles in the middle of each flower.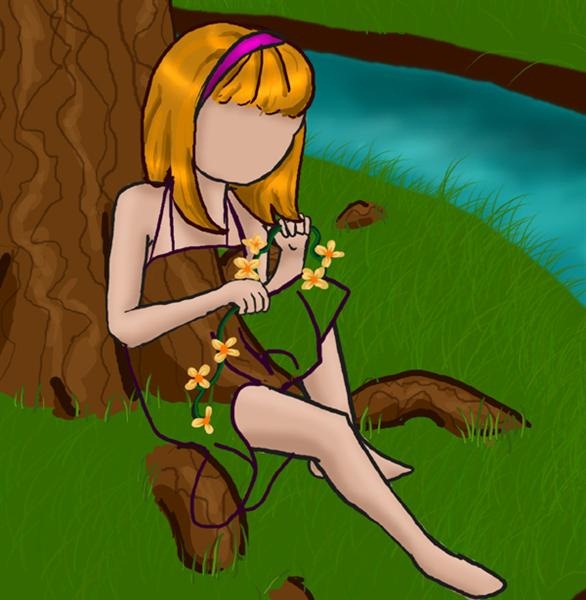
Step 50
Using the dodge tool, give the flower centers each a light highlight.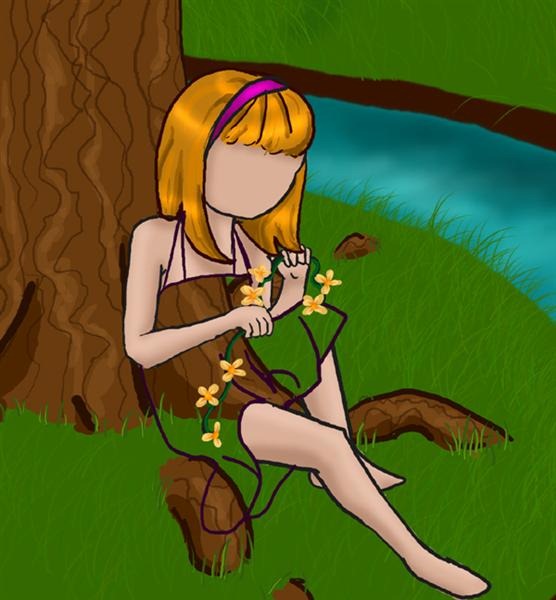
Step 51
New layer “dress” blow the “girl hair” layer and above “skin”.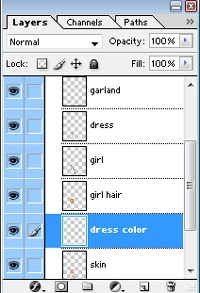
Step 52
Block in the front of the dress with color #FF9BE6.Leave the straps uncolored.
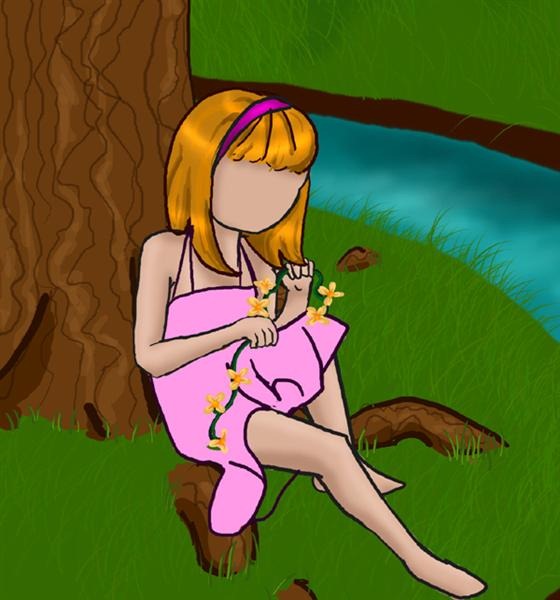
Step 53
Block in the inside of the dress with color #6D0754.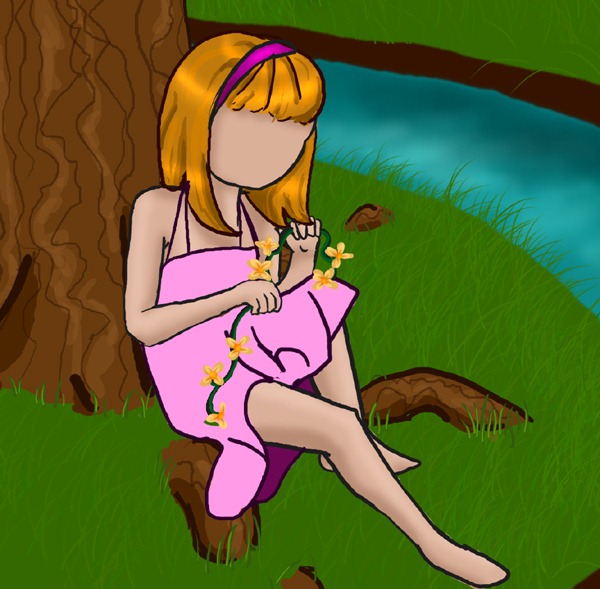
Step 54
Block in the shadows on the front of the dress with color #E17BC7.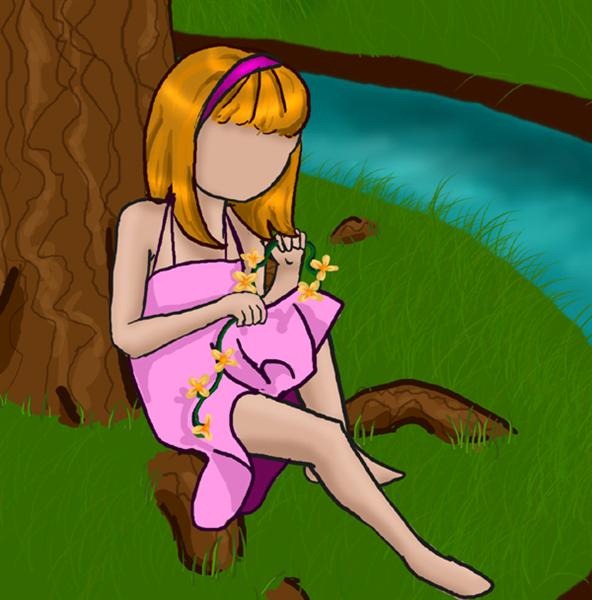
Step 55
Block in highlights on same section with color #FFABEA.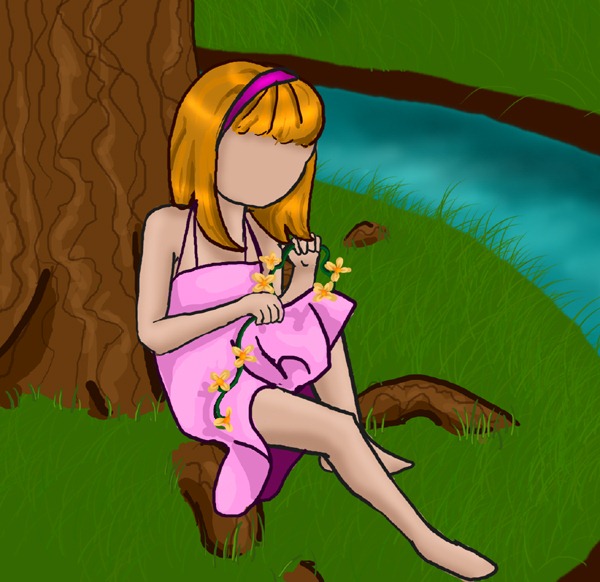
Step 56
Add shadows to the inside with color #52033F.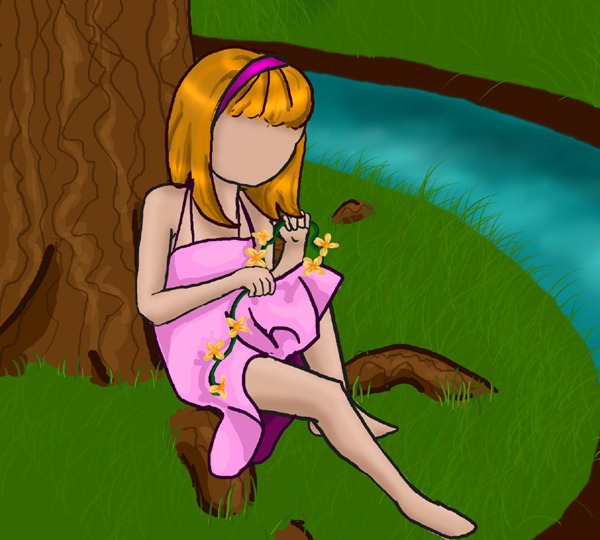
Step 57
Add a small highlight to the inside of the dress with color #7E0560.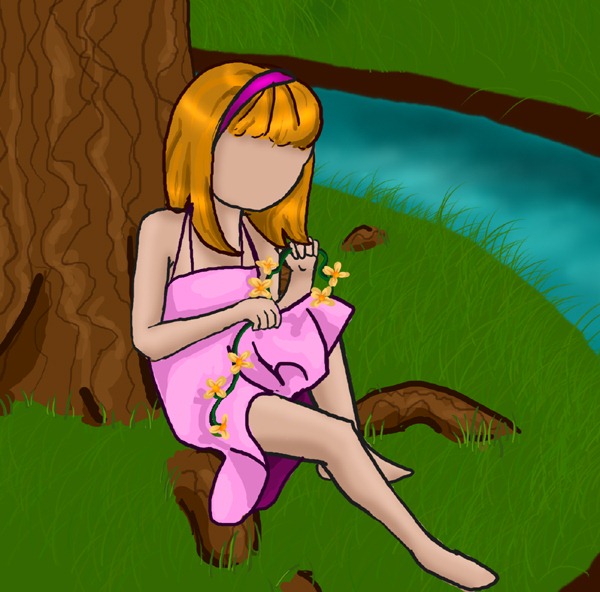
Step 58
Build up transparent white layers on the straps with color #EBEBEB (33 pixel brush, 11% opacity).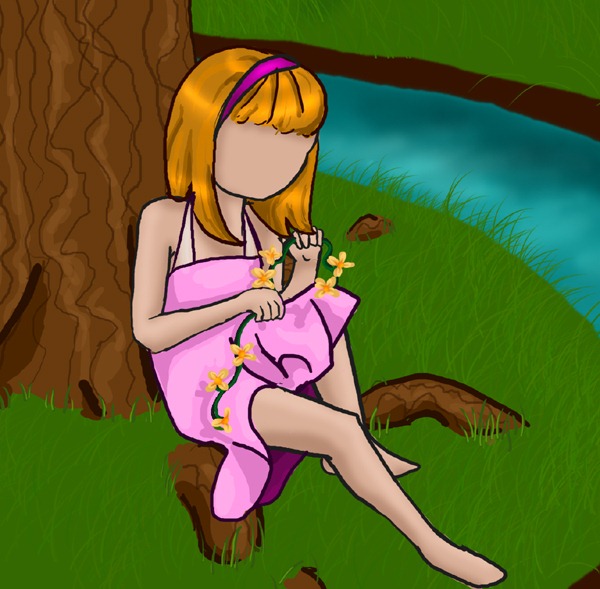
Step 59
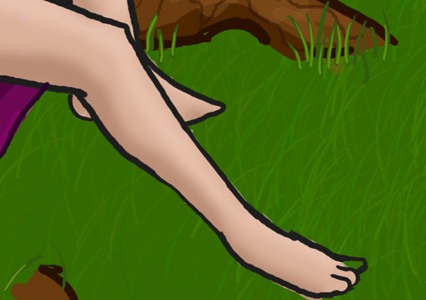
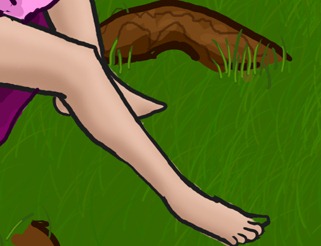
Now go back to the “girl” layer and make the toes for the foot. They are much the same as fingers, except smaller and they have a bigger difference in size.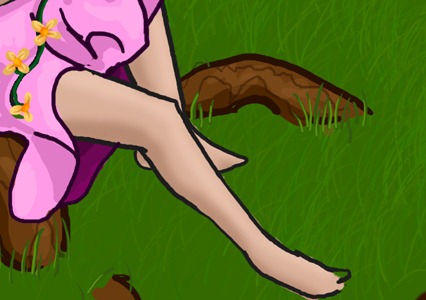
Step 60
Color the toes with color #EBFAA; add shadows with color # D5A78F.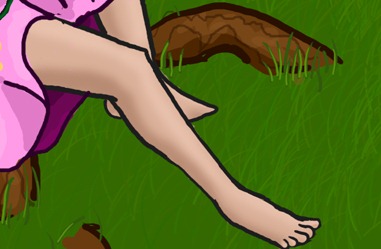
Step 61
Make a new layer above all in the set and title it “face”.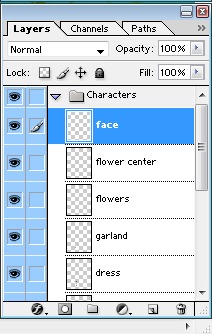
Step 62
Begin the face by making an upside down seven for the nose. Steps 62-66 use color #181818 and a size 9 pixel brush (hard edged).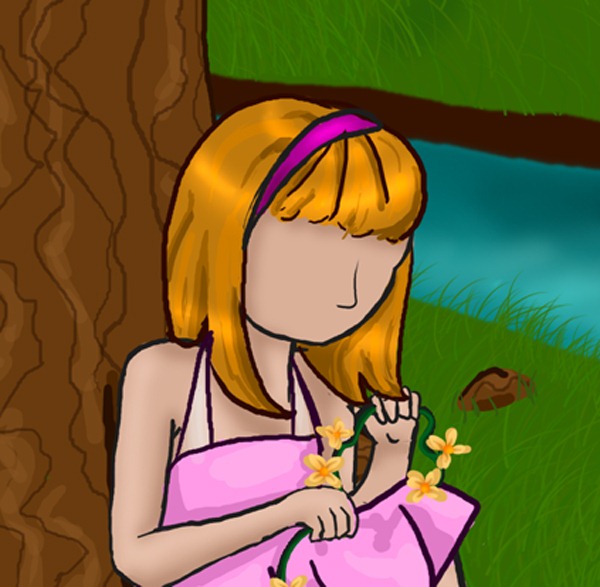
Step 63
Draw a little upside down comma and a parentheses next to the seven. This will complete the nose.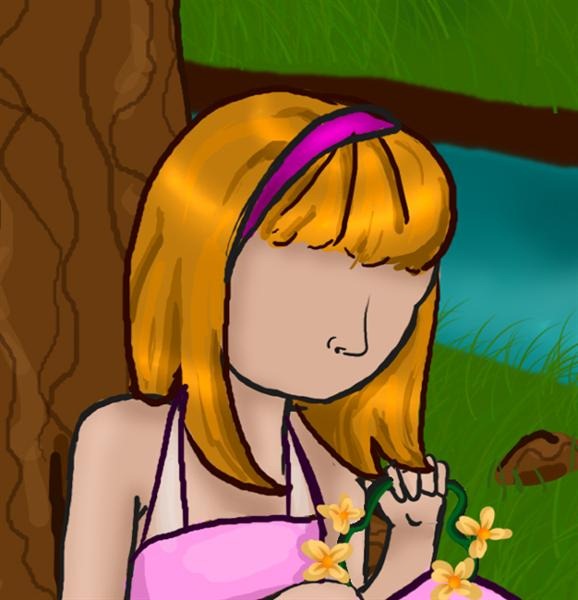
Step 64
Two sideways parentheses will create the basis for her downcast eyes.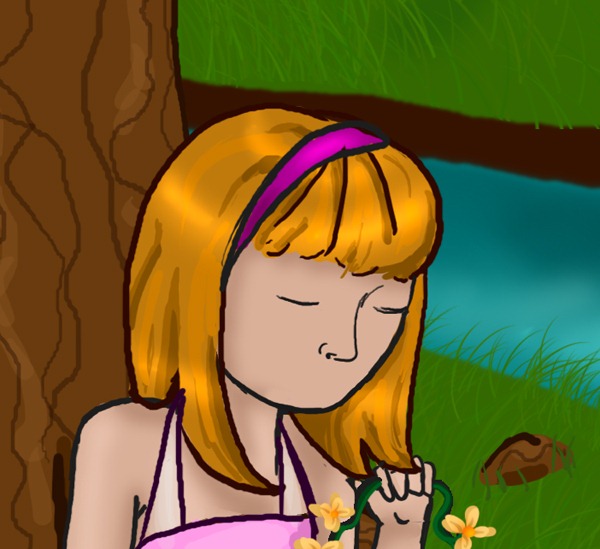
Step 65
Now make several small curved lines beside and around the eyes to make the impression of roundness (for the eyeballs).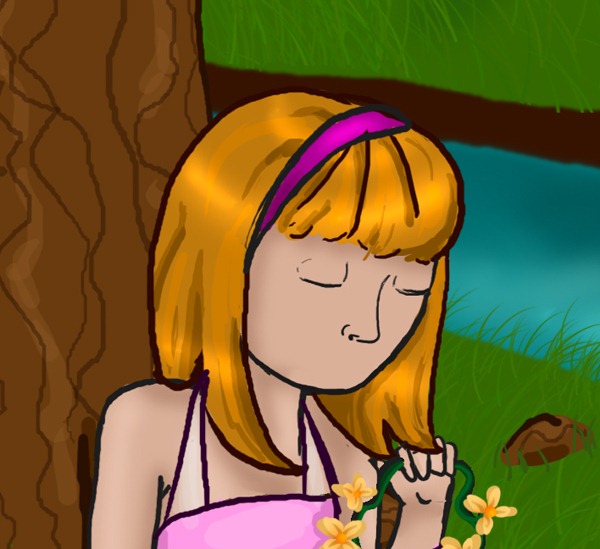
Step 66
Make eyelashes by thinning the line as you go out from the lash base, and making them thicker towards the eye.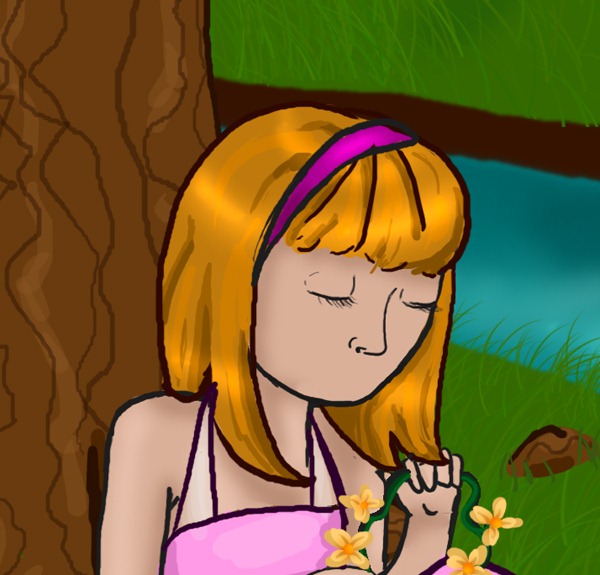
Step 67
Now using a 62% opaque brush, blot in some color to the lashes with color # BB5C00.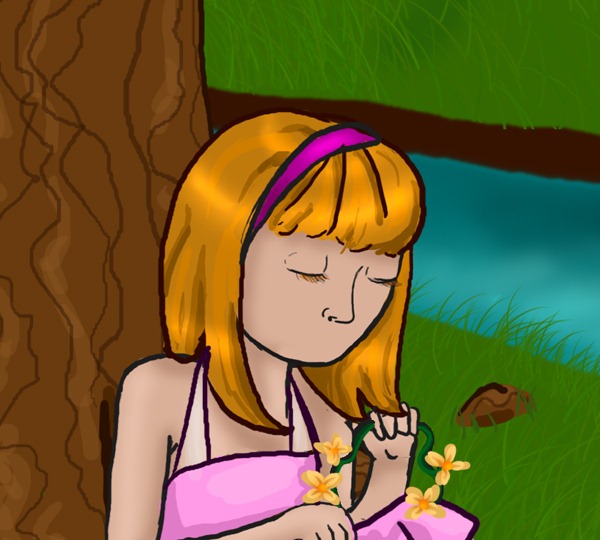
Step 68
Going back to color #181818 (and 100% opacity), make three small lines to indicate the mouth.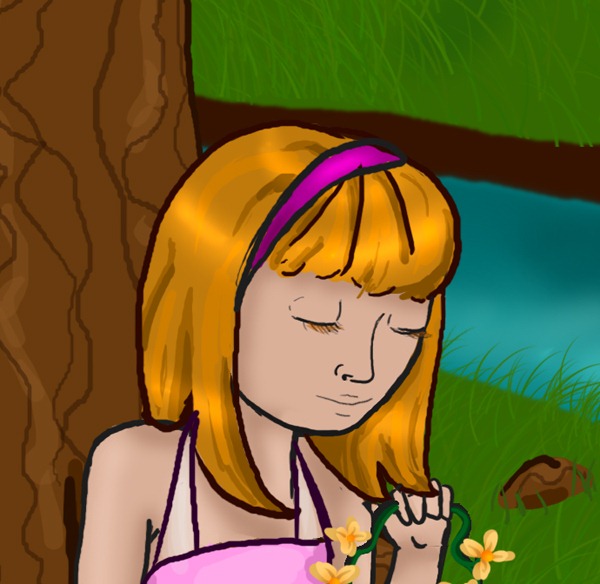
Step 69
Setting the brush back to 62%opacity, make little lines for the eyebrows above the eyes, and mostly obscured in the bangs.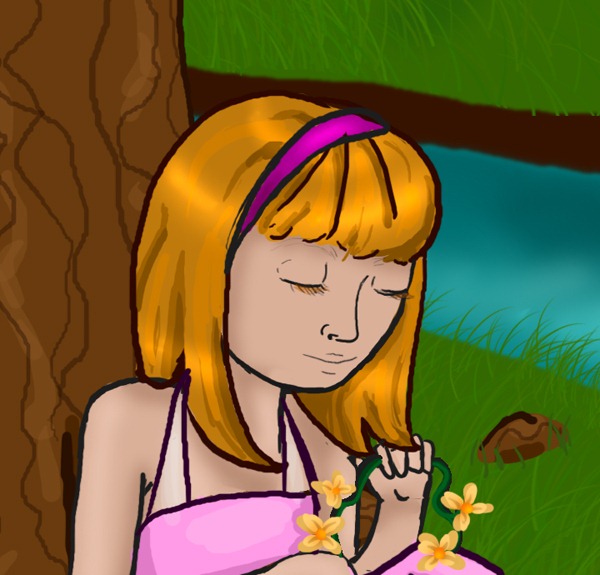
Step 70
Make a new layer below the “face” and title it “face color”.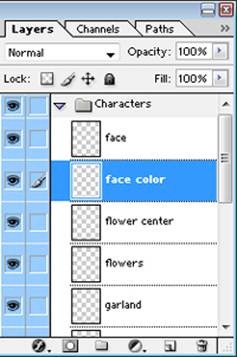
Step 71
Block in the lips with color #E69A9A, and the brush set to 62% opacity.You can use the smudge tool on the edges to soften them if you want.
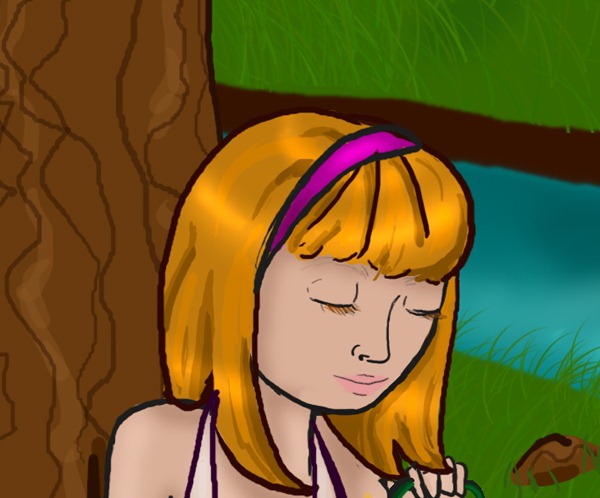
Step 72
Create a soft shadow below the middle lip line with color # C87979 (same brush).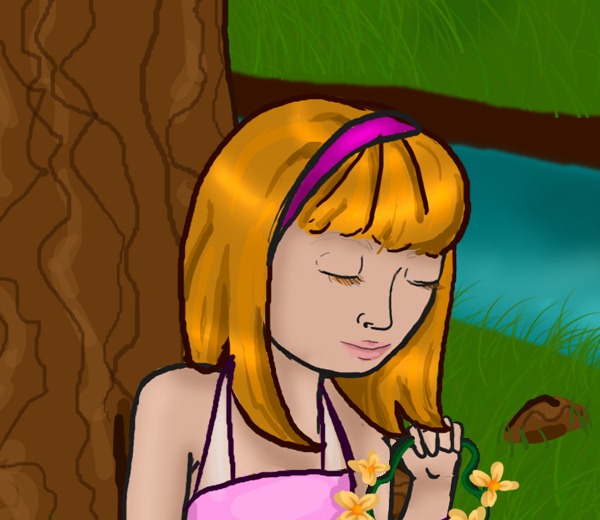
Step 73
Alternate colors # A6680C and # C47A07 to make the eyebrows (still set on 62% opacity).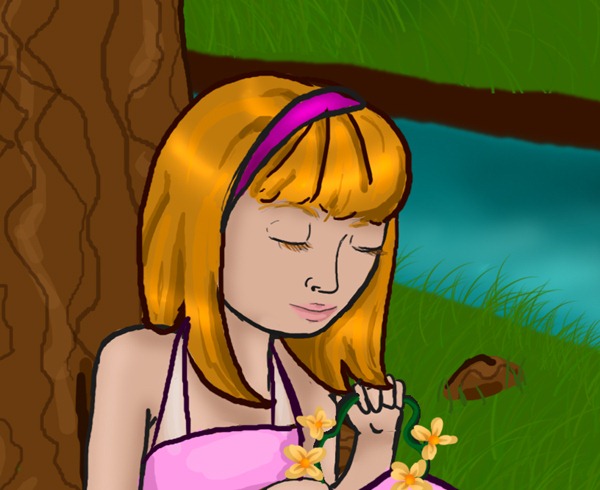
Step 74
Create the shadows around the eyes with color #C18D71, this time using a soft brush set to 41% opacity.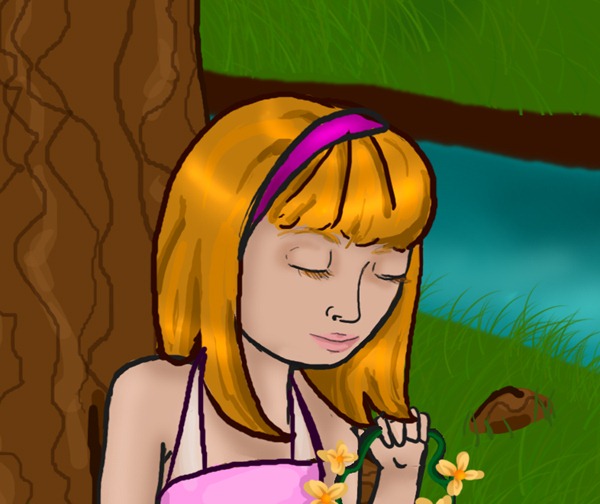
Step 75
Now create the shadow next to the nose using color #AF6E4A.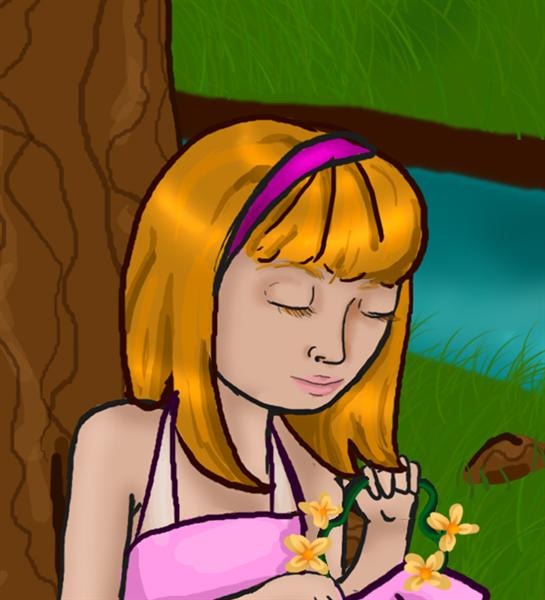
Step 76
Swipe a single bit of color #FDBCE8 (26% opacity) on both cheeks and the tip of the nose.And the face is done!
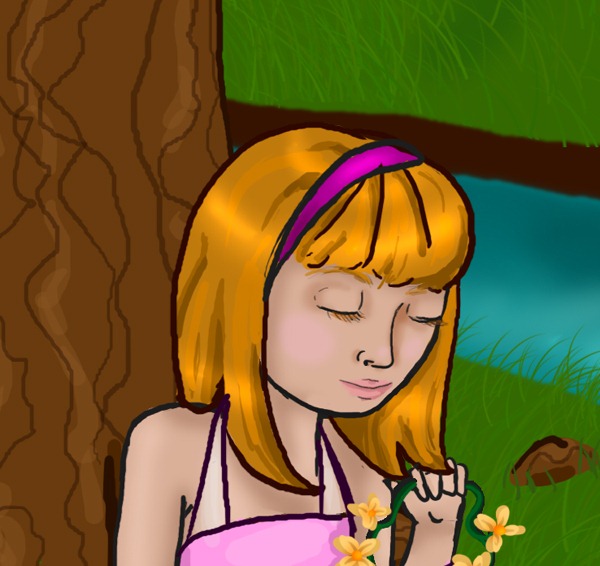
Step 77
Make a new layer at the top of the set titled “character grass”.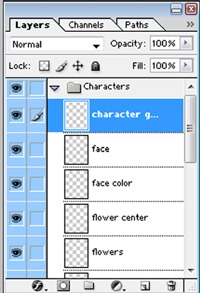
Step 78
Block in some grass around her feet and bottom with color #294F00.
Step 79
Highlight this grass with color #356600.
Step 80
Go to the background layer, inside the scenery set.Now, using the burn tool on its previous settings, wave it back and forth on the green areas (and later again on the tree trunk) to create the forest’s shadows. The most pronounced shadows should be underneath and around the girl.

Step 81
Minimize all folders.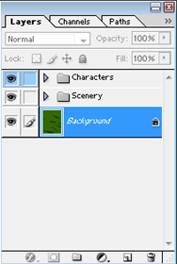
Step 82
Make a new layer above the top set and title it “butterflies”.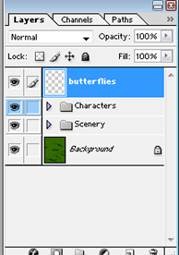
Step 83
Using color # 110000 block in elongated ovals that will serve as the butterflies’ bodies.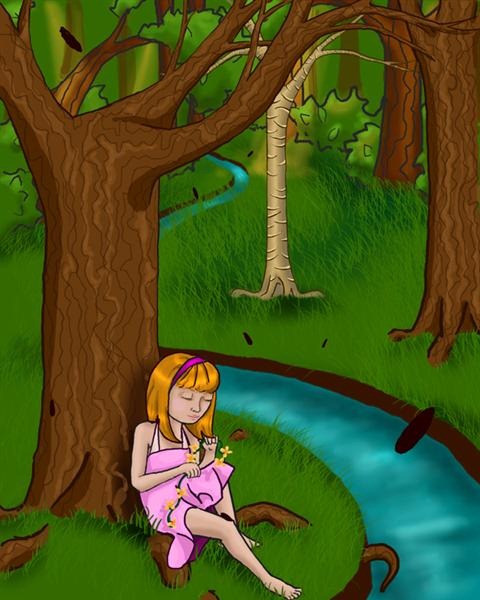
Step 84
Alternating between colors #FF0000, #FF00D2, #00F6FF, #2AFF00, #FFFC0D, and color #FF7200, block in the butterflies wings. This can best be done by starting with two larger, rounded squares for the front wings, and two circles in the back. Then adding shapes to these basics will make them more intricate.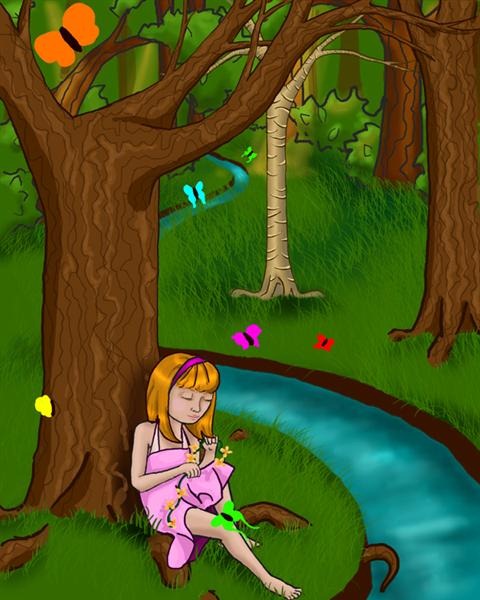
Step 85
Using the same settings for the burn tool, alternate between midtones and highlights to add shadows to the butterflies’ wings.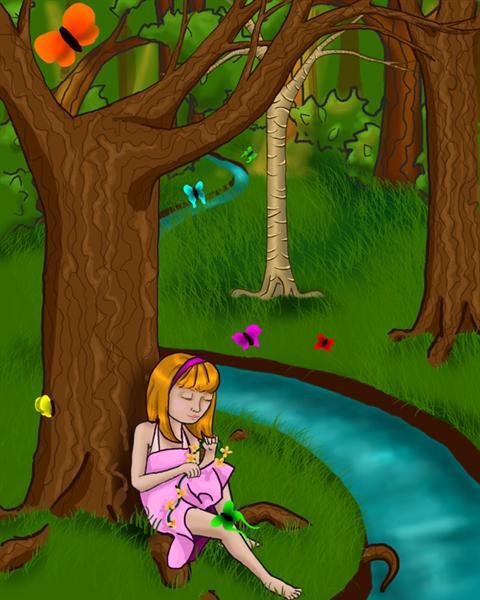
Step 86
Use color #210000 (62% opacity) to create patterns on the butterflies’ wings.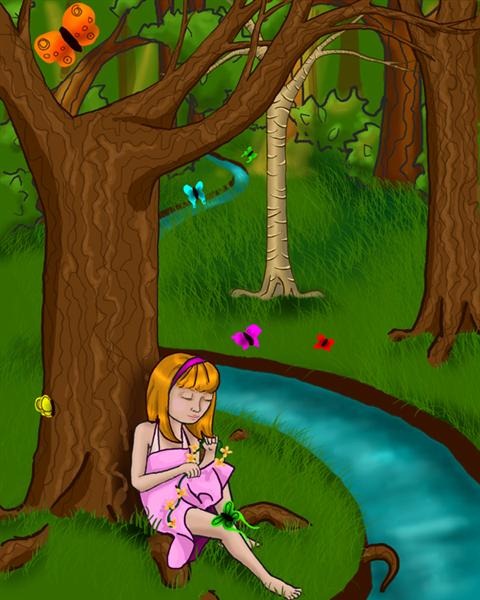
Step 87
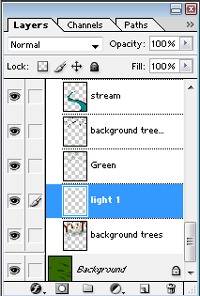
Now open up the scenery set. Make a new layer “light 1” above “background trees”, and below the layer “green”Set the layer to 75% opacity.
Step 88
Using color #FFC600 and a soft edged round brush (500 pixels set to 28% opacity) layer on the color to create a “light filtering through the trees” effect. If you want to add golden hues to an object, set the brush to 11% opacity and brush a layer or two of color on top of it.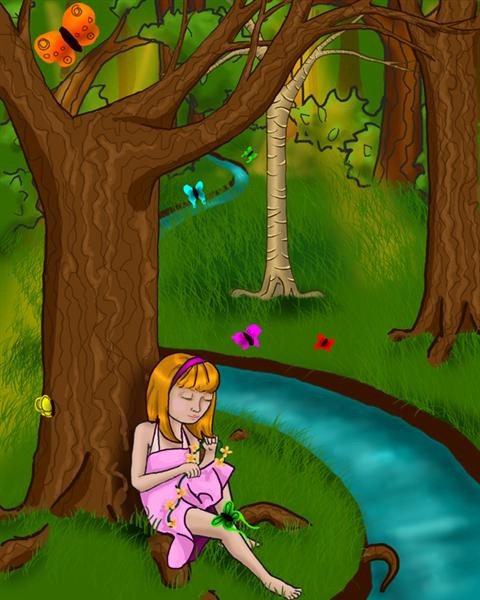
Step 89
Now make another layer, this time “light 2”, above the layer “beech outline”.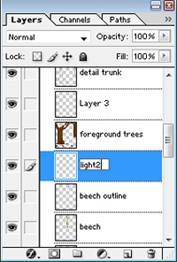
Step 90
Repeat step 88 to make another beam of light, this time in front of the beech tree.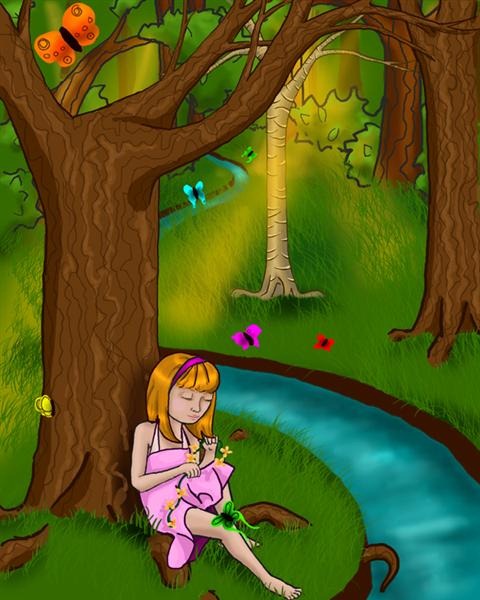
Step 91
Make a last layer at the top of the set and title it “light 3”.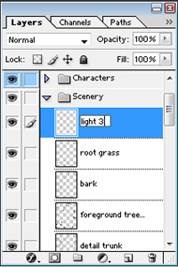
Step 92
Repeat step 88 again to make another beam of light, this time filtering through one of the tree branches and down onto the stream. You can use the 11% opacity trick here again to add golden hues to the grass.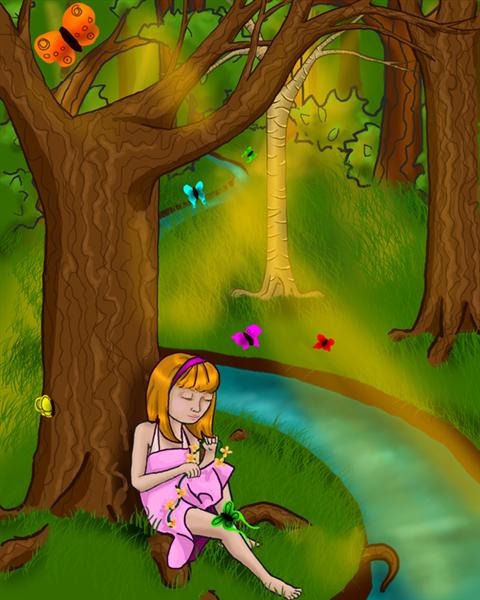
Step 93
Now switching to the butterfly layers, add golden hues (11% opacity) to the butterflies that need it here.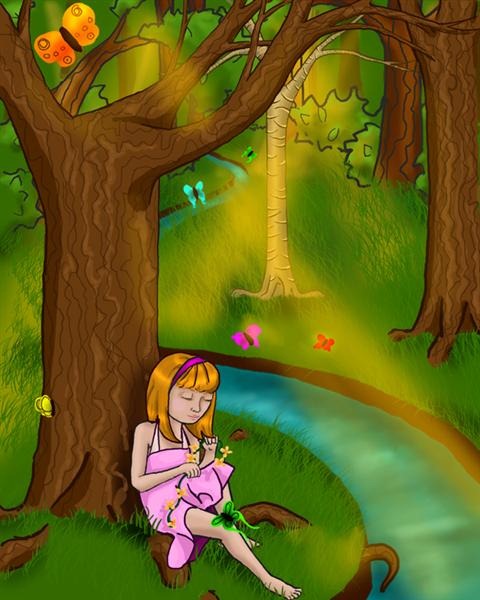

0 comments:
Post a Comment