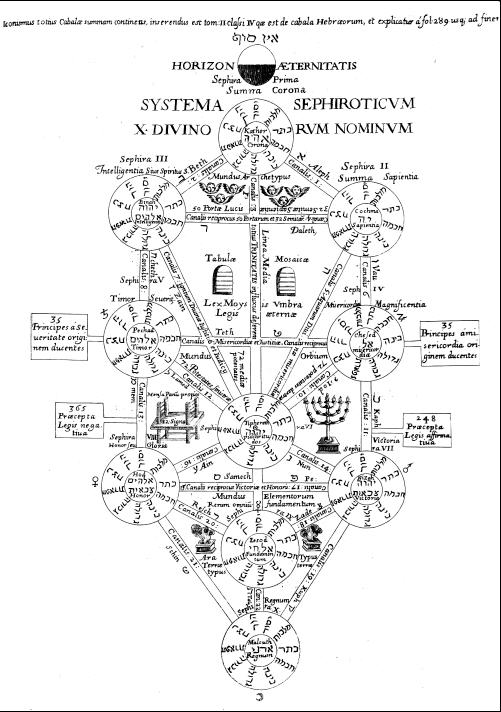
Here’s a great way of taking a simple black and white drawing and converting it into a mysterious, old map, lost for hundreds of years. For the ingredients you need to look on the net for a nice, black and white drawing or diagram. I found this on Google.
Step 1
Only choose big images. This one was 1000×1420. Open it in Photoshop.
Step 2
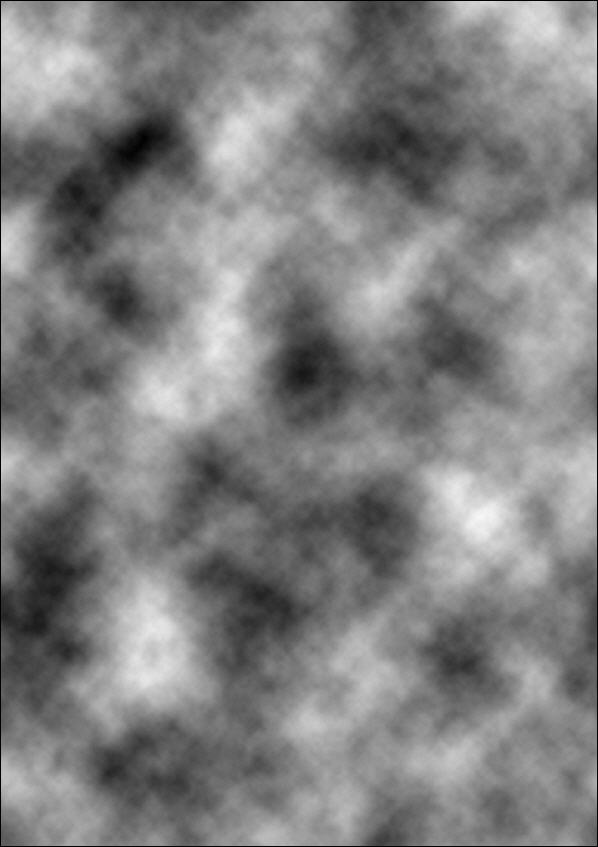
CRTL+N to open a new document. Go Image>Image Size and change the width and height to 1000×1420. Now we need the background and foreground colors set to black and white. If they aren’t hit ‘D’. The first thing we are going to do is fill our canvas with clouds. Yes, clouds. Go Filter>Render>Clouds.
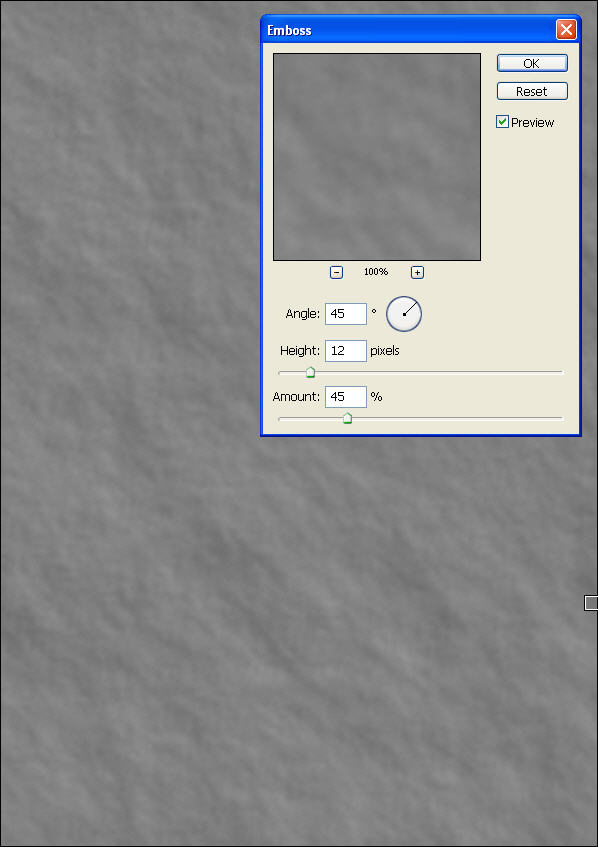
This is now going to be magically transformed into old paper. How? I hear you ask. By clicking one button. Go Filter>Stylize>Emboss. The Emboss screen pops up and here we have several options. The angle changes the direction of the shadow, while the ‘Height’ and ‘Amount’ give us differing results depending on the values. We are going for a paper effect so low values is the order of the day. If you wanted a more stone like effect you’d add higher values.
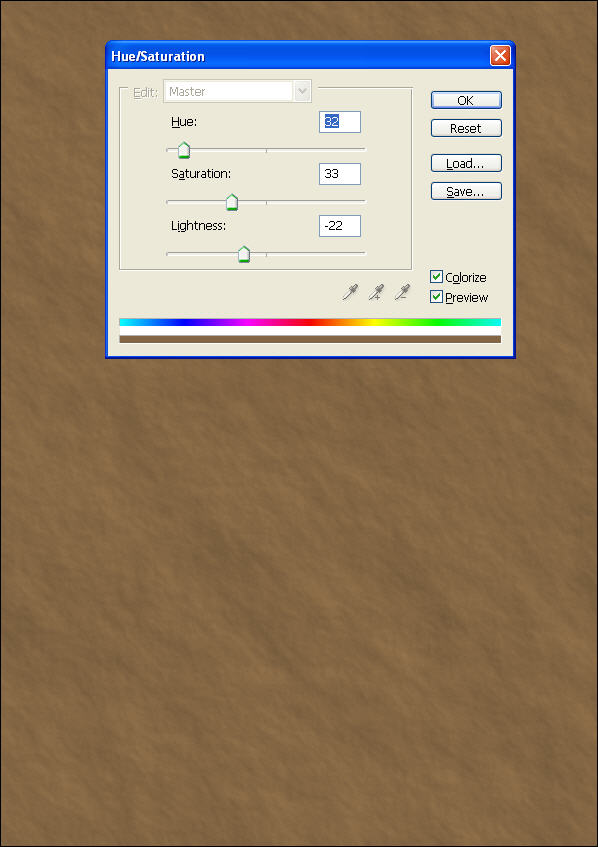
Next up is the color. Hit CRTL+U to bring up the Hue/Saturation screen. Check the ‘colorize’ box and change the Hue, Saturation and Brightness values to the color you like.
Go back to our image we found previously and hit ‘V’. This is the move tool. Drag the image onto our paper document and position correctly.
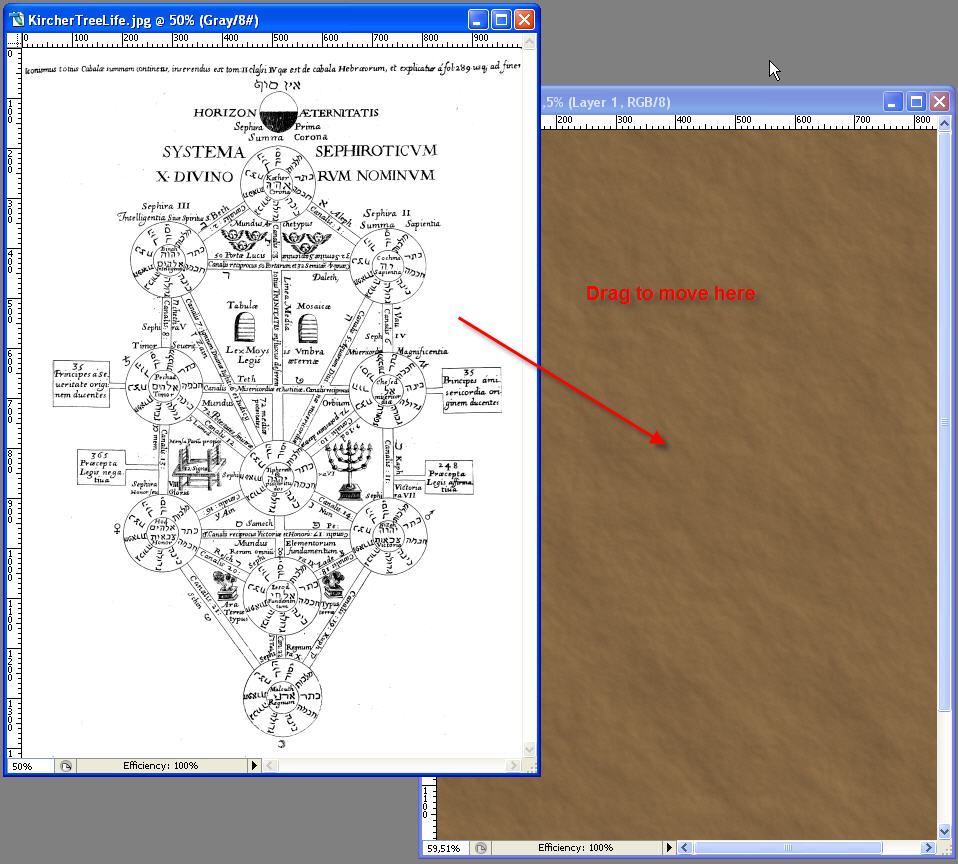
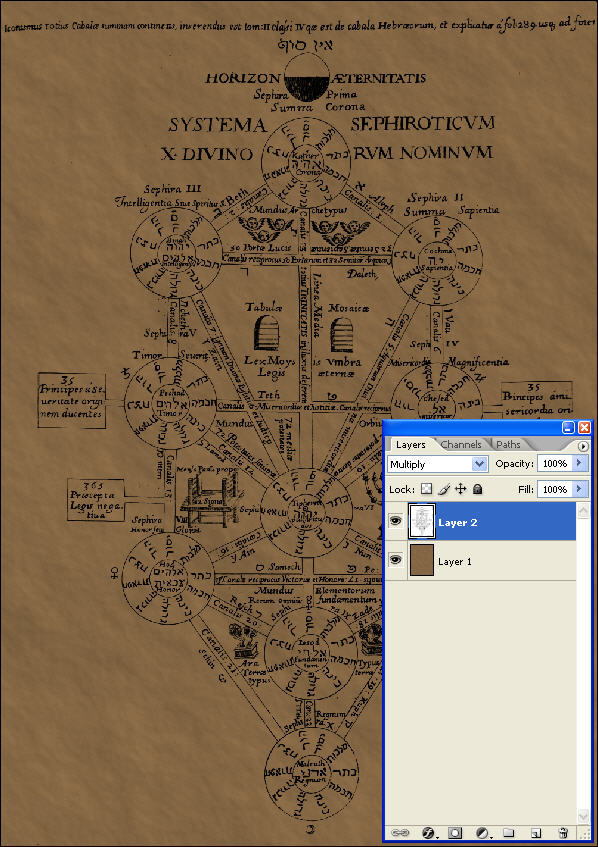
Change the blend mode of image to ‘Multiply’. Already it’s starting to look like an old map, but we still have a bit more to do.
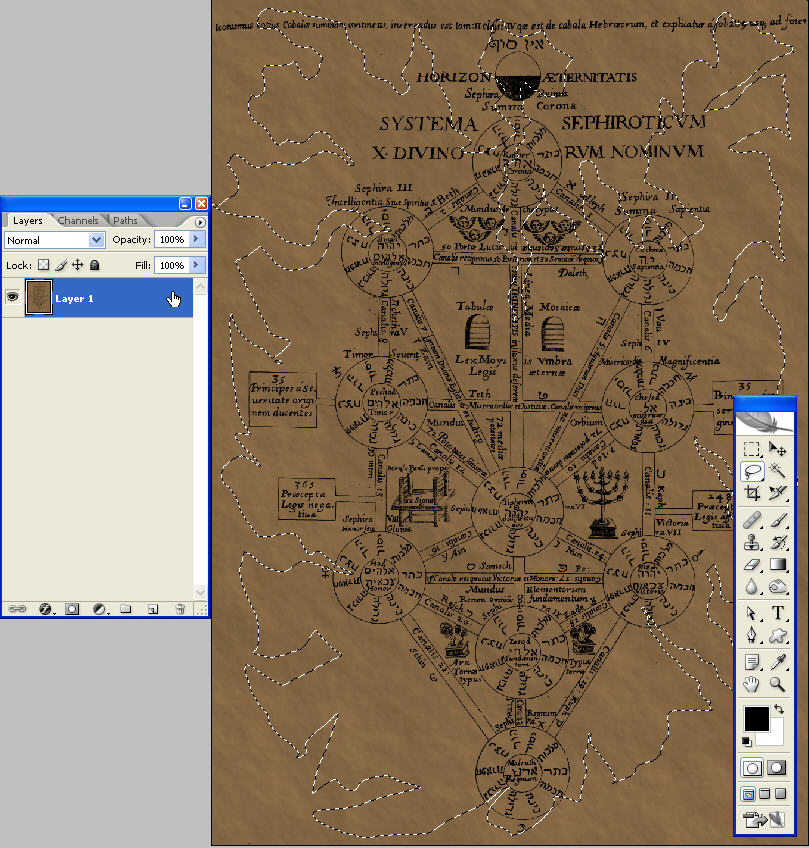
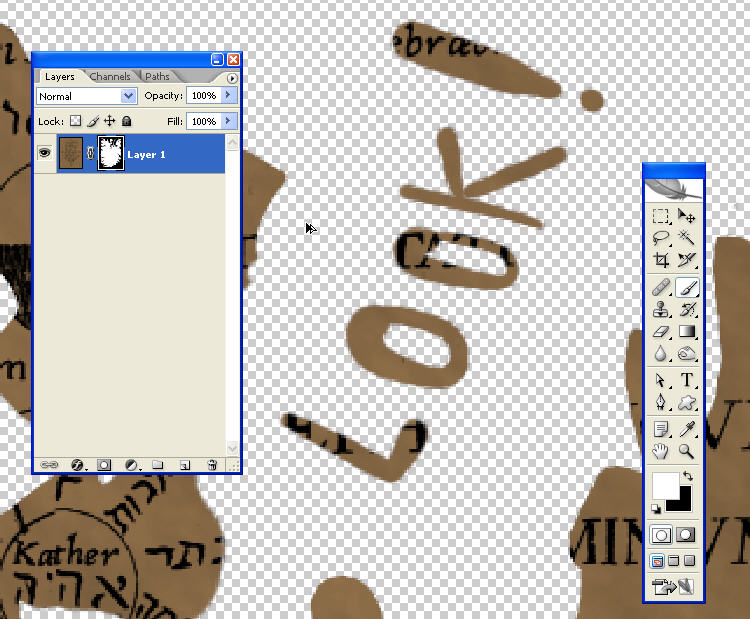
This is where you need a steady hand. First CRTL+E to merge the two layers into one. Now take the Lasso tool (hold the SHIFT key and press L to cycle through the three tools). Now drag an irregular shape with the lasso tool around the edges. Try to make it look broken and torn. When you get back to the beginning it will turn into a selection.
Now here’s a cool trick. Instead of deleting the bit we don’t want, add a layer mask by clicking the icon at the bottom of the layers panel. This way we can always go back and modify it.
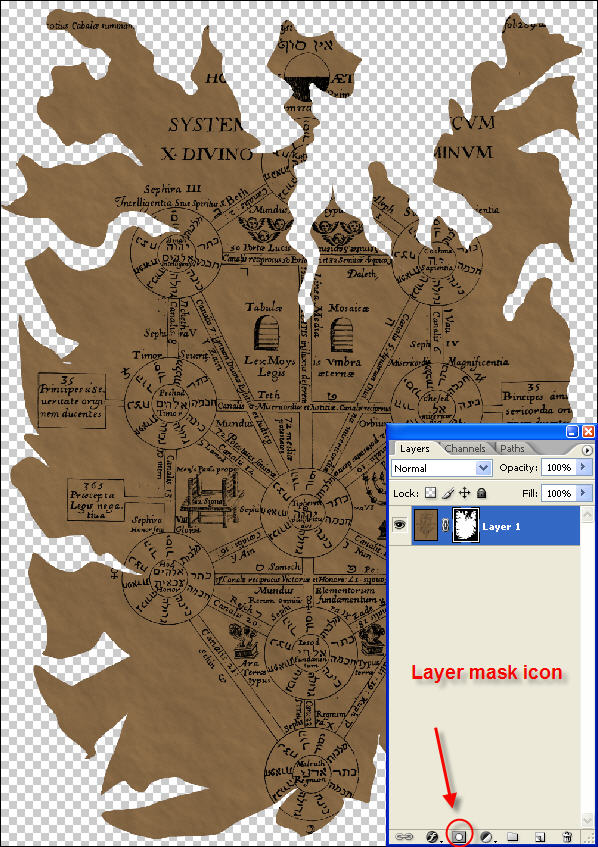
To see what I mean about being able to modify it, zoom in press ‘B’ for the brush tool. Click the black and white thumbnail next to the image thumbnail on the layers panel to activate the mask. Now try painting on the canvas. White brings the map back while black takes it away.
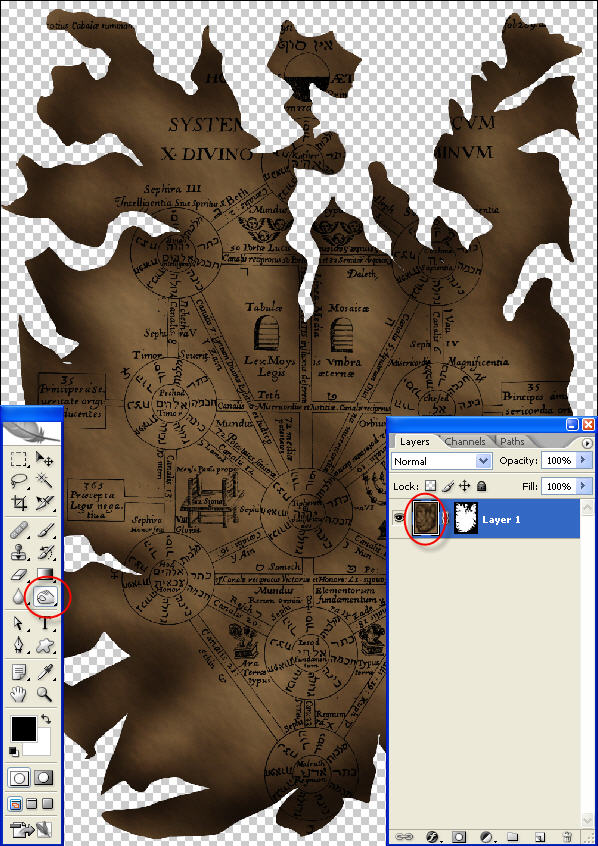
To give it a burnt look, first click the image thumbnail then hold SHIFT and press ‘O’ to cycle through the tools until you get ‘Color Burn’ (it looks like a white hand). Lower the exposure to around 9% and carefully paint around the edges. You won’t see much difference at first, but keep at it and the burn will slowly come through.
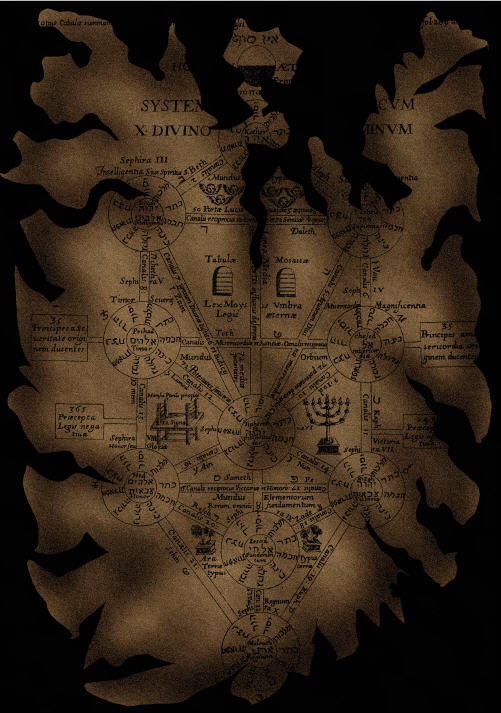
Add a new layer and drag it under the old map. Fill it with black. Go back to the map layer and add 6% noise, and you’re done.


0 comments:
Post a Comment