In case you haven’t noticed yet, the hand drawn style is one of the hottest design trends. There are several ways to create hand drawn images — you can create it from scratch in Photoshop or you can scan an actual hand drawn sketch. Personally, I like to use a scanned drawing because you get a realistic drawing texture. Here is a quick tutorial to show you how to create a hand drawn design in Photoshop using the blending mode and alpha channel.
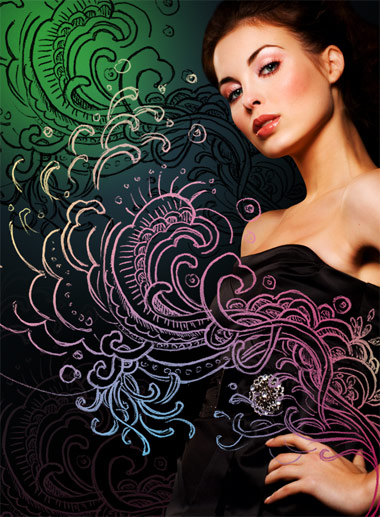
Final Image
1 Create From Scratch in Photoshop
If you have a tablet, you can simply draw the sketch by using the brush tool.
Don’t Have a Tablet?
If you don’t have a tablet, you can create the artwork in Adobe Illustrator and then imitate a hand drawing effect in Photoshop.First draw a vector illustration. Then import it in Photoshop. Use a grungy brush and gently erase select parts of the image. Use the Blur tool to create the smug effect.

2 Scan It
The easiest way — scan the drawing and set the layer blending mode to Multiply.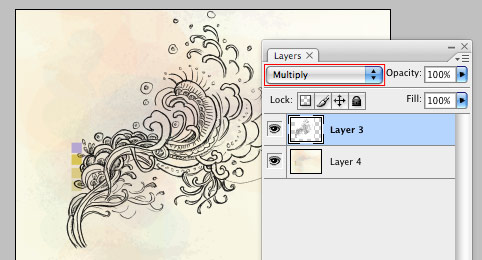
Invert Color
If you want to have a white color stroke instead of black — go to menu Image > Adjustments > Invert (or press shortcut Cmd+i) and then select Screen blending mode.

Step It Up: Create Color Gradients
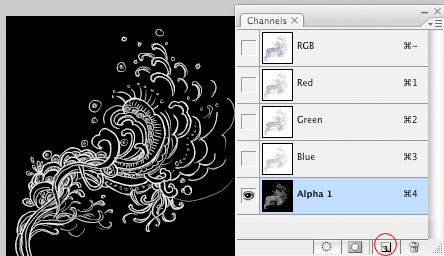
What if you want more than just a black or white stroke (ie. colors gradients)? Then you will have to extract the drawing from the white background. A simple way to do this is by using alpha channel.- Copy (Cmd+C) the drawing.
- In the Channels palette, create a new channel. Then paste the drawing in the new channel.
- Invert (Cmd+i) the channel layer.
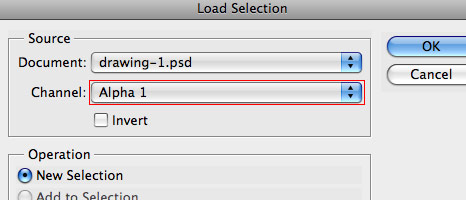
Fill Selection
With the channel selection loaded, you can fill it with any color.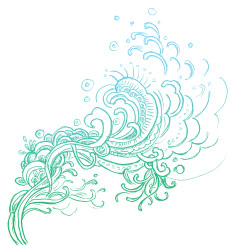
Using It In The Design
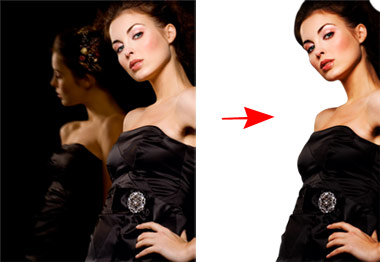
For the purpose of this tutorial, I’m going to show you how to incorporate your hand drawing on a female model (the photo was purchased from iStock).


0 comments:
Post a Comment