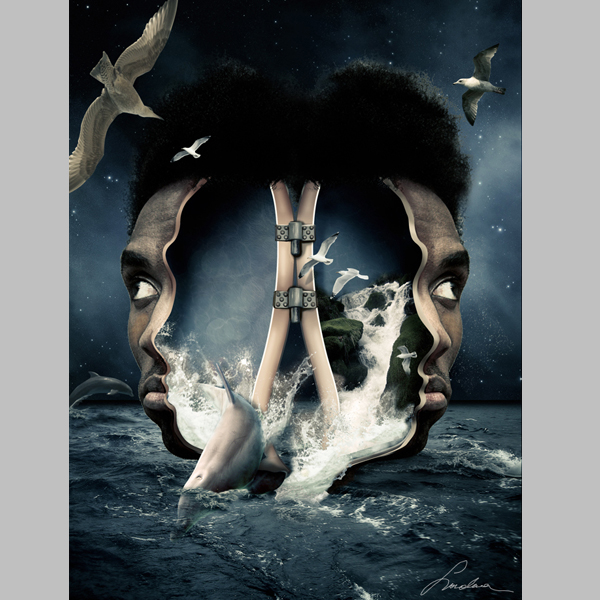
In this tutorial we will combine several images of water, animals, and people to create a surreal out of bounds photo manipulation in Photoshop. Let’s get started!
Tutorial Assets
The following assets were used during the production of this tutorial.
- Head (no. 6) – ahrum-stock
- Sea – darkrose42-stock
- Sky – resurgere
- Waterfall – flynn-the-cat
- Hinge – kiyoi-stock
- Water splash – seductive-stock
- Big dolphin – zeds-stock
- Small dolphin – greeneyezz-stock
- Big birds 1 – viperkid89
- Big birds 2 – della-stock
- Small birds – grannysatticstock
- Water textures – deviantart
- Glitter texture – frozenstarro
- Water splash brushes – deviantart
Step 1
The first Step is to open the picture with the human head. Select the pen tool and cut out the left part as I did in the picture below. This is going to be the right part also, because we are going to flip it in the next steps.
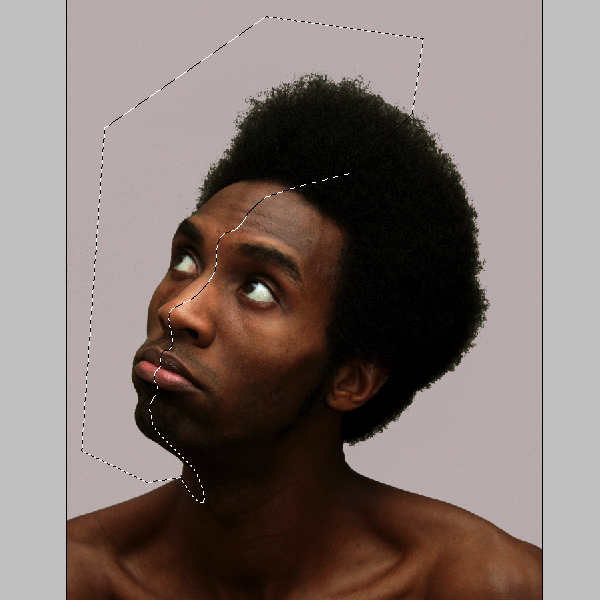
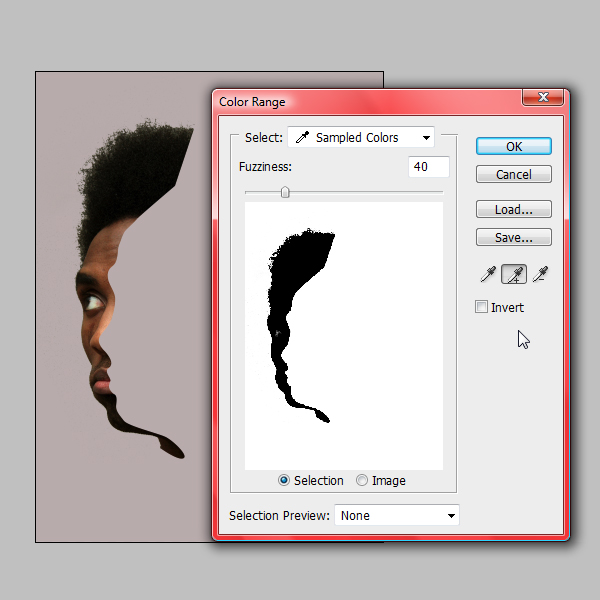
Next I have extracted the head from the initial background, for this go to Select-Color range.
The extraction will be very easy because of the contrasts of the picture. Use the eye picker to select the head and extract it. This is a good method to extract hair since the pen tool is not so precise.
Step 2
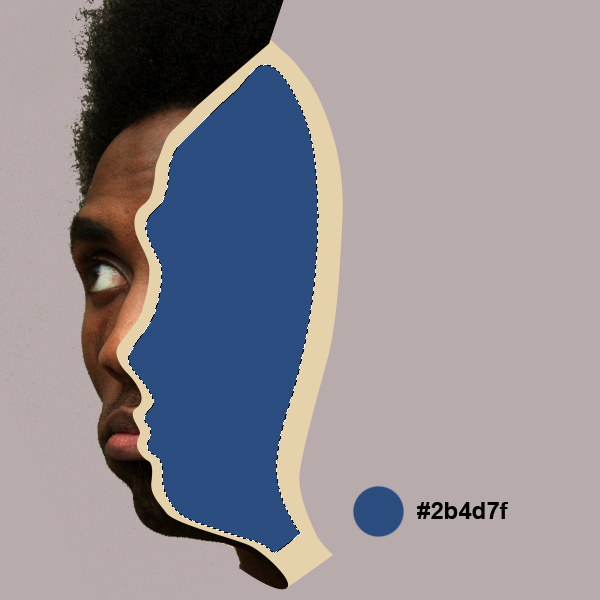
Now that we have the head lets create the missing part. We are going to work on the left part only and then flip it to create the right part of the head. Create a new layer under the head’s layer. Using the pen tool make a shape as I did in the picture. Use the color code shown below.
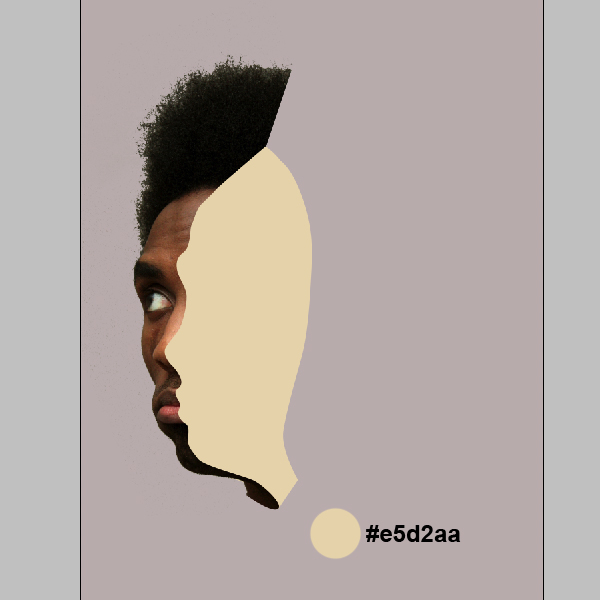
Using the pen tool, create a new shape smaller then the last one and fill it with blue.
Step 3
We are going to leave the head pending for a few layers and open the sky picture.
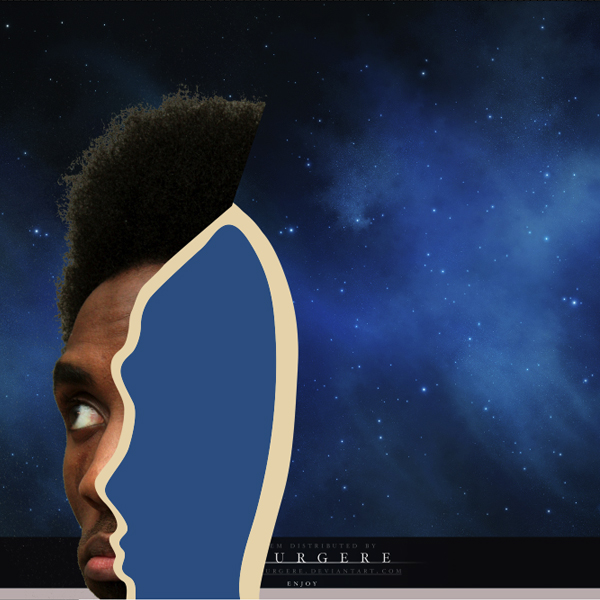
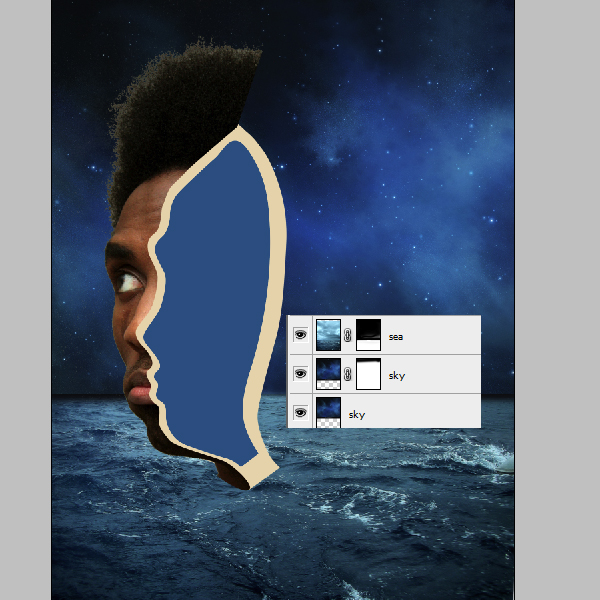
Since the sky picture is a bit too small I’ve duplicated the layer and filled the missing parts. Use the clone stamp tool for this. Open the sea picture and, on the layer’s mask, erase the top part to blend it with the sky.
Step 4
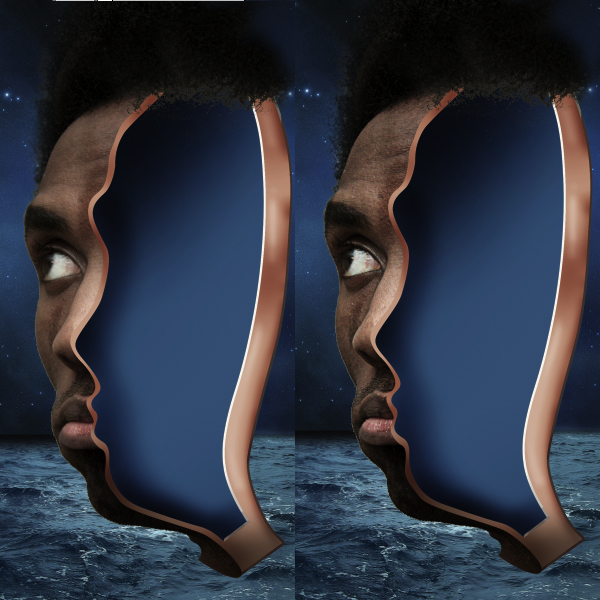
Now that we have the background let’s go back to the head. In this Step we will add some shadows and lights to the head using the burn and dodge tools. Use the picture below as a reference. Also add some hair, with the clone stamp tool, as you see below.
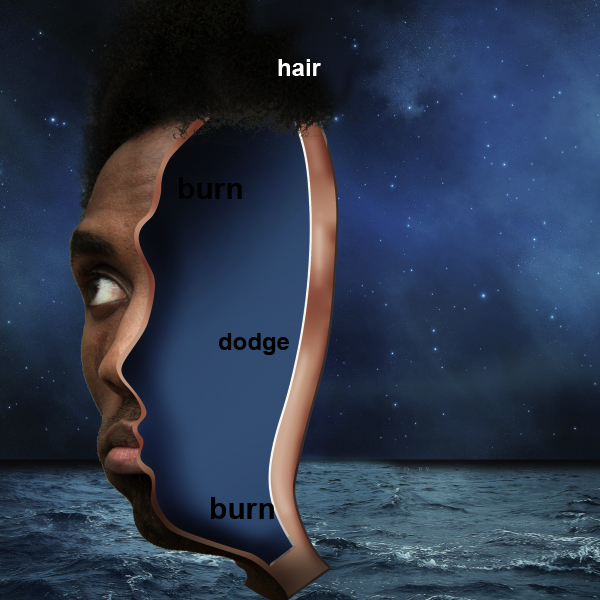
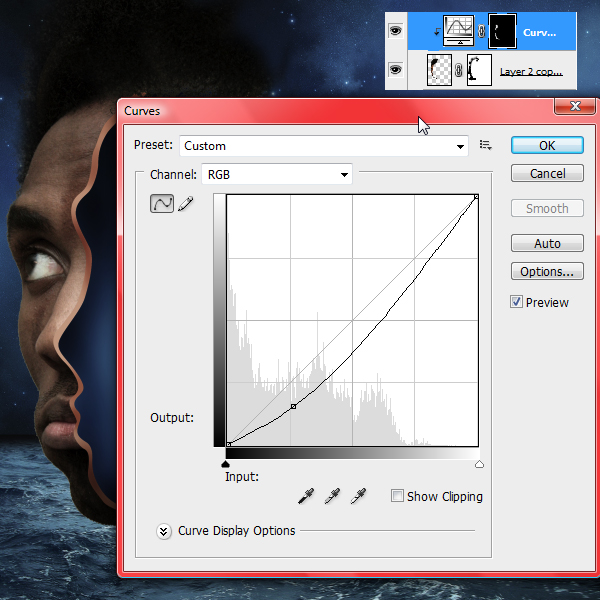
Use some curves on a clipping mask attached to the head’s layer.
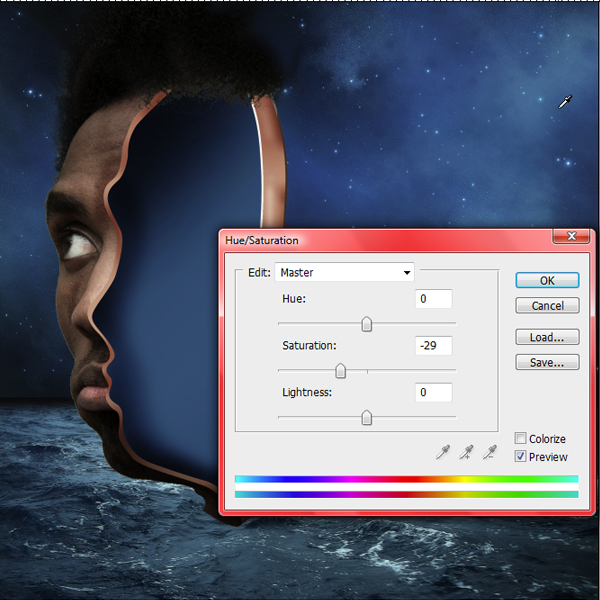
Let’s desaturate the picture. Choose Hue/Saturation and use the settings shown below.
Duplicate the layer with the head. Go to Filters > Other > High Pass. Set it to 2 – 3px and put the layer’s blending mode to overlay.
Step 5
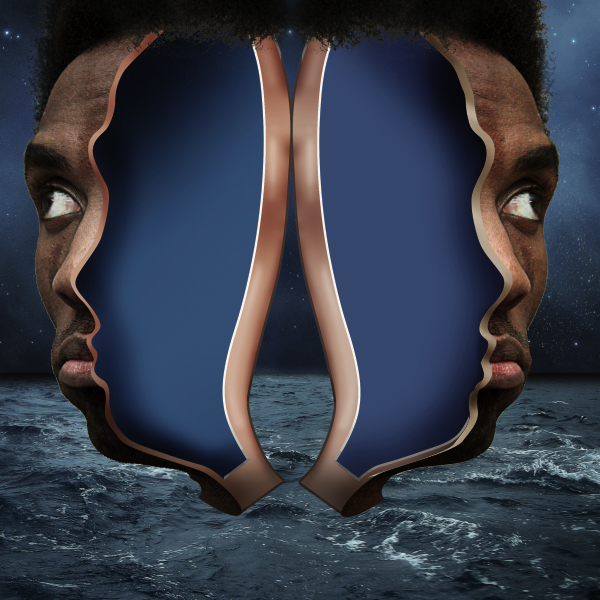
Now that the right part is done create a new folder and place all the head’s layers in. Name it “left”. Duplicate the folder and name it “right”. Flip it horizontally. Now we have the other part of the head.
Step 6
Create a new layer. With the pen tool create a shape as you see below. Fill it with black. Go to Filter > Blur > Gaussian Blur (5.5 pix). Set the layer’s opacity to 10-12%. This is going to be the shadow cast by the head on the water.
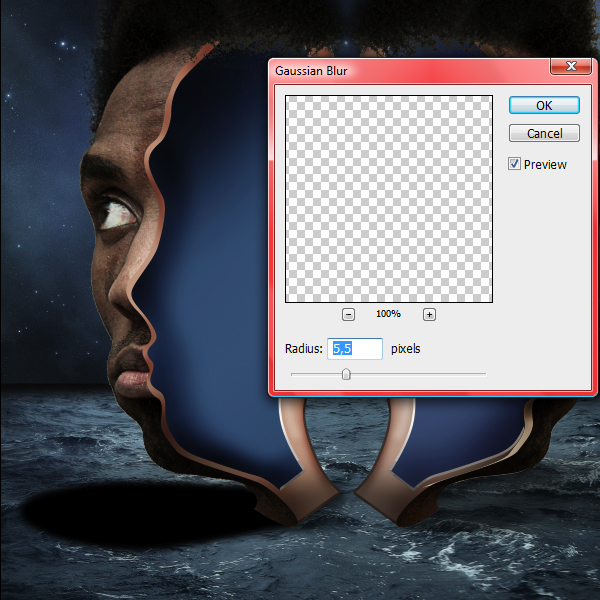
Duplicate the layer (Command/Ctrl+J) and flip it horizontally. Use it on the right part of the head also.
Step 7
Select the clone stamp tool and place some hair. You have to cover the whole area of the head with hair.
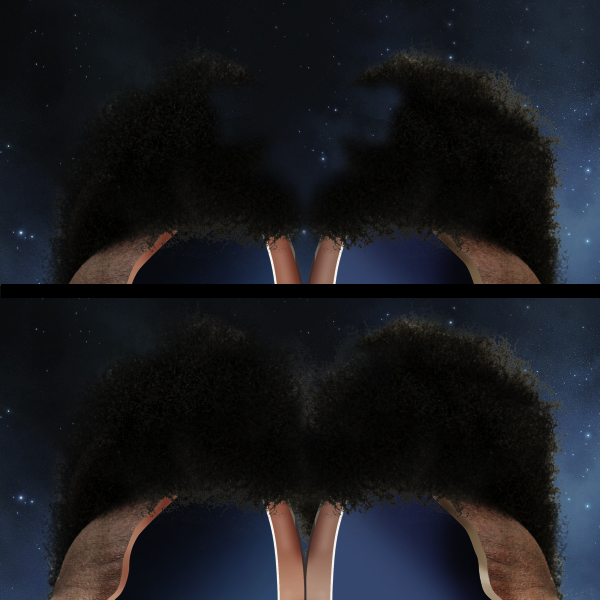
Step 8
Use some curves to darken the face so it will blend in with the night atmosphere.
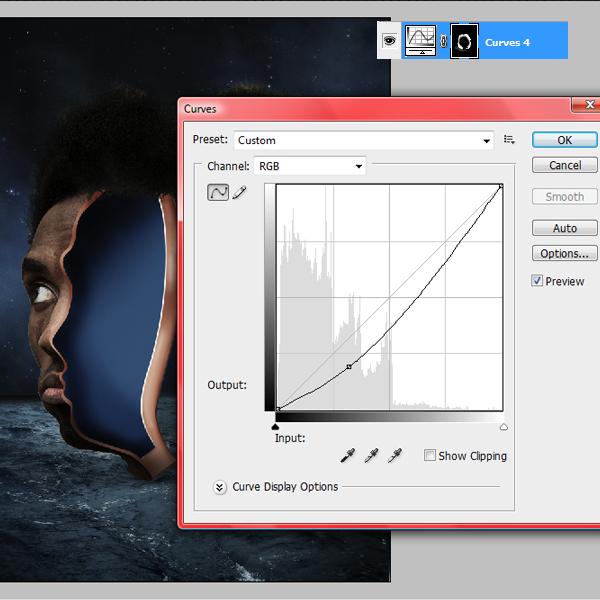
Step 9
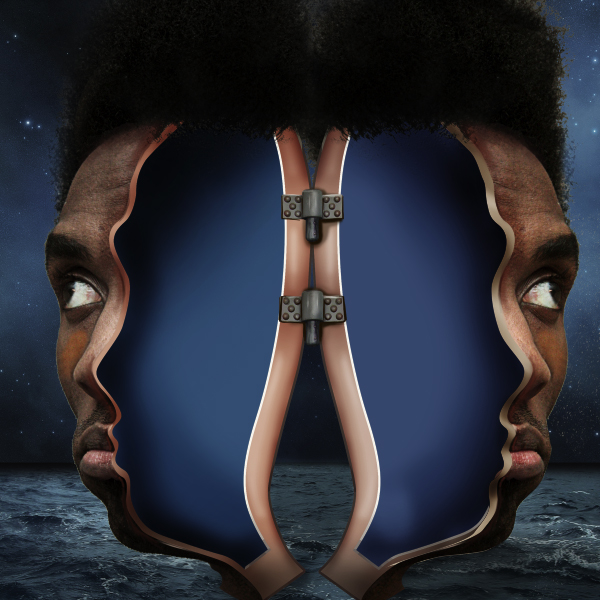
Open the hinge photo and cut it out. Place it like in the photo below. We need 2 hinges, so duplicate the layer.
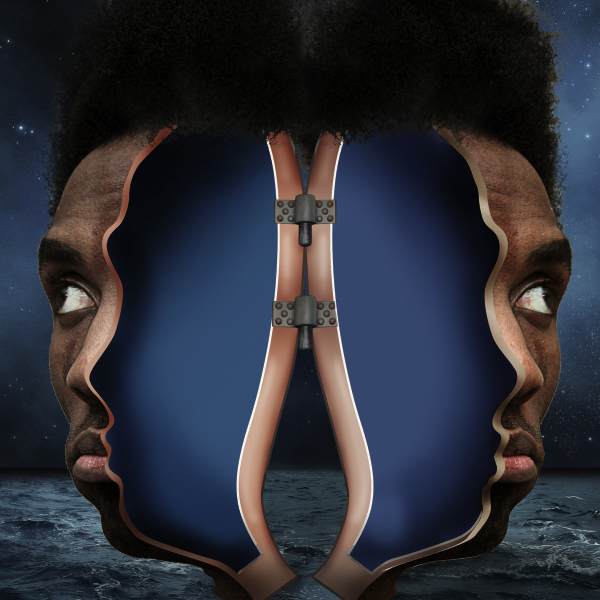
Select the brush tool and add some lights with white and some shadows with a dark grey.
Step 10
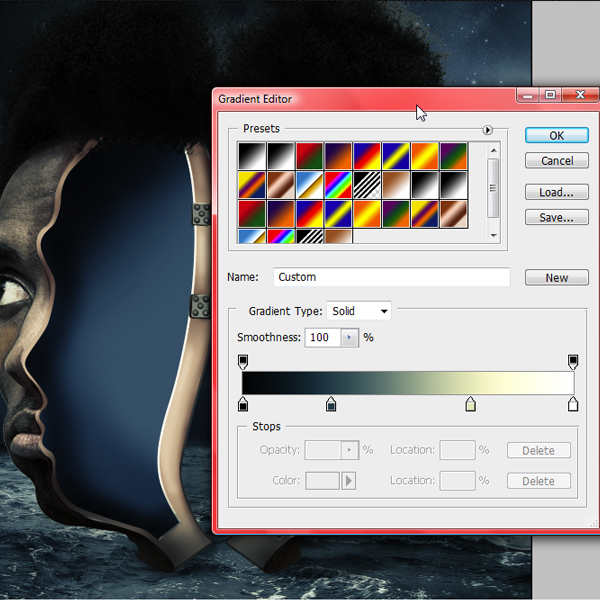
In this Step we will try to make all the objects to blend in. This is usually done in the last steps but here it helps us to see the big picture since we have so many elements. So all the layers from now on are going to be under this 3 layers. Go on top of all the layers and use the Gradient map with the color codes shown below.
Step 11
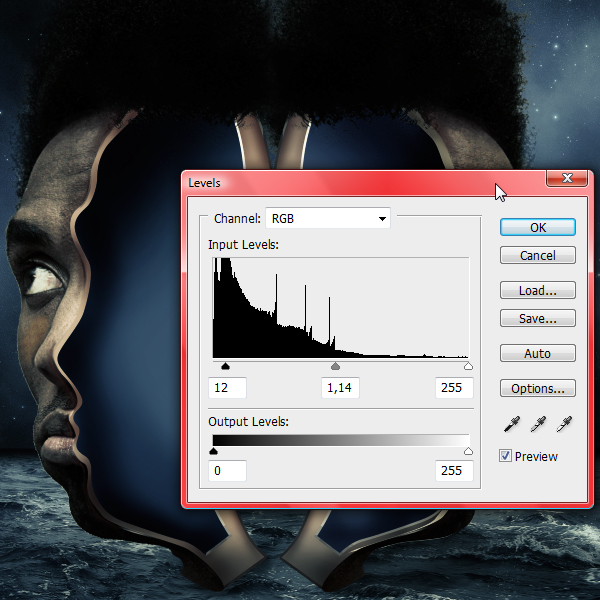
Adjustment Layers > Levels
Step 12
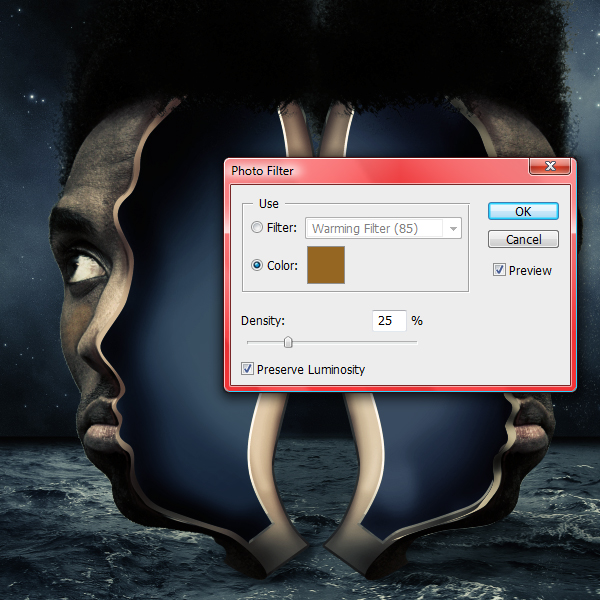
Adjustment Layers > Photo Filter > Sepia (25%).
Step 13
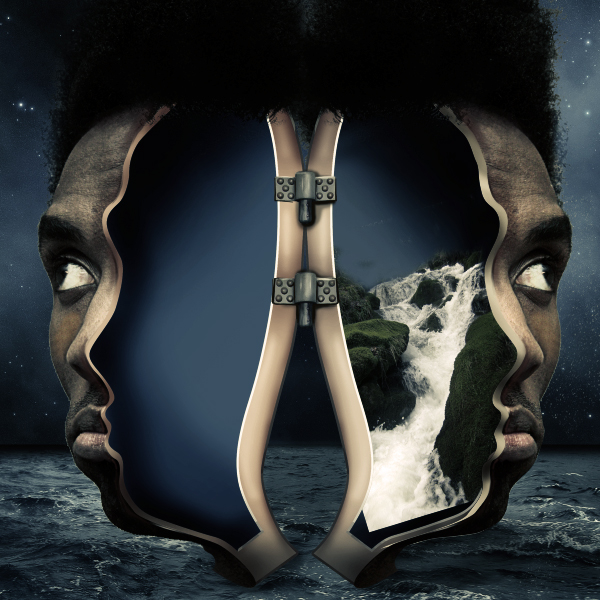
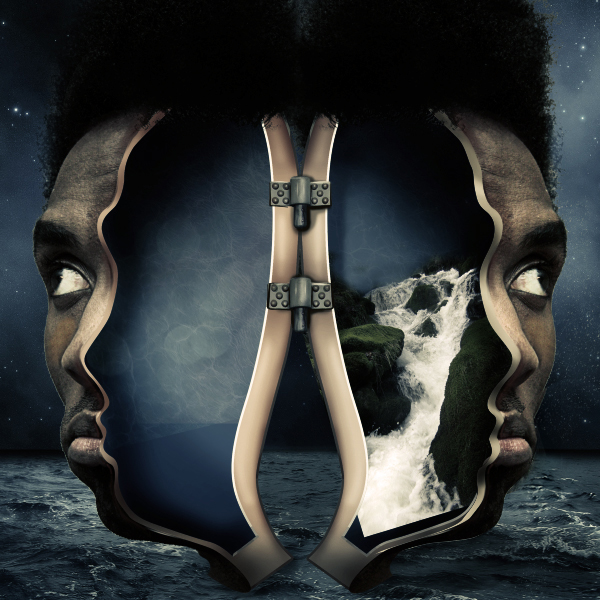
Drag in the waterfall picture. Transform it so it will fit into the right part of the head.
Place the waterfall as a clipping mask to the head.
Place the waterfall as a clipping mask to the head.
Step 14
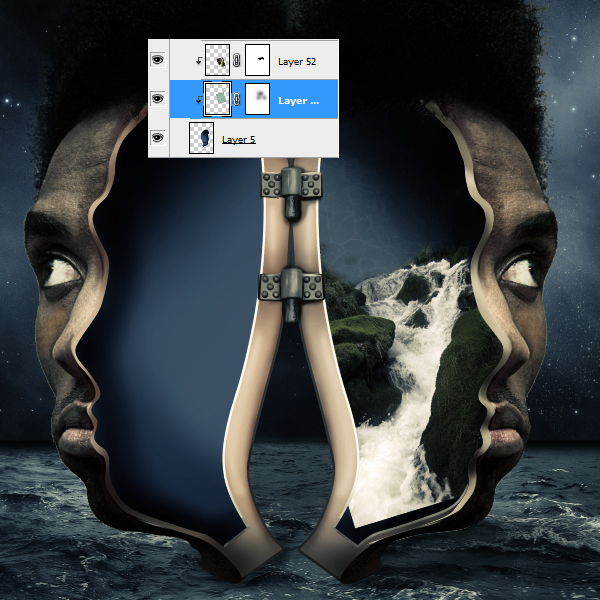
Next, place the water texture as a clipping mask to the head’s layer. Set its blending mode to soft light.
Step 15
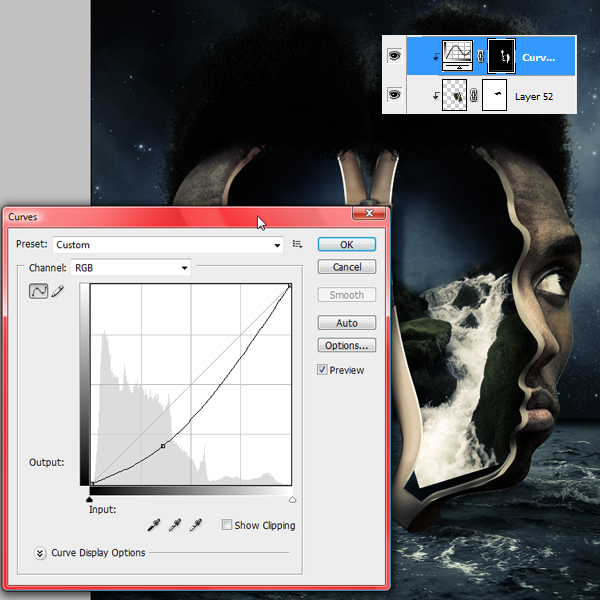
Create a new clipping mask for the Curves layer. Use this to create some shadows on the waterfall, for a sensation of depth.
Step 16
Now let’s go a bit on the left part of the head and add the same water texture as a clipping mask on the head’s layer. Set its blending mode to soft light.
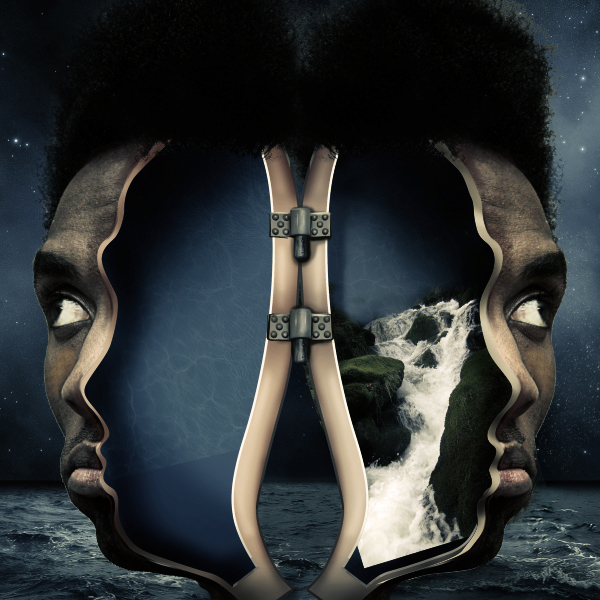
Open the glitter texture and place it on top of the left part of the head as a clipping mask. Set the blending mode to soft light.
Step 17
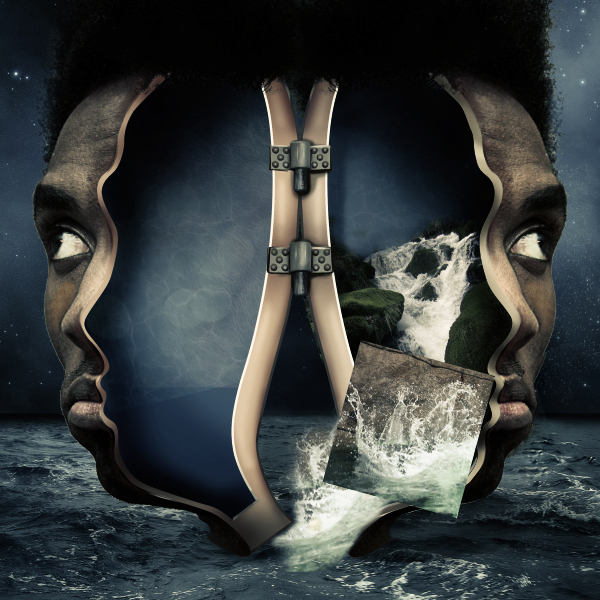
In this Step we will make the water splashes, so open the splash picture. Transform it so it will fit perfectly in the photo manipulation. This is the picture that we will use for all the splashes, we will flip it, transform it so it won’t look like a pattern. Set the blending mode to lighter color.
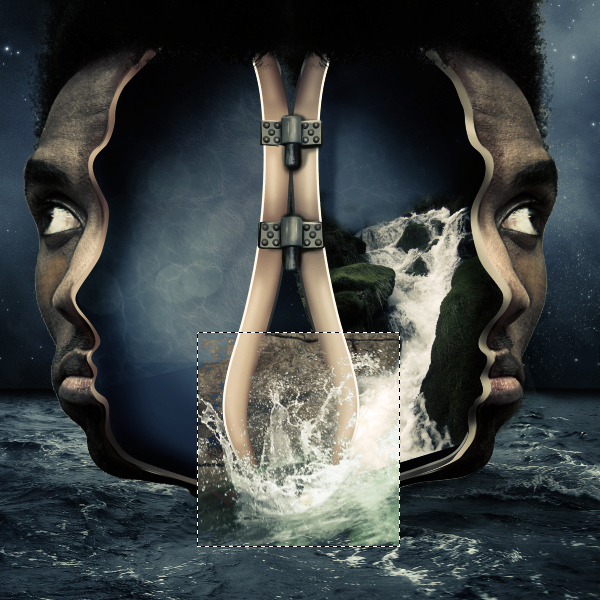
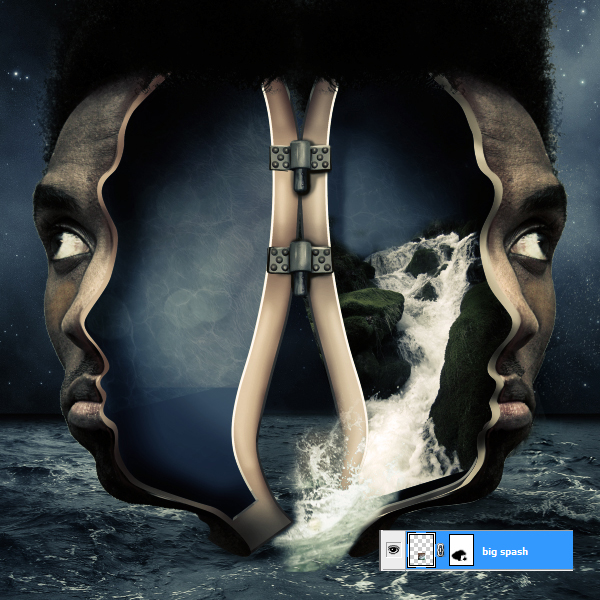
Duplicate the splash layer and decrease it’s size. Set the blending mode to lighter color also. Do this as many times as you like. To complete this part add some mode splash with some costume made brushes.
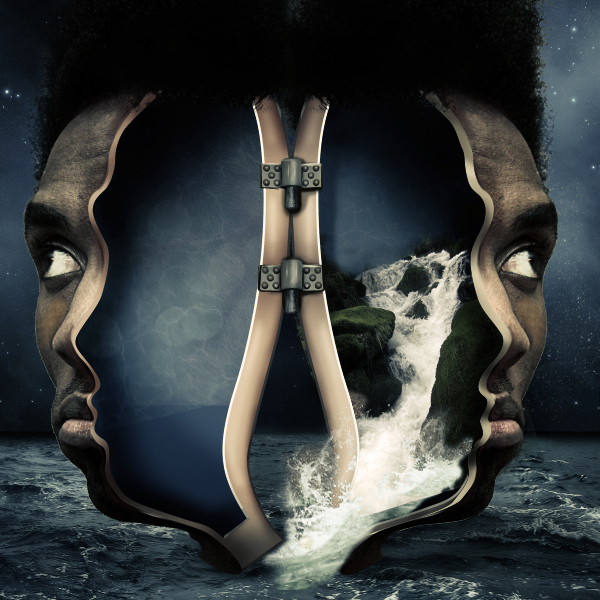
Step 18
Cut out the dolphin using the pen tool and place it on top of the left part of the head.
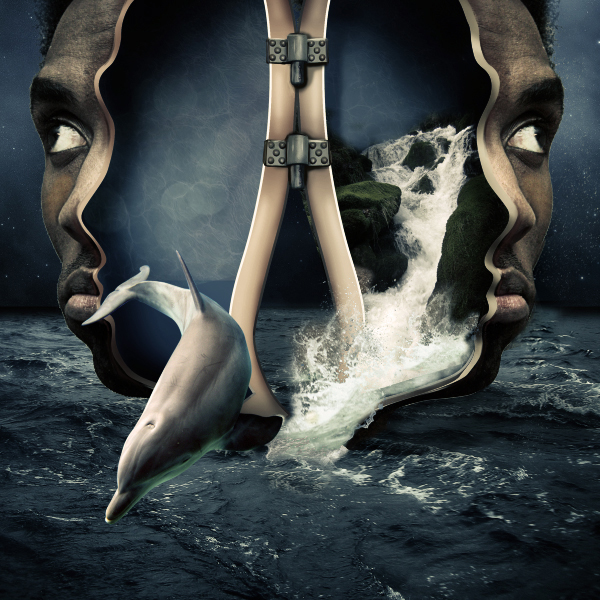
Create a mask to this layer and, with a brush (opacity 20-30%), erase some parts so it will look like his head is under water.
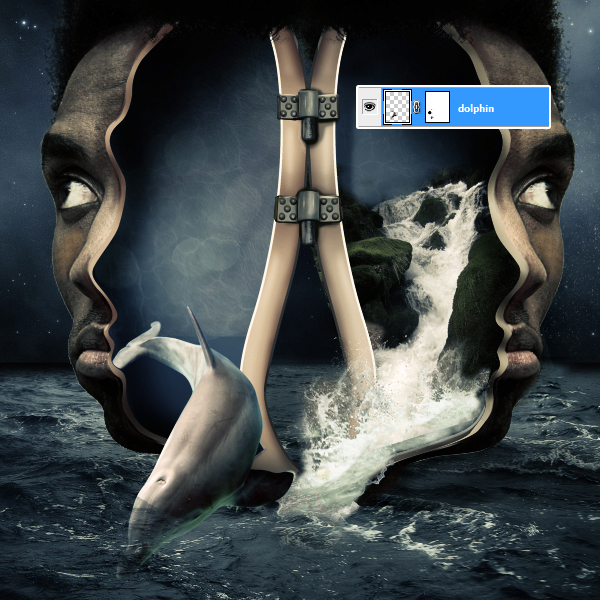
Step 19
Drag in, again, the water splash image and place it on top of the dolphin. Set its blending mode to lighter color and erase, on the mask, all the edges. You should have the same result as shown in the image below.
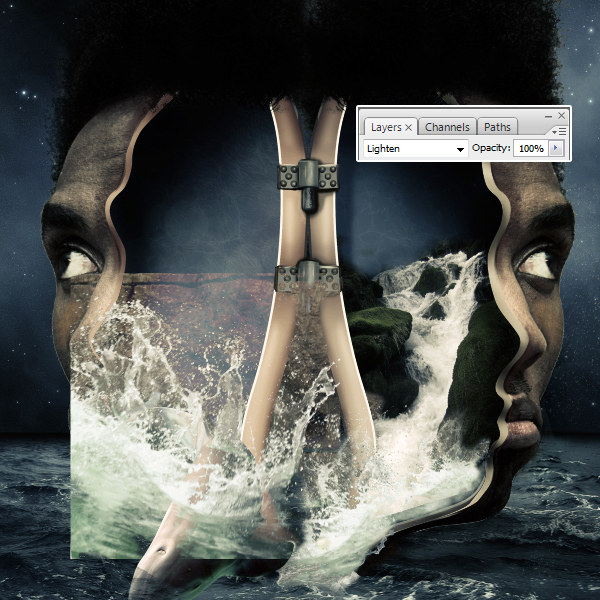
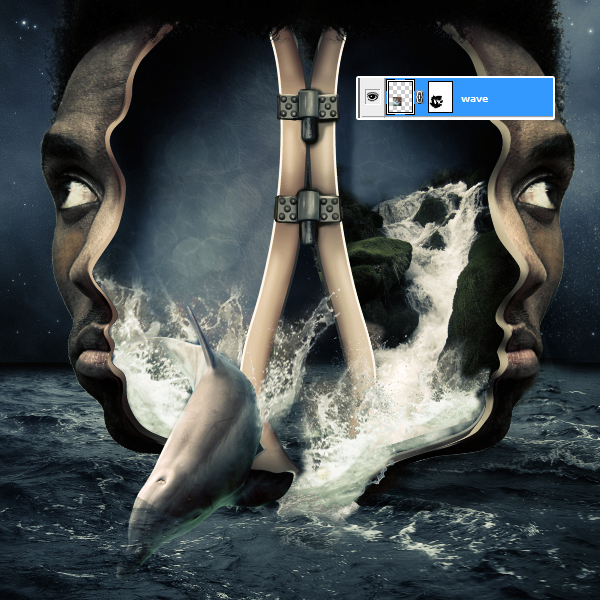
Step 20
With the help of some splash brushes add more water. Use the image below as a reference.
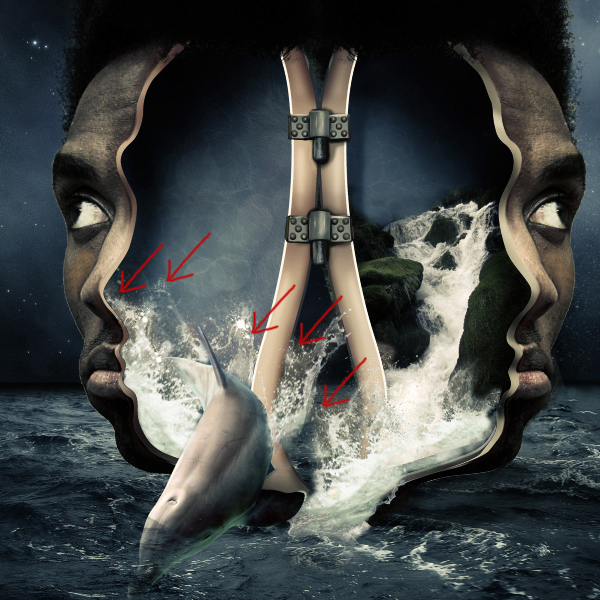
Step 21
Open the second dolphin picture and cut it out with a pen tool. Drag the second dolphin in. Transform it and place it in the back.
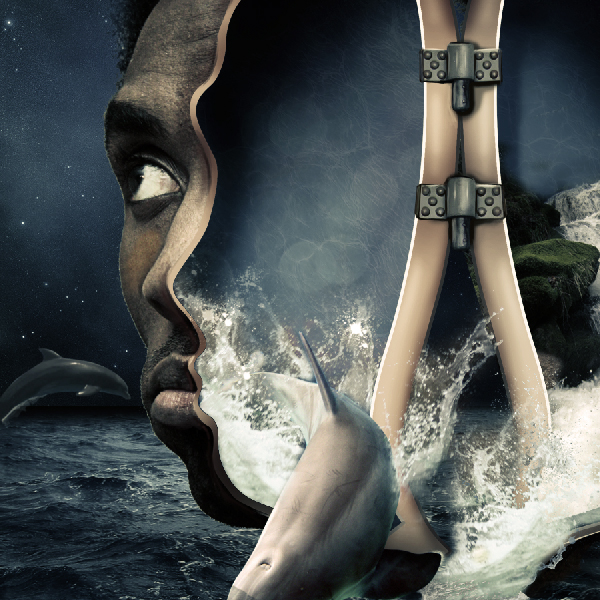
Select the clone stamp tool and create a new layer. Start adding some small waves and splashes were the big dolphin is touching the water.
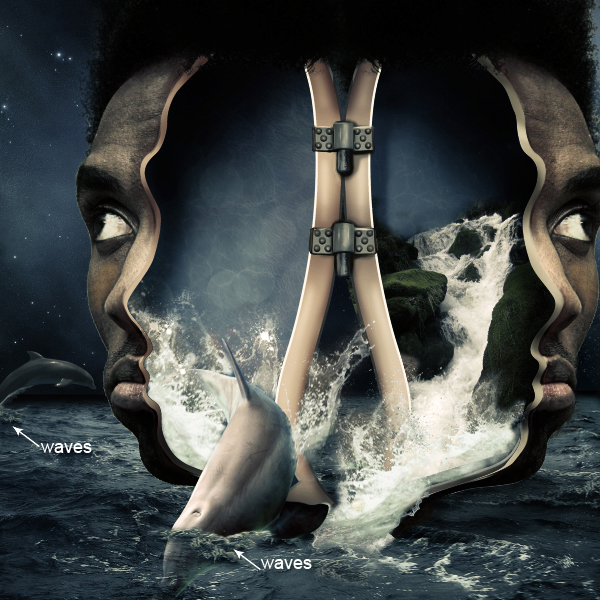
In this Step we will add some shadow for the 2 dolphins. Duplicate the 2 dolphins layers and fill them with black. Go to Filters > Blur > Gaussian blur ( 3 – 4 pix) . Transform each layer separately so it will look that the dolphins are casting a shadow.
Set the layers opacity to about 10-15%.
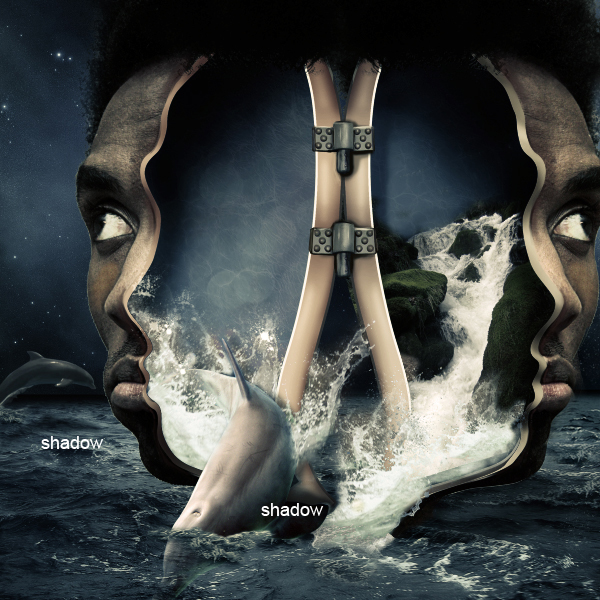
Step 22
Next we are going to finalize this surreal photo manipulation by adding the birds. First cut out the big bird and place it in the front of the head. Use some Gaussian Blur on the bird ( 0.3 – 0.5 pix).
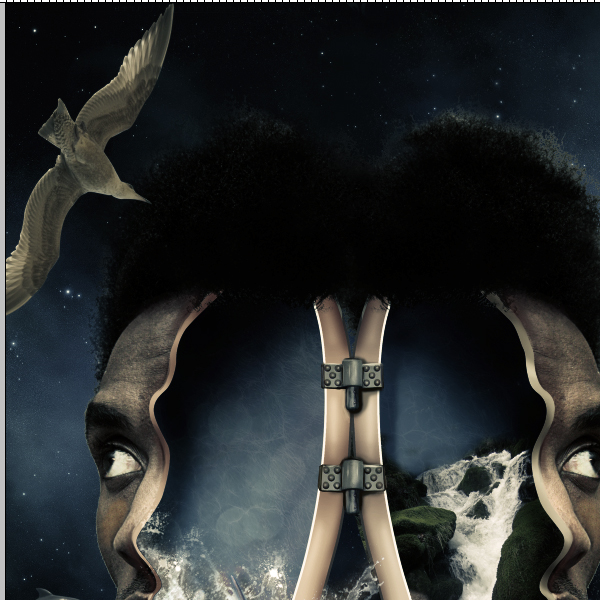
Add all the other birds. Decrease their size like you see in the image below.
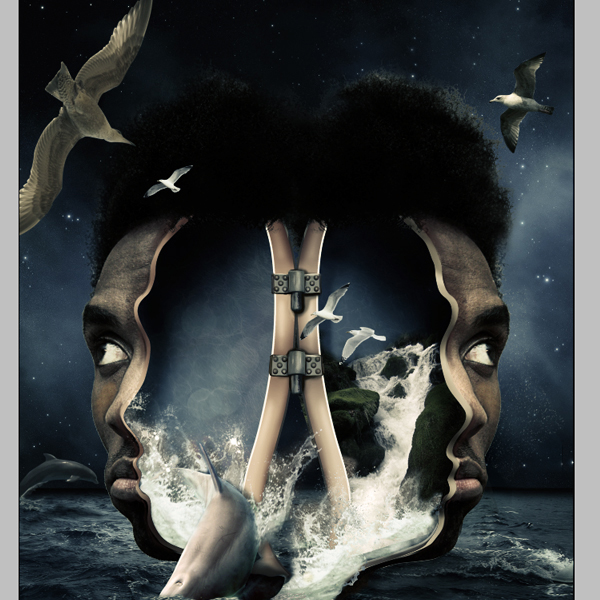
Add the birds’ shadows on the head so they will blend in.
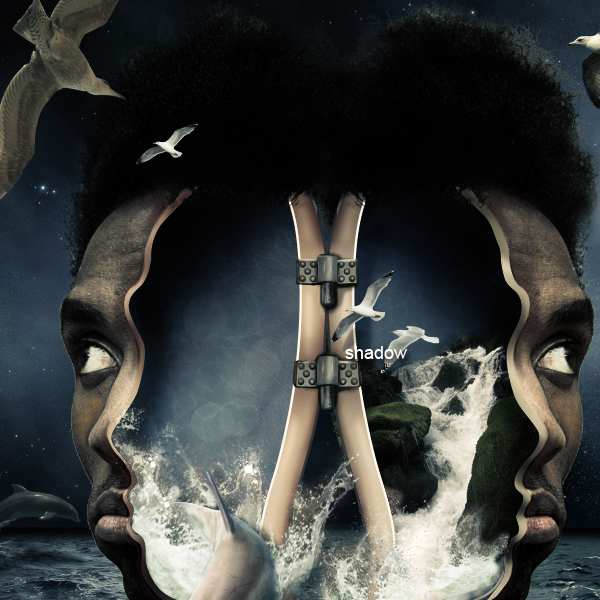
Final Image

0 comments:
Post a Comment