A few days ago, I decided to make a special present for my girlfriend. I also thought this technique could be used by others that have the same plan, so here it goes. I will teach you some nice techniques that could improve your experience and also help you make a great gift.
Step 1
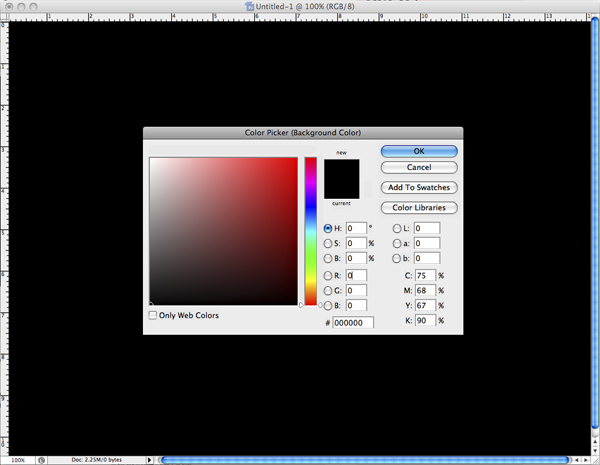
First of all, create a new document and fill it with black.
Step 2
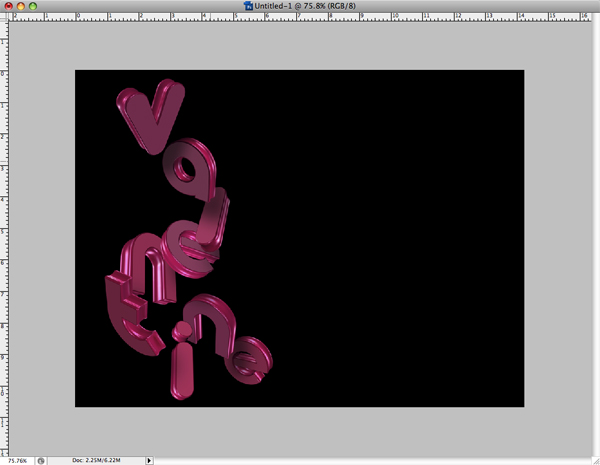
Now import your 3D text and position it as you want. For making this text, I used Xara 3D. It is a very simple program that you can use. Next add some shadows to each letter.
Step 3
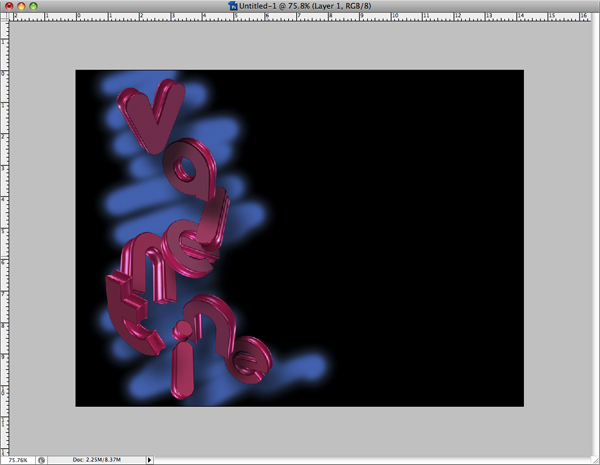
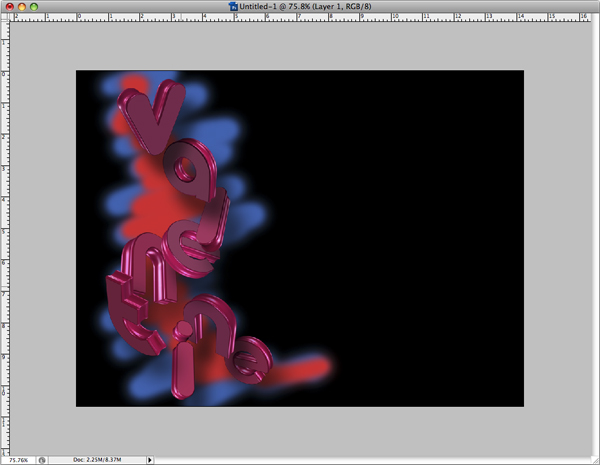
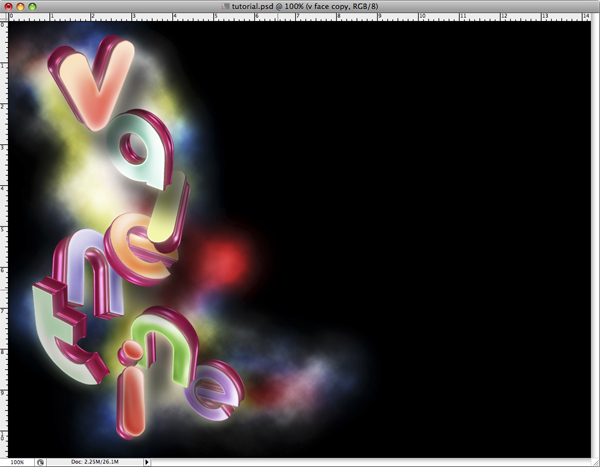
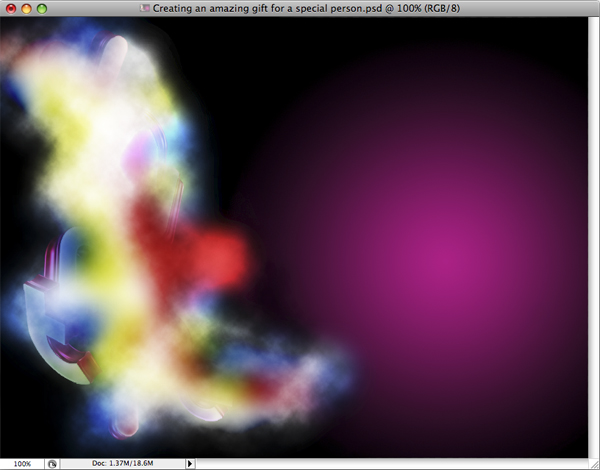
The thing I want to achieve here is to make some kind of colorful clouds behind the text. This technique is also known as “nebula,” so it is most likely that you will know about this effect.
To do this we will use the Brush Tool first with a Hardness set to 0%. Make a new layer, and chose a blue color and paint behind the text.
Step 4
On the same layer, paint a red color over sections of the blue. Experiment to find the outcome you like best.
Step 5
Now use a yellow color and do the same as above.
Step 6
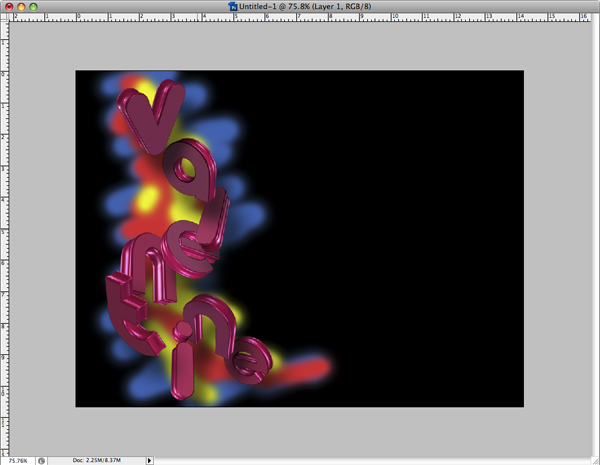
Now paint a white area as above.

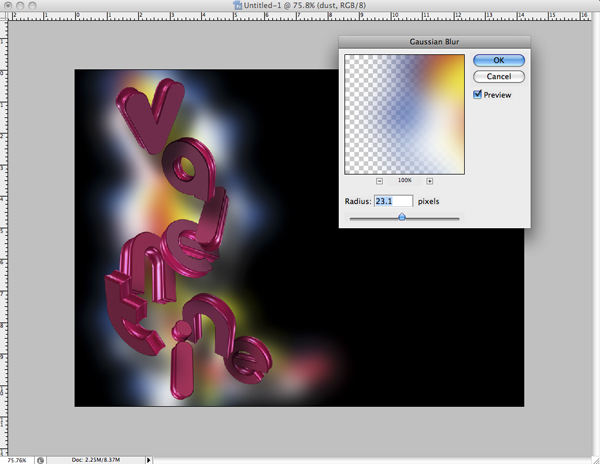
Step 7
We will make it blurry now. Go to Filters > Blur > Gaussian Blur and set the Radius as you like.
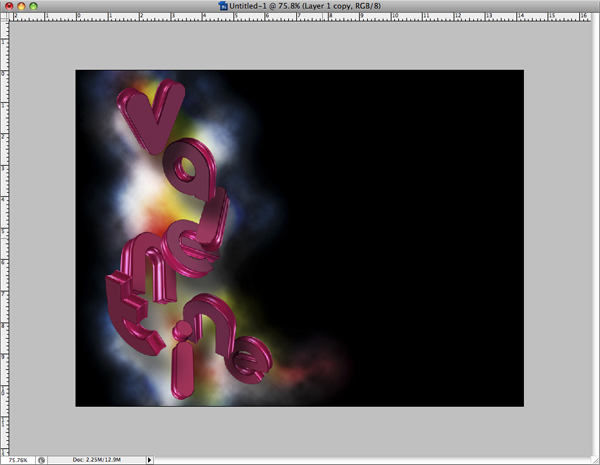
Step 8
Now we need to make it look dustier. Create a new layer and fill it with black.
- Go to Filter > Render > Clouds
- Set its blending mode to Overlay
- Duplicate the layer
Step 9
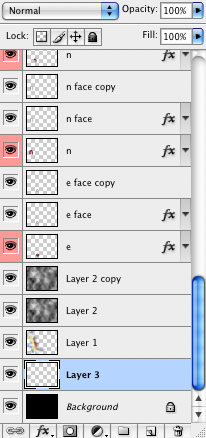
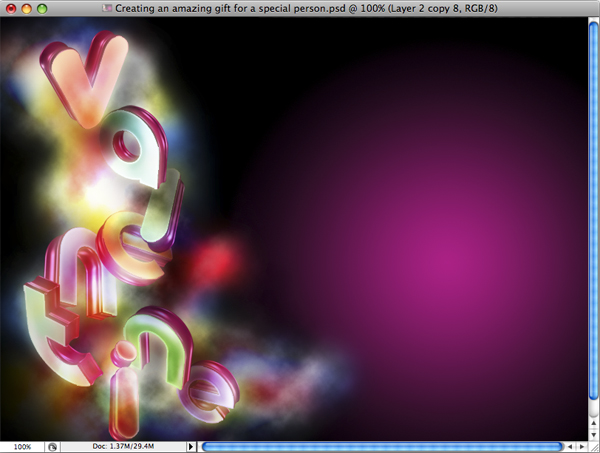
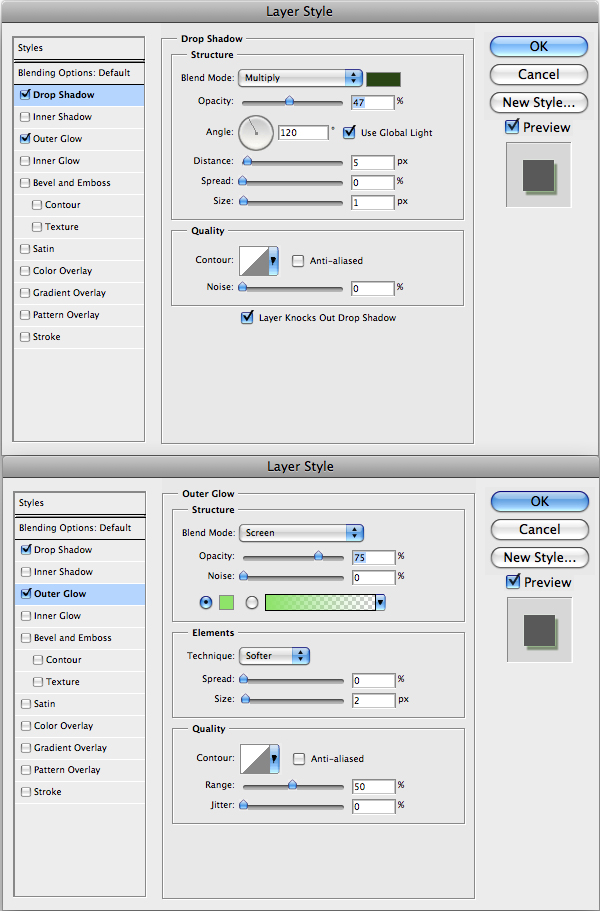
I want to give the text faces a light neon look. For this we must select each letter face. Use the Pen Tool for this.
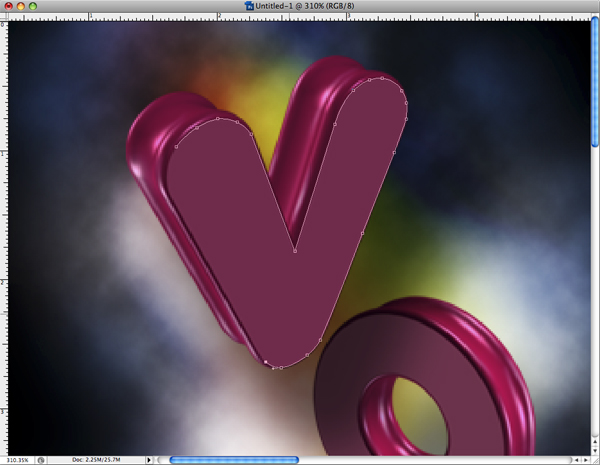
Step 10
Make a new layer over the L letter and call it L face:
- Press Ctrl-Enter (Command+Return on a Mac)
- Fill the selection with any light color
- Follow the settings below to add the effect to the letters.
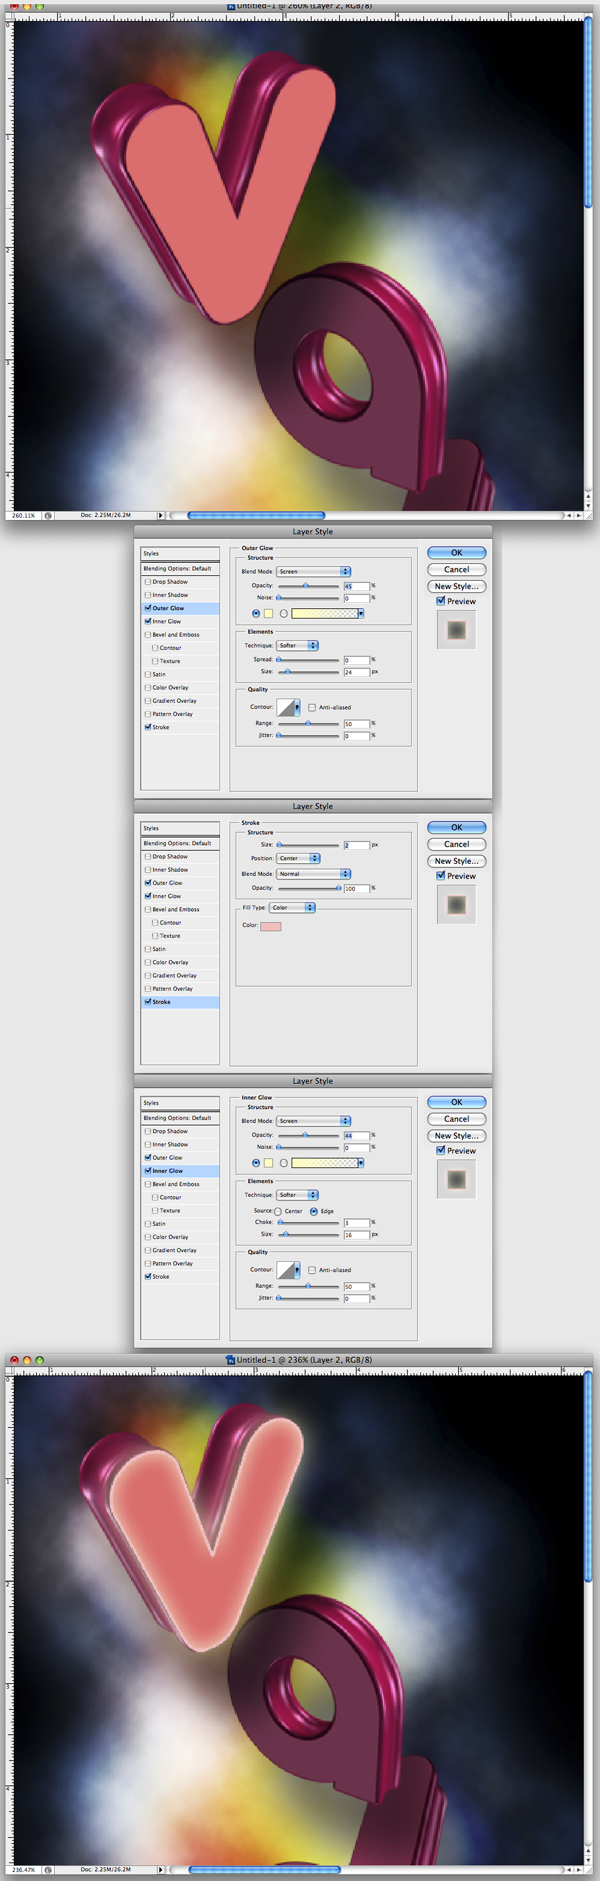
Step 11
Now use the Dodge Tool, set the Exposure to 55%, and make the face of the letters lighter by brushing over them.
Step 12
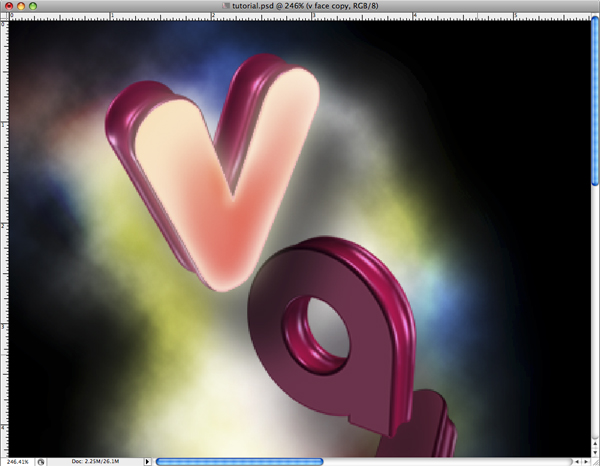
Duplicate L face layer, remove the Effects and set it to Overlay.
Step 13
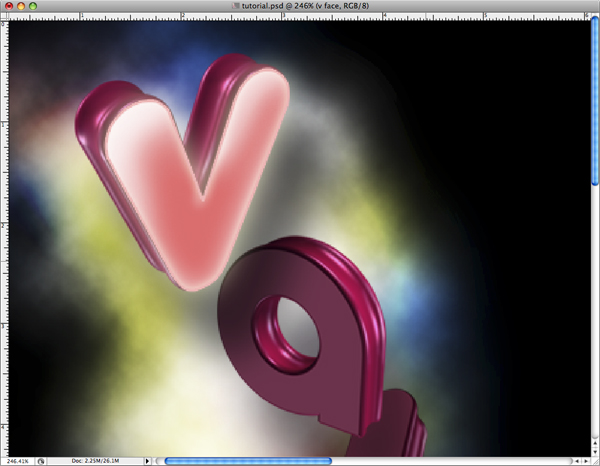
Use the same technique for all the other letters and don’t forget to put each letter face over its letter so that you will keep the composition as you first put it together.
Step 14
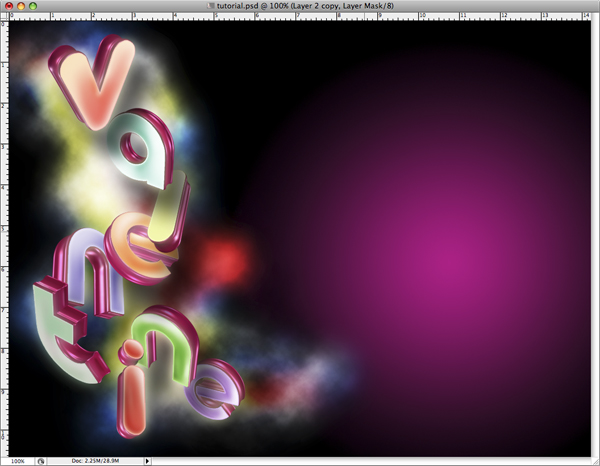
Now I want to make a background. Go to the bottom of the layer list and make a new layer over the background layer.
Step 15
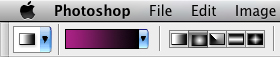
Select a dark pink color for the foreground and black for the background. Use the radial gradient:
Step 16
Use the Gradient Tool and make something like this:

Step 17
I don’t want to see the clouds on that pink, so I will mask it using the Mask Tool.
Step 18
The image is almost finished. Now what we need to do is make some of the clouds and dust go over the letters so that they look more realistic. To do this you need to copy the clouds and dust layers and move them on top of all the layers.
Step 19
Merge them together and mask or delete some of it. As you can see in the example, I have masked most of it because I am going to make a smaller cloud and use it for this effect. I used Linear Light for the Blending Mode.
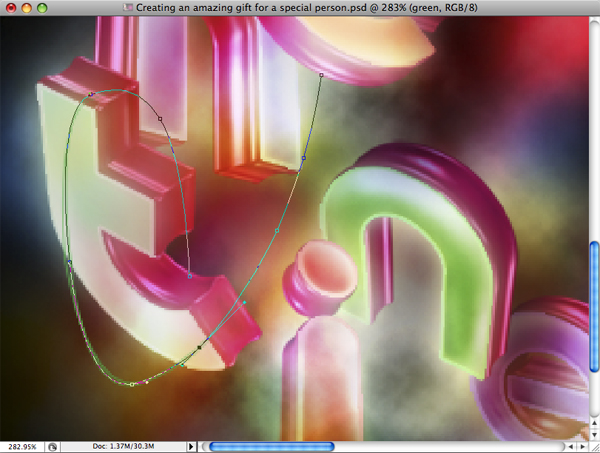
Step 20
Now I will explain how to make some really nice tentacles that you could use with this effect.
Make a new layer and call it “Green” because green is the color we will use here. Select a green color in the foreground (31b14a), and using the Pen Tool draw a path that you would like the tentacle to follow.
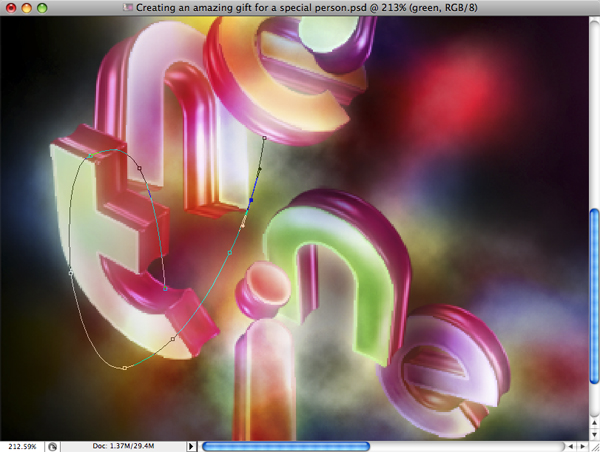
Step 21
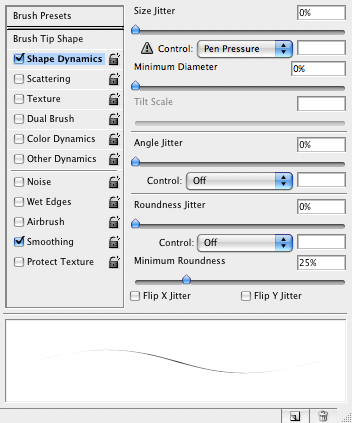
Select the Brush Tool and make sure you select a small brush size. I chose 1 pixel. Use these settings to make the brush, and use a Pen Pressure effect.
Step 22
Now select the Pen Tool again, right-click (Option or Alt-Click on a Mac) and select Stroke Path.
Before you hit Ok on the screen that appears, make sure you check the Simulate Pressure.
This is what you should get:
Step 23
Now using the same path, you need to make some more strokes but this time modify the shape of the path a little and use different tones.
Something like this:
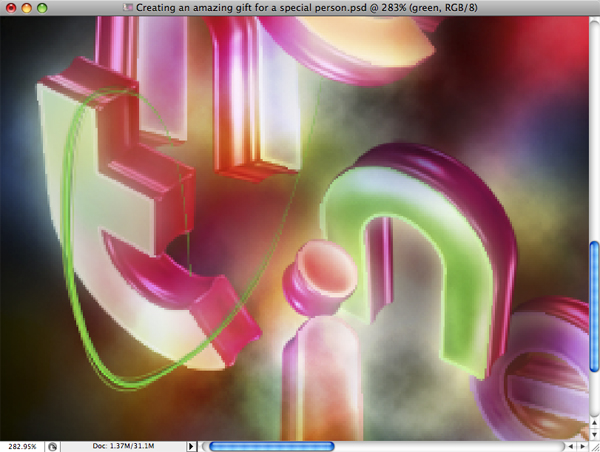
Step 24
Do the exact steps all over again at least 8 or 10 times starting from Step 20. But don’t forget to use different tones of green and also modify the shape of the path.
When you are finished, you should get something like this:
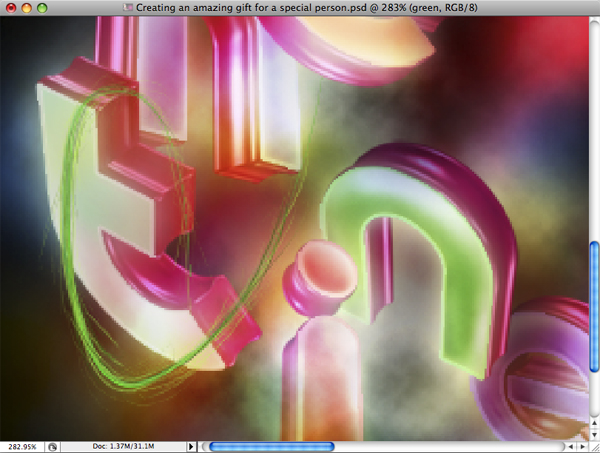
Step 25
Now use the brush tool and simply draw over your path. Don’t worry, you don’t need to follow the path exactly. I use a tablet and this gives me more precision but this is not needed.
Next, using the brush tool do something like this:
Step 26
Now use these settings to make it shiny:
Step 27
In the end, mask the part of the tentacle behind the text.
Step 28
Make more tentacles using different colors and different shapes.
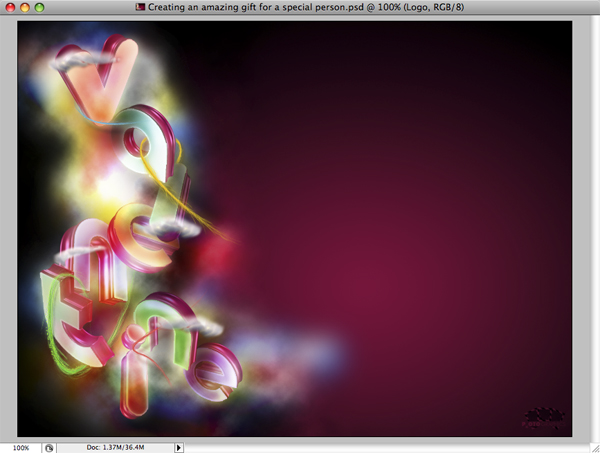
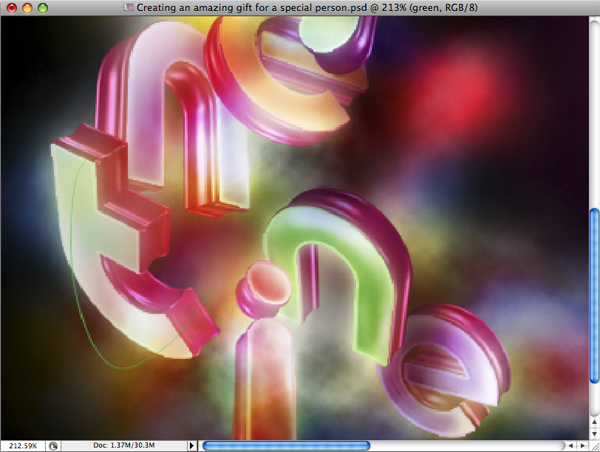
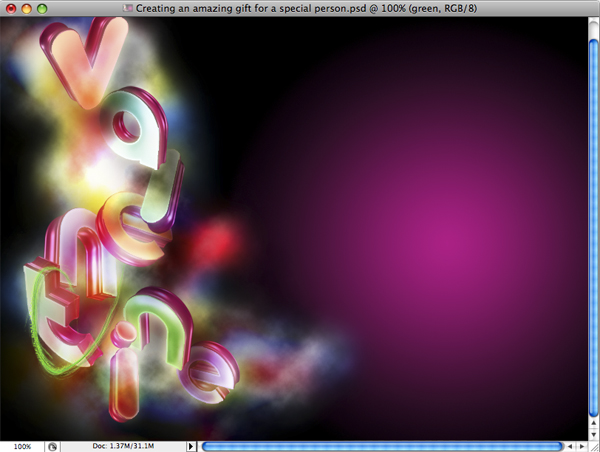
Here is my result:

Conclusion
In the end, you can add some more clouds or change the background with a nice texture or other color.


0 comments:
Post a Comment