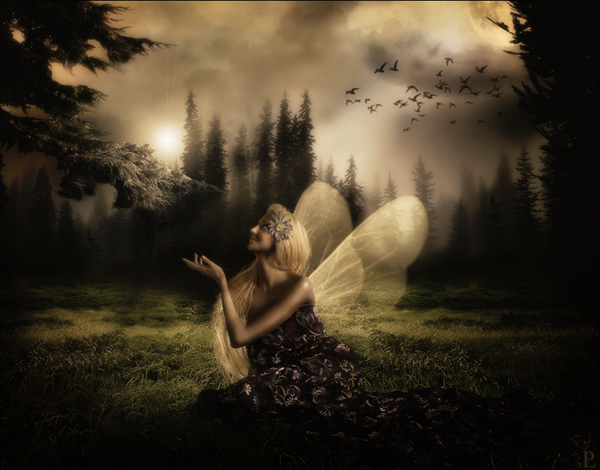
Final Image Preview
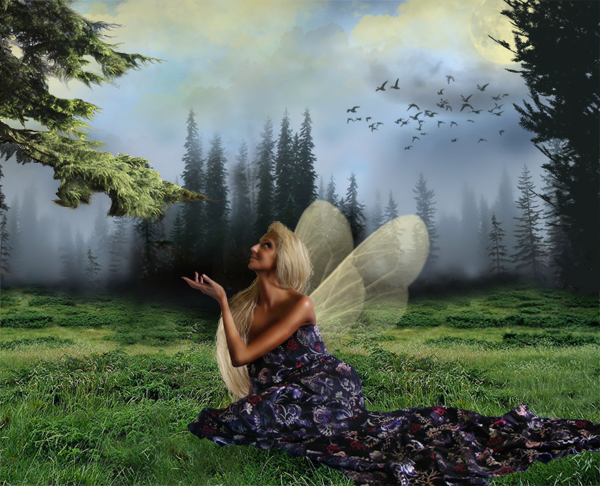
Below is the image you will create in this tutorial. Want access to the full PSD files and download able copies of every tutorial, including this one? Join Psdtuts+ PLUS for just $9/month. You can view the final image preview below or view a larger version here.Video Tutorial
Our video editor Gavin Steele has created this series of video tutorials to compliment this text + image tutorial.Step 1
The first step is to choose the right pictures for your work. I chose just three stock images to keep it simple: Background, Tree, and you can look at through the following site for a suitable image of a Model.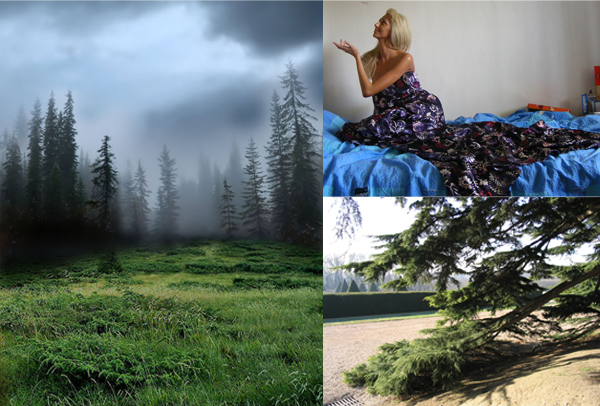
Step 2
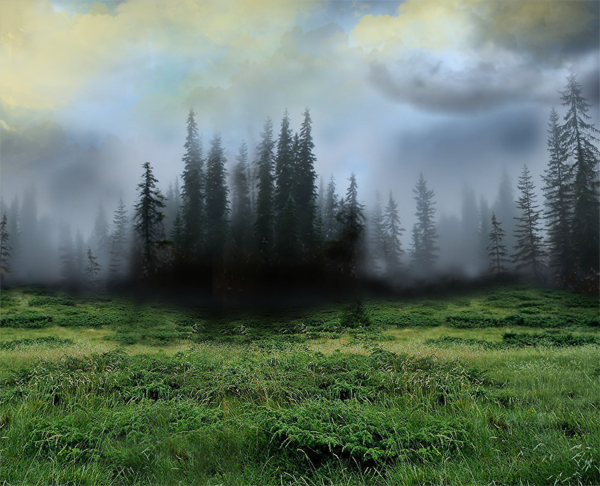
The second step is to create a proper background. Use your imagination; don’t just use the background picture ast is. Click on the background layer and then Command + J to duplicate it. Next flip the background you just duplicated Edit > Transform > Flip Horizontal, and then overlap them covering just a bit of the picture with the other.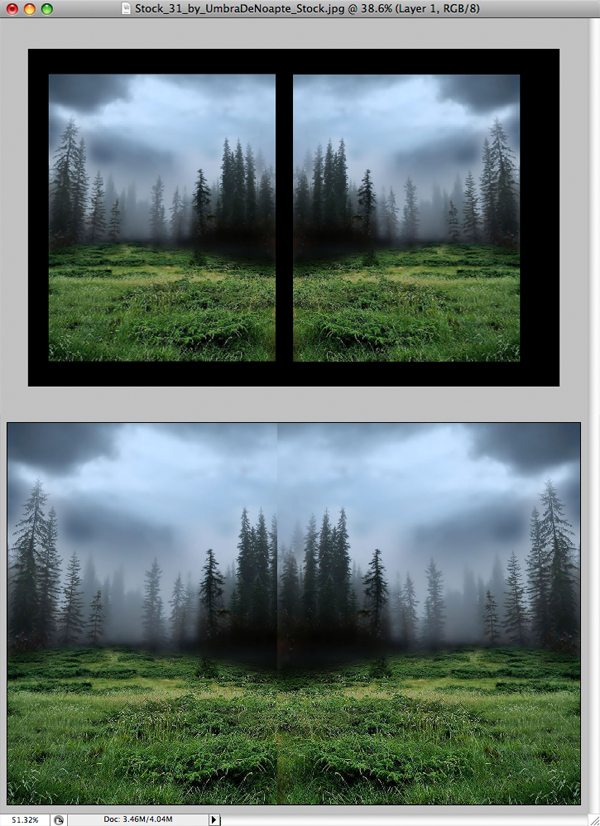
Step 3
Now Command-click on both layers and then press Command + E to merge them together. It looks strange, like in a mirror, but by using a brush and a clone stamp it will look quite natural. Select the Clone Stamp Tool (S) and start cloning the trees and the grass until it looks natural, use the Brush Tool (B) and paint with black at the trees roots. Then crop it so it won’t look symmetrical.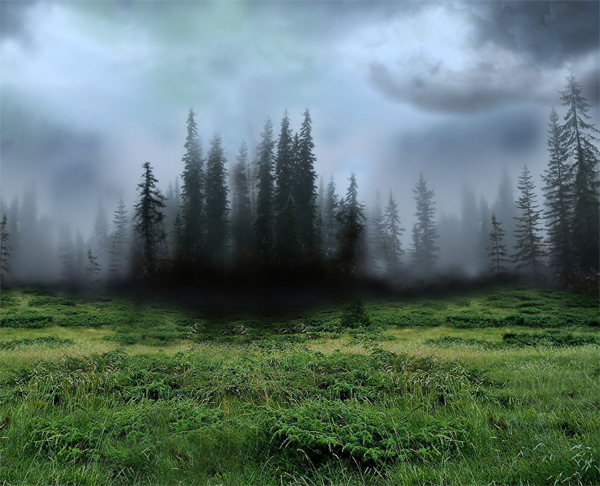
Step 4
Next you need to add some clouds. You will create these clouds using a cloud brush; also you need to make the clouds yellow. Yellow and orange clouds look good in a fantasy picture, and here are some Free Cloud Brushes.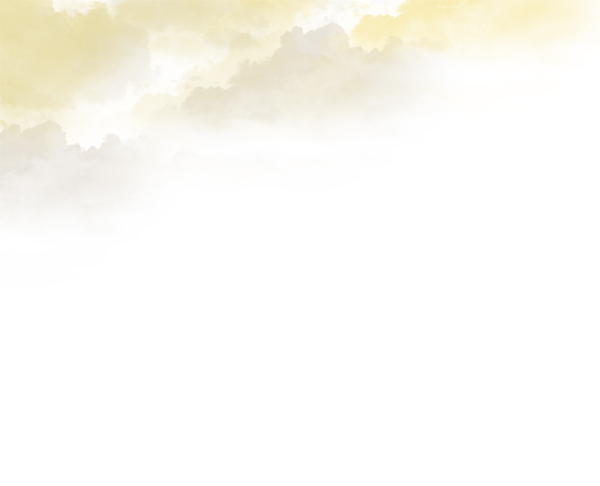
Step 5
Next you need to add some birds on the sky. Again create the birds using brushes, and here are some Free Bird Brushes.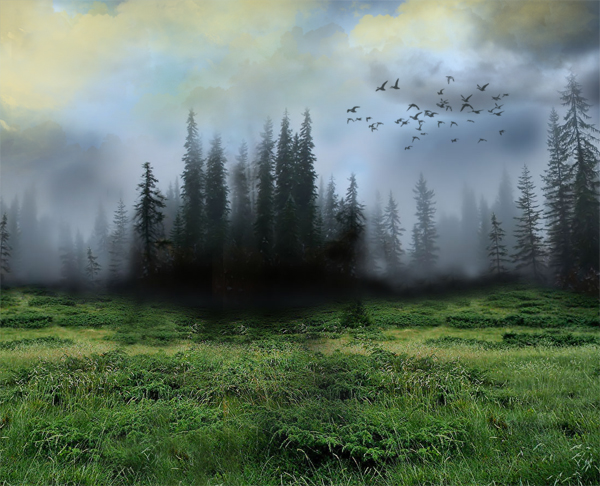
Step 6
For this step you will add a moon or maybe you will add two, after all this is a fantasy illustration, and here are some Free Moon Brushes.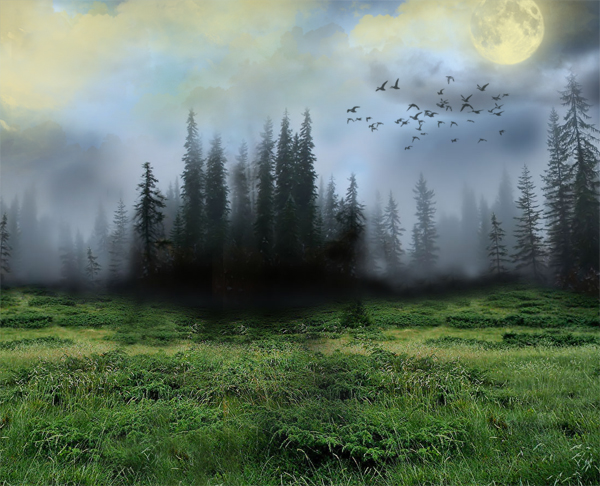
Step 7
Last element you need to add is a tree in the right side of the composition. We do this just to get rid of the symmetry. Look for a tree that matches your background, and here are some Free Tree Brushes.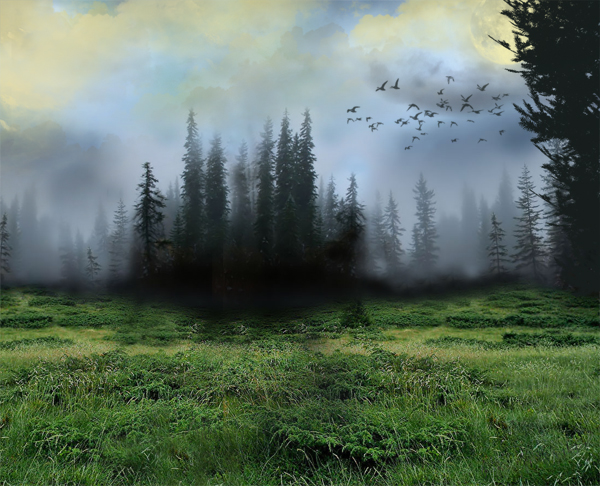
Step 8
You have just finished with the background. Now you need to work on your model. Use the Pen Tool (P) and cut out the model, then place it into a single layer called "model."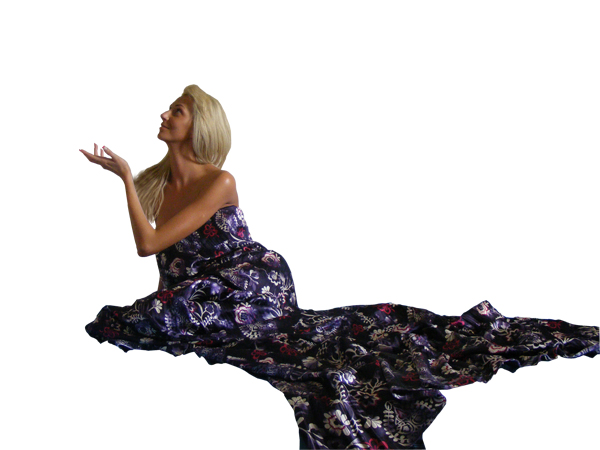
Step 9
Every fairy has long hair, right? Just use the Lasso Tool (L) and cut out her hair. Make the selection and then press Command + J to copy it to another layer.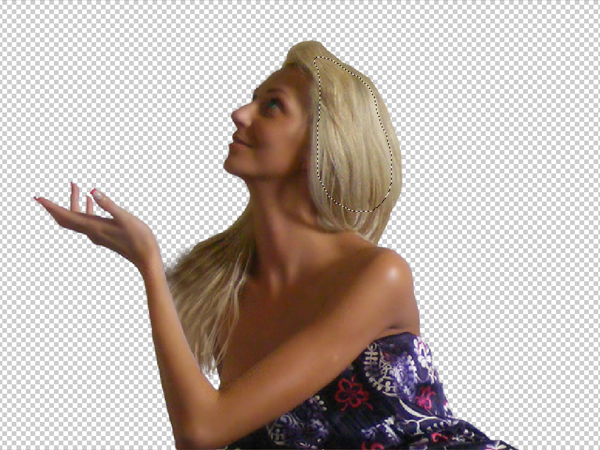
Step 10
Next you need to move the part of the hair you just created lower then the "model" layer and using the Smudge Tool (R) and Transform Tool (T) you need to make the piece of hair look like it belongs there. The final result might not look great, but we will go back to the hair later.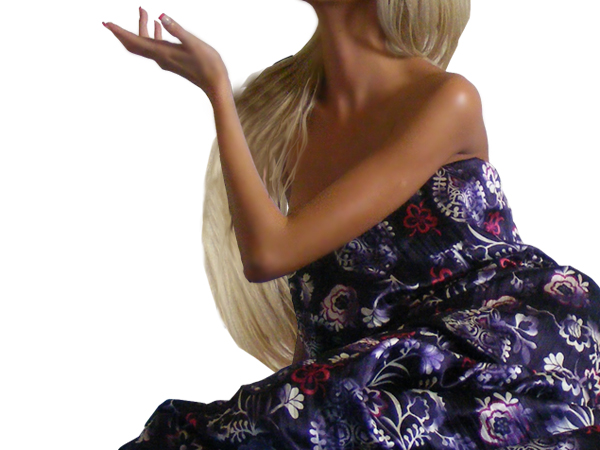
Step 11
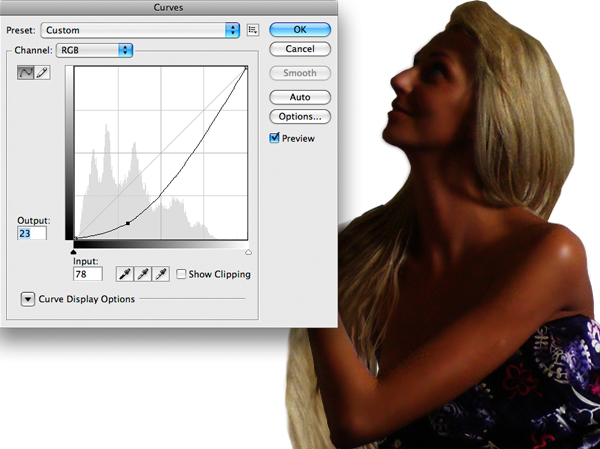
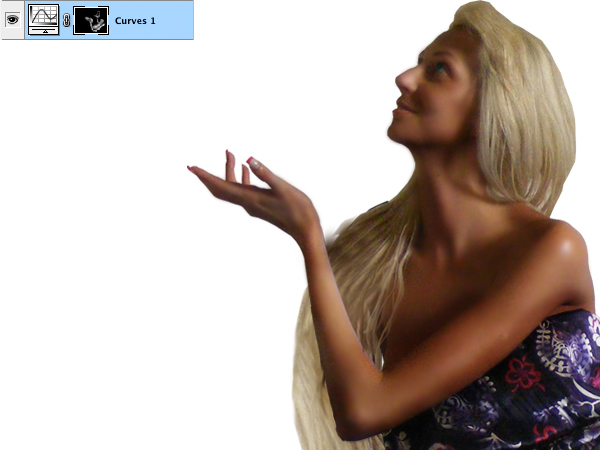
Now you need to create some shadows and lights on her skin. Go to Create a new fill or adjustment layer and select Curves. Use my settings or just make the skin look darker.Fill the layer mask with black. Next, pick a basic brush and with white draw on the layer mask over all the darker areas of the models skin. Make sure to use a 0% Hardness for the brush, also you can use a lower Opacity for the brush. This will help you build the effect gradually.
Step 12
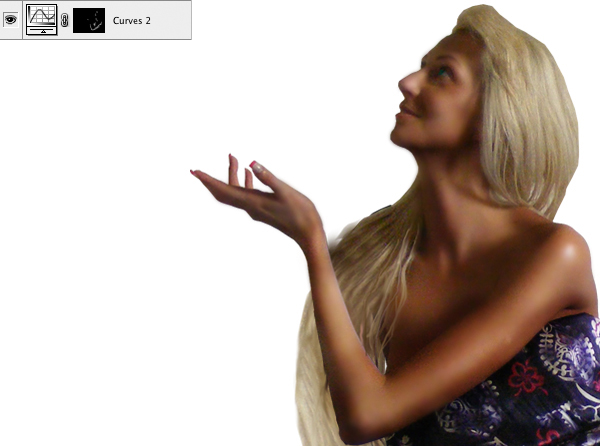
Repeat Step 11, but this time you need to use different settings for the curves. Also, when you draw over the mask this time draw over the lighter parts on the model’s skin.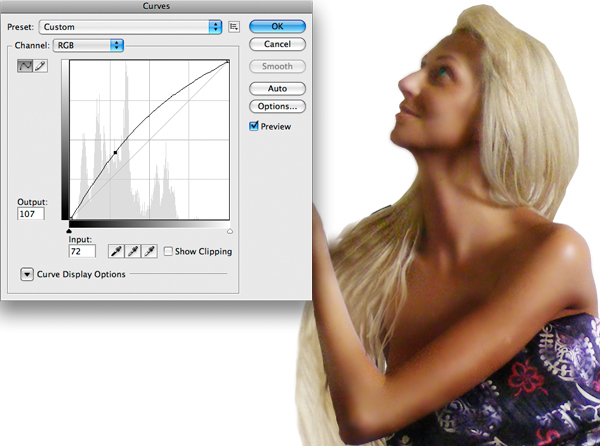
Step 13
You are almost done with the model. You just need to create a bit of makeup and make the fairy look better. Create a new layer, pick a basic brush with smooth edges, use a black color and start drawing just a bit above her eyes. When you have finished set the Opacity to 60% or 70%.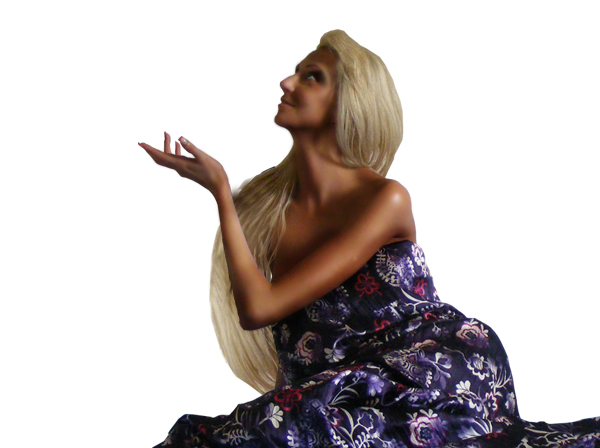
Step 14
So far so good. You have finished preparing the model, now move it into your document.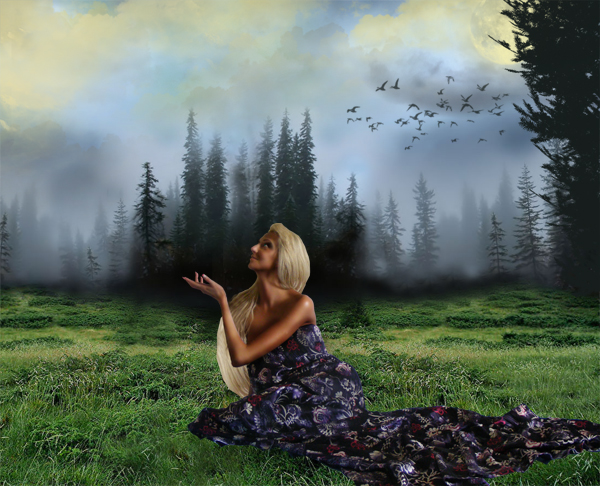
tep 15
Next you need to add the wings. The wings I used are free brushes you can find anywhere, here are some free wing brushes. I will make the wings yellow, same as the sky and place them each in different layers to move them later if necessary.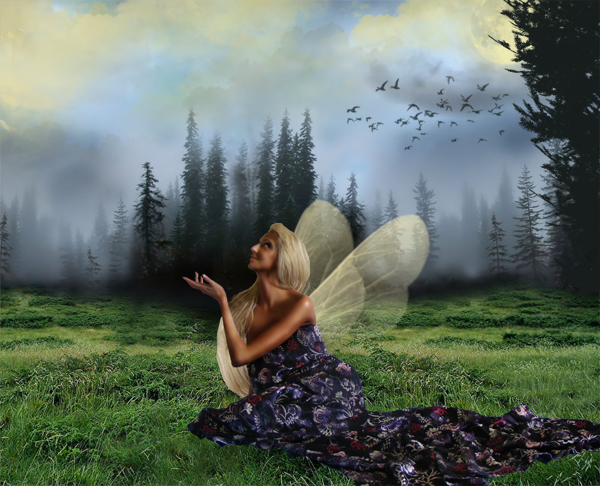
Step 16
Back to the hair. Chose the Smudge Tool (R) and set the Mode to normal, strength to 100, use a basic brush with smooth edges and Diameter of 1px or 2px. Now start smudging the edges of her hair so the model will look like she belongs in the background.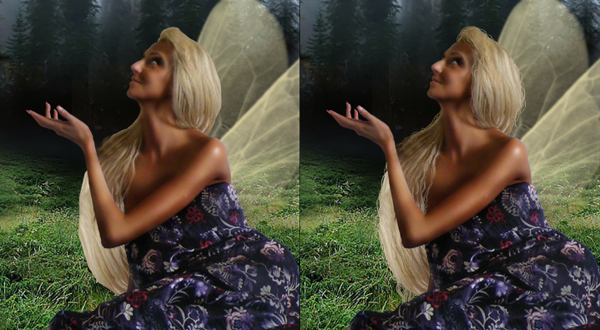
Step 17
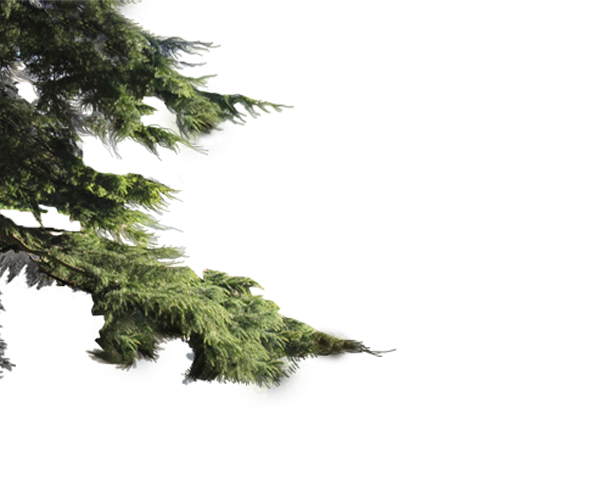
Next you need to bring in the tree. Before you do this you need to remove the background. The tree can be cut using the Pen Tool (P), but at some point you will need to use the Quick Selection Tool (W). It does not have to be perfect, for the moment we can use it as it is.When you are finished cutting you need to use the Smudge Tool (R) again and smudge the edges of the tree. Finally, move the tree on the document you are working.
Step 18
In this step we will create a flower in her hair. Make a new layer and chose the Brush Tool (B). Start drawing the flower like the one in the image. Use these for the colors #989ba2 and #a58532 and then start adding some shadows and highlights, just like you did with her skin. The flower does not need to be perfect as it will not be very visible.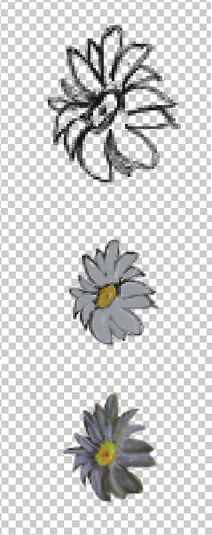
Step 19
Place the flower over her hair. Also, using the brush you need to make create some hair and place it over the flower.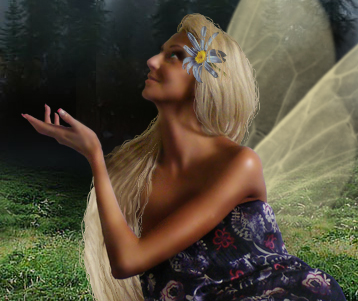
Step 20
Next you need to use the Smudge Tool (R) on the grass. Now it is visible that the model has been cut and placed on this background so to hide this we need to create some grass over her dress.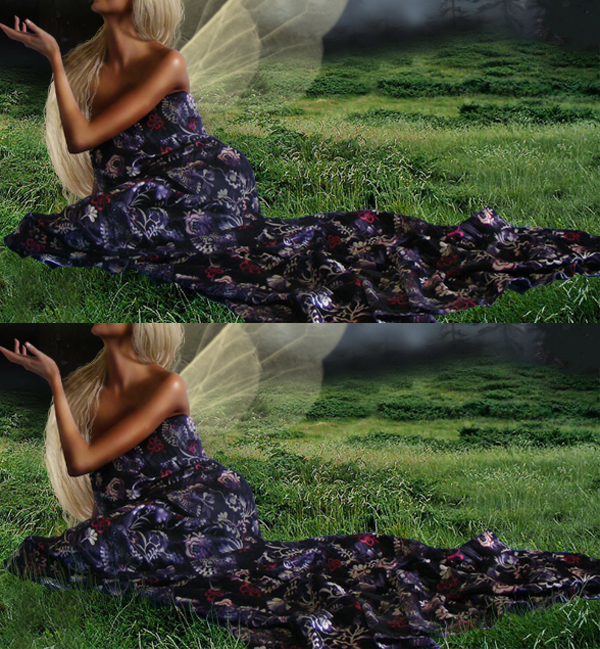
Step 21
Now you need to change the colors a bit for the atmosphere. Go to Create New Adjustment Layers, chose Gradient Map and make the settings as in the image below.
Step 22
Now set the Opacity to 60%. Go to the layer mask, pick a basic brush with Hardness set to 0, set the Opacity of the brush to 40%, pick the black color and paint all the grass. The result should look like the image below.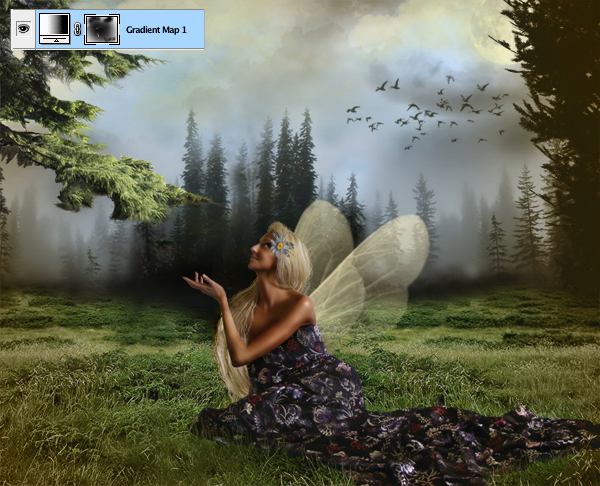
Step 23
Go to Create New Adjustment Layer again and chose Photo Filter. Chose #ec8a00 for the color and 25% for Density, also make sure the Preserve Luminosity is checked. The difference is not very visible but there is one.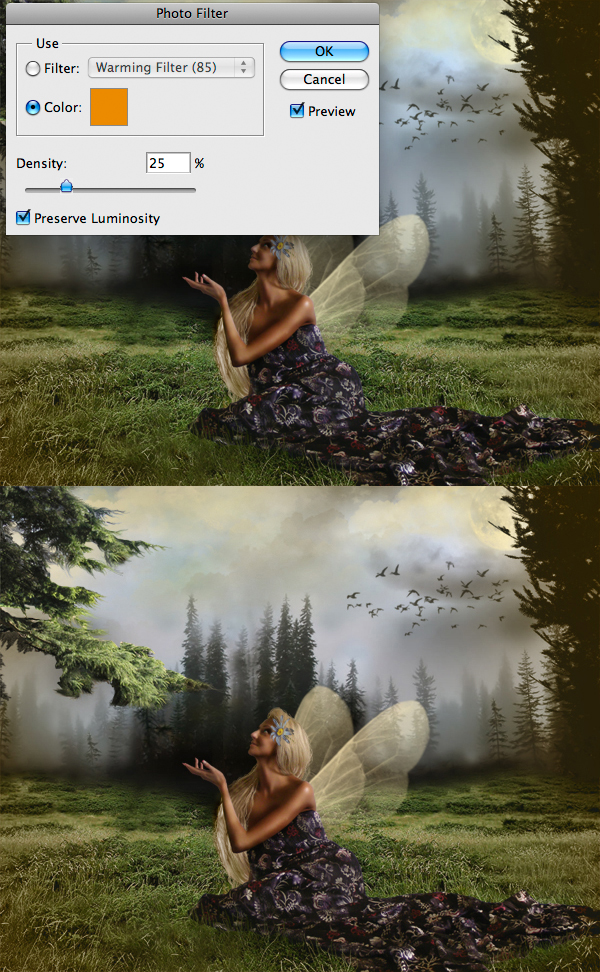
Step 24
Next go to the Create new adjustment layer and chose Curves, make the settings as in the image. Then pick a brush with smooth edges and paint the layer mask as shown, so the curves won’t be visible in the middle.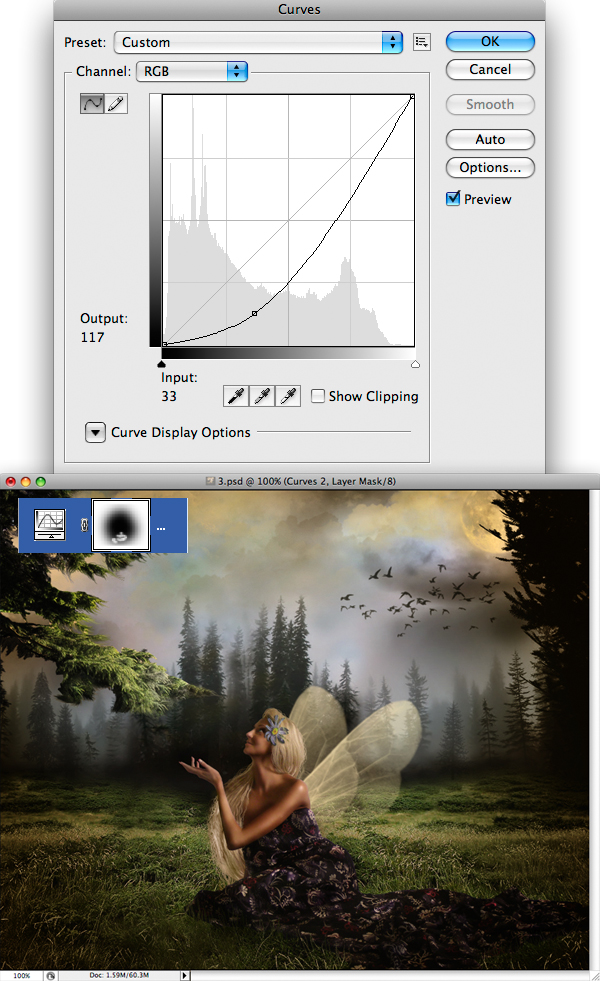
Step 25
Go to Create New Adjustment Layer and pick Curves again, then make the settings as shown below. Now pick the same brush, and paint with black on the mask, as you see in the small image. This will give a nice effect to the moon and it will look like it is shining on the girl.
Step 26
Apply another Photo Filter as you did in step 23.
Step 27
Now apply another gradient map. Make the settings as shown, and set the Opacity of the layer to 30%.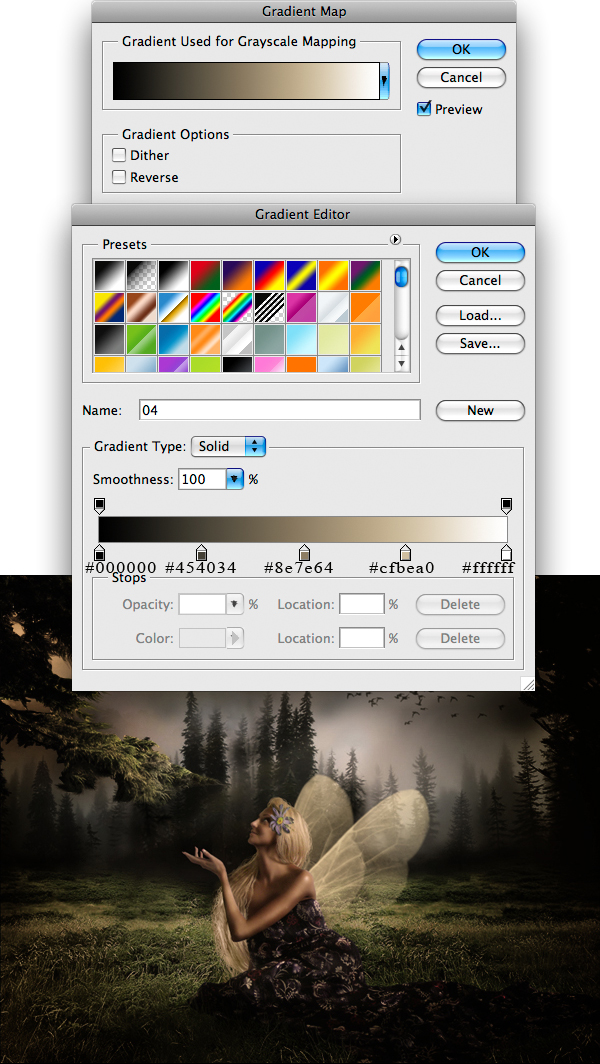
Step 28
Next you need to press Command + A to select the entire work, then go to Edit > Copy Merged. Now that you have made a copy, go to Edit > Paste. This will paste the entire work you have done so far into a single layer with all the effects merged.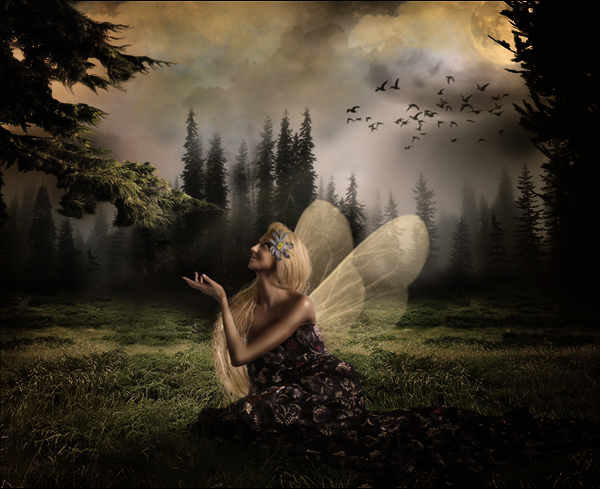
Step 29
With the new layer selected you need to go to Filter > Render > Lens Flare. Position the lens as I did. It must look like the girl is looking at it. After you position it you must create a mask for the layer and try to mask the entire image except the middle part of the flare.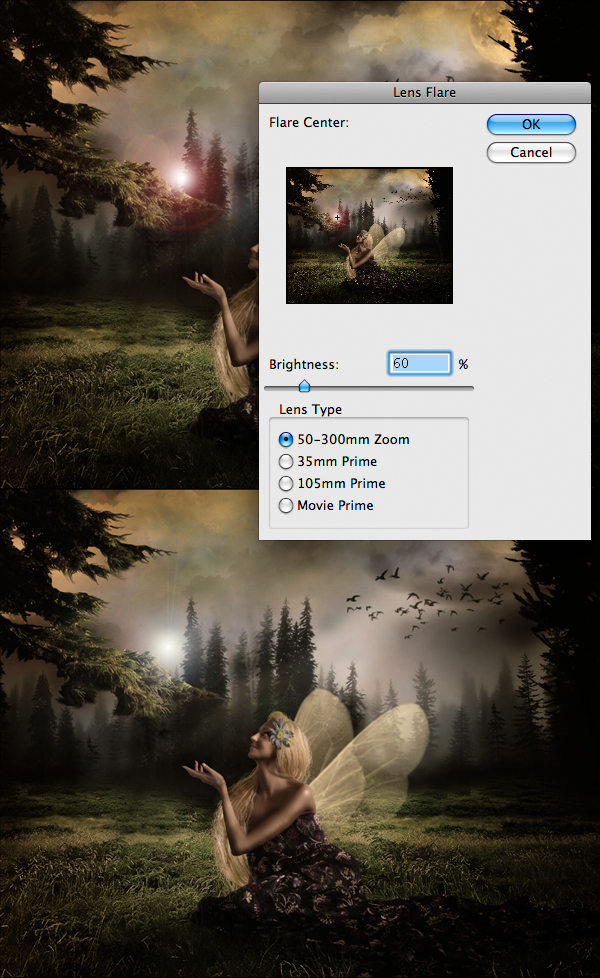
Step 30
Now we’ll add a dreamy effect. Go to the adjustment layers and select Channel Mixer, then set the Channel to Blue. Next, set each as I did: Red at +7, Green at -13, and Blue at +94.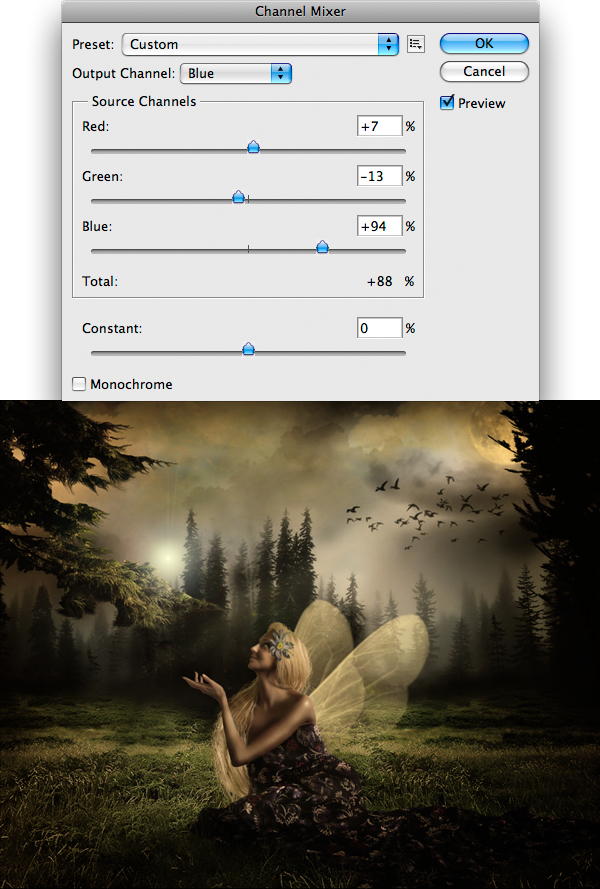
Step 31
Go to Create New Adjustment Layer and go to Hue/Saturation and set the Lightness to -22 and press OK. Next, using a black to transparent Radial Gradient (G), make a black spot in the middle of the layer mask.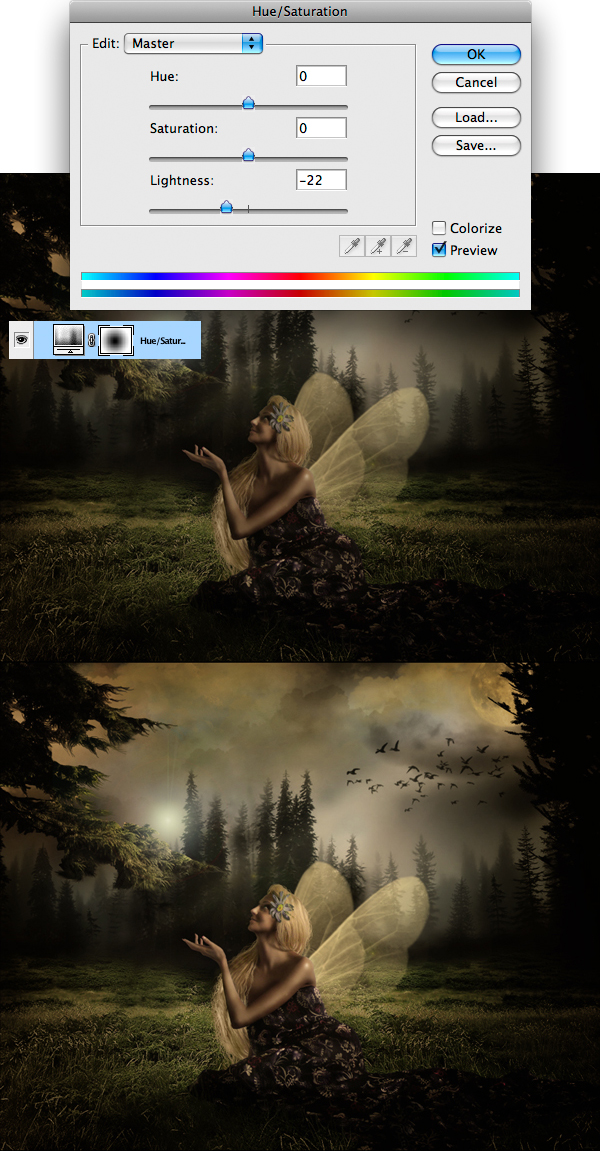
0 comments:
Post a Comment