In this tutorial I will show you how to take a picture of an apple, the earth and merge them together to make an interesting wallpaper concept.
Here are the supplies first:


After you download those files cut them out so there is no background left and place your apple in the middle of a 1024X768px canvas or whatever size you want. Size the apple down to your liking.
Now so it blends in with the earth lets go ahead and make the apple blue. So choose a darker blue color, I chose #104e6e

Now with your color picked create a new layer above your apple and draw a circle that covers the entire apple by using your elliptical shape or marquee tool.
While on your circle layer ctrl+click on the icon beside your apple to make a selection on your circle in the apple shape

Cut out the shape from your blue circle by using the key combination ctrl+x for cut and paste (ctrl+v) it back in your document.
Delete your excess and then set its blending mode to hue and what do you know, we have a blue apple

I do not want the inside of the apple to be blue so I am going to get rid of that by using a layer mask. You could just use the eraser brush or pen tool to make a selection around it but I find it easier to use the mask to be more accurate. This mask will also come in handy later.
Add a layer mask to the blue layer by clicking the layer mask icon at the bottom of your layers palette.
Reset your colors to go back to normal and with your brush tool paint the part you don’t want. Use regular brushes, no soft brushes.

If you mess up and show some red of the apple don’t worry just change your main color to white and paint the blue back on.
Ok now its time to move on to the earth. Drag it into the canvas and size it down, but leave it covering the whole apple.

First thing I am going to do is turn the opacity down on the earth to about 75% so I can see the apple behind it. Then I am going to use the warp tool to make the earth shaped like the apple.
To use your warp tool hit ctrl+t to transform the earth and then right click on the earth and click warp.

After using the warp tool it will look similar to this, it doesn’t have to be perfect just get the basic shape down

Once you are done with that set the opacity back to 100% and use the ctrl+click technique to make an outline of the apple on the earth to cut off the excess we don’t need.

Now add a layer mask to the earth layer shaped like an apple and remove some of the blue from the ocean so you can see the blue apple through. Just remove enough to where you can see the texture of the apple.

Merge that layer down so its and editable image that has no layer mask.
Well we don’t want north america to cover up the inside of the apple so we need to remove it. But don’t erase it, I want to make it look like a slice of the apple coming off.
Here is where our layer mask comes in handy. Use the ctrl+click technique we have been using but click on the layer mask icon while holding down control

This will make a selection around the cut out apple and the rest of your document. Cut and paste the part of the earth we selected back on the canvas.
Now move your part of the earth over the core toward the left or right, depending on what you want to do

Add a drop shadow to the layer we just cut out.
Now to add some stars create a layer behind all of your others and fill it with black.
Go to filter>>noise>>add noise and use these settings

Duplicate that layer and set it to overlay. Duplicate it again and set it to linear light, duplicate it one more time and set it to overlay again.
Should look similar to this

Here is my final outcome. I just added a moon and some simple text.
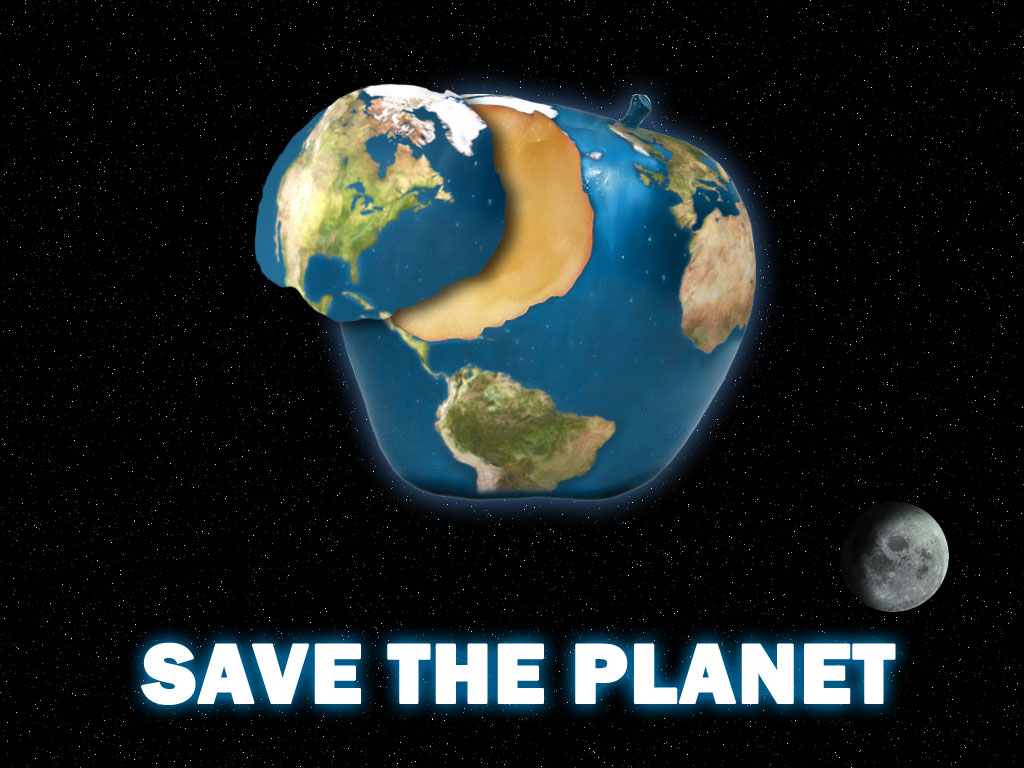
Thanks for reading!


0 comments:
Post a Comment