In this tutorial we’ll create a cool looking 3D Style text effect.Begin your work with creating a new file of 1280×1024 px and 72 dpi.
Then we shall use the Rectangle Tool (U) to draw the background of the picture to be.
Set the next shown parameters for the made new layer by making a mouse click on this layer in the layers’ palette. Blending Options>Gradient Overlay
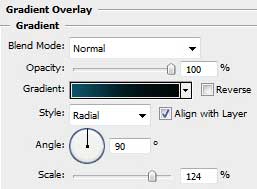
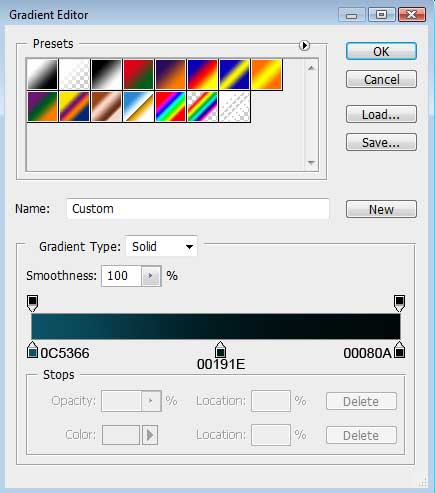
Gradient’s parameters:

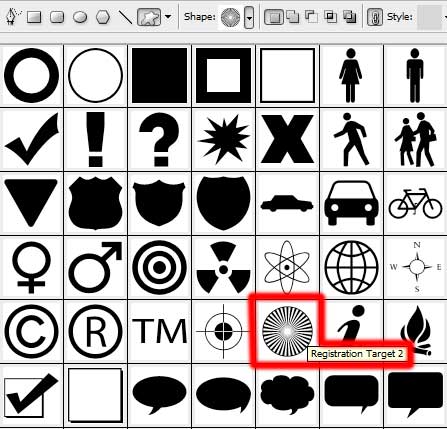
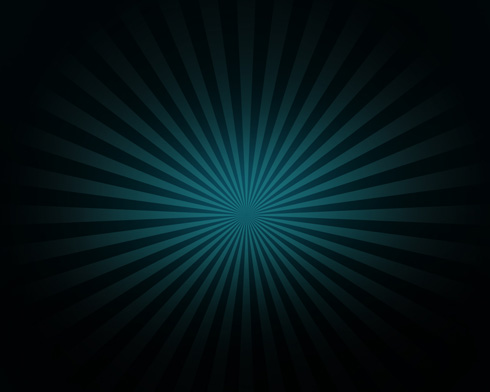
Using the Custom Shape Tool (U), try to represent the rays coming out of the central picture’s part.
Mark out the inside tops, applying the Convert Point Tool (holding on SHIFT button) and then press CTRL+T, while using Maintain aspect ratio for getting together the rays in a single point on the central part of the picture.
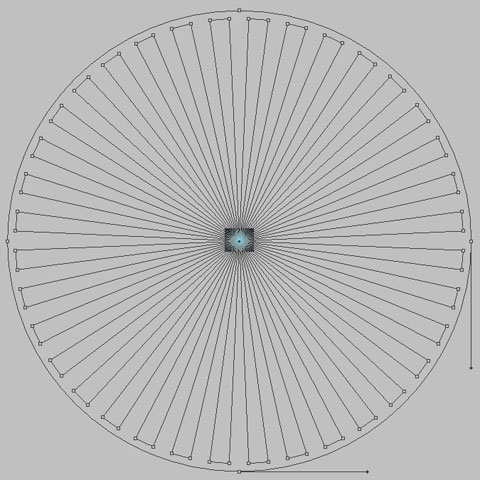
The layer’s parameters: Opacity 70%, Fill 0%
Blending Options>Gradient Overlay
Blending Options>Gradient Overlay
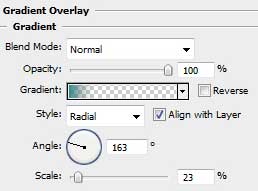
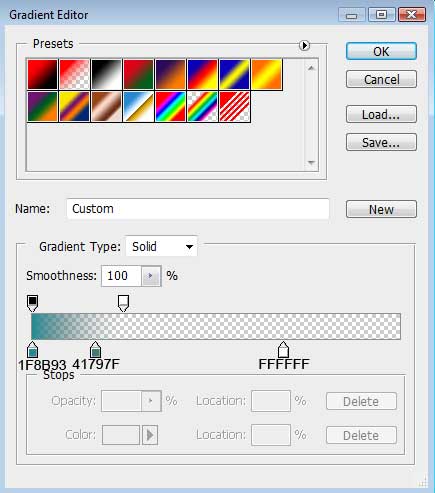
Gradient’s parameters:
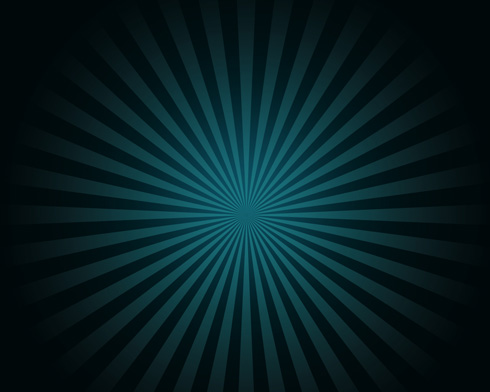
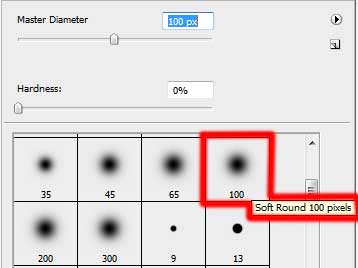
Create now a new layer (Create new layer) and select a standard brush of black color, Brush Tool (B) (Opacity of 10%) to dark out the picture’s edges.
0 comments:
Post a Comment