Create an advertisement about LASIK laser eye surgery. In this Photoshop tutorial, you’ll be manipulating a photo of an eye to create a LASIK flap and learn techniques for drawing transparent objects.
Preview of Final Results

What is LASIK?
LASIK stands for Laser-Assisted in Situ Keratomileusis. It is a popular type of refractive laser eye surgery generally used to help people with near or farsightedness see better. The LASIK process includes:
- Flap creation – Using a metal blade, the cornea is cut leaving a hinge on one side to create a flap.
- Laser remodeling – An Excimer laser remodels the corneal stroma by vaporizing tissue.
- Repositioning the flap – The flap is carefully repositioned back on the eye.
Stock Photos
You may purchase the same stock photo that we used or use a similar photo of your own. Please download or use a high resolution photo at least 2000 pixels wide. Click on the image below if you would like to purchase the same stock photo that we used for this tutorial.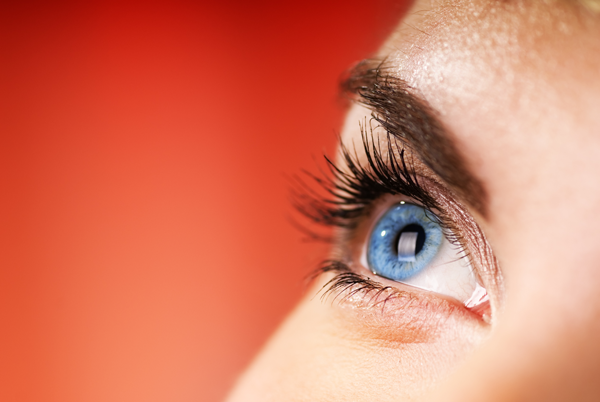
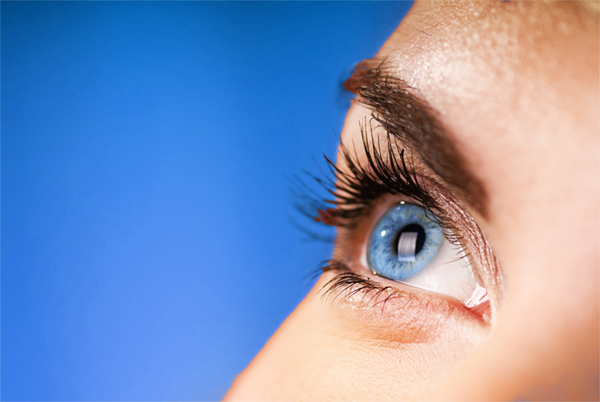
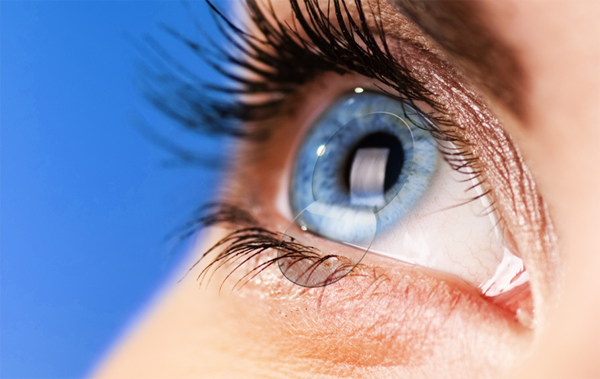
Step 1 – Open a photo of an eye
Start by using a photo of an eye like the image below. It should have some copy space to place the text.
Step 2 – Create a selection of the background
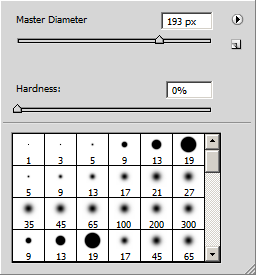
First we’ll change the color of the background to a more calming blue. To begin, use the color range tool (Select > Color Range) to create a selection of the background. To use the color range tool, hold the Alt key and click on different areas of the background until the whole background is selected.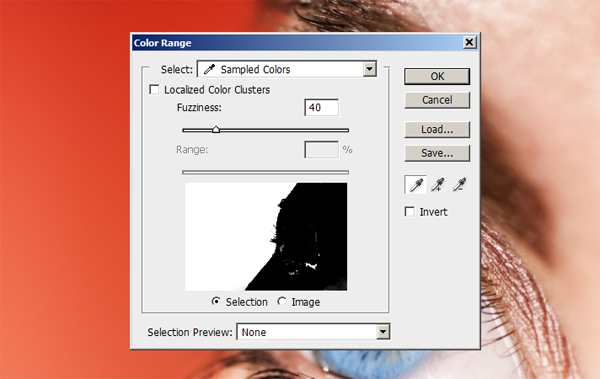
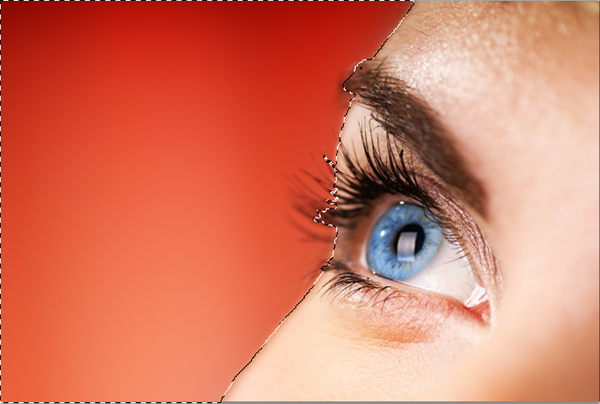
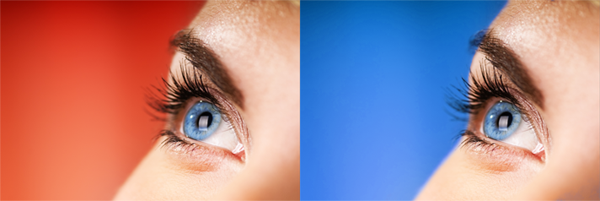
Step 3 – Change the background color to blue
Select from the menu Layer > New Adjustment Layer > Hue/Saturation. This will create a new Hue/Saturation adjustment layer with a layer mask created from the selection. Alter the hue setting until the background turns to a nice blue like shown:
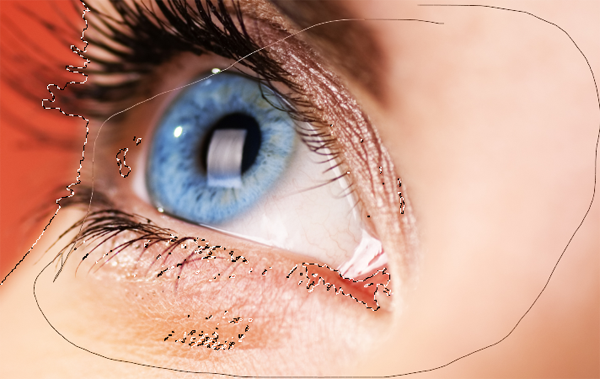
Step 4 – Refine the edge
First select the layer mask by clicking on the thumbnail in the Layers palette. There should be a white border around the layer mask thumbnail to indicate that it is selected. 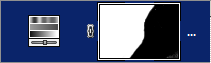


Step 5 – Create a new layer for the cutout of the flap
Create a new layer (Layer > New) and position it as the top. This layer will be used to create the cutout look from the flap that we’ll create later.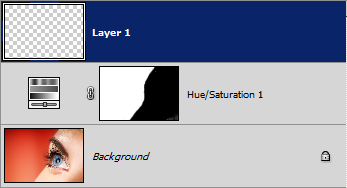
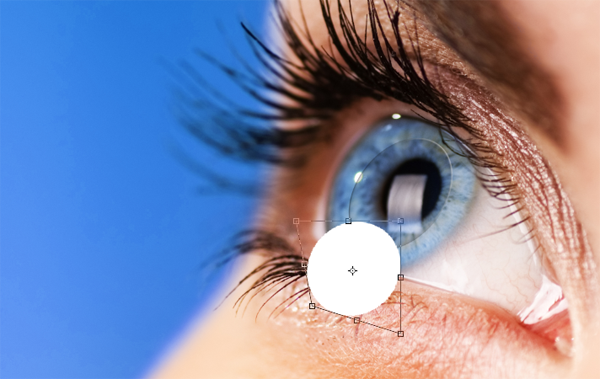
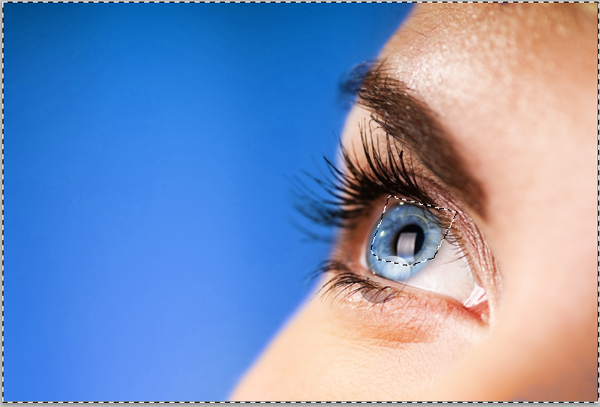
Step 6 – Create a circle that is the same shape as the iris
Use the circular marquee tool and create a circle selection on the eye like shown below. To do this, point your cursor over the center of the pupil. Hold down the Alt and Shift key then move your mouse outwards to create a perfect circle. The Alt key will make the selection created from the center rather than a corner and the Shift key will keep the selection a perfect circle and not an oval.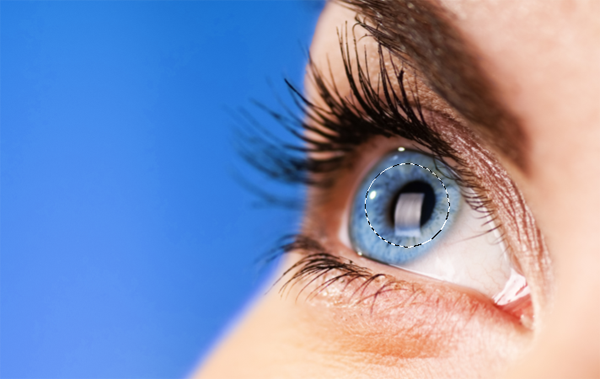
Step 7 – Apply layer styles to create the cutout effect
First, change the blending mode to multiply. Whenever you want to create transparent-looking cutouts or objects (ex. water drops, contacts, etc.), you’ll want to use the multiply blend mode.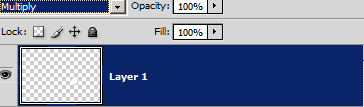
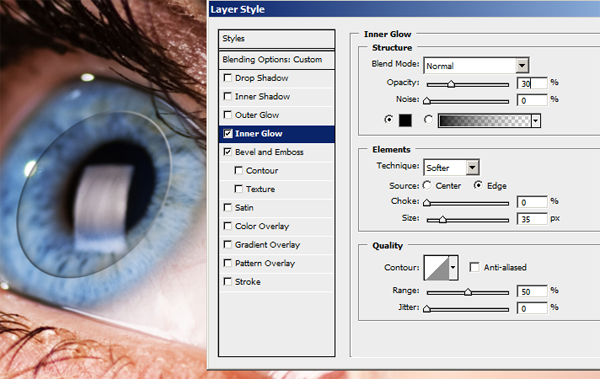
Apply an Inner Glow style with the settings below. This will darken the inside of the cornea.

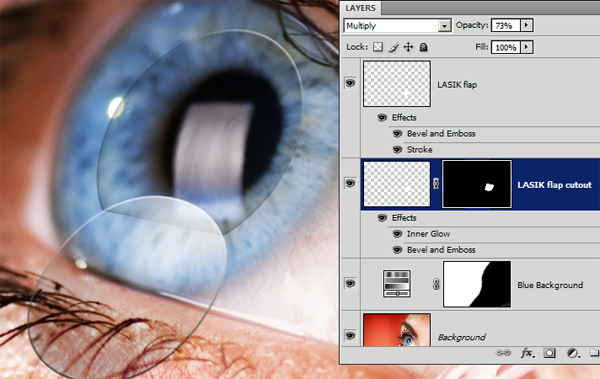
Step 8 – Rename the Layers
Usually if your document has few layers you don’t have to rename the layers. When you start to add more layers, you should rename your layers so that you can easily find the layer you want to work on. We’re starting to get more layers so we’ll rename the layers. Rename the adjustment layer to “Blue Background” and the top layer to “LASIK flap cutout”.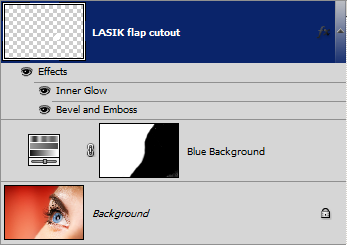
Step 9 – Create a new layer for the LASIK flap
Create a new layer as the top layer and rename this layer to “LASIK flap”.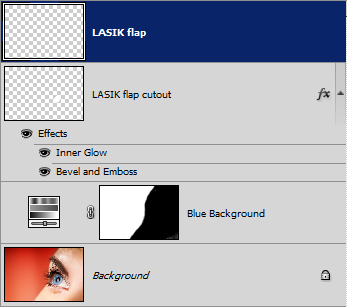
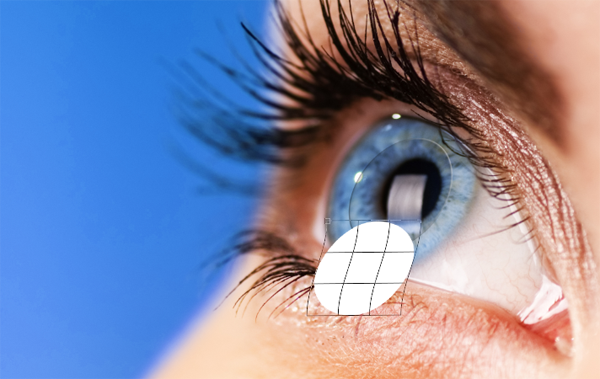
Step 10 – Create the shape of the LASIK flap
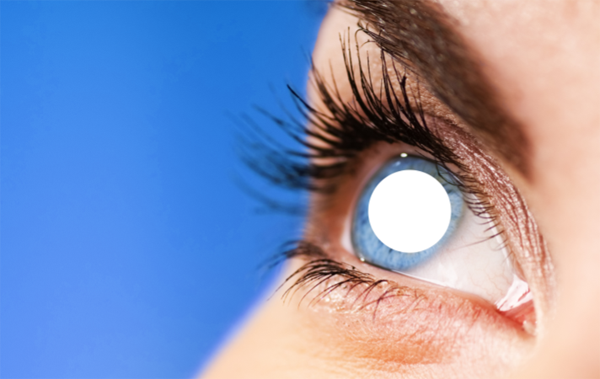
Hold the Ctrl key and click on the thumbnail from the “LASIK flap cutout” layer. This will create a selection based on the transparency of the “LASIK flap cutout” layer. You should still have the “LASIK flap” layer selected. Fill the selection with white then press Ctrl+D to deselect.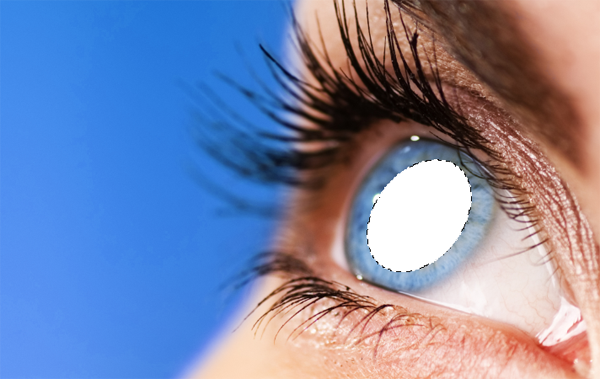
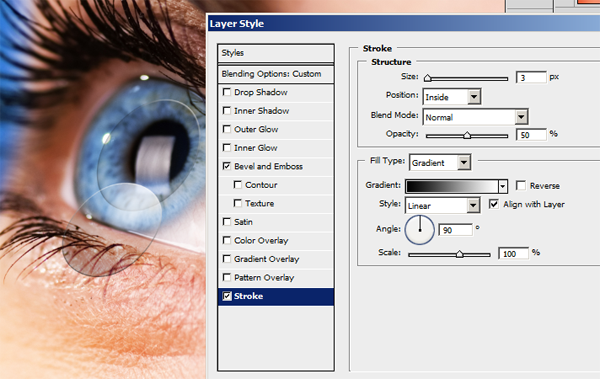
Step 11 – Apply the layer styles for the LASIK flap
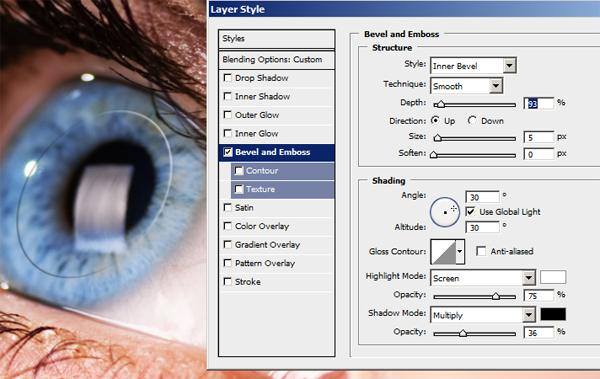
Right click on the “LASIK flap” layer and choose Blending Options.- Enable the Bevel and Emboss style.
- Increase the Structure> Size setting so that the bevel creates a rounded tip in the center. The center tip should not be flat.
- Lighten the shadow by reducing the Shading > Shadow Opacity setting.
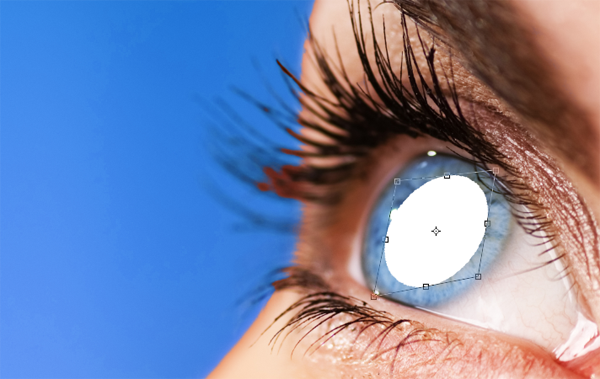
- Finally, adjust the Shading > Angle setting. Click on the crosshair and position it so that you get a gradient effect on the LASIK flap like the image below.

- Enable the Stroke setting.
- Set the Fill Type to gradient. Adjust the Structure > Size setting so that you get a thin outline.
- Set the Structure > Position setting to inside.
- Reduce the Structure > Opacity setting to 50%.
- Click OK to apply the layer styles.
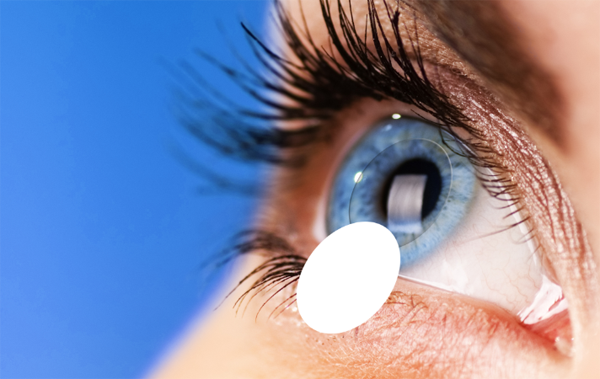
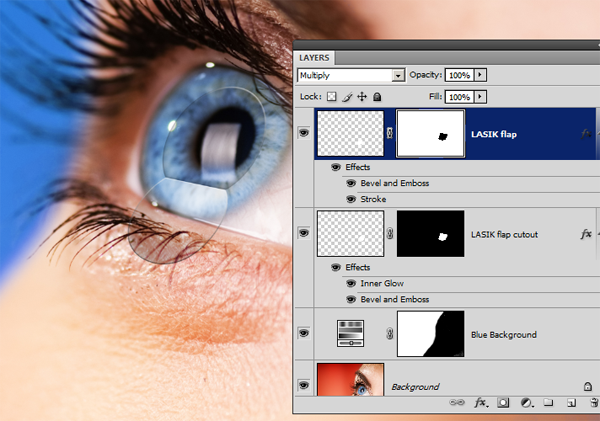
Step 12 – Connect the LASIK flap to the LASIK flap cutout
Use the polygon lasso tool to create a selection like shown in the image below. The selection edge should meet at the two corners where the LASIK flap and the LASIK flap cutout meets.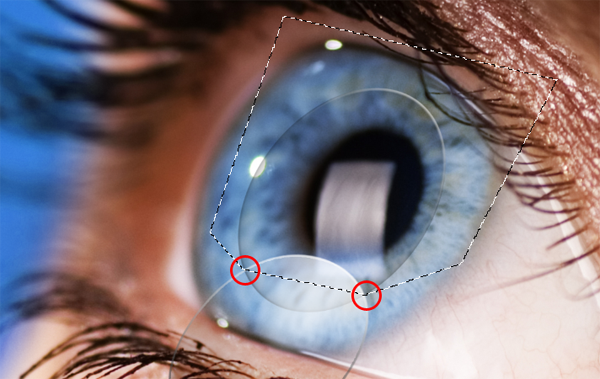
Step 13 – Create the LASIK flap hinge
Currently, the hinge on the LASIK flap looks too sharp as if it was folded like origami paper. We’ll smooth it out to create a more realistic LASIK flap hinge with more curvature. Select the layer mask of the “LASIK flap” layer. Make sure that you select the layer mask and not the layer itself. Chooes to Filter > Blur > Gaussian Blur. Adjust the Radius setting so that you get a thick translucent white line on the LASIK flap like the image below.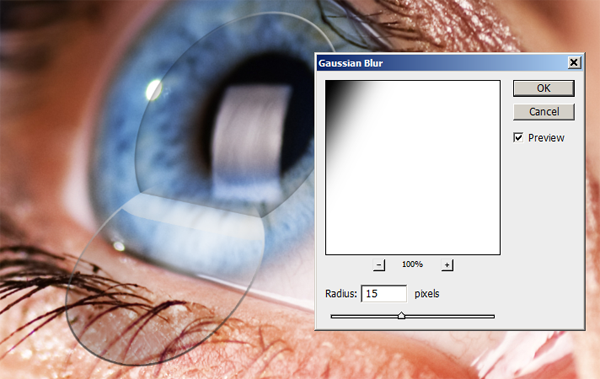

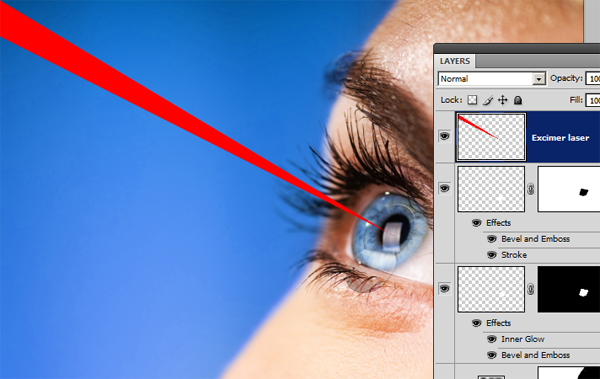
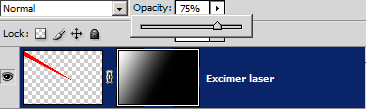
Step 14 – Create a new layer for the Excimer laser
Create a new layer and position it as the top layer. Rename this layer to “Excimer laser”. 
Step 15 – Create the shape of the laser
Use the polygon lasso tool to create a selection shape like the image below. Start the selection on the center of the pupil.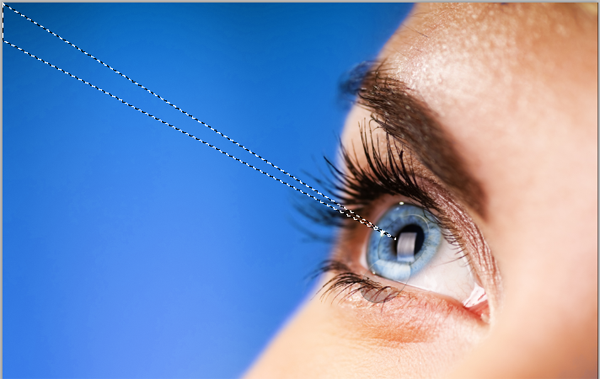
Step 16 – Add a layer mask
Add a layer mask to the “Excimer laser” layer. To do this, choose Layer > Layer Mask > Reveal All.
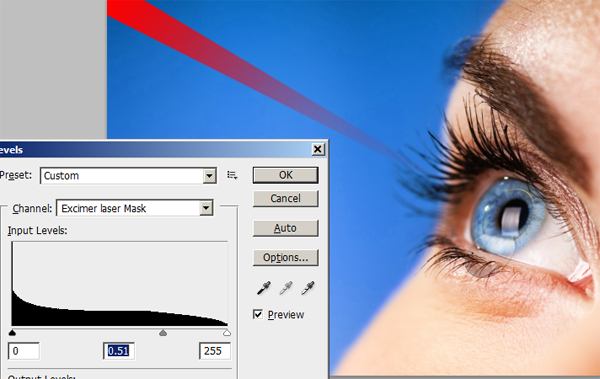
Step 17 – Fade the “Excimer laser” layer
Select the layer mask of the “Excimer laser” layer. Then select the Gradient tool. Using the default Black to White Linear Gradient, draw a gradient from the tip of the laser where the pupil is to the end. You should get a fading effect like the image below.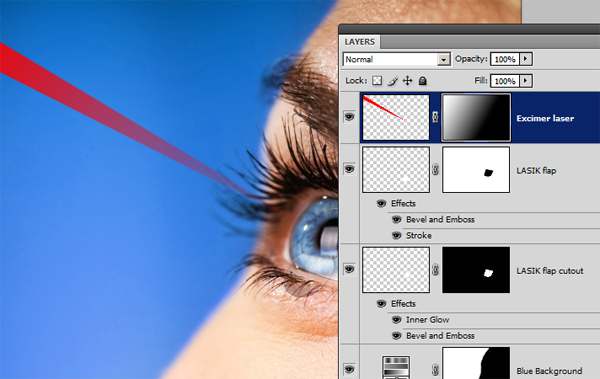
LASIK Laser Eye Surgery Ad Final Results
Complete the ad by adding some text. You now have a nice ad but keep in mind that you shouldn’t use this ad for real-world projects.


0 comments:
Post a Comment