Stunning Panoramic Photos Using Photomerge CS3
Support Files
Before we start, download this file that contains six images that you will use to follow this tutorial.Step 1:
Now let’s get started. For this example, I didn’t use my SLR camera, because I didn’t feel like lugging up the bigger Canon Rebel while snowboarding, especially since it’s more expensive than the one I brought, a Canon Powershot. I can put the Powershot in my pocket while snowboarding, so it was more convenient. But using an SLR is ideal for the reasons listed above. Go ahead and start up Photoshop CS3. Here’s there six images that we’ll be using from the support files.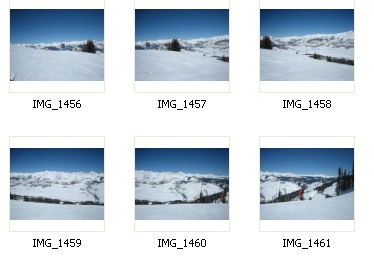
Step 2:
Go to File>Automate>Photomerge.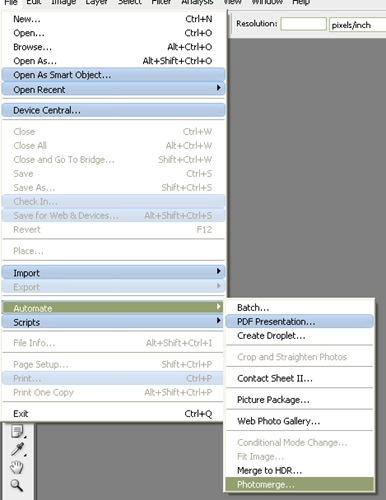
Step 3:
A dialog will open that lists a few different options. “Auto” tells Photoshop to choose the best setting and apply it. It has less flexibility, but is quick and to the point. “Perspective” sets the image in a perspective that includes less barrel distortion, while “Cylindrical” has more barrel distortion. “Reposition Only” simply does that—repositions the images but doesn’t change the perspective. “Interactive Layout” allows a few more options, so let’s choose that.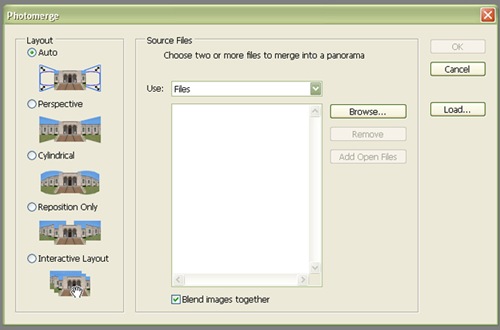
Step 4:
Click Browse and select the images from the support files by clicking-and-dragging over them in the dialog. Click OK and the images will now be listed in the dialog. If we had already had the files open, they would already be listed there. Click OK to merge the photos.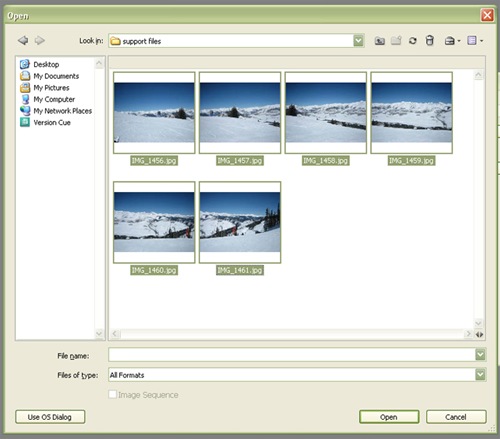
Step 5:
The Reposition Only option shows how the photos would look like if they were just copied and pasted next to each other.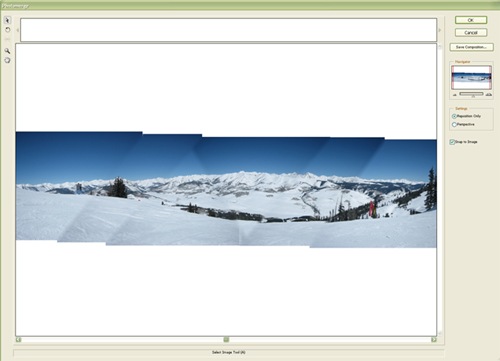
Step 6:
Clicking the Perspective option on the right adds perspective to the photo, rather than a “flat” look.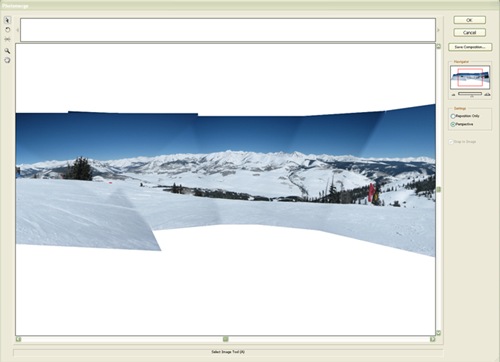
Step 7:
The tools on the left side let you select and move the photos (the selection tool), move the view around (the move view tool), and the rotate and zoom tools let you rotate and zoom into the photos. The other one is the set vanishing point tool, which can be used when perspective is selected. Click somewhere to set the vanishing point. This example shows moving the vanishing point to the side of the photo.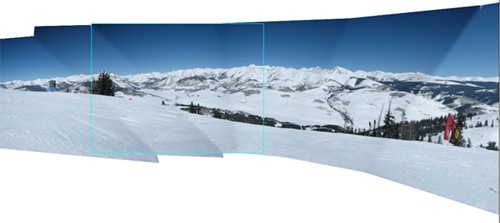
Step 8:
I pressed Ctrl-Z (Mac: Cmd-Z) to undo that tool. Select either perspective or reposition only and press OK to merge the photos.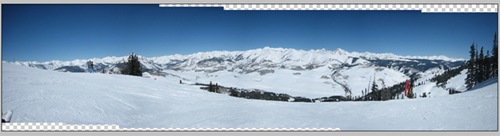
Step 9:
Notice how each layer is a partially-masked photo.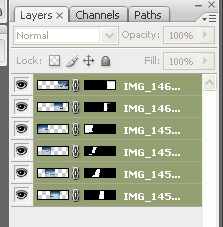
Step 10:
Select the crop tool and crop out the empty pixels.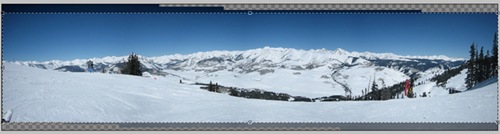


0 comments:
Post a Comment