This Photoshop tutorial will show you how to complete an underwater landscape painting step by step. This is part one of a two part series. Seascape Painting Part II will show you how to draw the fishes and apply finishing touches to the painting.
Preview of Final Results

Painting Creating Fish in Seascap Part I Photoshop Tutorial
- Program: Photoshop 7
- Difficulty: Beginner
- Estimated Completion Time: 20 minutes
Step 1
Open a new project (16 x 20 inches, 300 pdi).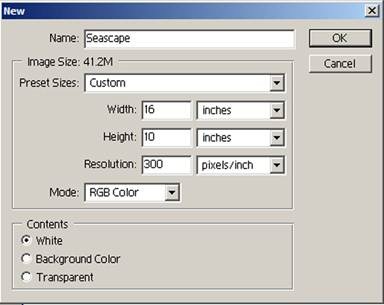
Step 2
Use color #0095A2 and the paint bucket tool to fill in the background layer with a teal blue.
Step 3
Make a new layer titled “ocean floor” above the background.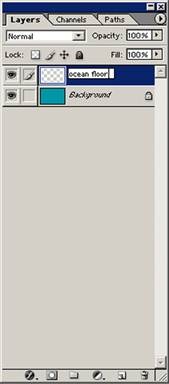
Step 4
Block in the ocean foreground with color #A87300 (261 pixels, opaque, hard edged round brush).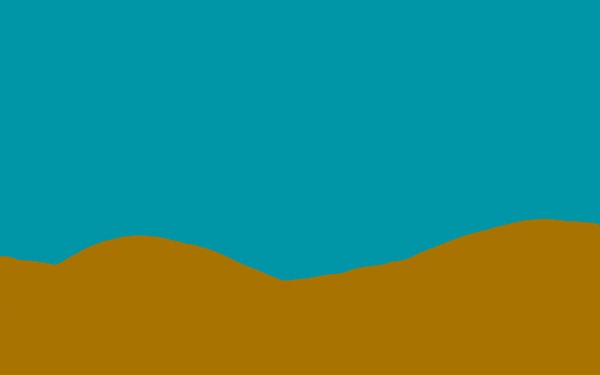
Step 5
Indicate the major shadows with color #926400 and the same brush.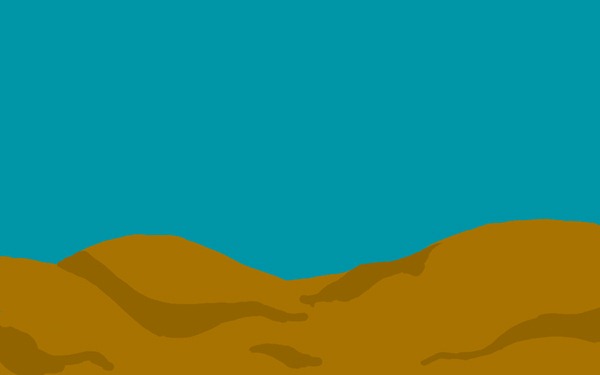
Step 6
Highlight the floor with color #AF7800.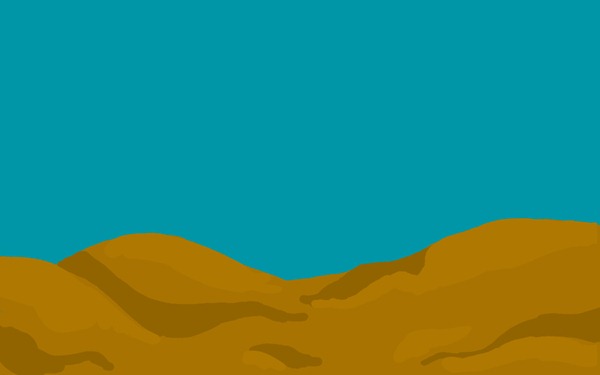
Step 7
Make a new layer “coral” above the other layers.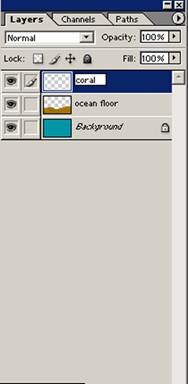
Step 8
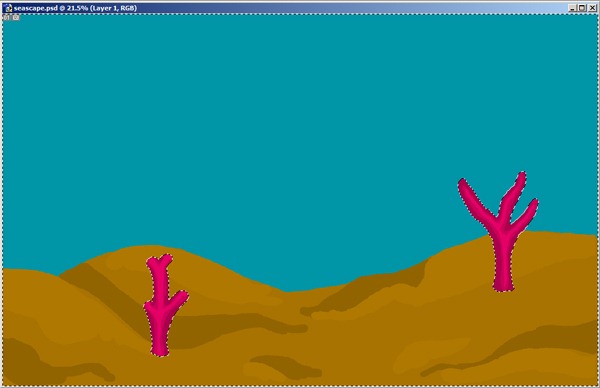
Now using color #C80059 (165 pixel brush), block in 2-3 coral bunches. These corals look kind of like little stubby trees, with short, rounded arms.
Step 9
Now, using a 90 pixel opaque brush and color #AA004C add shadows to the coral.
Step 10
Using the same brush, highlight the center of the coral stocks with color #E50066.
Step 11
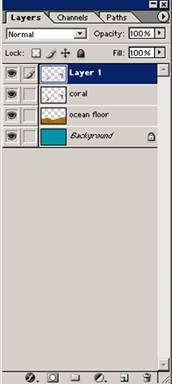
Use the magic wand tool to select the area around the coral. Now, select the inverse (shift + ctrl + I), and copy and paste the coral onto a new layer.Move the new coral so that it matches up with the coral beneath it.
Step 12
Now use the same process to select the coral only, and apply a Gaussian blur filter or 9 pixels (Filter à blur à Gaussian blur).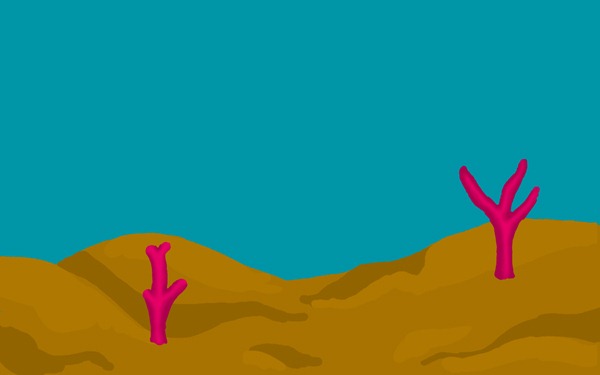
Step 13
Merge the layer down (ctrl + E).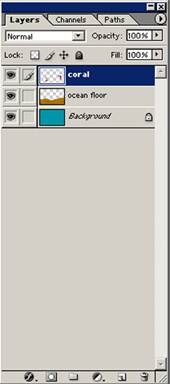
Step 14
Now using color #1956B1, block in some blue, plant-like coral (using a size 87 pixel brush).
Step 15
Use the magic wand tool to select the blue seaweed on the coral layer.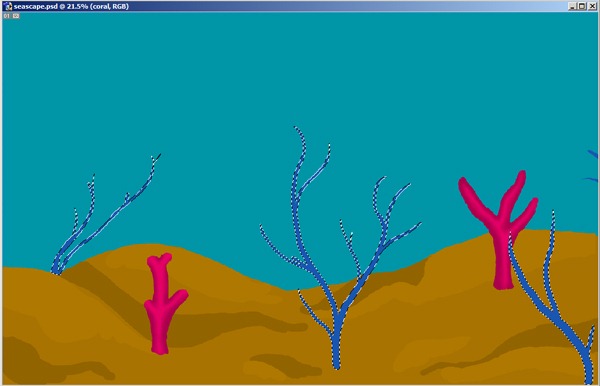
Step 16
Copy and paste the blue coral onto a new layer. (This will keep the coral from having fuzzy edges).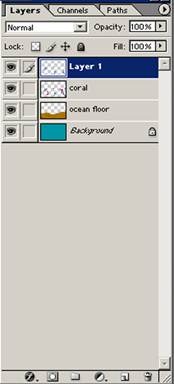
Step 17
Add shadows to the coral with color #12499B and a 30 pixel opaque brush.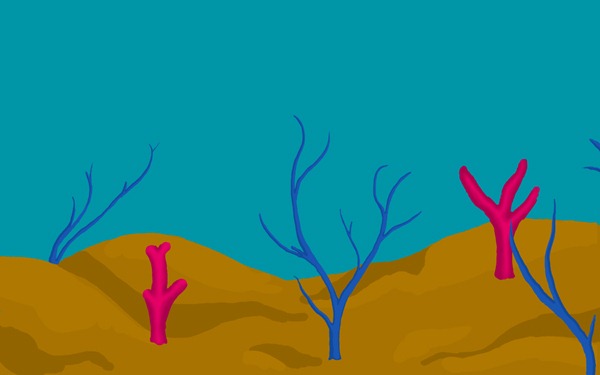
Step 18
Using the same brush, highlight the coral with color #3570C7.
Step 19
Now using the same technique from step 11, select the coral with the magic wand tool.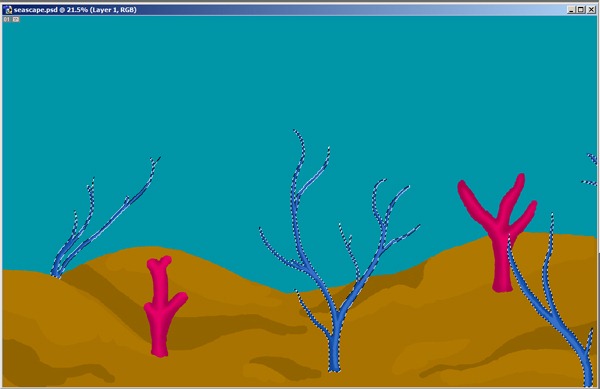
Step 20
Apply a 3.6 pixel Gaussian blur to the layer.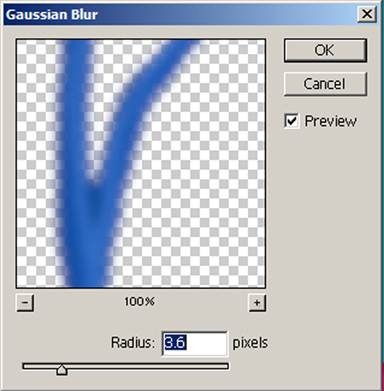

Step 21
Merge down the layer.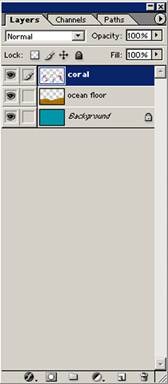
Step 22
Make a new layer, “coral 2”.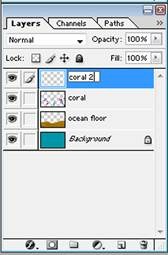
Step 23
Using color #9000D8 block in 2-3 dome shaped corals.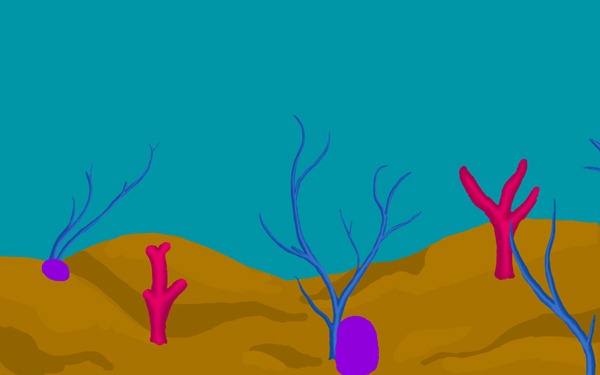
Step 24
Repeat the same process with color #90009D, placing them in little groups across the sea floor.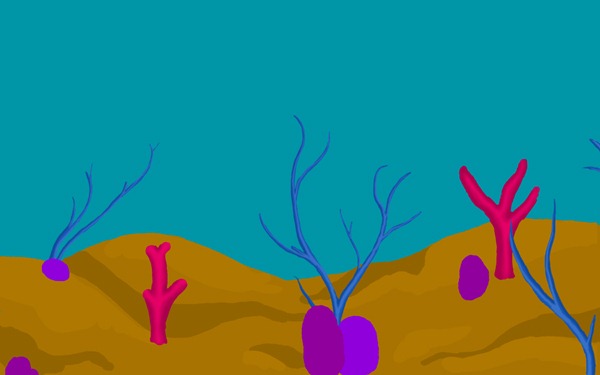
Step 25
Now make little holes in their tops with the burn tool (100% exposure, midtones, 95 pixels, hard-edged brush).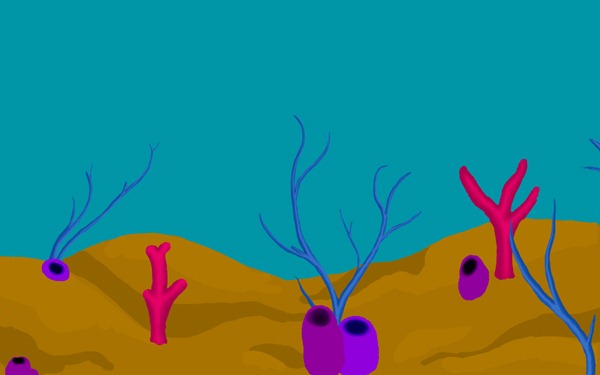
Step 26
Now use the dodge tool to highlight them (30% exposure, highlights mode, 600 pixels soft edged brush).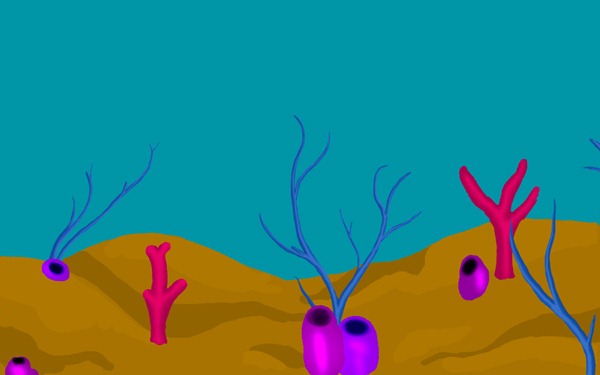
Step 27
Going back to the dodge tool, change the settings to a soft round brush at 80% exposure (and shadow mode), and block in the cast shadows on the corals. This will define that there are more than one separate corals in the bunches.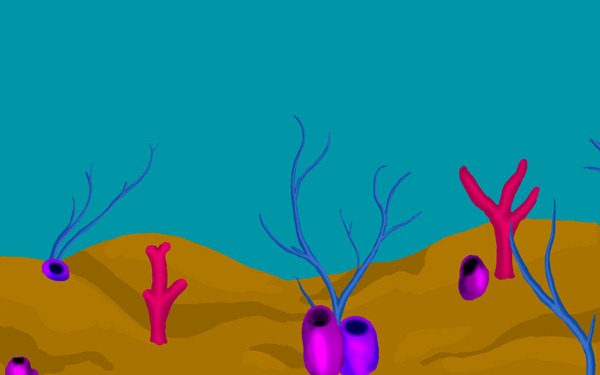
Step 28
Now take color #335400 and block in some seaweed clumps with the paintbrush.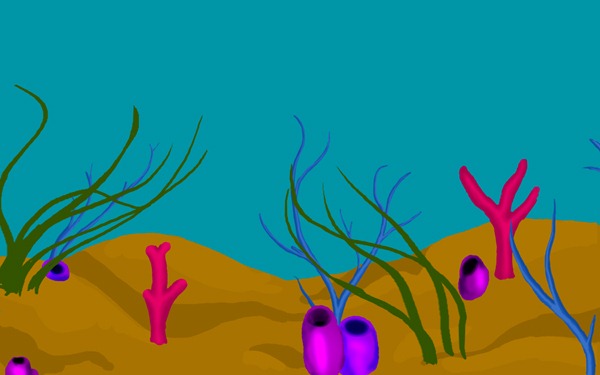
Step 29
Make a new layer above the “ocean floor” layer and title it “coral 3”.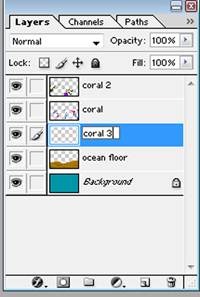
Step 30
Now use the same color to add more clumps of sea weed.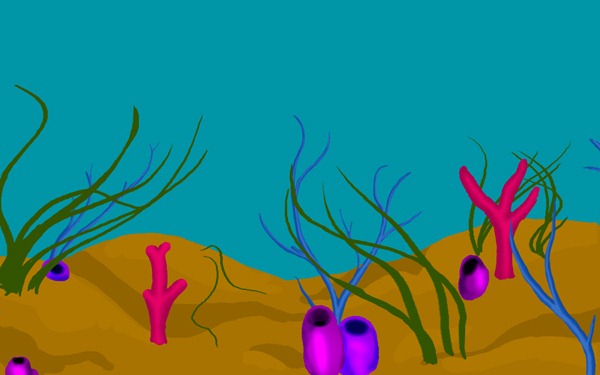
Step 31
Switching back and forth between the “coral 2” and “coral 3” layers, block in the shadows with color #223700.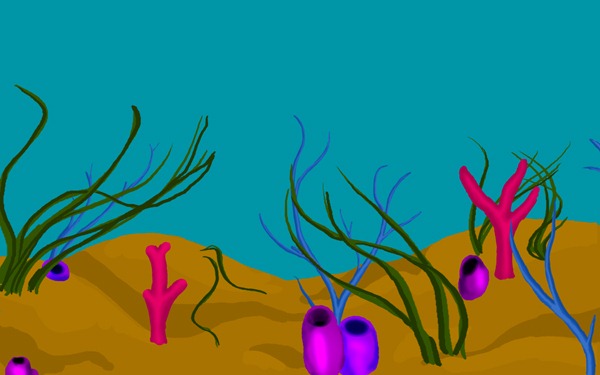
Step 32
Highlight the grass with color #457200.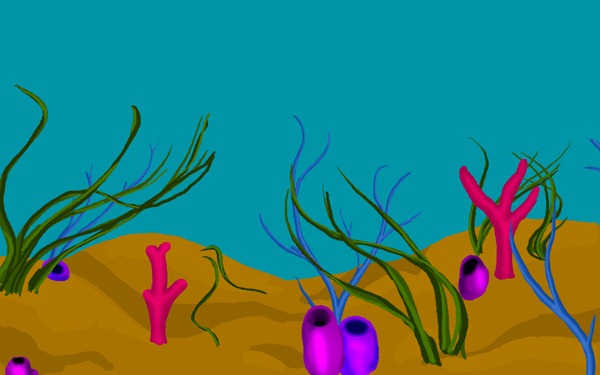
Step 33
Now, going back to the “ocean floor” layer, use the burn tool (400 pixels wide, soft edged brush, 49% exposure, midtones mode) add shadows to the ocean floor. These shadows are accentuations of the previous shadows, as well as those cast by the sea weed and corals.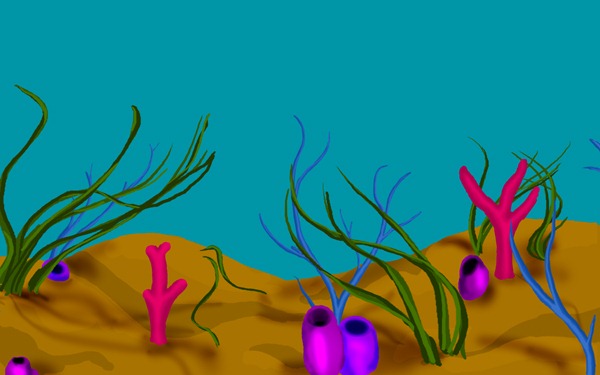
Step 34
Set the dodge tool to 30 % exposure in highlight mode (600 pixels brush) and highlight the ocean floor.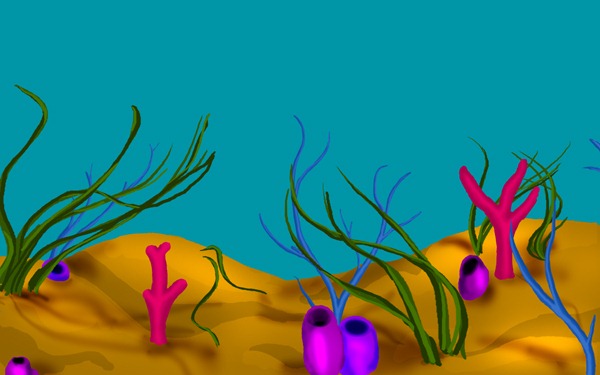
Step 35
Make a new layer above the background (title doesn’t matter).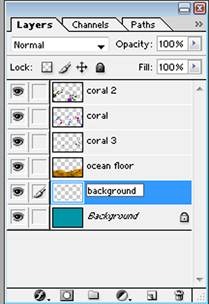
Step 36
Now, using a 23 % opaque brush and color #BE7709, make the ocean floor appear to disappear into the distance. This will require some layering, with the least amount of layers in the distance, and them building (becoming more opaque) as they approach the bottom of the screen.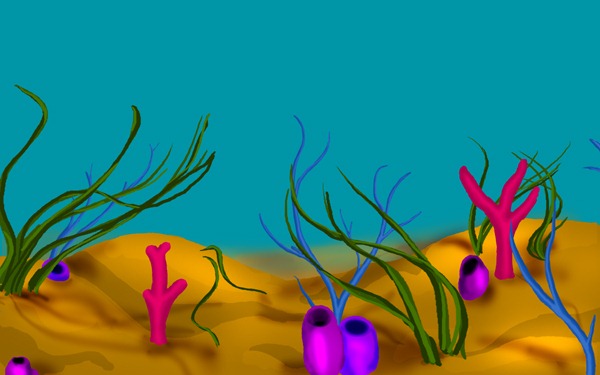
Step 37
Now, using the dodge tool set to 30%, layer and swirl across the background to create an illuminated water effect.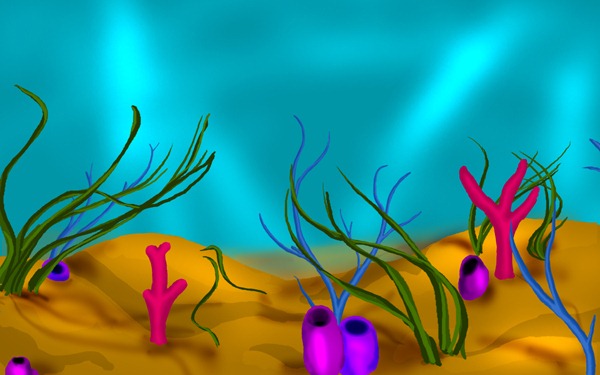
Step 38
Now, going back to the coral layers, swipe the dodge tool back and forth across the sea weed and coral, to make it look like there is spattered light falling on them.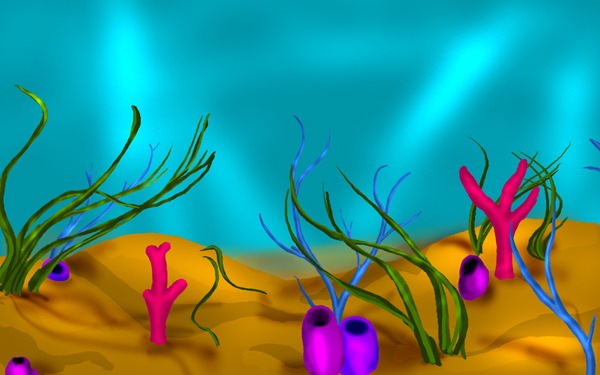
Step 39
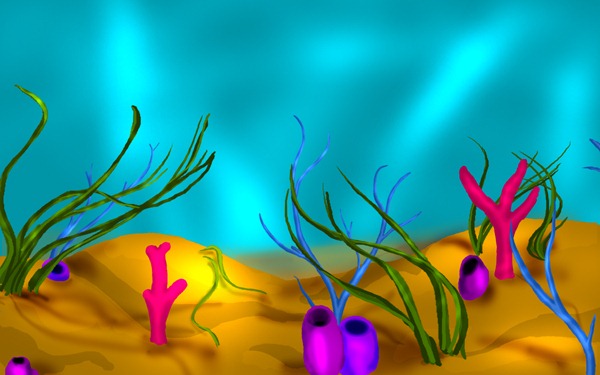
Lastly, make a large shaft of light filtering down on the background layer, and then use the dodge tool to make it appear to be falling on the “ocean floor” layer, as well as the other coral layers.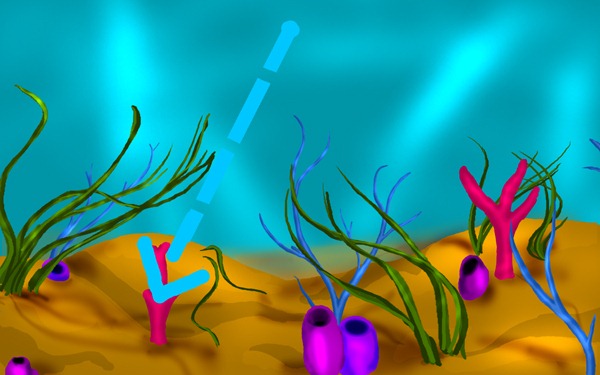
Final Results
0 comments:
Post a Comment