- You may get .psd* file of "Fantastic Tree" Photoshop tutorial by making a donation. Put the tutorial title in "Add special instructions to seller" line of PayPal and it will be sent to you shortly.
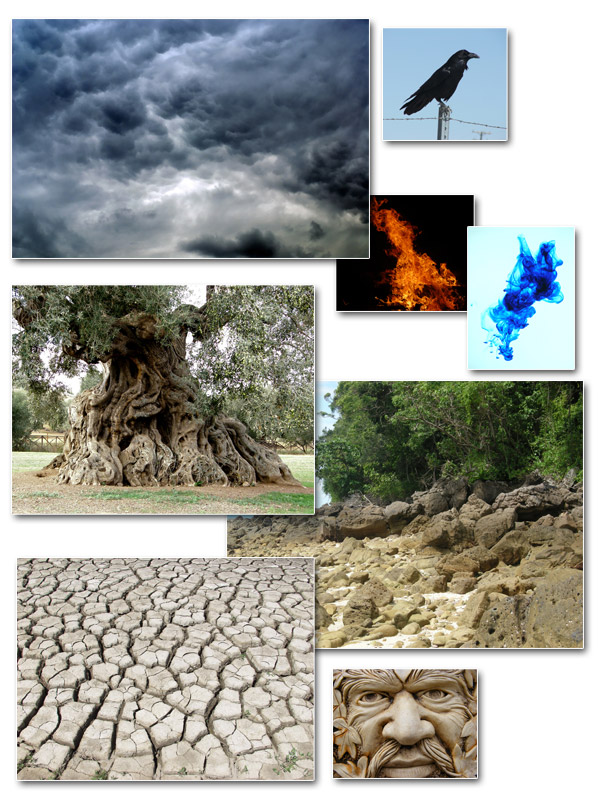
Used textures.
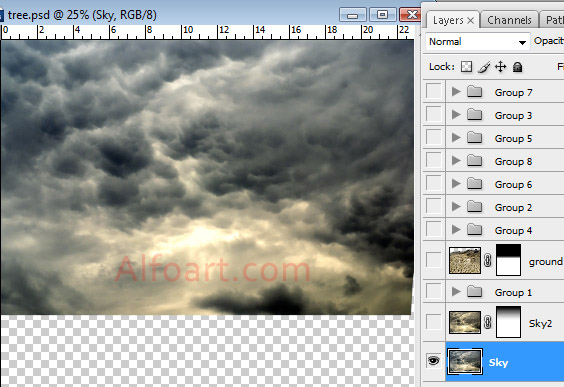 Place sky image into the first layer.
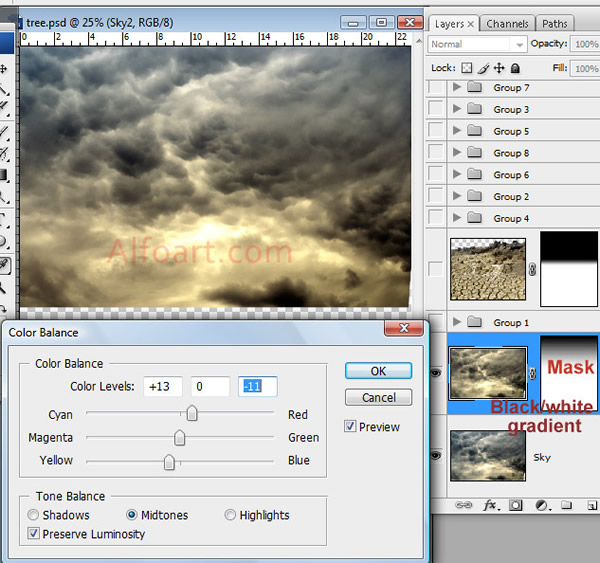
- Duplicate sky image layer. Apply Color Balance settings. Add yellow and red colors. Image >Adjustments > Color Balance.
- You may apply Photo Filter (yellow, orange color with 25% Opacity). Image >Adjustments > Photo Filter.
- Add Layer Mask to duplicated layer. Fill it with black-and-white linear gradient.
- You should get something like that:
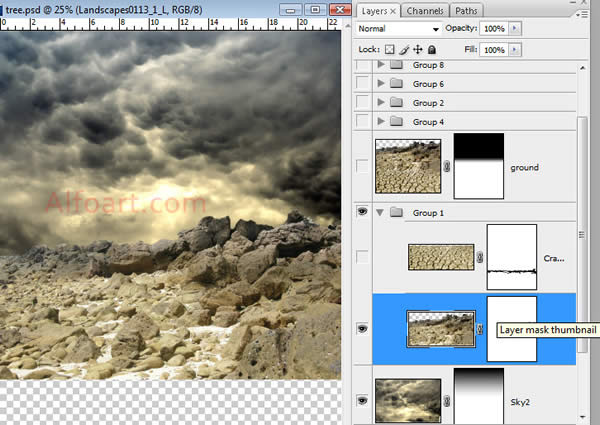
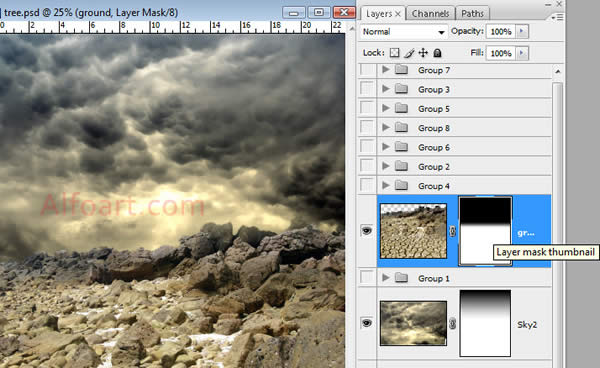
- Insert stone ground image. Correct Color Balance.
- Insert Cracked Earth image.
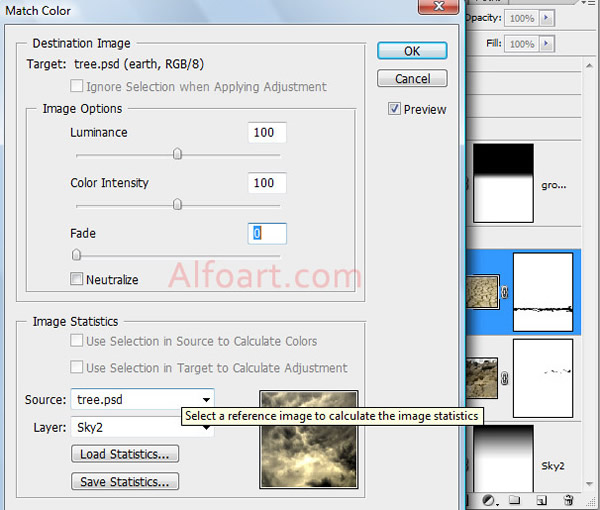
- In order to get better result for color correction, use Match Color settings.
- Make ground layer active, and then choose Image > Adjustments > Match Color.
- From the Source menu in the Image Statistics area of the Match Color dialog box, make sure that the image in the Source menu is the same as the target image.
- Use the Layer menu to choose the layer whose colors you want to match. You can also choose Merged from the Layer menu to match the colors from all the layers.
- After this, you may correct Fade, Color Intensity, Luminance settings a little bit.
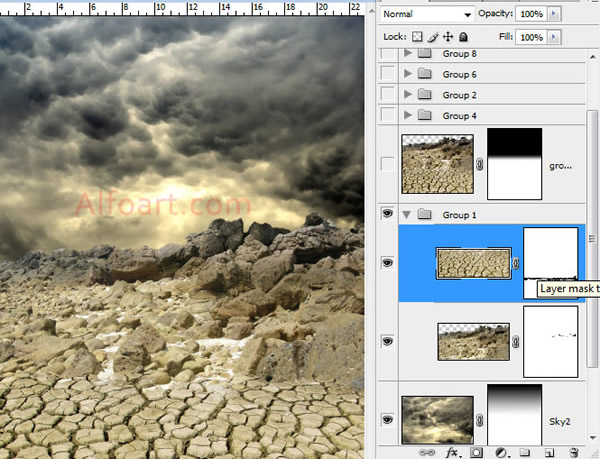
- Add layer Mask to ground layer and fill with black-and-white linear gradient in the horizon area.
- Merge Stones and Cracked Earth layers.
- Load selection for merged layer.
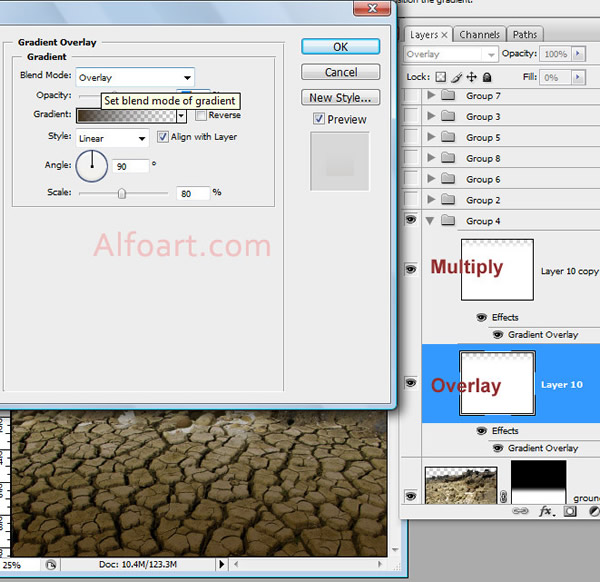
- Fill selection with any color in a new layer. Adjust Fill 0%.
- Apply dark brown/ transparent Gradient Overlay just like in the example belowm with Overlay Blending Mode.
- Duplicate Gradient layer, and apply Multiply Blanding Mode to it.
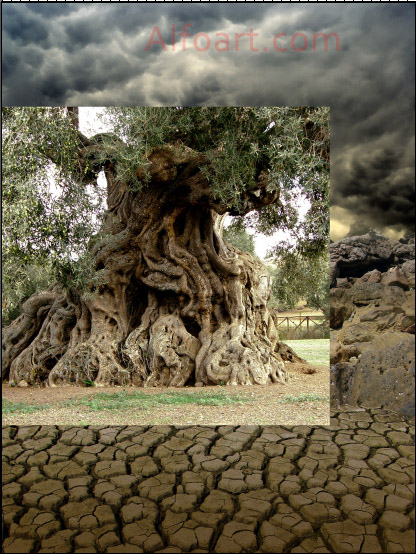
- Insert tree image.
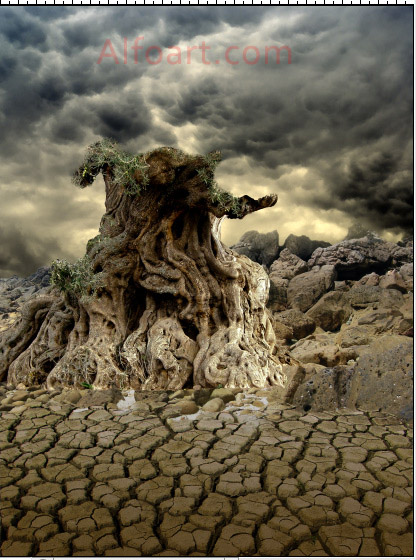
- Erase superfluous areas.
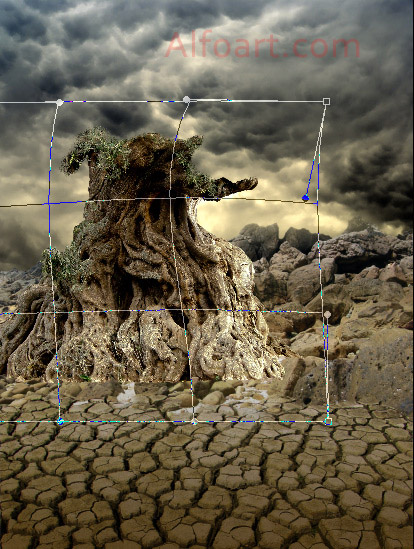
- Correct tree shape using Warp transformation.
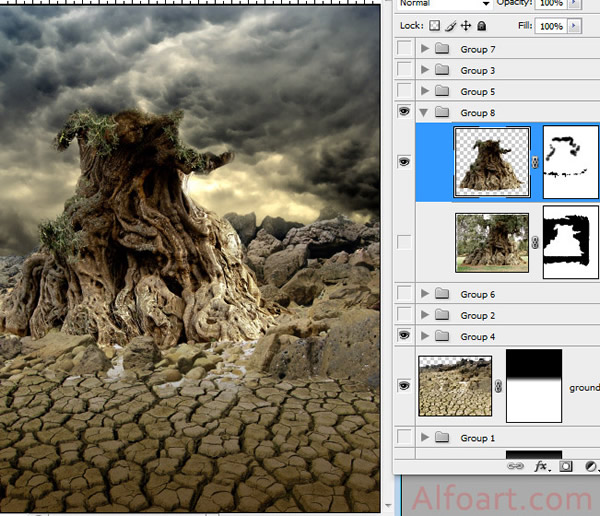
- Add Layer Mask to tree layer. Soften edges using translucent round brush.
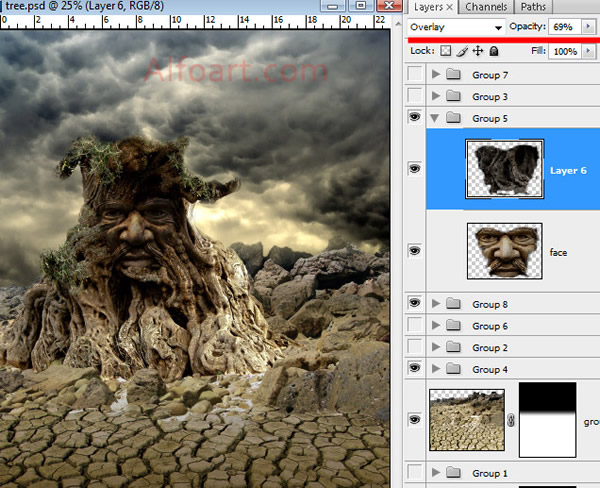
- Insert face image. Correct color balance and levels, darken image.
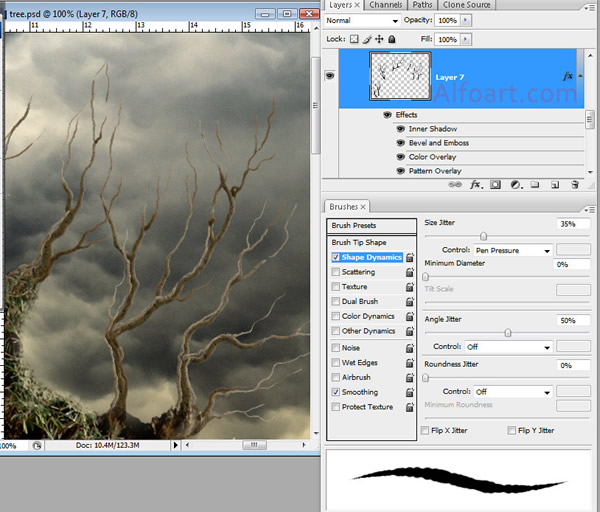
- Draw branches using small round brush with dynamic settings.
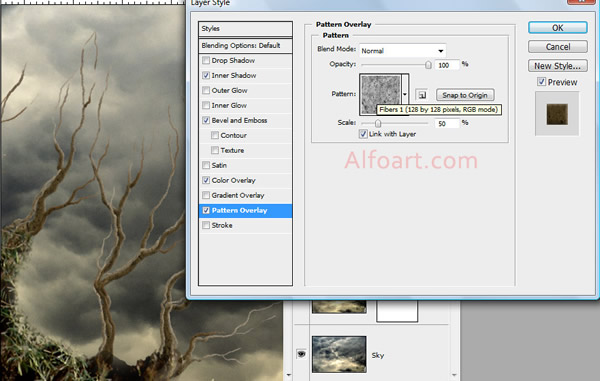
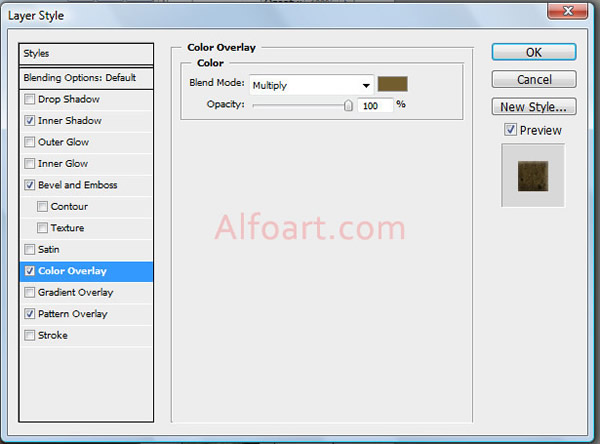
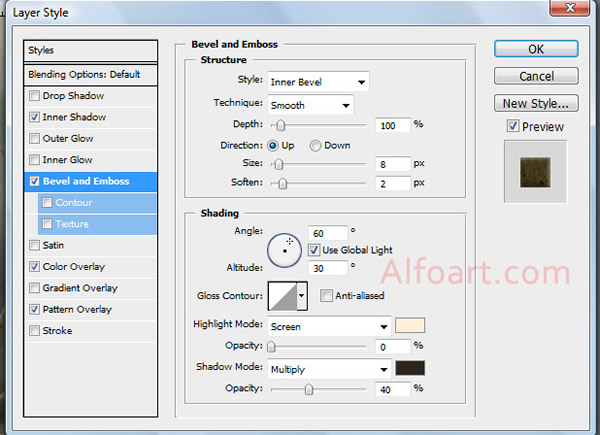
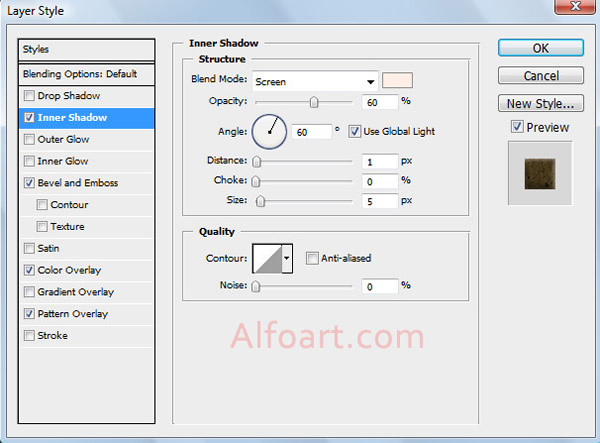
- Apply Pattern Layer style effects to branches.
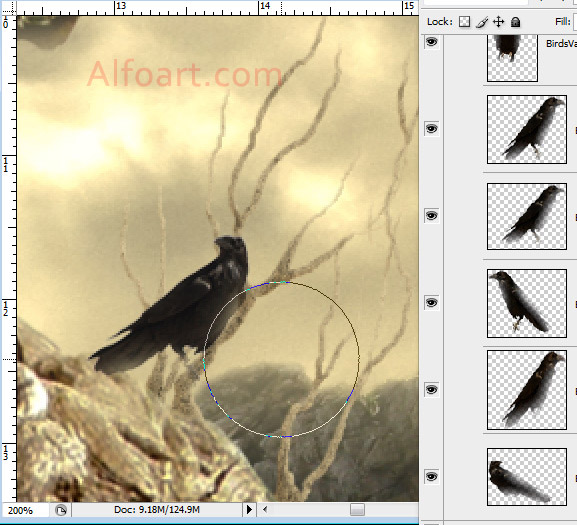
- Insert birds images. Soften edges using soft translucent Erase Tool.
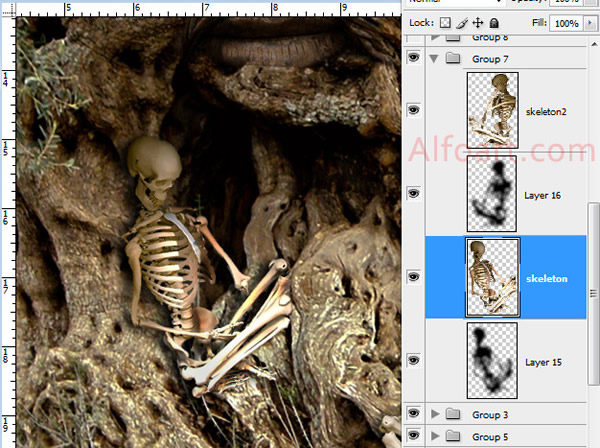
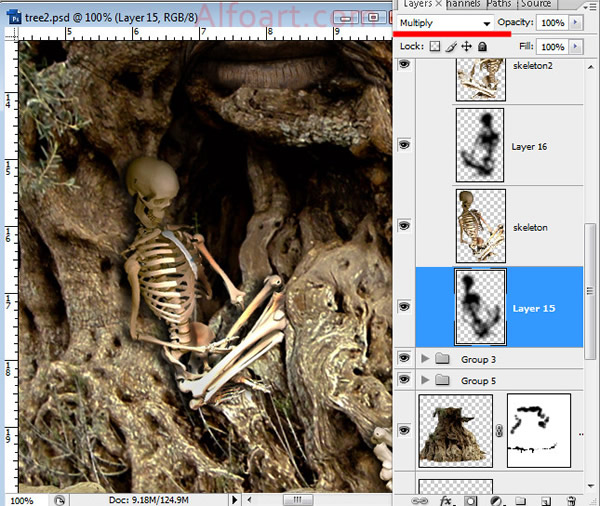
- Place skeleton images, Extract skeleton from background using Extract filter.
- Load selection for object. Fill selection with black color in the bottom layer. Apply Gaussian blur filter to created shape and Multiply Blanding Mode.
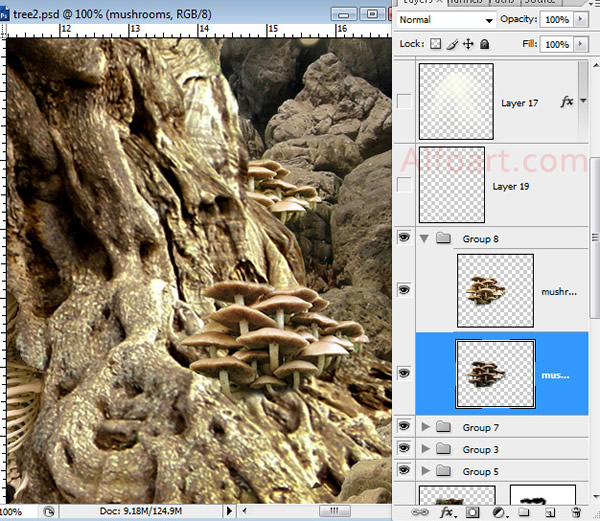
- Add other small details.
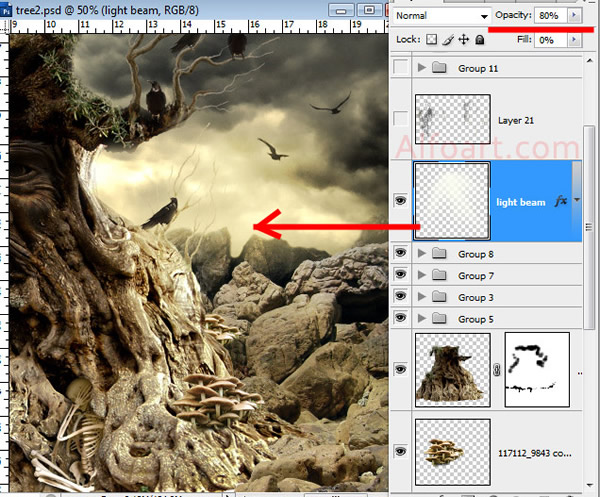
- Draw light beams using light yellow translucent, soft brushes. Apply Opacity 80% and Overlay Blending Mode to this layer.
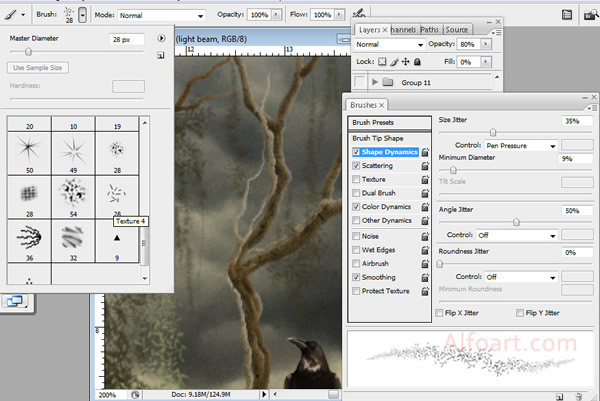
- Draw Spanish moss using preset Texture4 brush from assorted brushes palette with following brushes settings:
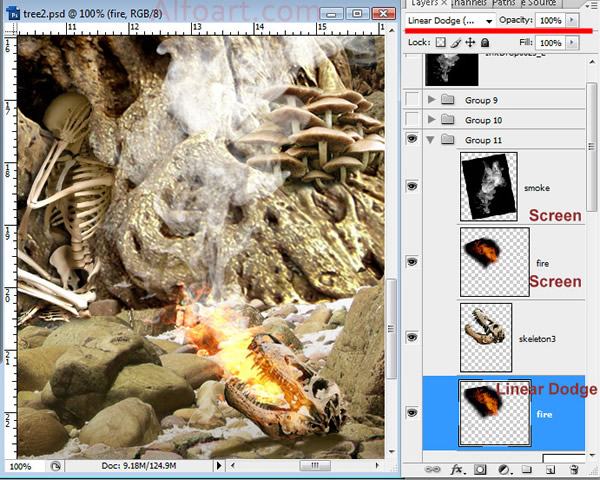
- Place smoke and fire images. Use the layers order and Blending Mode adjustments just like on screen shots.
- Merge all layers.
- Duplicate created layer.
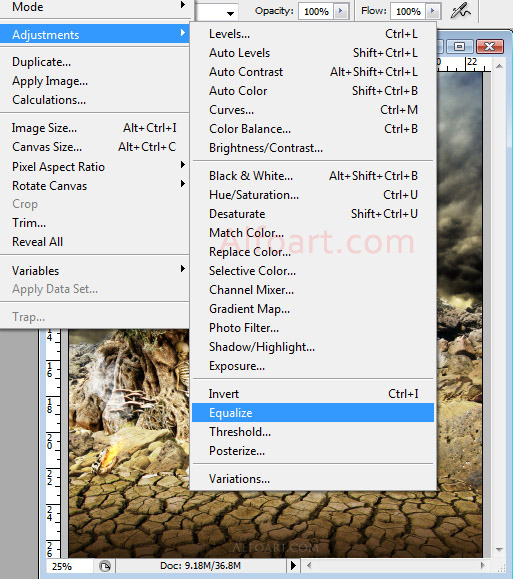
- Apply Equalize to duplicated layer.
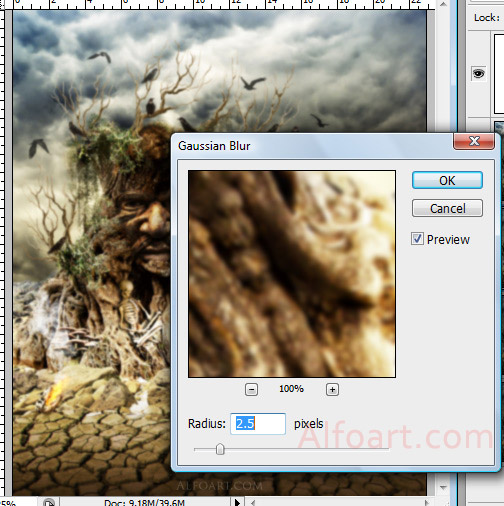
- Apply Gaussian Blur to it.
- Apply Multiply Blanding Mode and Opacity 35%.
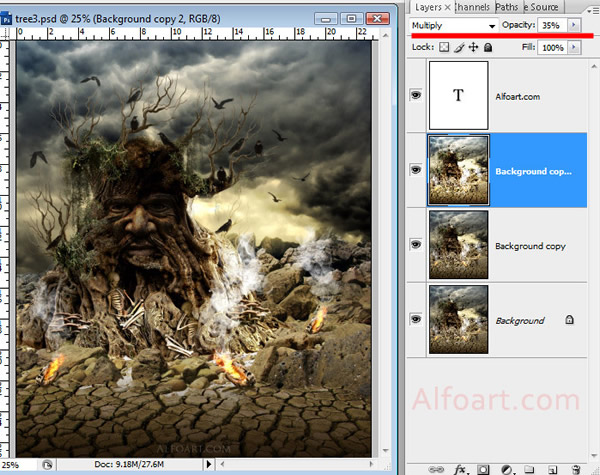
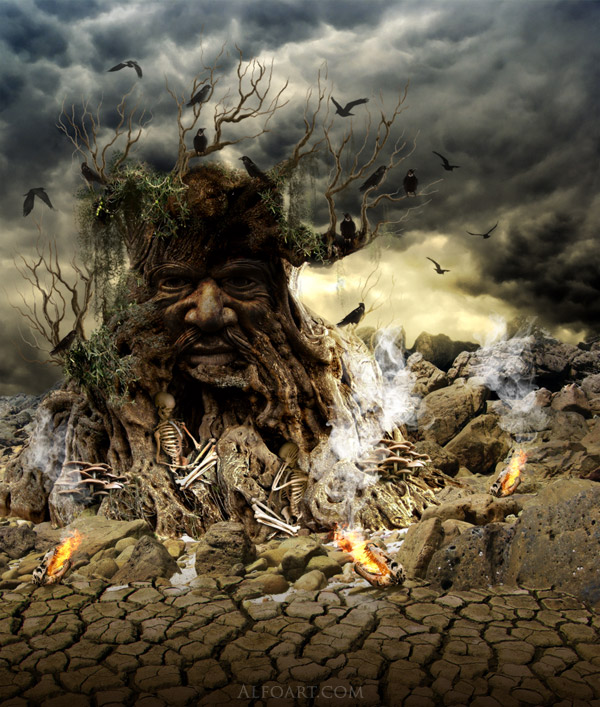
And here is result! Click to enlarge the picture.
3 comments:
awesome
Very nice tutorial, - keep'em coming :)
Kunjungi Website Kita
Kunjungi Website Marinir Seo
Post a Comment