Showing posts with label adobe photoshop. Show all posts

Colourizing B&W old Photographs

Here is the sample image I have chosen to for this article.  It’s in bad shape, but the scene is fantastic.  These are also family members at the cottage, and I own the rights to it, so it's another bonus.  Perhaps in the future, I'll add another section to the article on how to go about replacing the missing piece of this image, but that will be an advanced section, and I wouldn't start with this image.  But it can be done, and done convincingly!  For the mean time, let's crop out what we don't need.  I scanned the original at 600 dpi; this will be an adequate resolution for our needs.  If your image is less then 300 dpi, now is the time when you would change the resolution to allow a large enough image to work with and to reduce image artefacts later on.


Read More

Jill Greenberg Look using Photoshop

 Jill Greenberg look Photoshop tutorial before and after
Jill Greenberg is a famous photographer best known for her recognizable portraits look which is achieved with sophisticated lighting and intensive Photoshop post-processing. In many of Greenberg’s photos you see a simple single colored background with a vignette of light coming from the center. It is possible to create Jill Greenberg effect solely with Photoshop tools outside a controlled lit studio and this Photoshop tutorial will guide you through all steps needed. This is tutorial for intermediate/advanced Photoshop users. I intentionally do not include beginner level details to make a workflow simple and straightforward.
Read More

3D Text Effect in Photoshop CS6

This tutorial will explain how to use Photoshop CS6′s new Shape and 3D capabilities to create a polished sleek acrylic/plastic/glass text effect. Then, the coloring will be modified using two adjustment layers.

The Final Result
Read More

How To Create Cool Text effect in Photoshop

Today, I will show you the steps I took to create this Cool Liquid Text Effect with Feather Brush Decoration in Photoshop. This is an intermediate level tutorials and some steps can be a bit tricky, but why not have a try!
We will be heavily using the liquid filter (which in my opinion is one of the most versatile tools in Photoshop) in this tutorial. I won’t be going through each command of the liquify filter (there will be a basic tutorial here on PSD Vault very soon about this topic), however, I want you to have a go at it regardless and see how far you can go.
We will also be making a feather-like brush and create some ink effect, so there is a lot to learn in this tut :)
Have a try!
Here is a preview of the final effect I have for this tutorial: (click to enlarge)

cool text effect flatten 500x321 Create a Cool Liquid Text Effect with Feather Brush Decoration in Photoshop
Read More

Create a Fantastic Tree In Photoshop

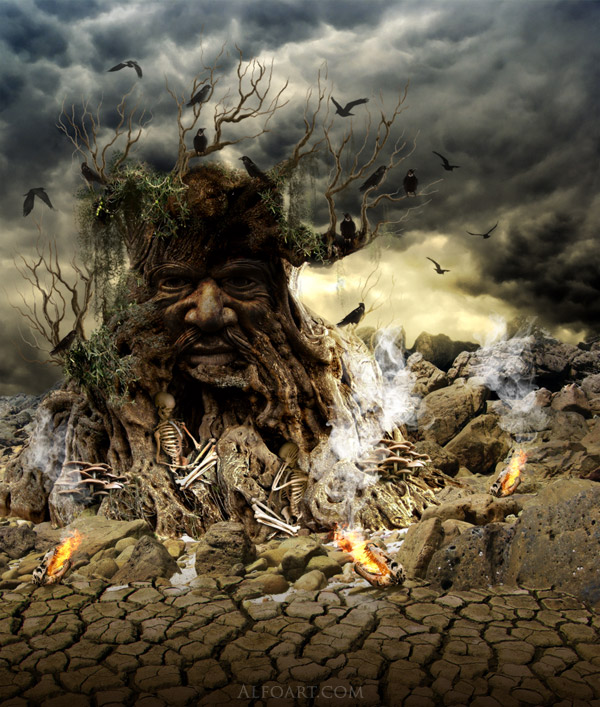
  • You may get .psd* file of "Fantastic Tree" Photoshop tutorial by making a donation. Put the tutorial title in "Add special instructions to seller" line of PayPal and it will be sent to you shortly.
    fantastic old tree
Read More

Combine Renders and Light Effects

Abstract artworks often combine renders, stock photos and simple techniques in Photoshop to create professional results.  However, understanding symmetry, composition, lighting and the tools in Photoshop can take awhile to learn, and practice is required.
In this tutorial, we are going to extract the ability of Photoshop tools to make an epic piece of digital art.  We’ll look at how to manipulate a pre-made render into the composition, as well as how to utilize blending modes, gradients and the liquify tool to achieve a brilliant abstract result.
You’ll learn a variety of techniques and useful tips to use in your own compositions, so let’s get started!

Tools Required:

  • Adobe Photoshop

Final Image Preview:


Read More

Is Photoshop Evil? Video Interview With Mark Heaps


Is Photoshop Evil? Video Interview With Mark Heaps
Is Photoshop a dirty word? An evil tool? Recently, I had the opportunity to chat with Mark Heaps, a Professional Photographer, an Adobe Certified Professional, and Graphic Designer at Duarte Design where he has worked with some of the world’s most recognizable brands. Mark works as a presentation designer, helping to build presentations you might see at a major conferences like SXSW or CES, but Mark has experience doing just about everything. So it was great to hear his thoughts on several interesting topics.

Read More

Photoshop Tutorial

Final Product What You'll Be Creating
Photoshop tutorial
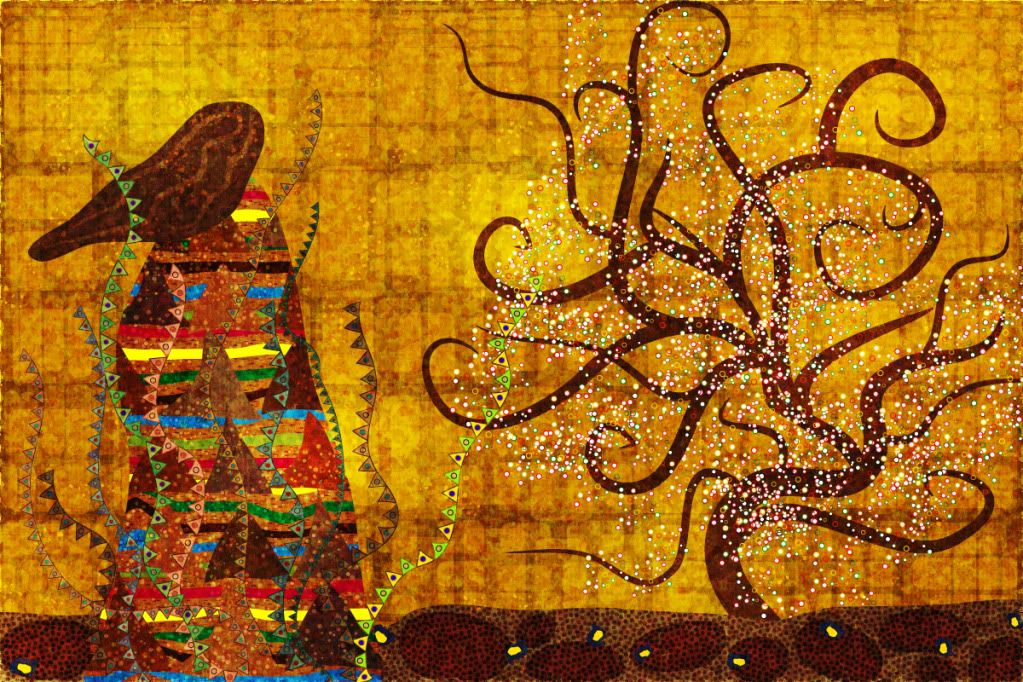
In this tutorial we will travel back in time to recreate the painting style of one of the most outstanding symbolism artists – Gustav Klimt. His works are full of warm golden colors, simple ornaments, irregular patterns, natural symbols, and asymmetric shapes. We will work to produce this style with the help of Adobe Illustrator tools.

Read More

How to create a Simple cardboard Box Icon

Final Product What You'll Be Creating

In this tutorial you will learn how to create a simple cardboard icon using 3D Extrude & Bevel and basic gradient fills. It’s a great starting point for budding icon designers or people who have previously used Photoshop for their creations and will teach you a few useful techniques to get you started with Adobe Illustrator.
Read More

Multiply With Layer Mask

Final Image of Multiply with Layer Mask


Multiply With Layer Mask Photoshop Tutorial 
Fix overexposed photos and restore hidden details without underexposing already dark areas.

Read More

Vivid Photoshop Tutorials


Vivid Glow Photoshop Tutorial 
Intensify photos with vivid colors in just a few simple steps! This Photoshop effect is perfect for fun vacation photos and is easy for novice Photoshop users.


Read More

Ray of Light In a Very Simple Mode

Use Photoshop to create and add a dramatic ray of light to your photos. It's easy, accurate, and fun!

Finding and Identifying the Light Source

Before we can create the ray of light, we need to separate the bright areas from the image.

Step 1

Open a photo you would like to edit. Or, you may use the photo used in this tutorial (from iStockPhoto).

Step 2

Before we start, we need to duplicate the layer (Layer> Duplicate or Ctrl+J).
Duplicate Layer

Read More

Dark and Eerie Photo Manipulation Scene Photoshop CS2

this Photo-manipulation tutorial, we will learn how to create a dark photo manipulation scene with an eerie yet magical atmosphere. We will tackle basic techniques to create an ancient-looking room, using various stock photographs and applying adjustment layers and creating shadows using the Brush tool to blend the images seamlessly. We will also learn how to create a ghostlike creature from only one stock image using the Motion Blur tool and finally, how to create a vignette using a new layer, which you could also use in your future projects.

Preview of Final Results

How to Create A Dark and Eerie, Ancient looking Photo  manipulation scene small

Dark and Eerie Photo Manipulation Scene Photoshop Tutorial

Read More

Maze in my Mind By Photoshop

Create this metaphoric artwork easily using a selection of stock photos. This Photoshop tutorial will show you how to combine and manipulate photos to create a surreal photo manipulation.

Maze in my Mind Photoshop Tutorial

Step 1

Open file Head_render.tif. Click in Channel palette. As you can see there is another channel with the mask of body. Push CTRL + RKM and you have a selection of body. Click CTRL + J to create a new layer. Ok, so lets back to the background. Use CTRL + A to select all picture and CTRL + Backspace to fill all picture. Make sure the main color is white, because background must be white.
clip_image002

Step 2

Read More