We will be heavily using the liquid filter (which in my opinion is one of the most versatile tools in Photoshop) in this tutorial. I won’t be going through each command of the liquify filter (there will be a basic tutorial here on PSD Vault very soon about this topic), however, I want you to have a go at it regardless and see how far you can go.
We will also be making a feather-like brush and create some ink effect, so there is a lot to learn in this tut :)
Have a try!
Here is a preview of the final effect I have for this tutorial: (click to enlarge)

Step 1
Create a new document size 1400px * 900px, use Gradient Fill to fill the background with the following radial light: (light grey to white)
Type some text onto the canvas we the font we downloaded: (no need to use the same colour as I used here)

Step 2
We can give the text a little bit of depth by adding some blending effect:Inner Shadow

Bevel and Emboss

Gradient Overlay

and here is the effect so far:

Step 3
We’re onto to fun part – liquify the text. Duplicate the text layer once, go to Filter > Liquify, you will see this window come up, click OK to continue:
Select the “Forward Warping Tool” with the following settings:

Start liquifying from the edge, adjust the tip size as you go to ensure you get the right shape:
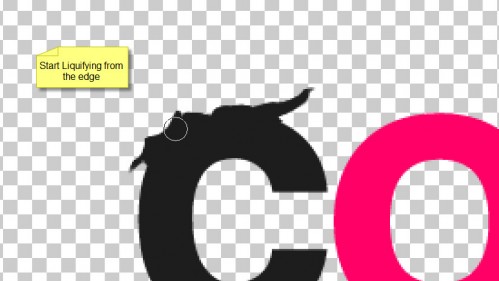
You can also break apart the text with forward warping tool:

Keep going until you get something like this: (can be a bit tricky – you need patience, a lot!)

Step 4
Now we can add some ink effect to the image. Normally we can do this via cloud, however, I want to use brush instead this time – would be great to practice some painting skills here.Grab the following brush, make sure you set the opacity and flow to around 20%:

Use this brush to paint some patterns as shown below:

Resize it as shown below:

Select the eraser tool, apply the following settings (use same brush as above):

Use this eraser to gently remove bits of the brush, you will eventually see this effect below:

Duplicate this layer a few times, resize and rotate them around, then attach them to positions shown below:

Step 5
We can add some highlights around the text to make it shine. To do this, use a soft white round brush to paint some random dots around the text:
Some innovation we can do here –
1. We can perspective the light dots to form a bursting effect:

2. We can also compress the group so it forms some series of light stripes:

Rotate and attach this light stripe to left and right side of the text, as shown below:


Also paint some white dots over the text, and here is the effect so far:

Step 6
Now we’re onto creating the feather shape. Firstly draw an oval and fill it with some colour: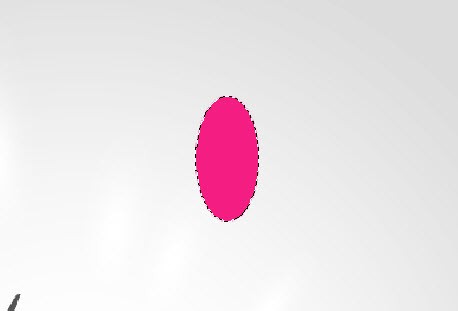
Again we use liquify filter to make a feather-like shape: (this can be a bit tricky, you need to be patient!)

Resize it to a small size if necessary:

Step 7
Now we can start defining this brush. Ctrl + Left-click the thumbnail of this feather layer to select it:
Go to Edit > Define Brush Preset …

Give this brush a name and click OK:

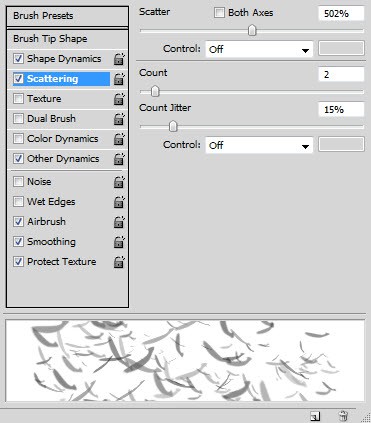
Press F5 to bring up the brush window, apply the following settings:
Shape Dynamics

Scattering
Other Dynamics

Use this brush to paint over the image on a new layer, adjust the brush size, flow and opacity as you see fit:

Step 8
We’re almost done! For some final touch-ups, we can flatten the image and duplicate the background layer, apply the following smart sharpen filter to the duplicated layer: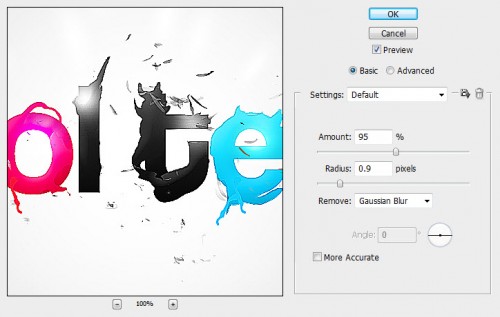
Duplicate this sharpened layer once, add the following Lens Flare Filter to this duplicated layer:
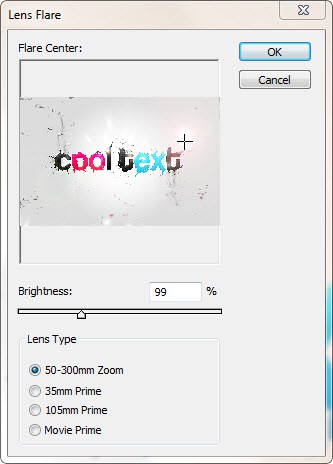
Add a Photo Filter image adjustment layer on top to give the image a warm finish:

and here is the final effect:

0 comments:
Post a Comment