Welcome to video tutorials, a place which main purpose is to help people who are interested in graphic design, photography, Macromedia Flash animation... Here can be found many tutorials on these subjects showing you how, in easy way, you can create what you want and have a really nice results. There are new tutorials added every day! Hope we are useful to at least some of you because that is our main goal!
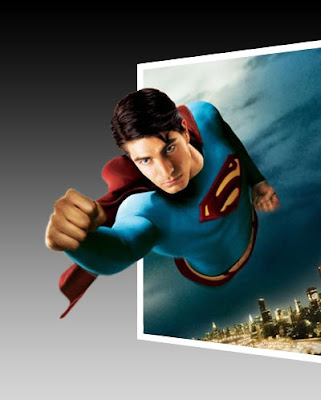
This time you will learn how can you make any object stick out form any image like this:
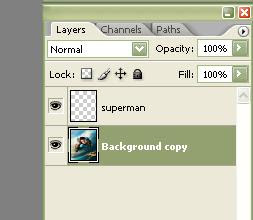
1. Open your image, duplicate layer (delete first one) and make new layer. You should have this in layer palette:
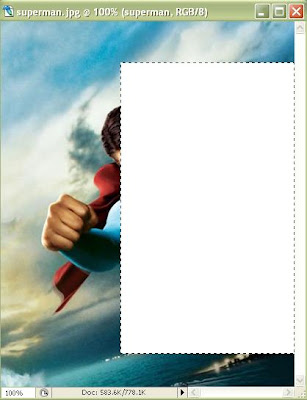
2. Now select Rectangular Marquee Tool, make selection on "superman layer" and fill it with white like this:
3. Select Rectangular Marquee Tool again, make square on the white area and use Erase Tool to bring back the old photo:
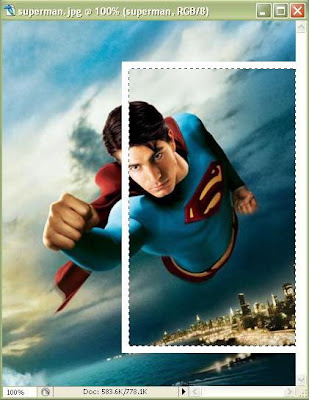
4. Select first selection with rectangular again and press Ctrl+T to transform it. Right click on transform area to select Perspective. Transform selection like this:
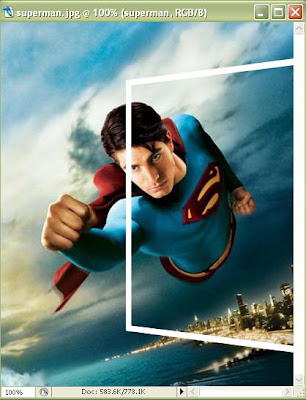
5. Use Erase Tool to remove part of border that should not be seen:
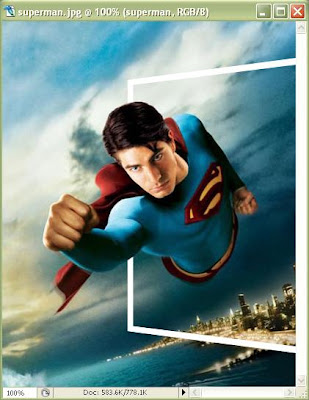
6. Now select "Background copy" layer and using erase tool remove all all background of image except that in border (it is easier to zoom image and use erase tool):
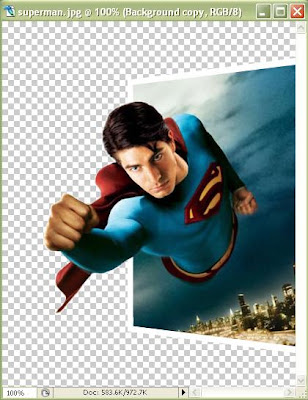
7. Create another new layer (for background) and drag it below background layer like this:
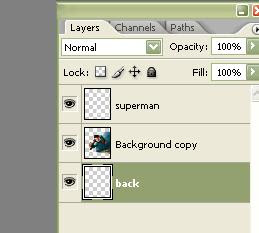
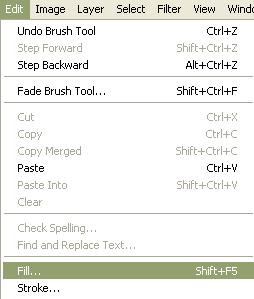
8. select "Back" layer and fill it with some color (no matter which one):
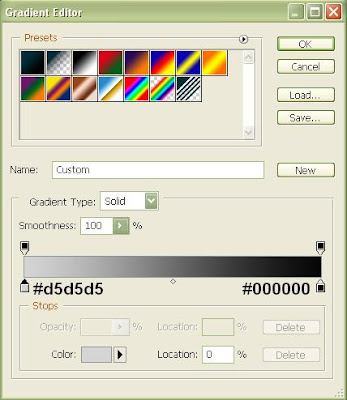
9. Now double click on "back" layer to open Blending Options and in Gradient Overlay set this:
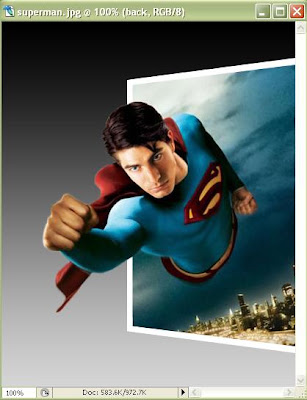
It is done! Your final result will be:
This time you will learn how can you make any object stick out form any image like this:

1. Open your image, duplicate layer (delete first one) and make new layer. You should have this in layer palette:

2. Now select Rectangular Marquee Tool, make selection on "superman layer" and fill it with white like this:

3. Select Rectangular Marquee Tool again, make square on the white area and use Erase Tool to bring back the old photo:

4. Select first selection with rectangular again and press Ctrl+T to transform it. Right click on transform area to select Perspective. Transform selection like this:

5. Use Erase Tool to remove part of border that should not be seen:

6. Now select "Background copy" layer and using erase tool remove all all background of image except that in border (it is easier to zoom image and use erase tool):

7. Create another new layer (for background) and drag it below background layer like this:

8. select "Back" layer and fill it with some color (no matter which one):

9. Now double click on "back" layer to open Blending Options and in Gradient Overlay set this:

It is done! Your final result will be:

0 comments:
Post a Comment