Learn how to create this beautiful jungle text graphic with Photoshop. This tutorial will show you how to draw vines, berries, and leaves.
Preview of Final Results
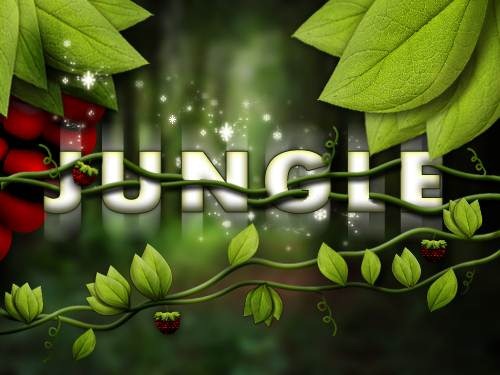
Jungle Text Photoshop Tutorial
Step 1
Hit Ctrl + N to open a new project with dimensions of 600 x 375 in RGB/8 with transparent background. For the background, you have two options: You can paint a simple scene with trees, shrubs, and earth then blur them and play with the curves, or you can use a picture (of your own or a free stock photo) of a nice nature scene. Here we’ve simplified this step for you as it takes time, so you can use this image for your scene. After playing with brushes, curves, and blurs, here’s what we’ve came up with: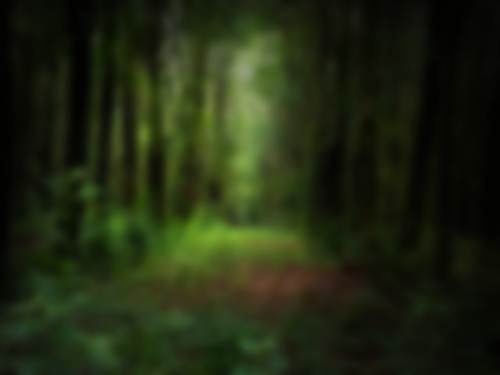
Step 2
Now you can hide this window as we’ll come back to this later, but first we need to make the leaves and berries. First you’ll need to find a leaf texture. Here is Caleb Kimbrough’s texture from http://lostandtaken.com/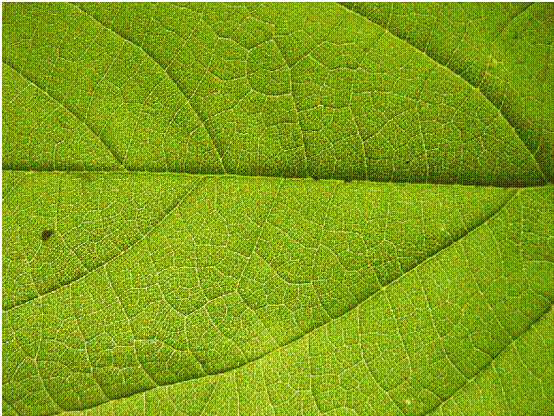
Step 3
After loading your leaf texture into a new project (name the layer ‘Leaf’), hit M on keyboard to select Rectangular Marquee Tool. Right-click, select Free Transform, right click again, select Warp. Now that your leave is in warp mode, click and drag the top left corner down about 1/3 of the grid, then repeat with bottom-left corner. It should look something like this: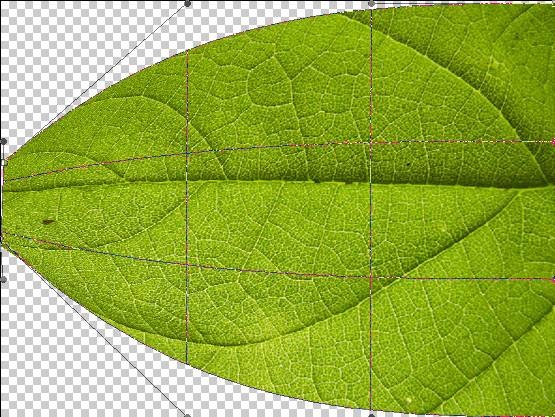
Step 4
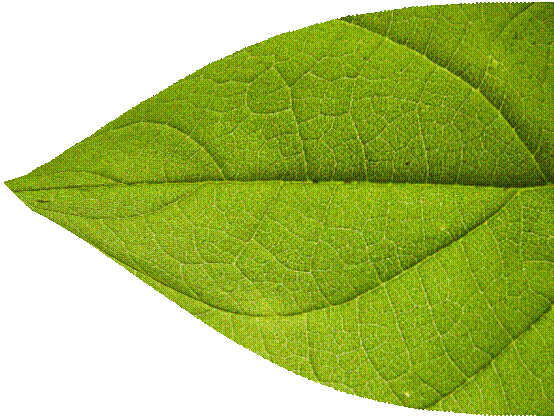
Now play around with the two corners, using the arms (the things with the gray circles) to pull them together creating a sharper point, like this: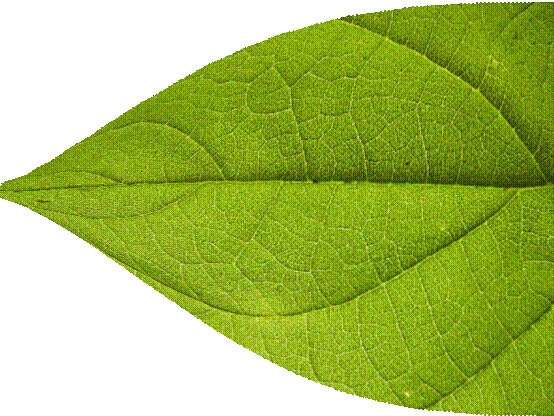
Step 5
Go back to the warp tool (see step 3) and this time, move the bottom- right corner upward. Make sure the arms of this corner are parallel: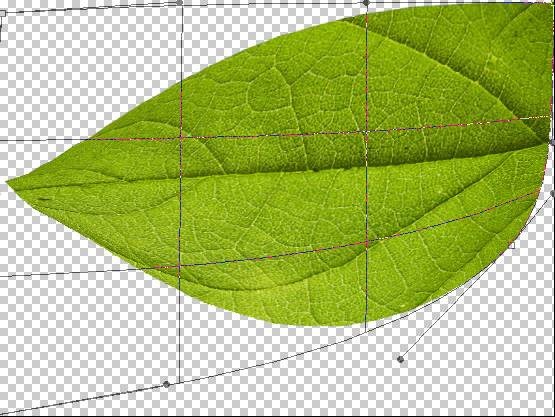
Step 6
Do the same for the top-right corner,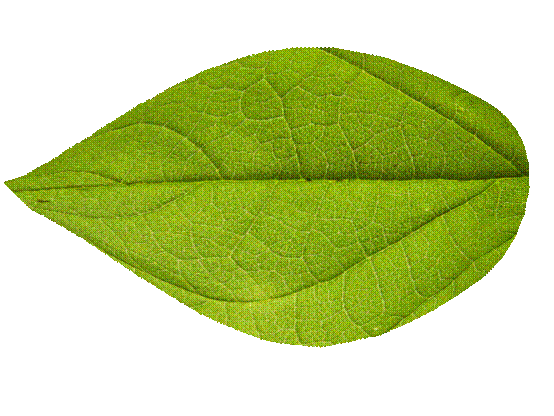
Step 7
Then go back to free transform, only this time use the distort and perspective functions to give it a bit of a distance perspective: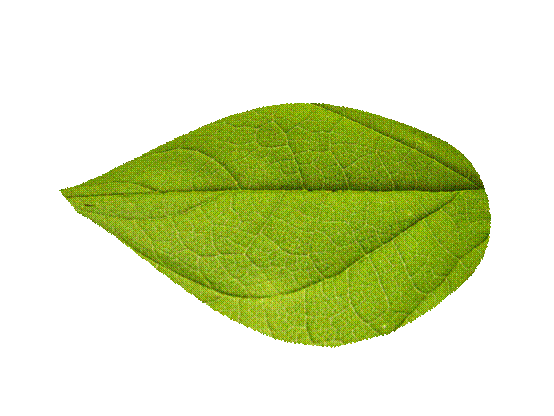
Step 8
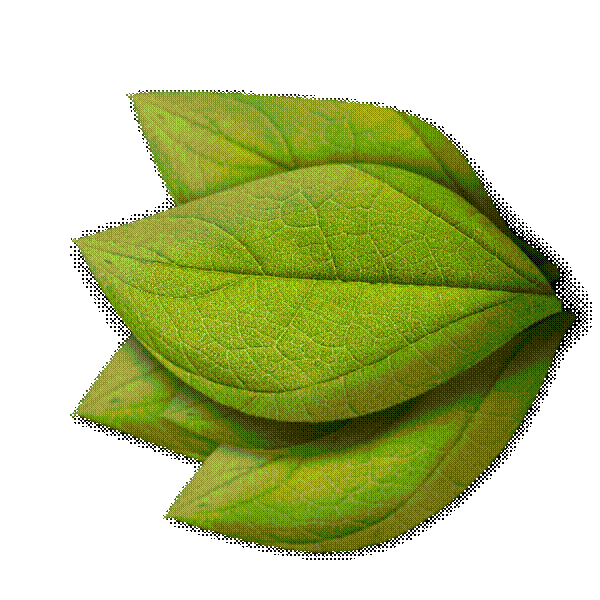
Next, duplicate the layer with the leaf on it and drag this new layer below ‘Leaf’ layer. Warp it a little to show some difference. Repeat process as much as you like!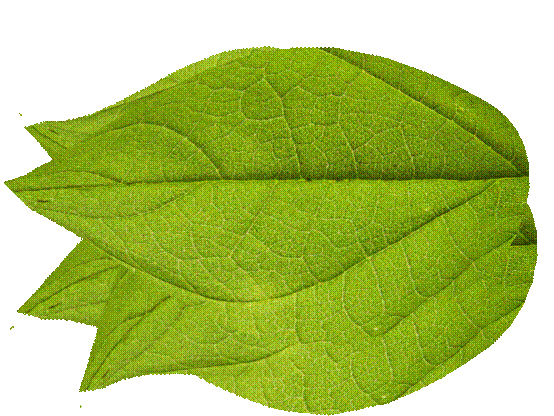
Step 9
On each layer you can add a simple drop shadow by double-clicking on the layer and checking the ‘Drop shadow’ box, and adjust the distance, size, and opacity of each leaf accordingly to give the leaves more depth. The larger leaf’s opacity is 64%, its distance is 23, and its size is 51. If you have a leaf directly above another, you will want to have the distance significantly lower, as well as the size. It should be more sharp and distinct.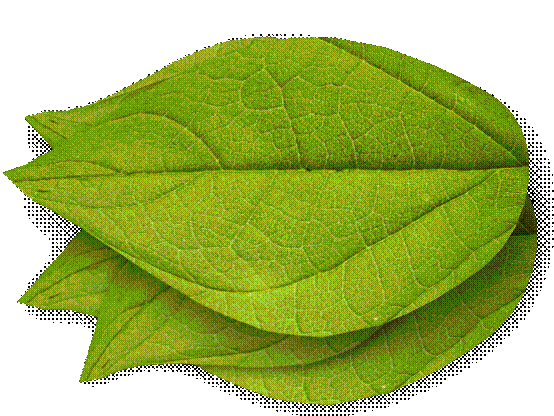
Step 10
Double-click on ‘Leaf’ and check Bevel and Emboss box. Change the depth to 100%, size to 65px, and soften to 0px. You can also lower the opacity of highlight and shadow mode. Repeat with remaining layers: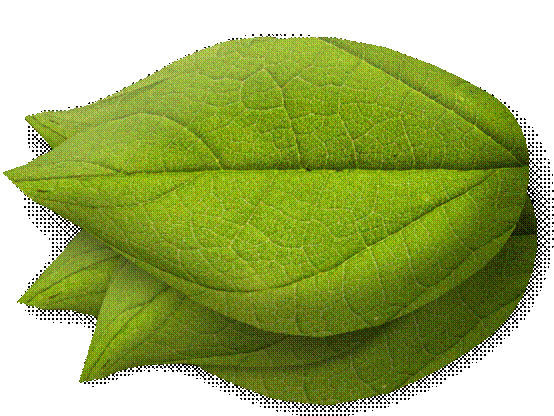
Step 11
Let’s add some depth of field. Select the leaf that is below the rest then right-click on the layer in the Layer Window and select Convert to Smart Object (will allow you to change the settings of your applied filters non-destructively). Now select Filter > Blur > Gaussian Blur and set it to 2.6 pixels. Repeat with other leaves, working your way up to the top of the layer’s list, and remember to lower the blur as you get closer to largest leaf. Now select the Smart Object (in the layer’s panel) of the ‘Leaf’ layer. Hit D and paint over the main areas of the leaf except the edges (you’ll find that this removes the Gaussian blur in the areas that you paint black.) Play around with the warping as it’s the most important (and fun!) part.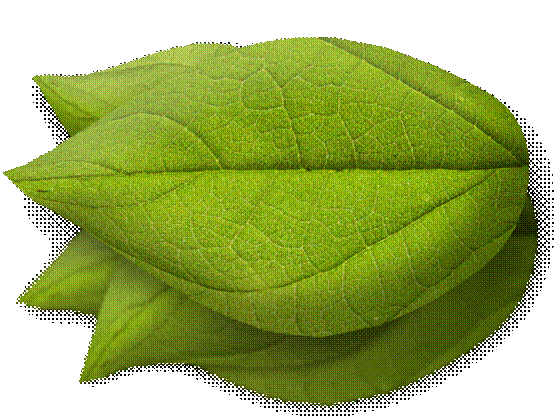
Step 12
Now that we’re done with the leaves, let’s move on to the berries! In a new project with dimensions of 600 x 458 select the Elliptical marquee tool. Hold down shift and make a selection about the size of the following then fill with #ff0000. Name this layer ‘Piece’.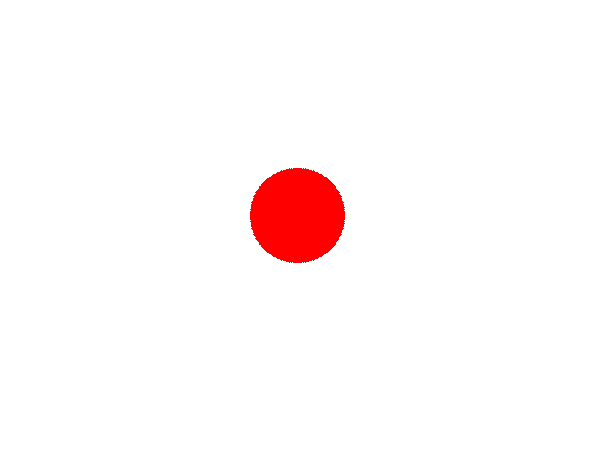
Step 13
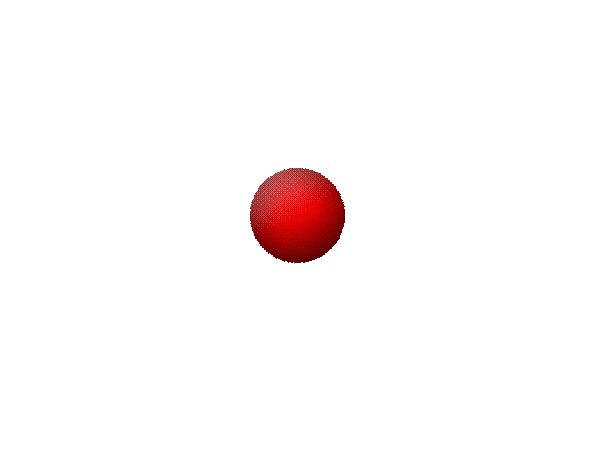
Double-click on ‘Piece’ in the layer’s panel and apply the following settings:- Inner shadow: Opacity: 75% - Distance: 5px – Choke: 0% - Size: 38px. Make sure the ‘Use Global Light’ box is checked.
- Bevel and Emboss: Depth: 32px – Direction: Up – Size 43px : Soften 16px. Leave the rest at default.
- Gradient Overlay: Black-White gradient – Opacity: 16 – Angle: 90.
Step 14
Make a new layer then select the Pen Tool (P). Click once in the center near the top (but not too close!)(1), hold shift, and click once more in at the bottom toward the center (2). Now you have a straight line! Right click the pen tool and select Add Anchor Point. Toward the top of the line click directly on top once and drag it to your right (3). Anchor one more point at the bottom and pull slightly toward the right (4):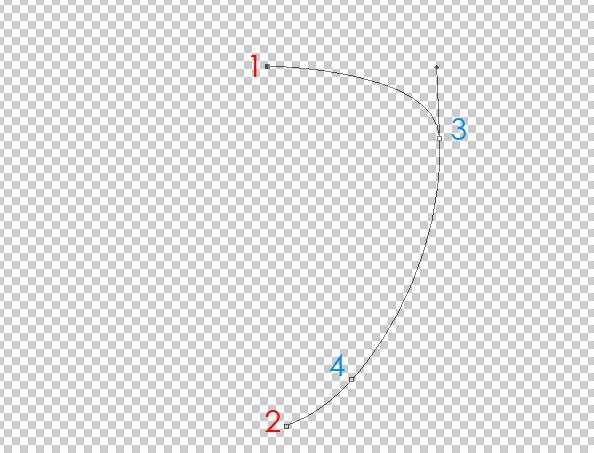
Step 15
With the Pen tool still selected right click anywhere on the surface and select Make Selection. Be sure that the feather radius is set to 0 pixels.Step 16
Once you have your selection, hit D to turn colors back to default black and white. Fill with black. Then, duplicate this layer (Ctrl + J), and then head over to Image (at top)> Transform > Flip Horizontal. Press V, then move the top layer to the left and position till you have a black berry-like shape. If the two shapes don’t exactly fit when you move them, you can create a new layer underneath the two and paint in the missing pieces using the brush tool. Once done, merge the berry shape layers by Ctrl + clicking them in layers panel, right-clicking > merge layers. You can name this new layer ‘Berry Shape’.
Step 17
Now that we have our shape we can start making it look like a berry! Drag ‘Piece’ and drop it on Group iconStep 18
Move ‘Piece’ to the bottom of ‘Berry Shape’ for we’re now constructing our berry! We’ll continue on this way, using ‘Berry Shape’ as a guide, by duplicating ‘Piece’ and placing the duplicates next to each other to form a row, then begin stacking, like this: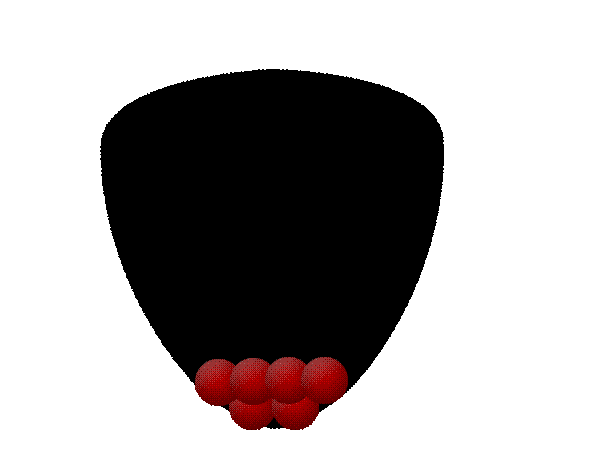
Step 19
Continue doing duplicating till the entire berry shape is covered. Remember to place them in a brick-like pattern to eliminate as many cracks as possible.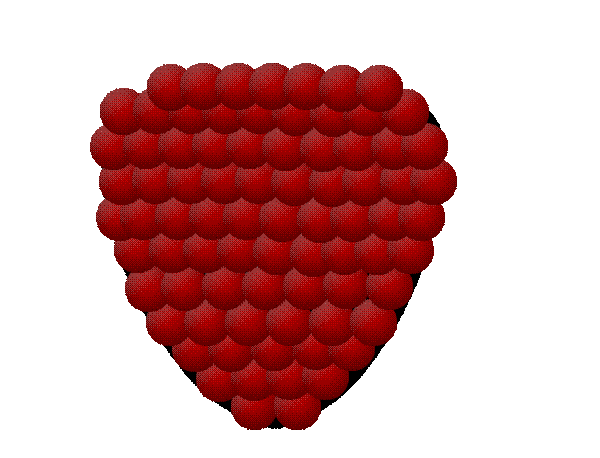
Step 20
Once you’ve covered your berry shape you can merge the ‘Pieces’ group (Right-click > Merge group) to give you one piece (while you’re at it, you can hide ‘Berry Shape too – click the eye next to it).Step 21
Using the Burn Tool (O), darken the edges of your berry then click once in the center, after you set the brush size to 180 with a hardness of 0%, the Range to Shadows, and the Exposure to 25%.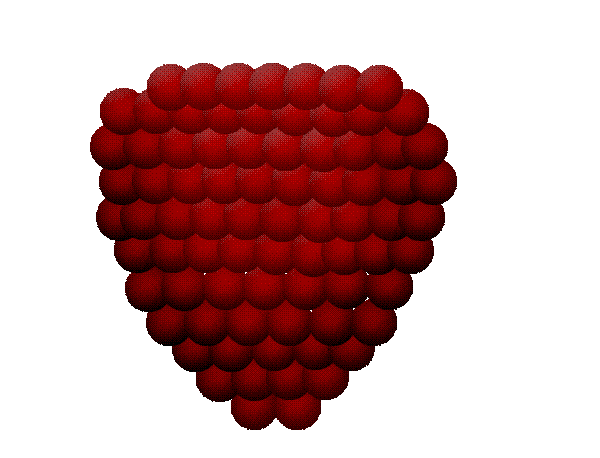
Step 22
Now take the Dodge Tool, (right-click the burn tool), and using a brush size of 168, a range of Highlights, and an exposure of 17%, brush lightly over the berry, focusing especially on the center.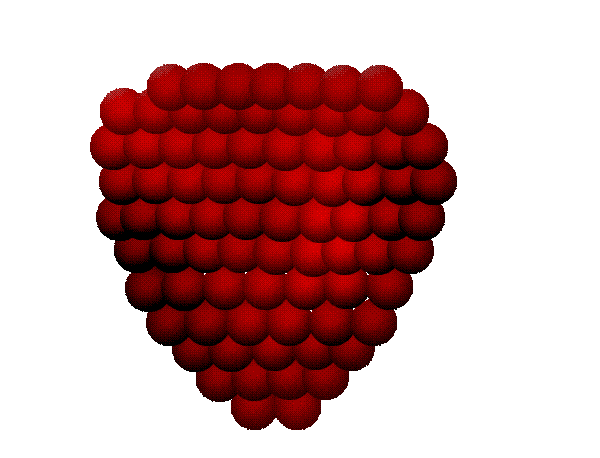
Step 23
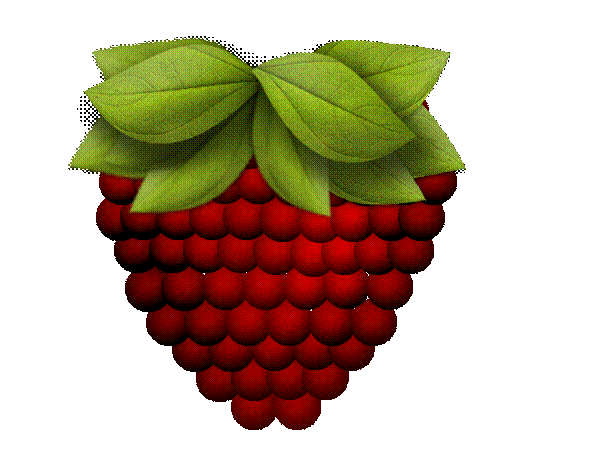
Now that we’re done with the base of our berry, it’s time we put it together and move on. Remember the leave window? Open it up, highlight all of the leaf layers and drag and drop them on the group icon to put them in a group. Rename this group to ‘Leaves’.Hit T then click on ‘Leaves’. In the workspace, drag the leaves from their window onto the berry window to copy and paste them in one easy step. Resize to fit, then open group and rotate and place leaves how you choose. Click on ‘Leaves’ group, drag and drop on ‘New Layer’ icon
Step 24
Select all layers (Berry and Leaves groups 1 & 2), hit T, hold shift, and size it down a bit to make some room for the stem:
Step 25
Make a new layer then take the Pen (P). Click once directly above the leaves in the center (1), click again about an inch above that slightly to the left (2), then anchor one more point in the center (3). Right-click the pen tool and select Add Anchor Point Tool, then click and drag 3 slightly to the right to give your stem a curve.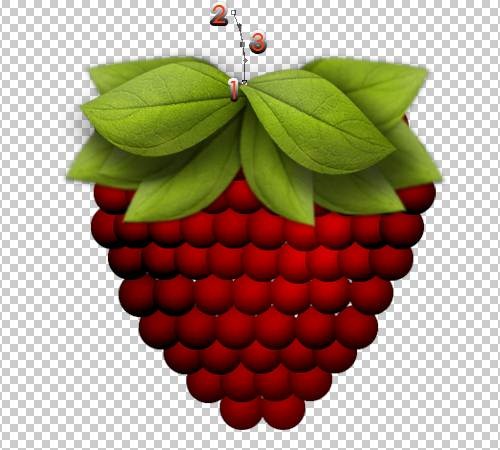
Step 26
Set your color to #6c8f07. Select the brush and change the size to 7 and the hardness to 0%. Go back to the pen tool, right-click the path that we’ve made, and click stroke path. Make sure it’s set to Brush and the Simulate Pressure box is unchecked. Hit ok, then press enter.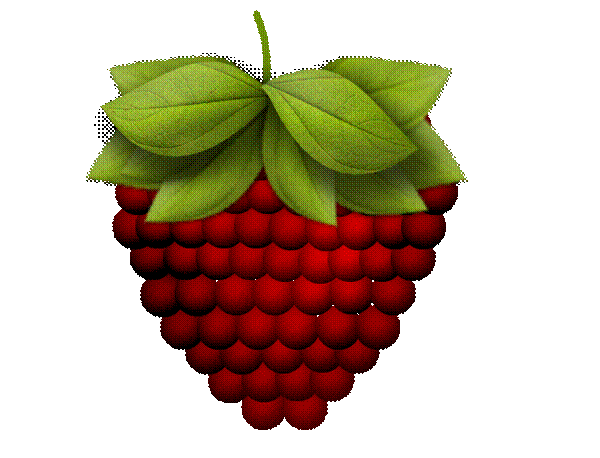
Step 27
In the layer’s panel, move the stem layer to just above the berry and below the leaves. Double click and apply the following settings:- Inner Shadow: Distance: 5 – Size: 6. Leave all the other settings at default.

Step 28
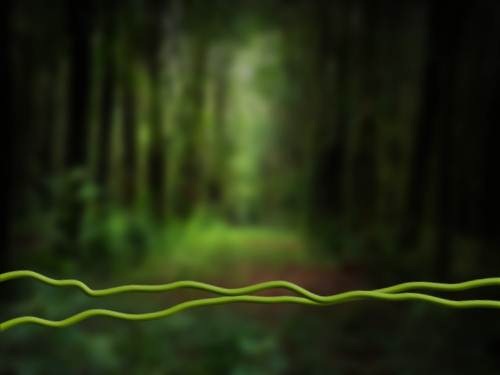
After going back to your blurred jungle scene and making a new layer (call it ‘Vine’), change your fore color to #77aa01 and your brush size to 7 with 0% hardness. Take the pen tool (P) and make the following points: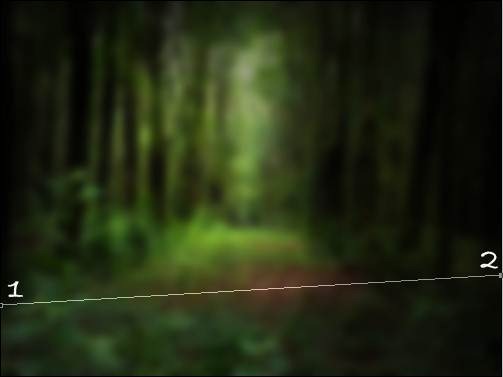
Step 29
Right-click the pen tool and select Add Anchor Point Tool and make the following points. After anchoring the points, click and drag slightly in various directions to give a somewhat bumpy, twisty look: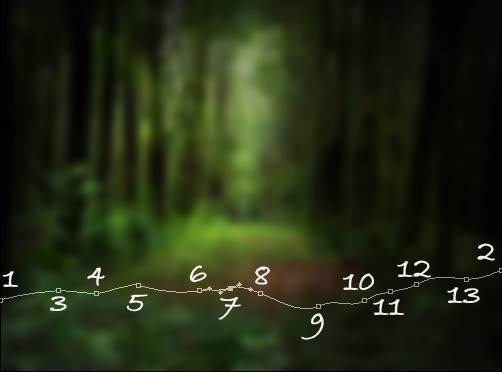
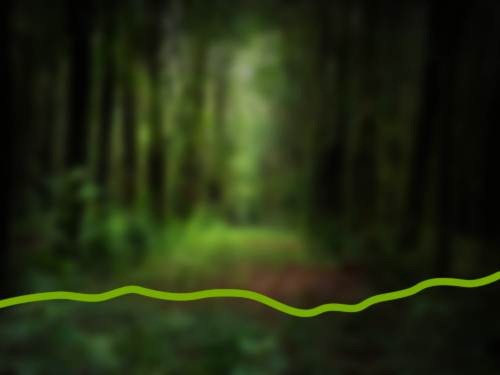
Step 30
Make a new layer and repeat the process, changing the curves for slight variations: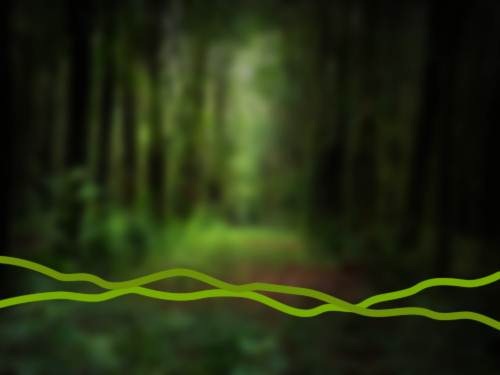
Step 31
Now you have two vines! Double-click on either one and apply the following settings:- Bevel and Emboss: Depth: 100% - Direction: Down – Size: 5 – Soften: 0 – Angle: -137 – Altitude: 30 – Highlight Mode Opacity: 44% - Shadow Mode Opacity: 67%.
Step 32
Go back to your Leaves window, and drag and drop the group onto your jungle scene as you’ve done with the berry. You’ll need to resize to fit on the vine: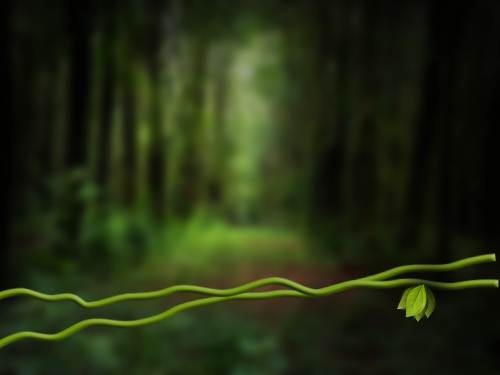
Step 33
Continue adding leaves and bunches of leaves by duplicating the group (drag and drop onto new layer icon). You can open the group and hide some leaves to vary the bunch sizes. You can also resize to vary leaf sizes.
Step 34
Change your brush size to 3 and on a new layer (name ‘Twist’) with your fore color still at #77aa01, draw a large loopy figure as shown: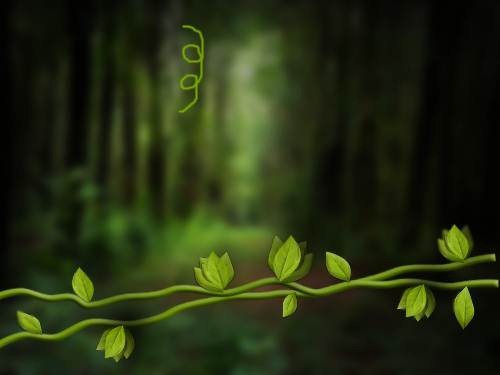
Step 35
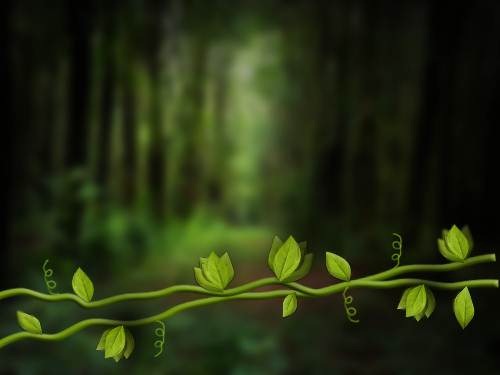
Right-click the layer and click paste layer style (this will apply the same settings as the vine), then resize and place on vine as shown:
Step 36
Open up your berry window as it’s time to add the berries! Click once on the group name ‘Berry’, hit V on your keyboard, and then click and drag your berry onto your jungle scene. You’ll definitely need to size it down! Once it’s a considerably size, place it on the lowest vine, being sure to connect the stem with the vine:
Step 37
Merge the berry group by right-clicking and selecting merge group. Then, hold down Ctrl and click on layer thumbnail to select the contents. Make a new layer then move it directly beneath this layer. Hit D to change colors back to default then fill selection with black. Press Ctrl +D to deselect then head over to Filter > Blur > Gaussian Blur and enter a radius of 3.5 pixels. Finally, hold Ctrl and click on berry layer, then drag and drop onto new layer icon to duplicate. Hit V, then move your new twin berry to the right of the upper vine: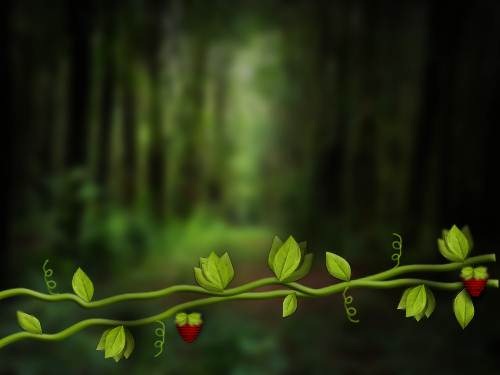
Step 38
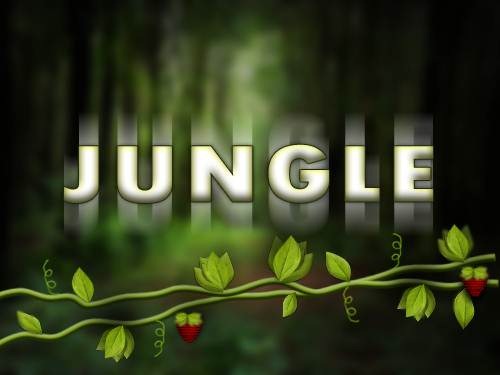
Now it’s time for us to add the letters. Hit D then X to change the fore color to white. Hit T to select the type tool then click in the center. Using Tw Cen MT Condensed Extra Bold, type JUNGLE: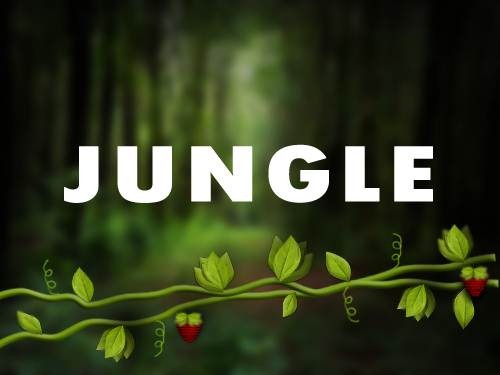
Step 39
Duplicate the layer (Ctrl + J) twice. Change the color of the lowest layer (the original JUNGLE) to #0e1a03, then right-click and rasterize them all. Hide the two top layers leaving only the dark green layer apparent. Using the Gaussian blur, blur the word using a 1.7 radius.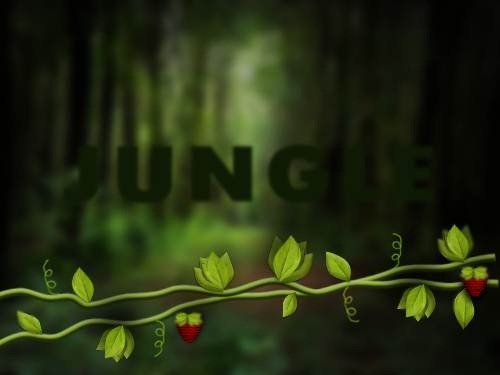
Step 40
Put the eye back next to the JUNGLE copy (the layer directly above the green JUNGLE) and then go to Filter > Blur > Motion Blur and enter a value of 68 for the distance. Leave the angle at 90.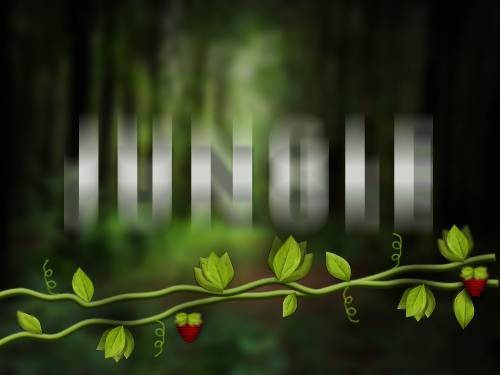
Step 41
Now show the upmost layer by putting the eye back next to it. Double click on the layer and apply the following settings:- Drop Shadow: Opacity: 75 – Angle: -90 – Distance: 0 – Spread: 0 – Size: 6
- Inner Shadow: Opacity: 75 – Angle: -90 – Distance: 5 – Choke: 0 – Size: 9
- Inner Glow: Blend Mode: Hard Light – Opacity: 75 – Color: a6c439 – Technique: Softer – Source: Edge – Choke: 0 – Size: 9
- Stroke: Size: 1 – Position: Outside – Color: 202b0e
Step 42
Now duplicate ‘Vines 1’ group, right-click and merge it then hit V and move it up over the word jungle: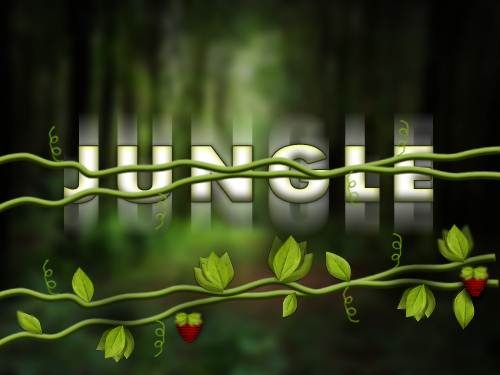
Step 43
Here is a part that we have to be extra careful when working on. Select the erase tool and set the size to 7px. We want to erase specific parts of the vine to create and entangled look, so, moving slowly and carefully, erase the following parts: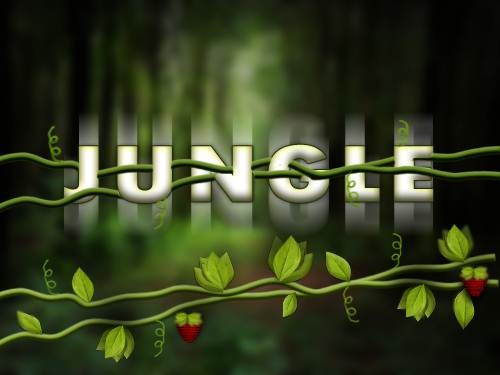
Step 44
Once you’re done, double click the layer and add a drop shadow of a size of 6 with a distance and spread of 0. Now we can add a berry to the bottom vine: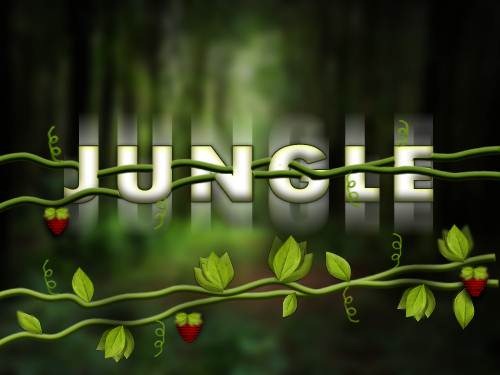
Step 45
You’re almost done, just hang in there! Go back to the original berry window, hit V and drag and drop the group onto the layer, this time you don’t have to resize. Just rotate a bit and place it to the far left: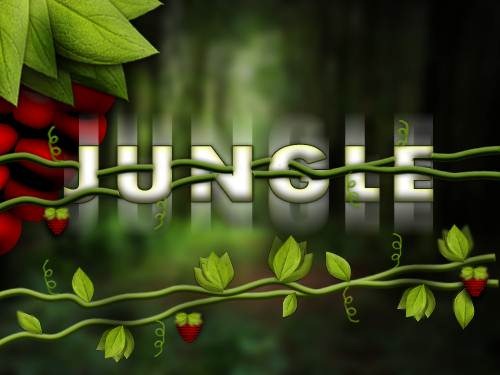
Step 46
Repeat step number 45, only this time with the leaves. Go to the leaves window, drag and drop, and place in the far right:
Step 47
Now for the final touch we’ll be using a magical brush, free from brusheezy.com. If you don’t have it, no problem! You can use two brushes of 2px and 3px sizes and dot on the design, and add some haze by adding a layer underneath and blurring it. If you use the brush, it should look like this: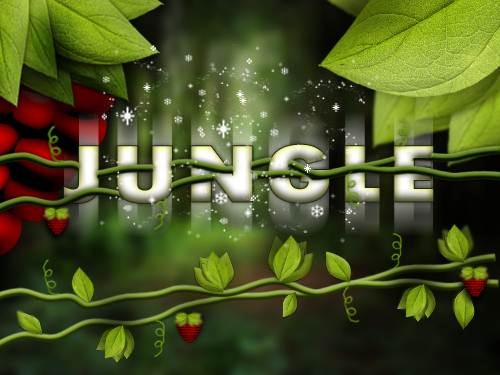
Step 48
Once you have it like this (make sure you’ve brushed on a new layer!), you want to use a size 17 brush with 0% hardness to remove the excess, like this:
Step 49
Now for the very last step: double click this layer (whether you used the magical brush or created your own dust) and click on ‘Outer Glow’. Leave settings at default and congratulations, you’re done!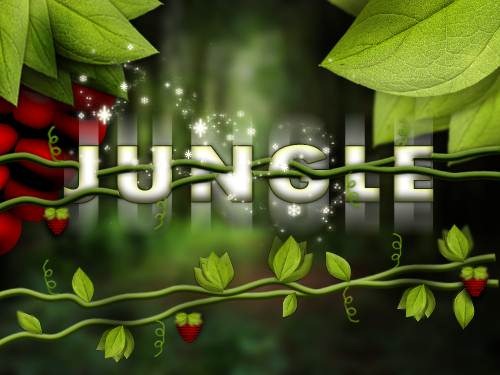

1 comments:
weak...
Post a Comment