In this tutorial, I will show you how to create a realistic embroidery text effect in Photoshop using stitch brushes and layer styles. The end result will be a font that looks like embroidery!
This is part of my embroidery effect Photoshop action, which is part of the Embroidery and Stitching Photoshop Creation Kit from my portfolio on Envato Market.
1. Create the Jeans Background
Step 1
Create a new 1100 x 600 px document, and create a new layer called Jeans Background. Copy and Paste the Jeans Texture on this layer. Make sure you use the large texture (2000 x 1500 px).
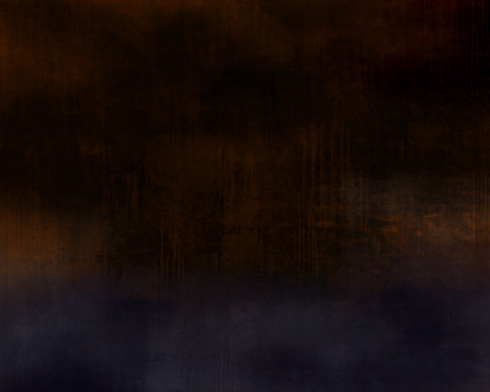
Create a new file (File>New) of 1280×1024 px and 72 dpi.
Paint the first layer with black color, applying the Paint Bucket Tool (G).
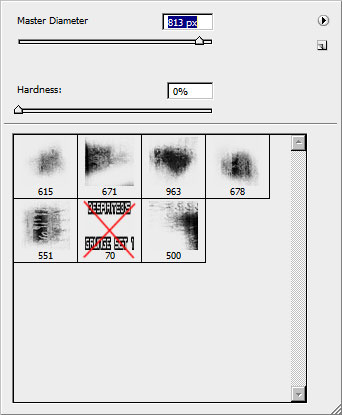
Let’s start making a very gloomy texture. Download out of Internet a set of ready to use brushes D_Grungeset1.
In this case we’ll use all the brushes, except the marked one in the table below. The color’s code is #532100. Brush’s Opacity needs to be on 20%.
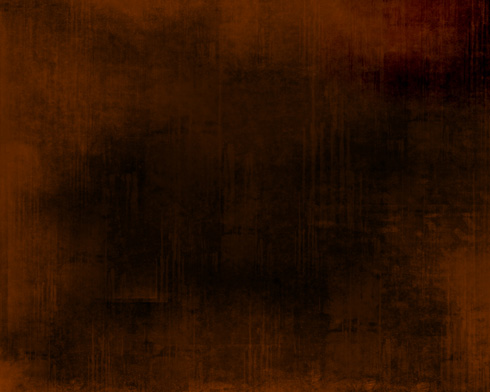
We must get almost the same thing as on the picture below:
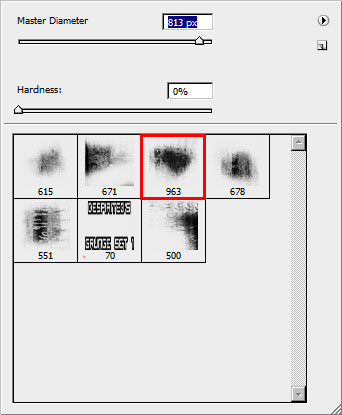
Choose now a brush as in the next table. We’ll use it during the entire lesson.
On a new layer we’ll try to represent the blue color – #04020F. Opacity:20%.
Enlarge the brush’s size by pressing Ctrl +] and try to represent one more layer of the same color.
On the next layer the brush needs to be enlarged even more, changing the Opacity on 40% and trying to get the same result as below:
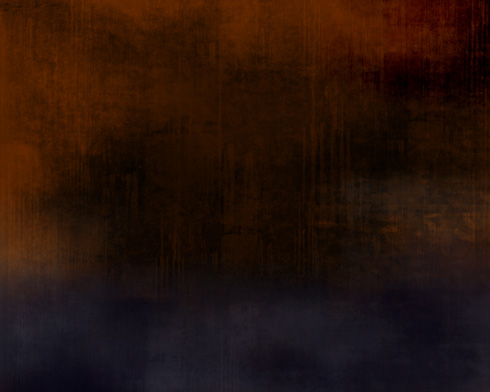
Select the white color, Opacity of 10% and represent an element remembering the clouds.
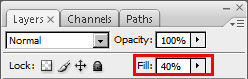
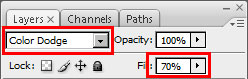
Set the next parameters on the layers’ palette.
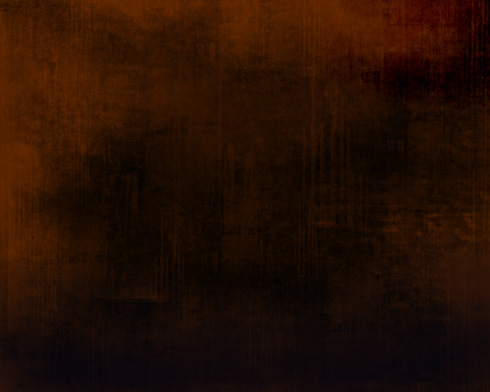
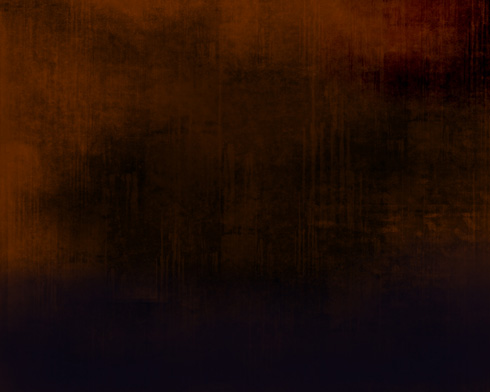
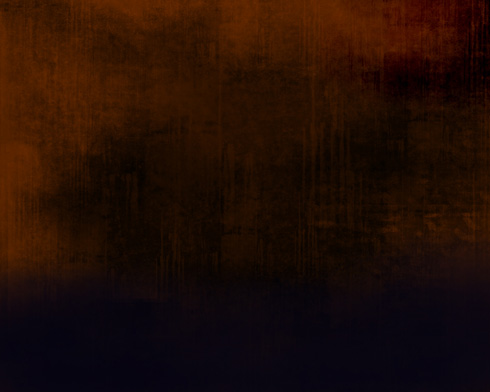
Select the black color and the same opacity’s value to create a dark haziness on the top part of the picture.
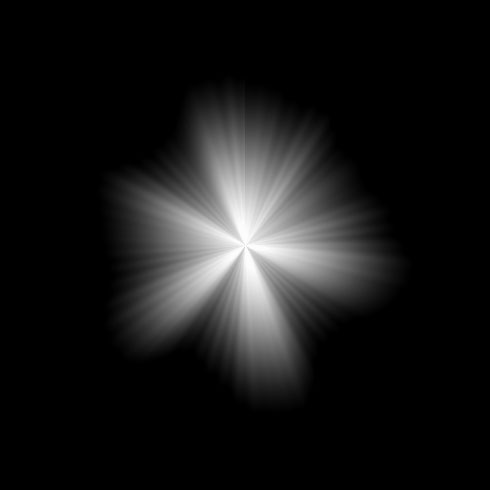
Create a new file of 500x500px and 72 dpi, painting it in black color.
Select the Gradient Tool (G) on a new layer for giving it the white gradient. Select on the top gradient’s menu the option Foreground to transparent, having a picture, like the next one.
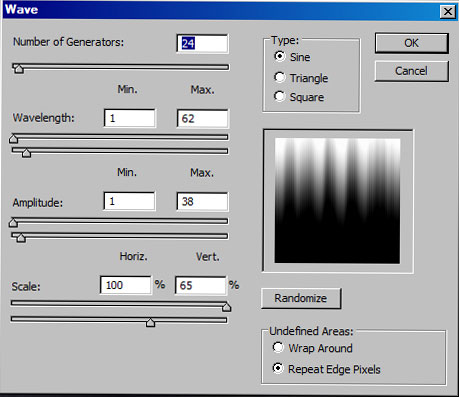
Next select the main menu Filter>Distort>Wave…, setting the options from below
…and then Filter>Distort>Polar Coordinates
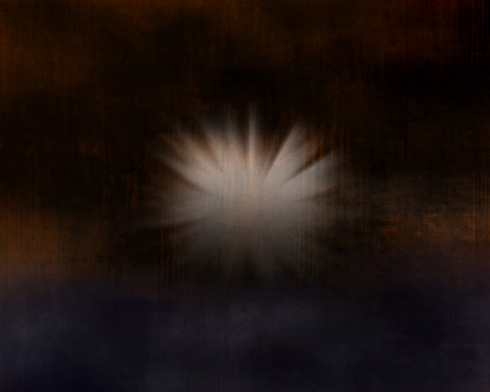
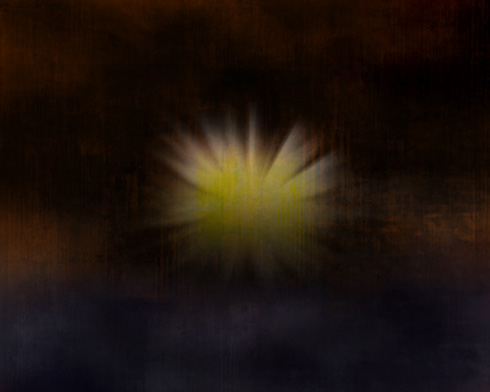
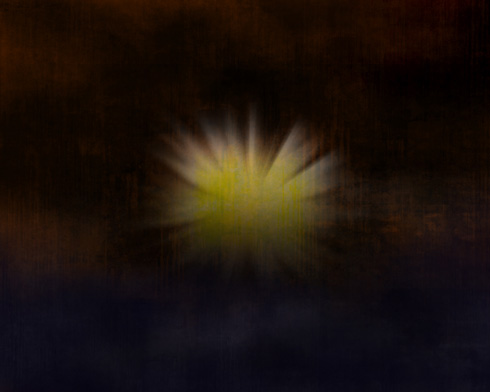
We’ll get a fascicle of light like the next one. Select after that the Smudge Tool (R) to spread out the rays from their middle part to outside.
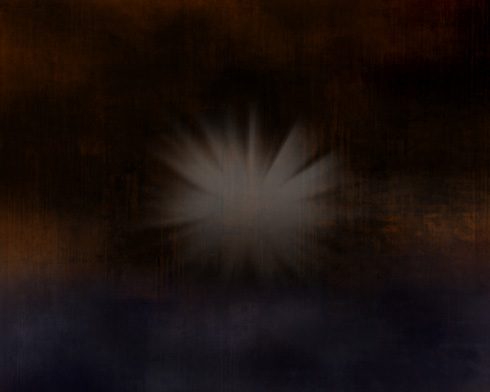
Then place the result that we’ve got on our main picture.
Set the parameters:
Make a copy of this layer Ctrl+J and enlarge the copy up to one third parts, applying Free Transform option(Ctrl+T). Set the layer’s parameters demonstrated below:
We need to get the result from below:
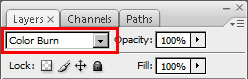
Create a new layer, giving it the Blending Mode from below:
Select the brush with the color’s code #F8F70C and the Opacity of 100% and make several touches on the light’s central part.
Use the brush of black color on the bottom part of a new layer that needs to be made up first of all. The Opacityis of 10%.
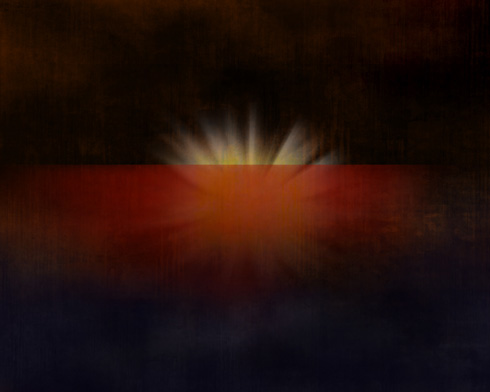
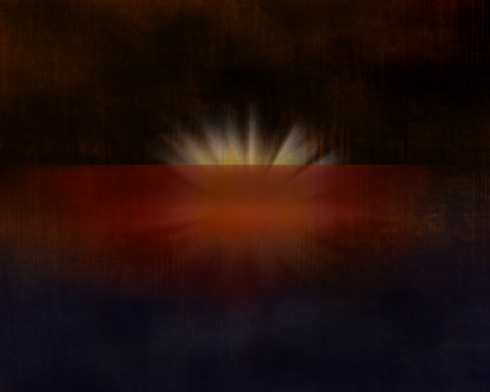
Create again a new layer and select the Rectangular Marquee Tool (M) to represent the element from below, painting it with red color (Opacity 30%). The bottom corners should be erased with the Eraser Tool (E).
Paint out now a black stripe, applying the Opacity of 30%.
Create a new layer with the parameters demonstrated below and insert several touches of red color, having theOpacity of 100%.
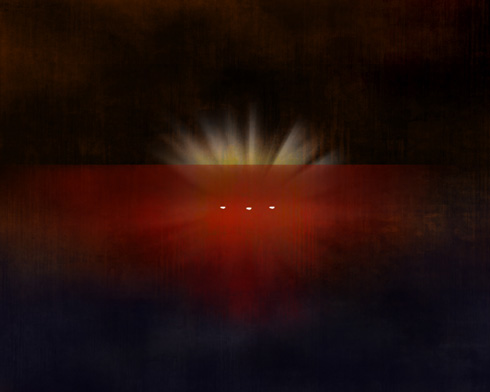
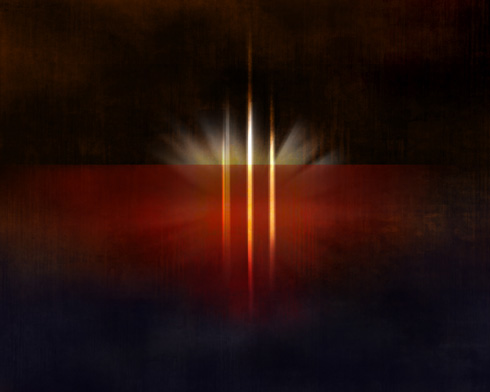
On a new layer we’ll draw three dots with the usual brush.
Stretch out the made dots with the Free Transform option and erase the extreme lines on both sides, the same way the next picture indicates it. Set for this layer Blending mode-Soft Light.
Make a copy of this layer and grow narrow a little each stripe, marking them with the Rectangular Marquee Tool (M). Set for the new layer the Blending Mode – Overlay till getting the next result.
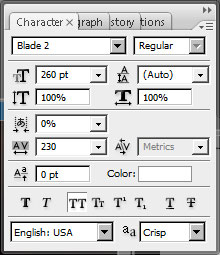
Next we’ll write the next word on the central part of the picture.
Select the next parameters for the text’s layer.
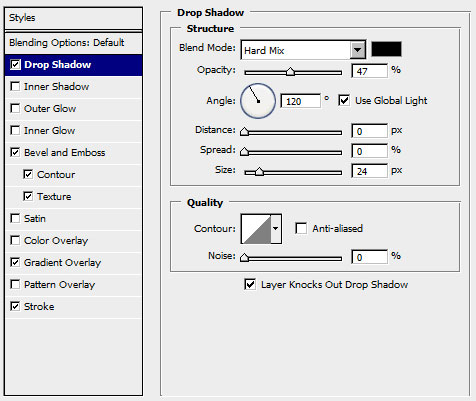
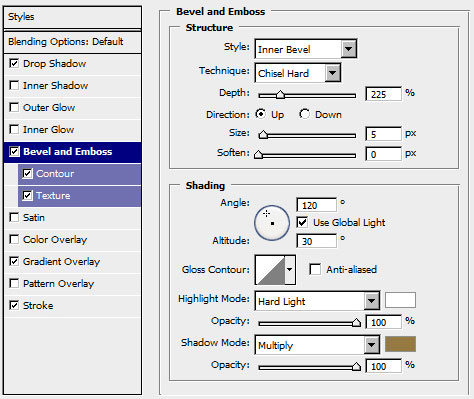
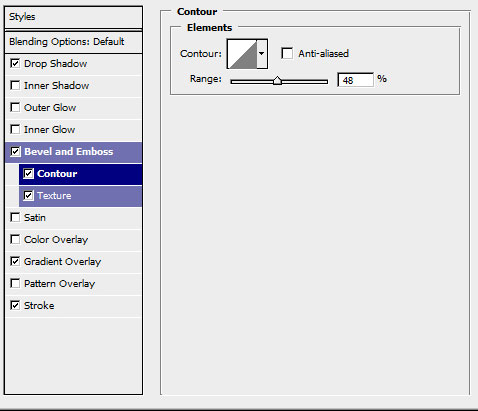
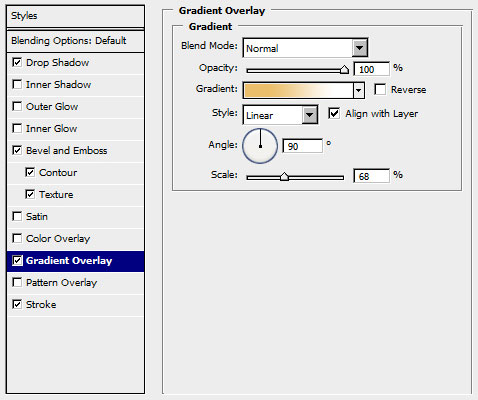
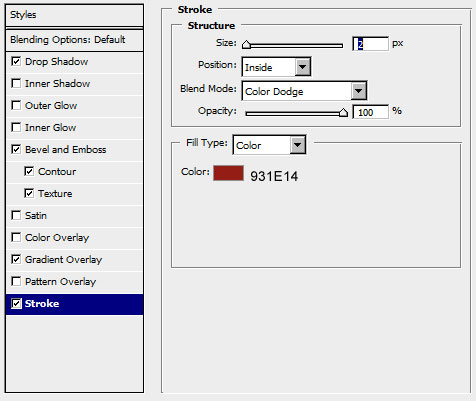
Select also for the new layer Blending Options>Drop Shadow, following all the selections from below. Blending Options>Bevel and Emboss Blending Options>Bevel and Emboss>Contour Blending Options>Bevel and Emboss>Texture Blending Options>Gradient Overlay Gradient Editor Blending Options>Stroke
In this tutorial, we are going to create a glowing glossy futuristic looking text effect. Many layer styles will be applied to achieve this text effect, along with a nice brush trick to create the feathery fluffy stroke.
In this tutorial you learn how you can convert your normal text into magic glowing sparkles. Using stroke path and layer style it isn't so hard to get this texteffect
Get started, type the text and prepare it to release the sparkles.
Create a new document 400 x 300px and fill it will black.
In this tutorial we’ll create a realistic 3D text scene using Photoshop with a little help from Illustrator for the 3D text.
You need to have medium to advanced knowledge of Photoshop in order to complete this tutorial.
Let’s get started and create a truly awesome 3D effect in just a few short steps. Try it out and feel free to post links to your own variations, we’d love to see what you come up with.
Here’s a quick preview of the image that we will be creating:
In a previous Photoshop text effects tutorial, we looked at how to place a single image
inside text. This time, we're going to take things further and learn how to place multiple images in text. This is a popular effect that's often used in advertising and promotional
material but is also lots of fun just to play around with on your own. We're going to take a
word and place a different image inside each individual letter. It's very easy to do, and a lot
of it is just simple repetition.
Written By IT Conseltant
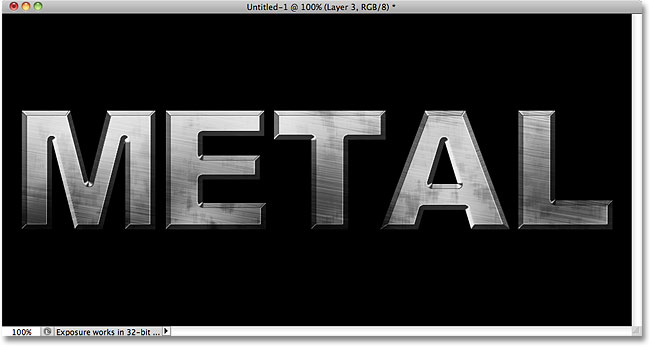
In this Photoshop text effects tutorial, we'll learn how to easily create metal text, a popular effect widely used in videogames and movie posters! It may seem like there's a lot of steps involved, but once you've done it a few times, creating the effect won't take you more than a few minutes from start to finish. To create the metal texture itself and apply it to the text, we'll be using a couple of layer styles, some filters, layer blend modes, and a clipping mask! I'll be using Photoshop CS5 for this tutorial but any recent version of Photoshop will work.