There are many instances when you will want to simulate or mock up how a design would look printed out and photographed. It might be for a portfolio piece, it might be for a client to help them imagine a concept design, or it might just be for your own satisfaction at seeing how your work is going to look to the end user.
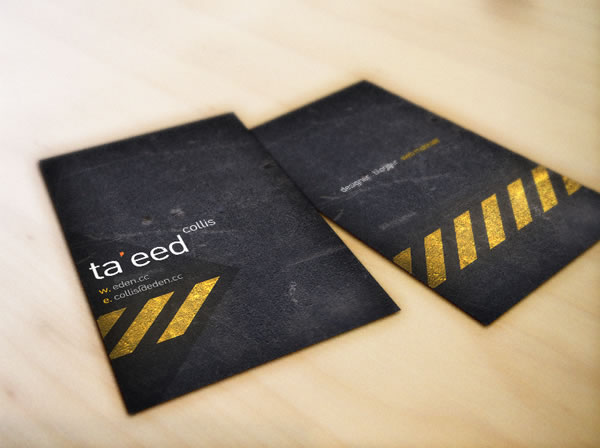
In this technique, we’ll use a bit of perspective and the very useful Vanishing Point filter to achieve some great results. I will apply this technique to Collis’ Sample Calling Card from a previous tutorial.
Here Look Final Result
Step 1
First we choose something to be our background for the work. In my case, I chose a wooden table I have in my office. After that get a business card or a square piece of paper to use as reference and take a picture. Without moving the camera, get rid of the piece of paper and take another picture.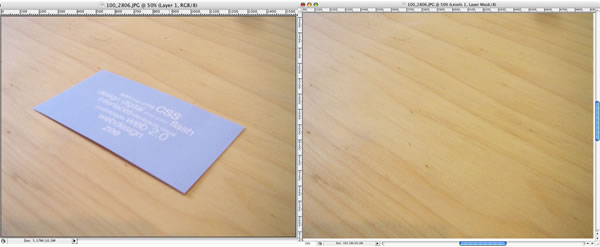
Step 2
Now let’s create our Perspective Plane using the Vanishing Point filter (Filters>Vanishing Point). A new window will open with the filter’s settings.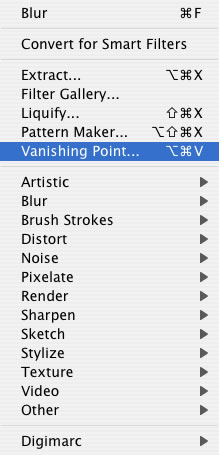
Step 3
Select the Create Plane Tool (C) and start creating a box using the business card as reference. After that, just resize the plane.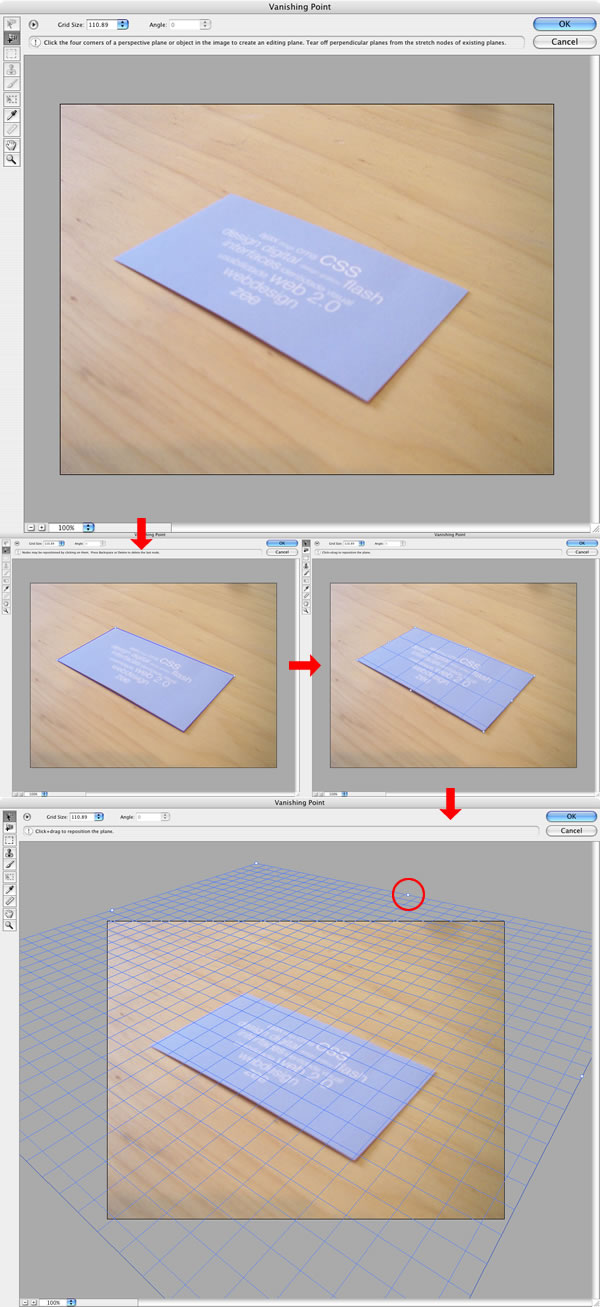
Step 4
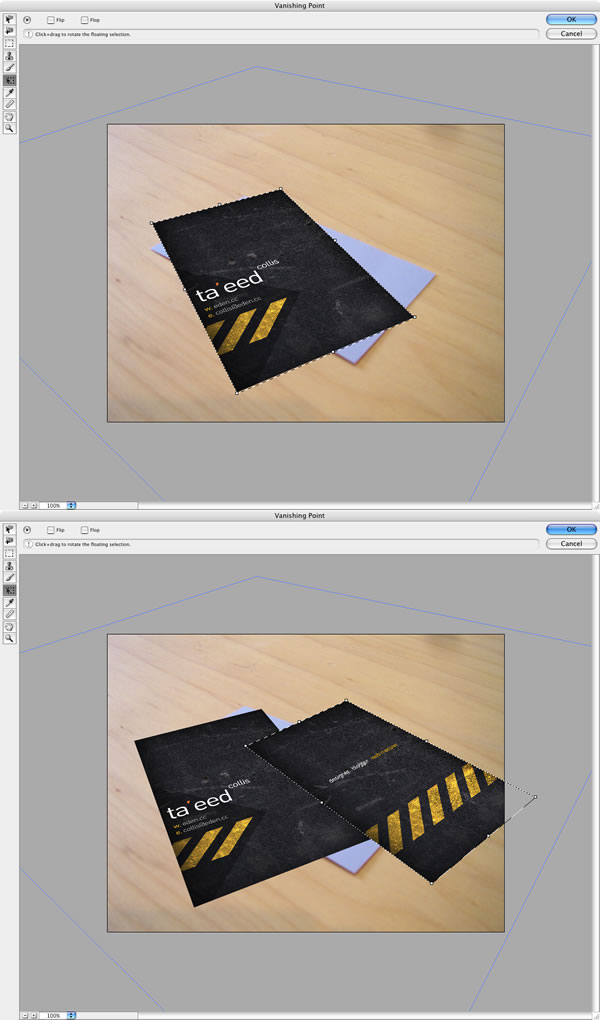
With our plane done, now lets place our card there.- Open the image you want to place on the grid. In our case it’s Collis’ card, and press Ctrl+A to select everything and Ctrl+C to copy it.
- Back to our tutorials file, create a new layer and go again to the Vanishing Point filter.
- Inside the filter’s setting box, paste the card.
- Now just move it and resize it until you find the position you like.
Step 5
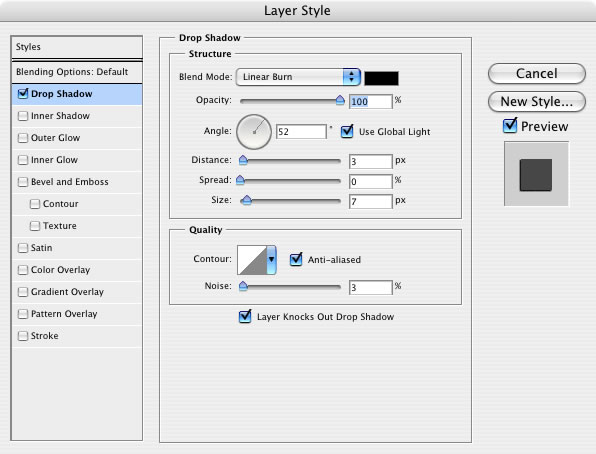
To make our card more real, we will use the Layer Styles. Lets add some Drop Shadows to the front side of the card.Click the right button of the mouse on the layer, copy the layer style, and paste it to the other side of the card’s layer.
Step 6
Select one of our sides, duplicate the layer, and convert it to a Smart Object. Add a Gaussian Blur (Filters>Blur>Gaussian Blur). (Note: if you are not using Photoshop CS3, don’t worry about converting to a Smart Object.) Now just change the Blending Mode to Screen 45%.Repeat the same steps for the other image.

Step 7
Now let’s organize our document. Try to use layer names that you will remember and group them in cards. After that select everything but the guides, group them again, and name the group "content." Duplicate the group and convert it to a Smart Object.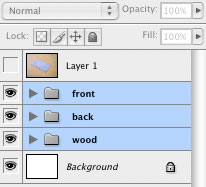
Step 8
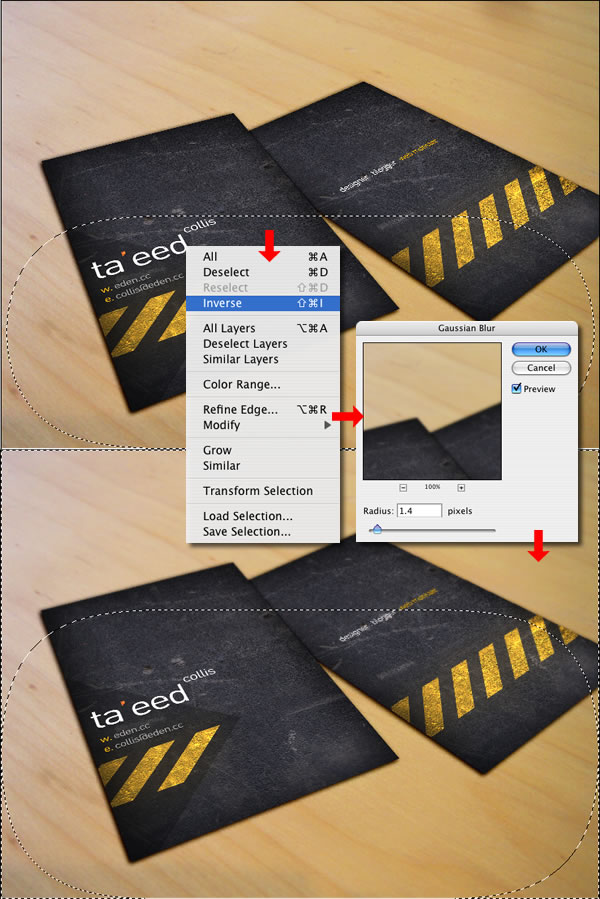
You can stop here, but we’ll keep going a bit further to show you how to add a depth of field effect. With our “Content” Smart Objected selected, select all layers.- Change the Feather Options to 80px and Anti-alias.
- Create a rectangular selection like the one I did. Invert the selection (Select>Inverse).
- Now Apply a Gaussian Blur again.
Step 9
After that you can even apply a Diffuse Glow (Filters>Distort>Diffuse Glow) to make it look more real.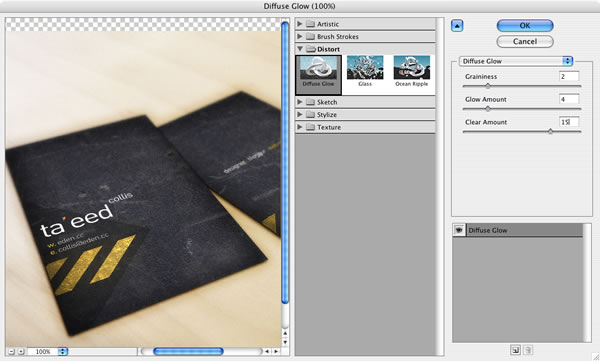
Conclusion
The Vanishing Point filter is definitely an amazing filter and it allows us to preview our work with more realism. The best thing is that it’s really easy to use. You could even place another texture for the table or add more objects to the scene.


1 comments:
This is really helpful. Setting goals is something which I often struggle with, as I tend to make them either unachievable or I don’t make any at all. It’s easy to think about what you want to achieve.
Post a Comment