Showing posts with label desiging. Show all posts

Photoshop Create Real Fire Effects

Here we are going to make fire Effects which we will create using by the Photoshop. you can see the Final Image Below.

Step 1: Open a car image for this effects which you want to create so get an image from internet or from your computer.
Read More

Lean Wooden Box Designing Photoshop Tutorial

Final Image Which is Going to Design
In this  tutorial, you’ll learn to make a Wooden Box with a realistic touch.

Step 1: Create a New Document

Create a new 300×300 px white backgrounded document in Photoshop.You can change the size of document if you want but keep the height to width ratio same (1:1).
Read More

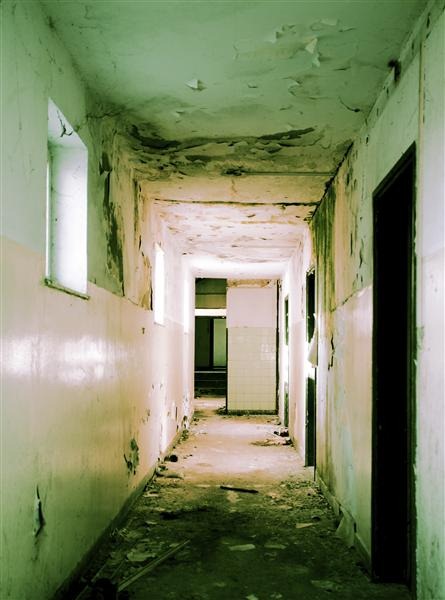
Align Decaying Abandoned Interiors Photos

See what the inside of abandoned buildings look like. Here are align decaying interiors photos of a washroom, classroom, hospital, prison, and more.
Please do not republish these photos on other websites without permission from the authors or license from their agents.
Abandoned
Abandoned | Matja Slanič
Read More

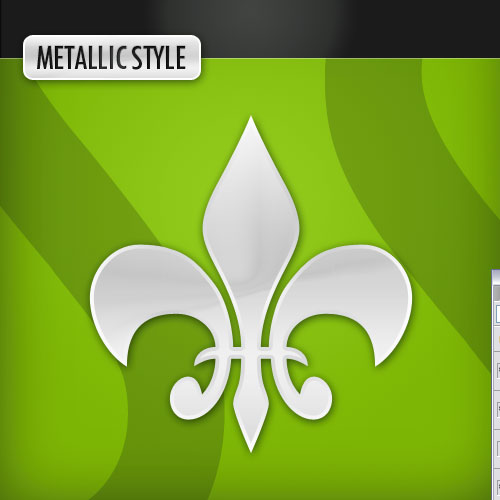
Metallic Styles in Photoshop

In this tutorial, we’re going to create a metallic effect using layer styles and gradients that you can apply to different objects. We’ll put it on a nice background and create a style for lettering that makes it look like it’s embedded into the metal. You can download the sample PSD file from the link at the bottom of the tutorial if you’d like to simply copy+paste the layer styles.

Read More

Color Correcting Overlay with Photoshop

This technique produce the best results and is extremely fast and easy. Use this whenever possible for non-raw photos. 

Step 1

Download and save the following JPG file to your computer then open it inside Adobe Photoshop.
Color Correcting Overlay with Photoshop
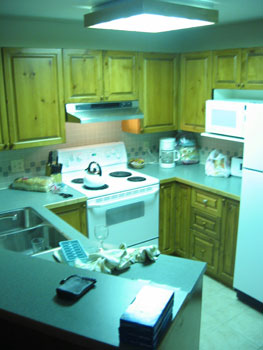
This is one of the techniques I've developed probably over a year ago when I wasn't very good with Photoshop. It worked very well on some photos, but not on all. If you're unable to fix the white balance with the Levels technique, give this one a try.

Step 1

Download and save the following JPG file to your computer then open it inside Adobe Photoshop.
kitchen 23.94 Kb (right-mouse click> Save As)
Kitchen with Colorcast


Read More

Retouching Underwater Photos Photoshop Tutorial

One of the most common underwater photography

difficulties is trying to capture a photo without extreme color and contrast loss. In this Photoshop Tutorial, you'll learn how to analyze and restore the color and contrast of underwater photos.

Underwater Photo Retouching Photoshop Tutorial

Color Correction

Loss of color and contrast is the primary obstacle faced by underwater photographers. First, we'll work on restoring the color of the photo to produce a fuller spectrum of color. The deeper the location image was taken at, the more color loss there is. Colors with longer wavelengths such as red and orange disappears first. When extremely deep, only blue can be recorded.

Identifying the Problem

Correcting the color for underwater photos is simple, but not as simple as regular photos. Unlike most photos where the color can be corrected using by setting the gray point with the Levels tool, underwater photos need to be manually corrected. Because most underwater photos lack an accurate gray as a reference for the color, we need to analyze the channels to identify the color causing the problem. There are two primary elements that need to be worked on: color and contrast. First, we'll show you how to restore the colors and then we'll show you how to enhance the contrast of the distance.
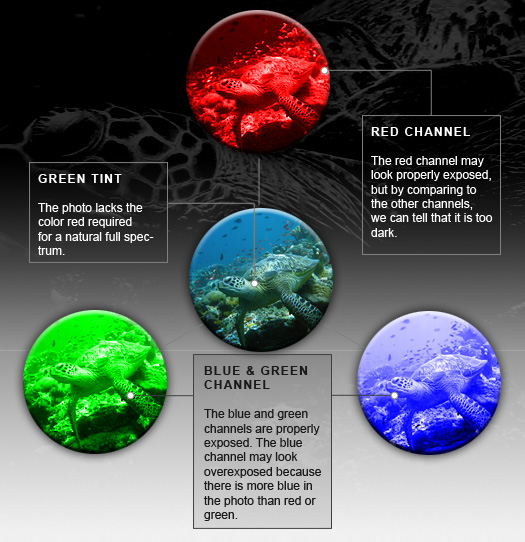
Channels in the underwater photo

Correcting Color
Read More